Page
Scale applications using the OpenShift web console
In this lesson, you will learn how to scale up or down an application that’s installed in the Developer Sandbox.
What you need to know
In order to get full benefit from taking this lesson, you need to:
- Understand the relationship between OpenShift and Kubernetes.
- Have a clear understanding of the nature and use of the Kubernetes pod resource.
- Know how to access your dedicated instance of the Developer Sandbox.
What you will learn
In this lesson, you will learn:
- How to access the details pane for an application from the web console Topology view.
- How to increase the number of pods in an application using the visual tool in the application detail page.
- How to decrease the number of pods in an application using the visual tool in the application detail page.
Scaling is about increasing or decreasing the number of an application’s pods
Applications running in OpenShift are made up of a variety of Kubernetes components. The component that has an application’s logic is a Kubernetes pod. A pod is a logical unit for organizing a set of one or more Linux containers running in a Kubernetes cluster. These Linux containers house the application’s logic.
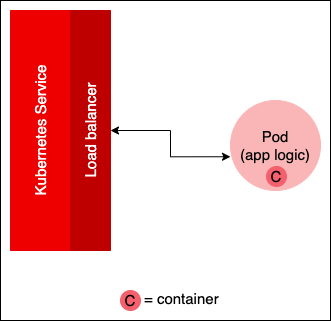
For example, imagine you have an application that inspects a .png file to see if the file displays an image of a cat. The logic that does the analysis lives in a container, and that container is in a pod in a Kubernetes cluster. Access to the pod is facilitated by a Kubernetes service that forwards requests to and from between the pod. In a production environment, the service is backed by a load balancer that moves traffic to a pod that has the capacity to process the request.
Figure 1 shows the service/pod architecture for a single pod. Obviously, the load balancer does not have a lot to do because there is only one pod in play.
Typically, an OpenShift application is intended to run code at web scale. This means that an application may be processing hundreds, if not thousands, of requests a minute. In this scenario, it’s not practical to expect one pod to handle such a workload. The way to make it so an application can handle large workloads is to add more pods that have identical logic to the cluster (Figure 2).
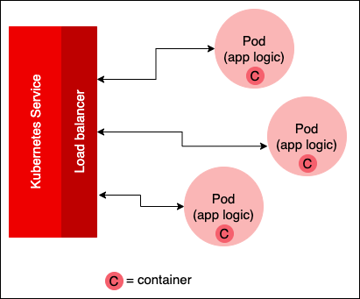
Once more pods are added, the load balancer will route a request to the pod that has the capacity to process the given request. Scaling an application down means reducing the number of pods associated with the application.
OpenShift allows you to use the web console to scale up and down the number of pods dedicated to a particular OpenShift application. The following sections describe how to work with the OpenShift web console to scale the number of pods in an application up and down. First, you will use the OpenShift web console to install an application from a container image that is hosted in the quay.io container repository. Then you will use the web console to scale the application’s pod up and down.
Access the OpenShift web console using the sandbox
To enter the OpenShift web console in the Developer Sandbox, do the following:
Using your web browser, navigate here and select Start your Sandbox for free (Figure 3).
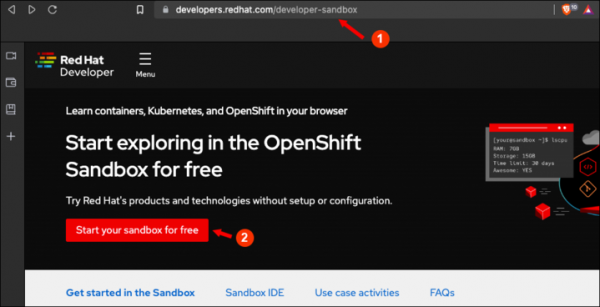
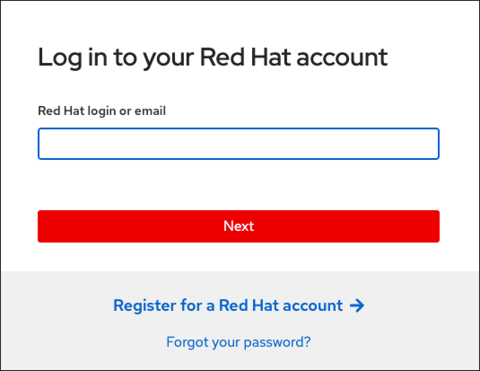
Figure 3: The entry point for access to the Developer Sandbox for Red Hat OpenShift. Figure 3: The entry point for access to the Developer Sandbox. Input your username and password for your Red Hat account (Figure 4).

Figure 4: Log into the OpenShift web console with the username and password associate with your account on RedHat.

Install an application from a container image
To install an application from a container image, do the following:
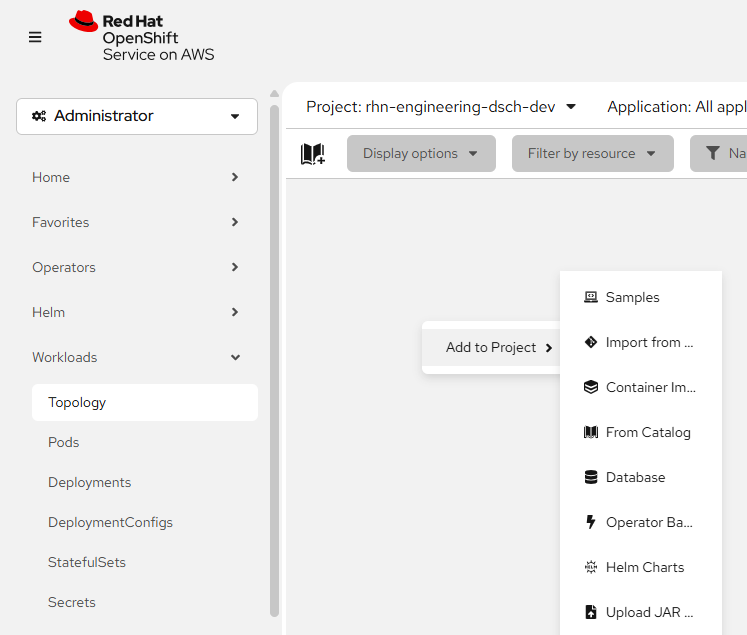
- Right-click within the Topology view to reveal the Add to Project menu (Figure 5).
Select Container images.
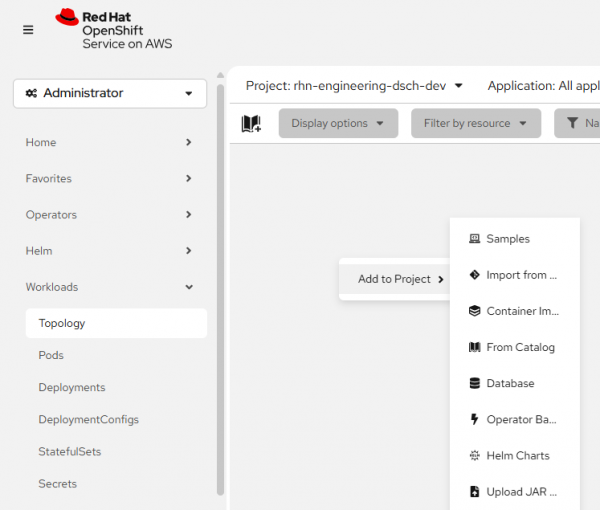
Figure 5: Select Container images to open the Deploy images web page and install an application from a container image. The Deploy Image page will appear (Figure 6). Insert the following text into the text box labeled Image name from external repository:
quay.io/openshiftroadshow/parksmap(Figure 6).

Figure 6: Deploy the image. Scroll down to Deploy and set Deployment as the Resource type (Figure 7, Callout 1) then select Create (Figure 7, Callout 2) to begin the deployment.
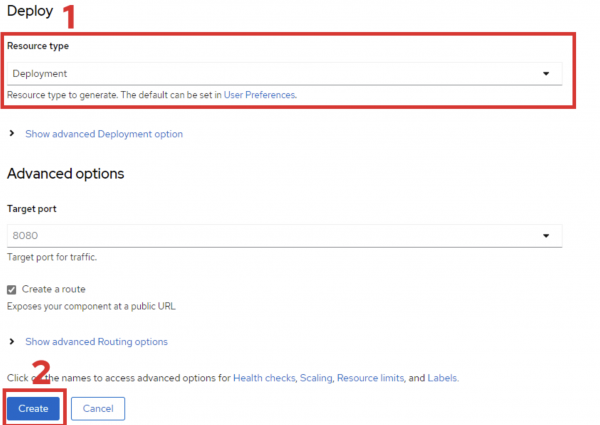
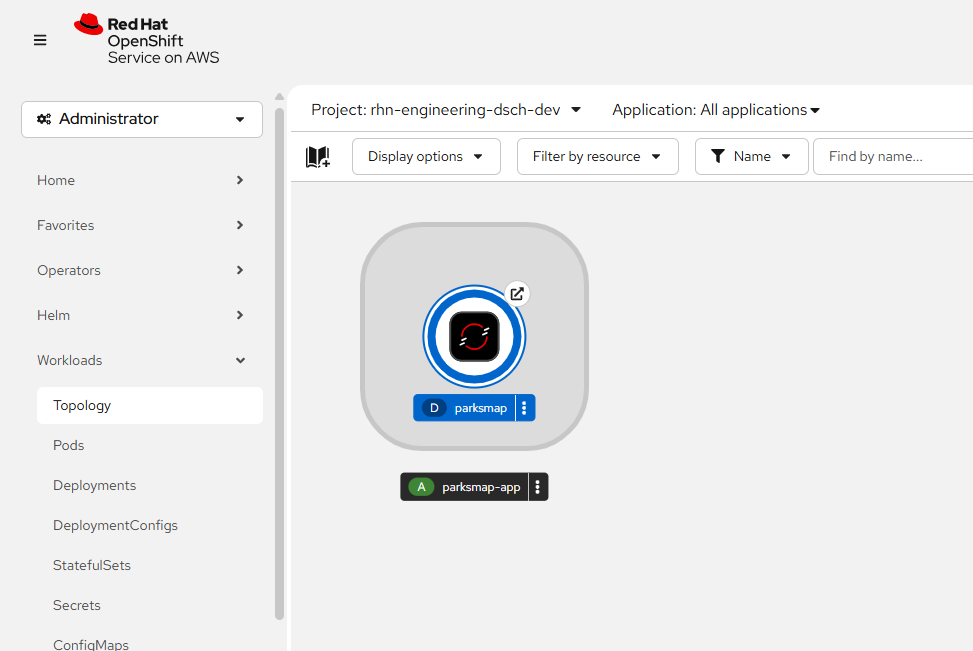
Figure 7: Deploy the image. You have now added the Parksmap application to the OpenShift cluster in the sandbox. You will be taken to the Topology page in the web console. There, you will see the Parksmap application represented by a circular graphic (Figure 8).
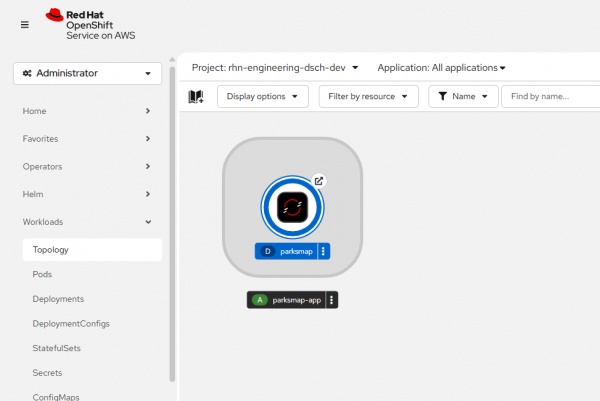
Figure 8: After installing an application, it will be represented as a circular icon in Topology view of the web console.


Display the application details pane in Topology view
You can now access the details pane for the Parksmap application via the circular graphic that represents the Topology view by doing the following:
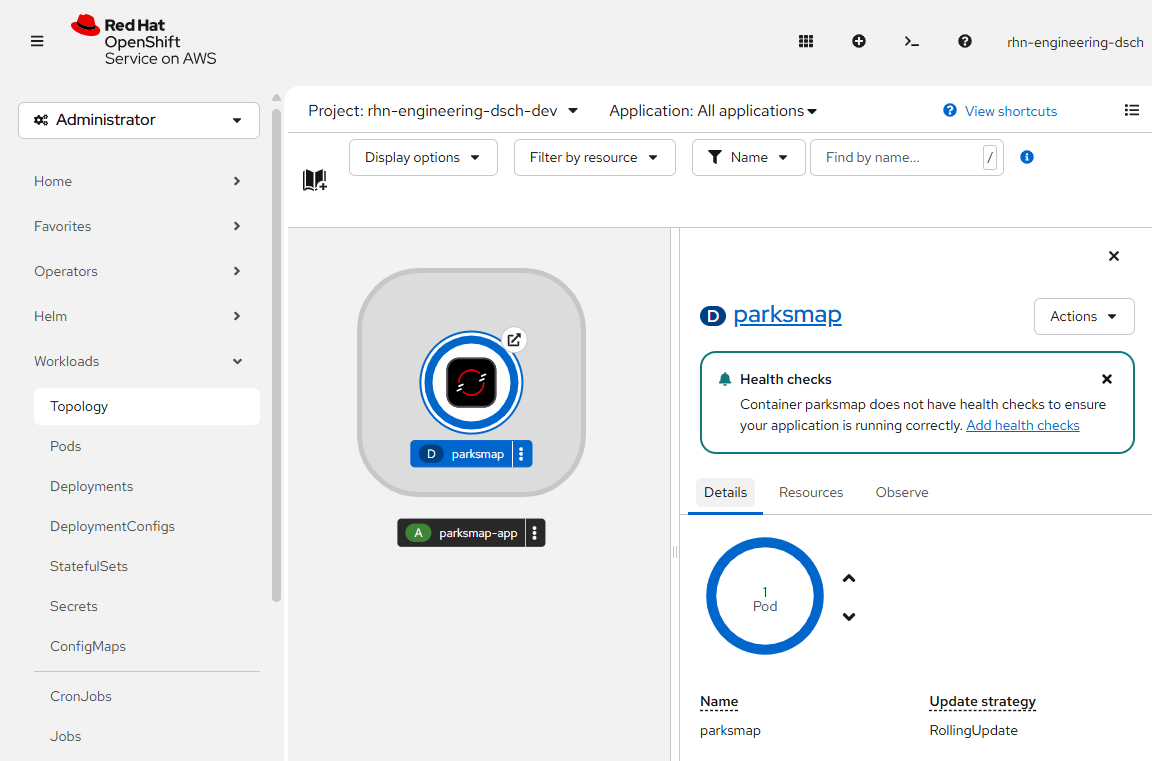
Click in the center of the Parksmap circular graphic. An information pane will appear. Select the Details tab (Figure 9).

Figure 9: Click the center or the application’s circular graphic to display its information page. - The Details tab will show another circular graphic that represents the number of application pods running. Use the up and down arrows to the right of the pods graphic to scale the number of pods up or down.

Scale up an application
Click on the up arrow to the right of the pods graphic to increase the number of pods for the application (Figure 10).

Figure 10: Click the up arrow to increase the number of pods associated with an application.

Notice that each time you click the up arrow, the text in the center of the circular graphic changes to reflect the number of pods running for the application. Operationally, you are now scaling up the number of pods for the application.
Scale down an application
Click on the down arrow to the right of the pods graphic to decrease the number of pods for the application (Figure 11).

Figure 11: Click the down arrow to decrease the number of pods associated with an application.
Notice that each time you click the down arrow, the text in the center of the circular graphic changes to reflect the number of pods running for the application. This is similar to what you saw when you clicked the up arrow, except in this case, you are scaling down the number of pods for the application.
Summary
In this lesson, you learned how to install a web application in the Developer Sandbox from a container image hosted on quay.io. Then you learned how to scale the number of pods in the application up and down from within the Topology view of the OpenShift web console by clicking the up and down arrows in the Detail pane associated with the application’s circular icon.
Next
In the next lesson, you will learn how to use the oc CLI tool on a local computer to scale up and down the number of pods associated with an OpenShift application.