Red Hat CodeReady Workspaces provides developers with containerized development environments hosted on Kubernetes and Red Hat OpenShift. Having a hosted development environment that's pre-built for your chosen stack and customized for your project makes onboarding new developers easier because everything they need is already running in a containerized workspace.
In this article, I'll show you how to use CodeReady Workspaces to get up and running quickly with a Flask-based Python project. We'll set up the environment, make a few modifications to the application, then validate and verify the changes from within the containerized development environment.
Updated for OpenShift 4
To follow the example in this article, you'll need OpenShift 4. You can use Red Hat CodeReady Containers on your Windows, macOS, or Linux laptop. Or, you can access a hosted Red Hat OpenShift Container Platform cluster for free in the Developer Sandbox for Red Hat OpenShift.
Let's get started!
Deploying CodeReady Workspaces
CodeReady Workspaces uses a Kubernetes Operator for deployment. A Kubernetes Operator is basically a method of packaging, deploying, and managing a Kubernetes application.
Note: If you'd like to know more about the Operator Framework, see the awesome write-up by Brandon Philips on the OpenShift blog.
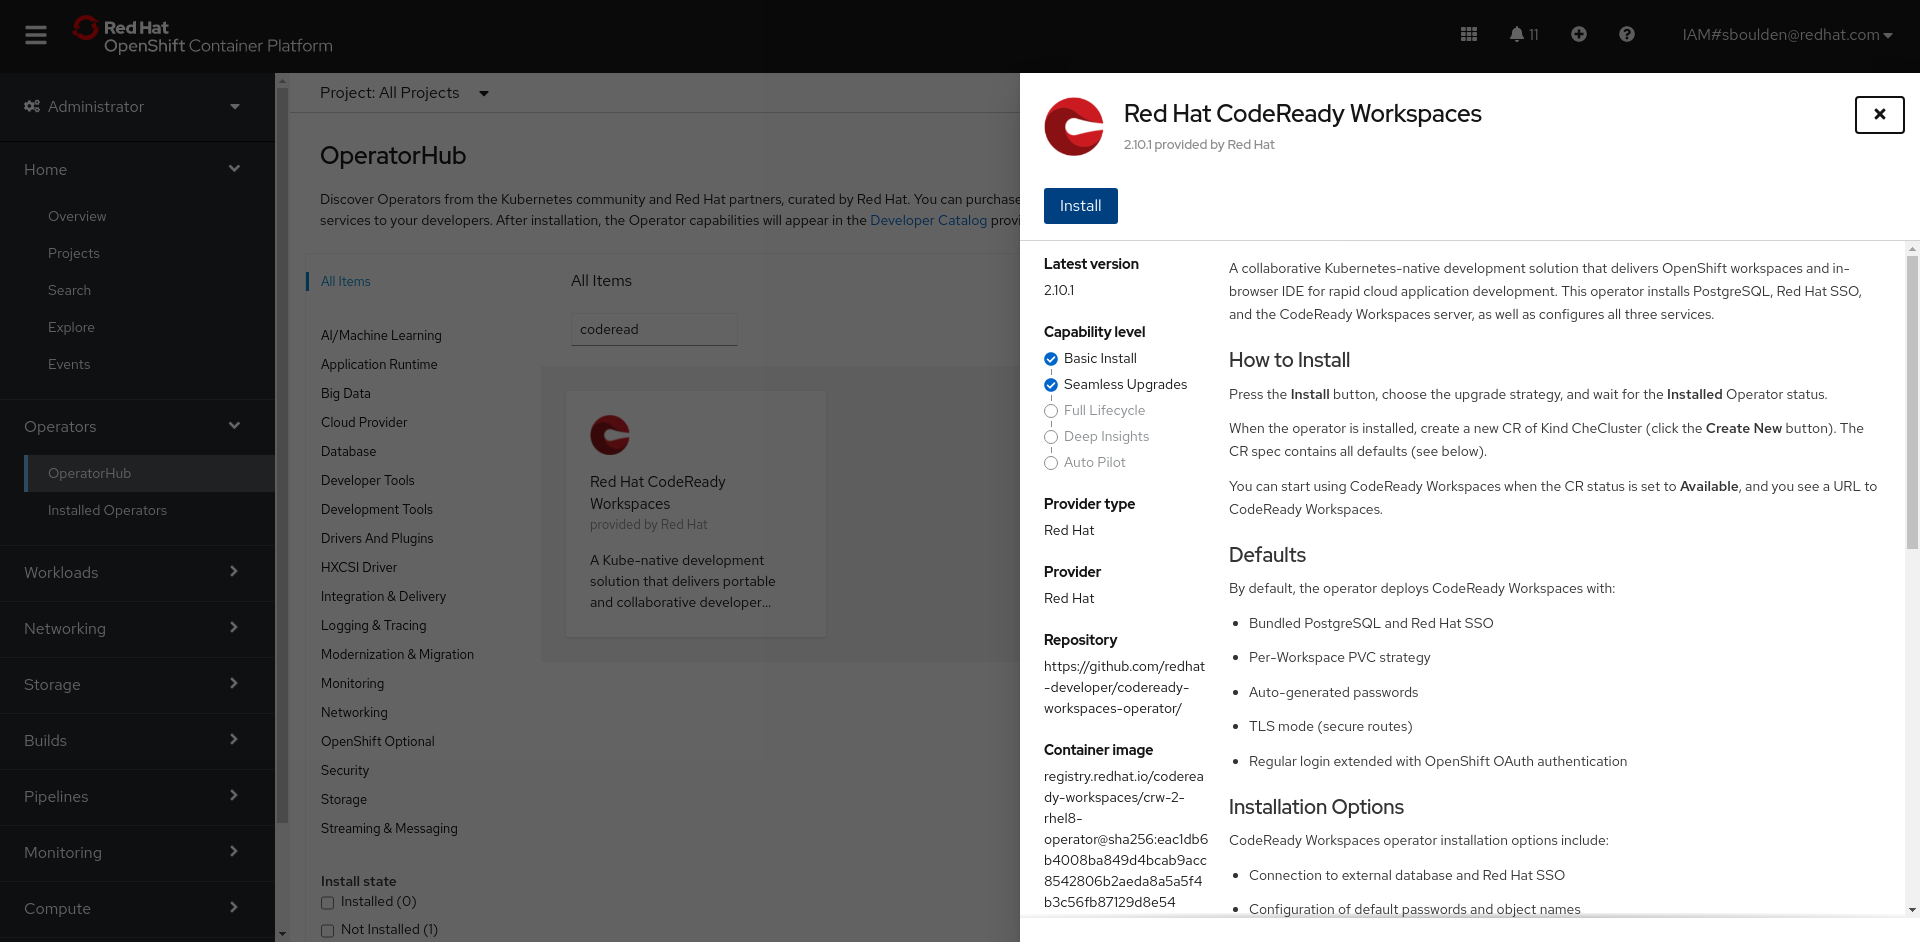
CodeReady Workspaces is available through the OpenShift Operator Hub. Once you've found the CodeReady Workspaces Operator, install it as shown in Figure 1.
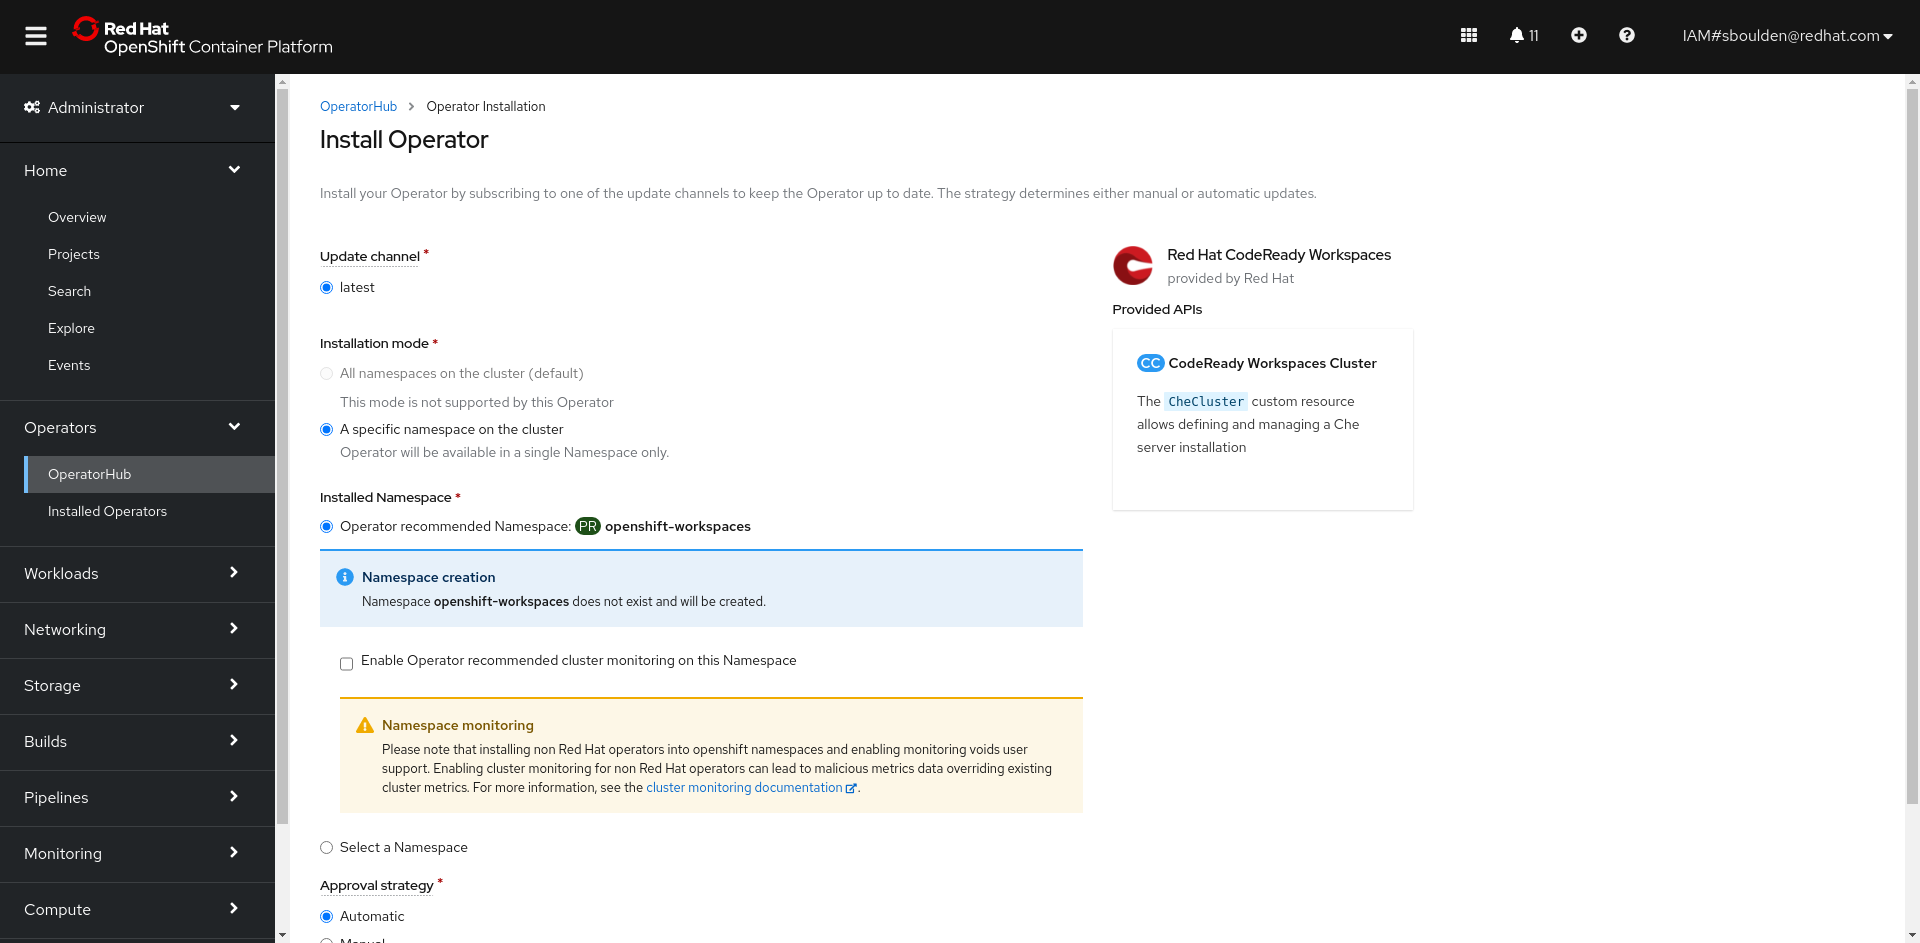
Select the defaults for this installation, as shown in Figure 2.
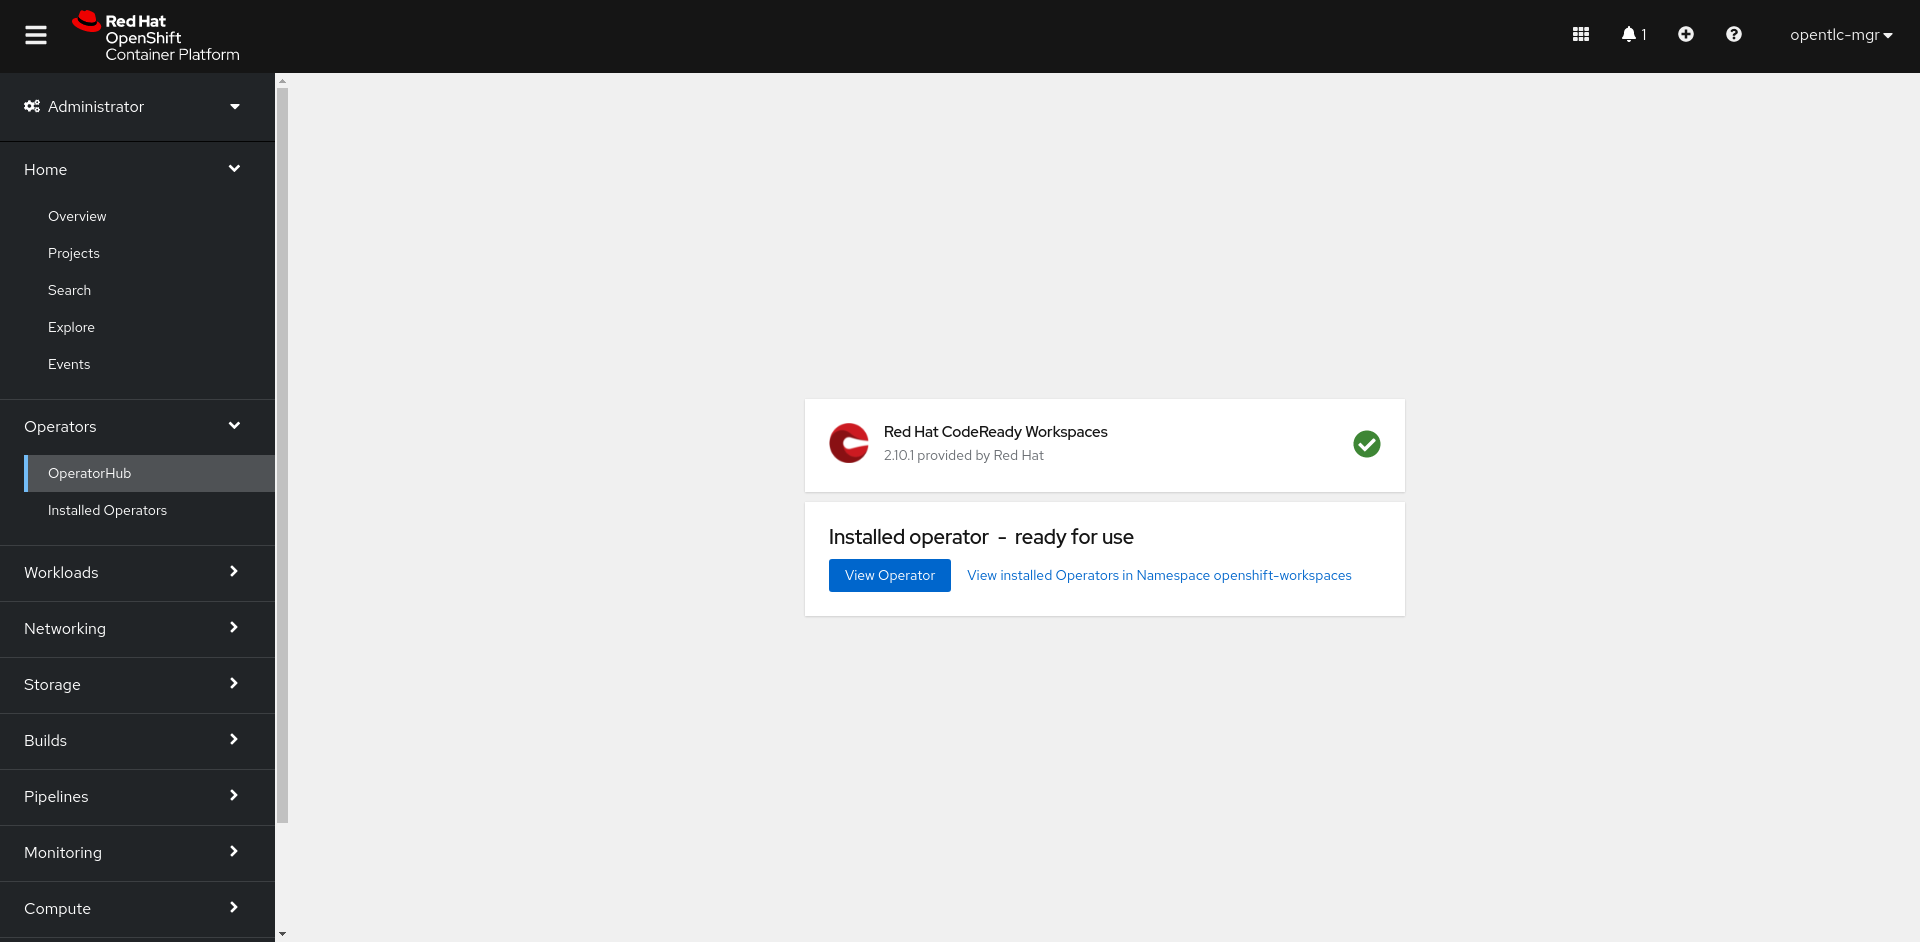
When the CodeReady Workspaces Operator is installed and ready to use, you'll see a notification like the one in Figure 3.
Once the operator is installed, you can access it under Installed Operators. From here, select Create Instance next to the CodeReady Workspaces Cluster custom resource. Accept all the defaults, and select Create, as shown in Figure 4.
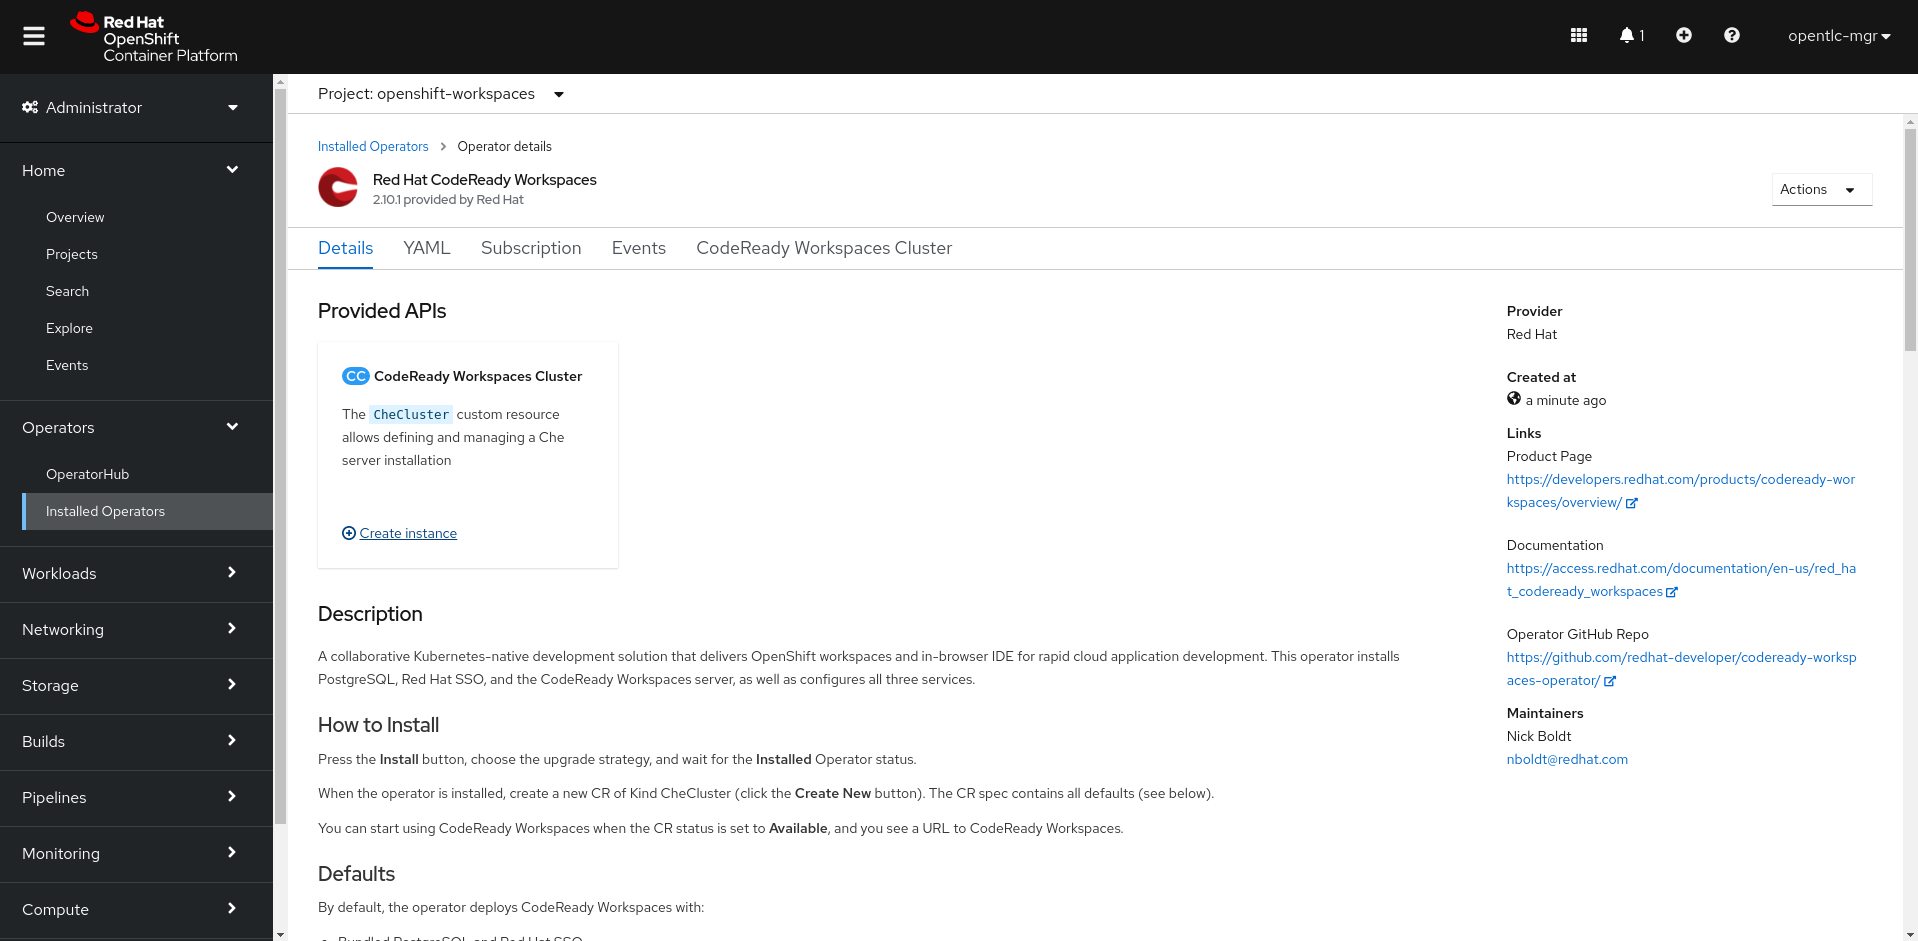
The operator will now take over and create all of the components for your CodeReady Workspaces cluster. Once it's finished you'll see a couple of new routes, as shown in Figure 5.
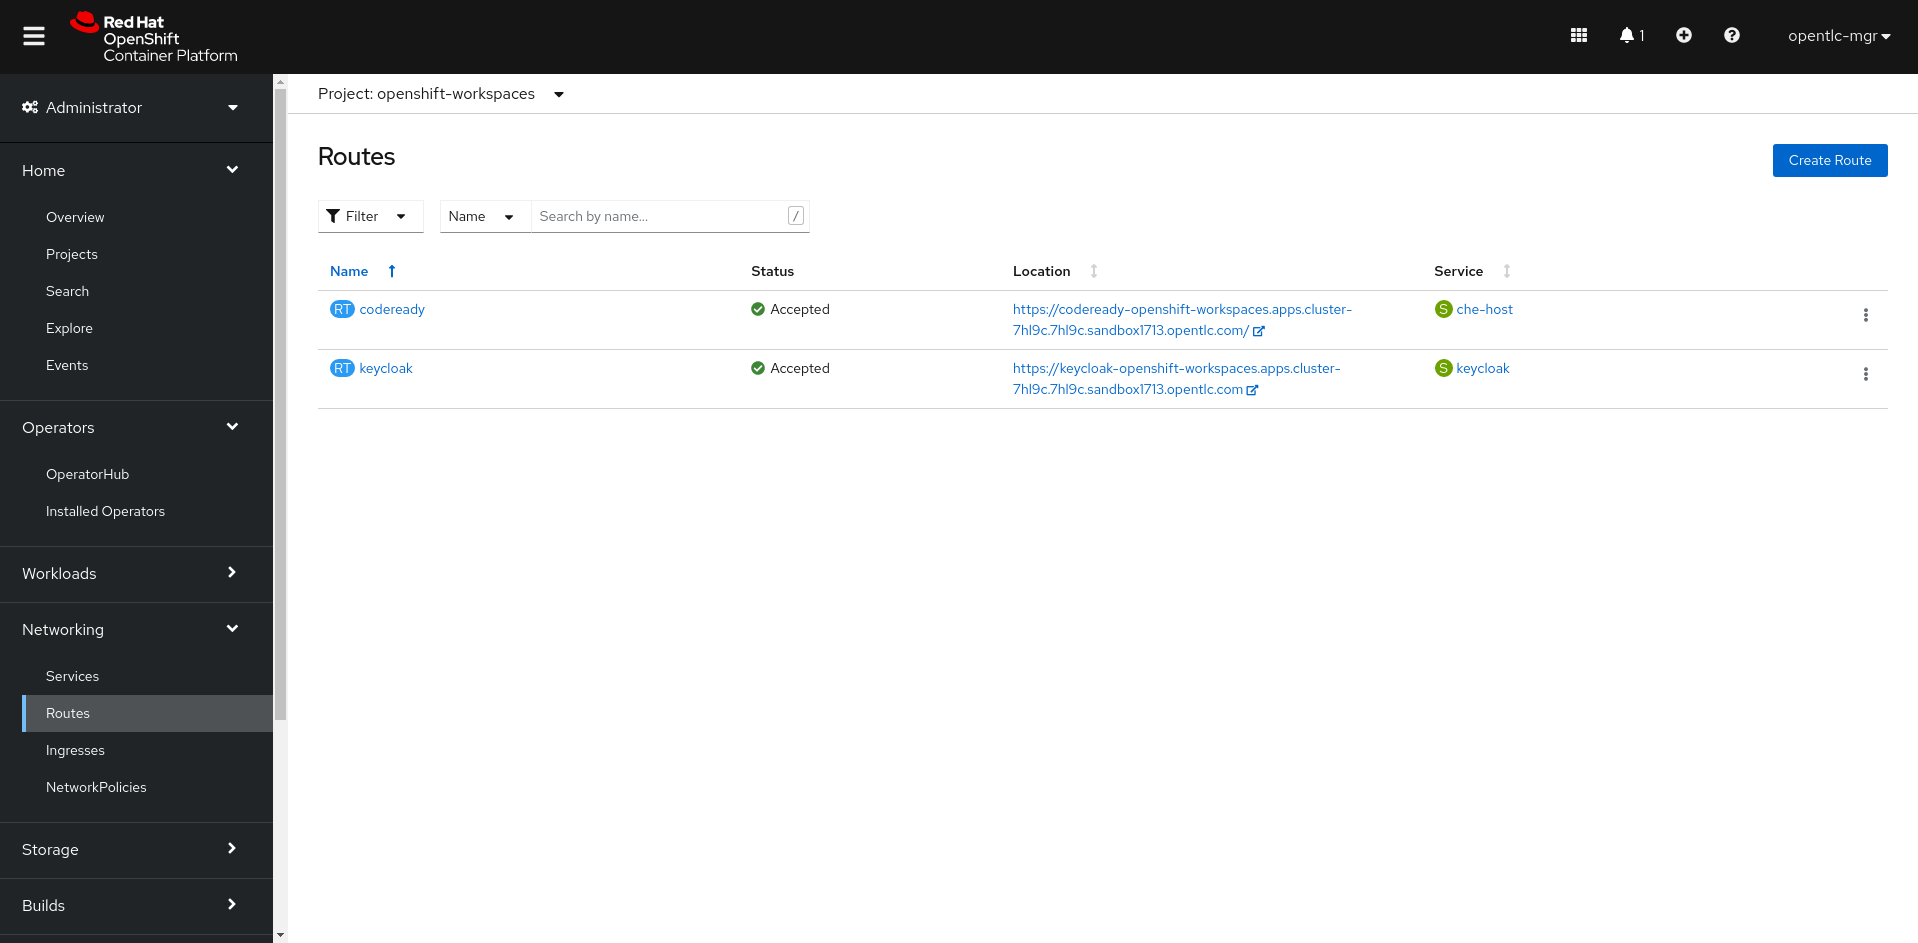
Navigate to the CodeReady route, follow the prompts to authenticate with single sign-on (SSO), and you'll be directed to the dashboard shown in Figure 6.
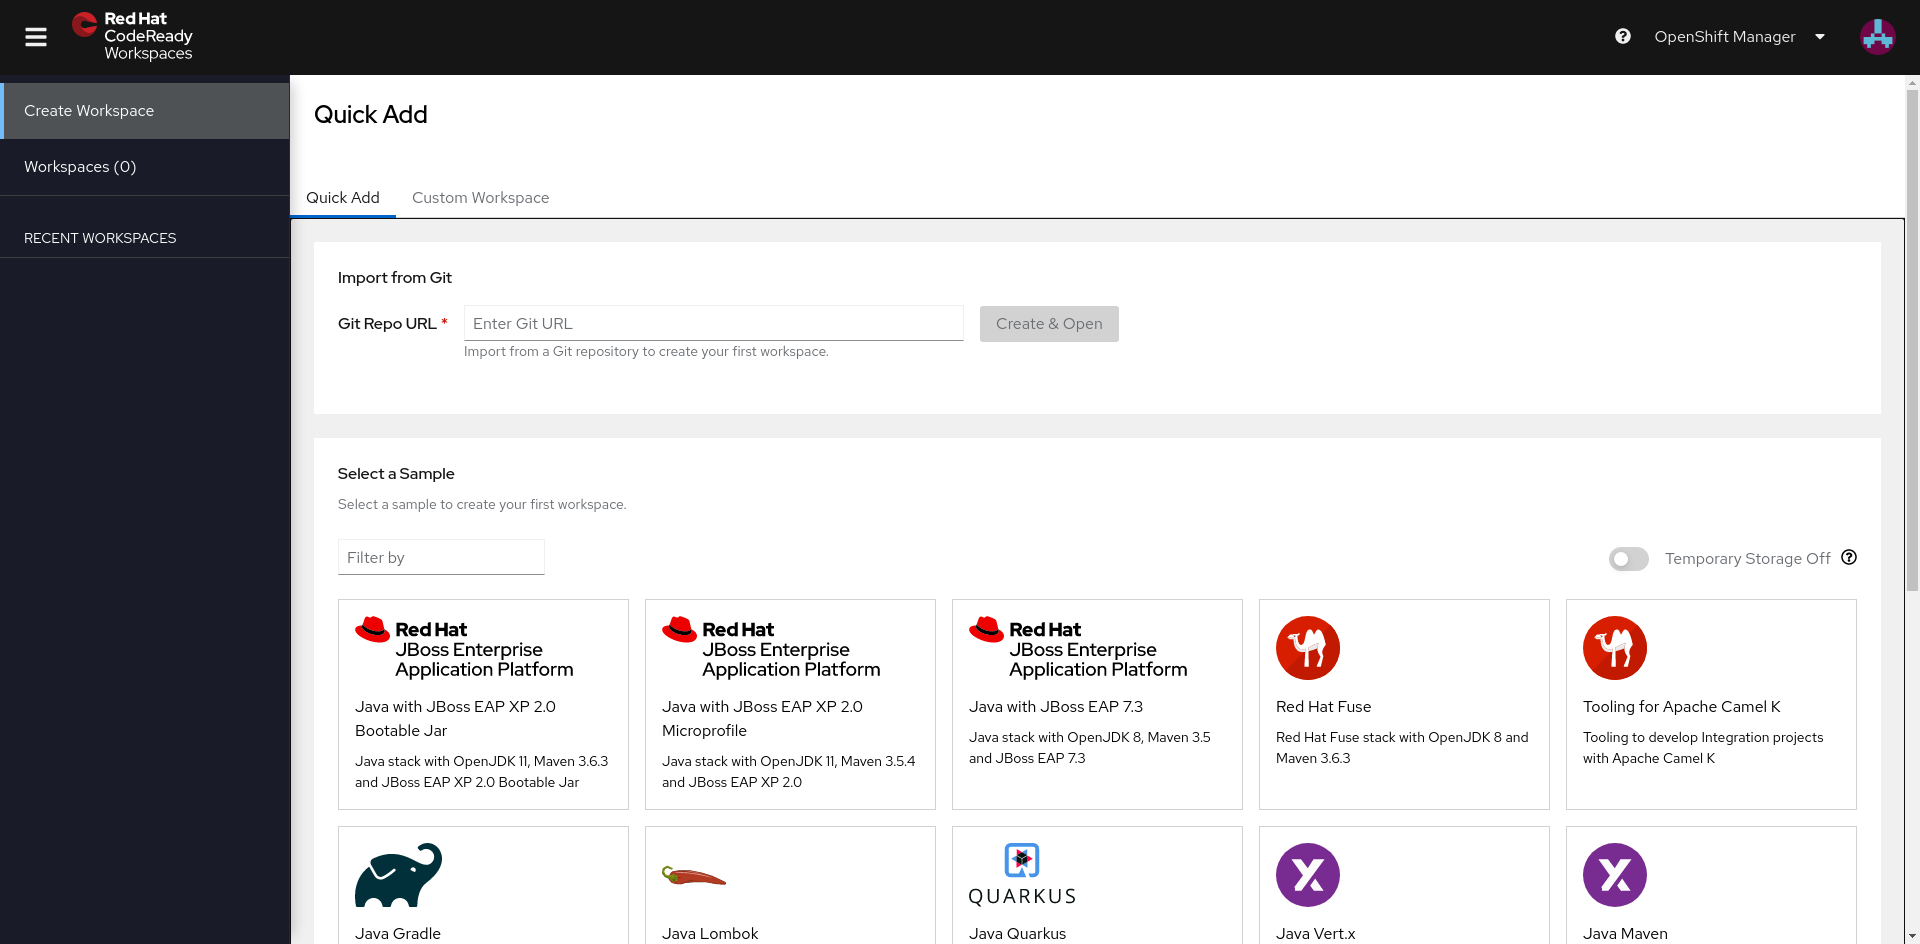
Next, we'll set up the Flask workspace for our Python project.
Creating the Flask workspace
We're going to use a devfile to create the workspace for our application. A devfile is a way of codifying a containerized workspace, and is usually stored with the application source so that it can be version-controlled alongside the application. Here is the devfile for the example Flask application:
apiVersion: 1.0.0
metadata:
  generateName: flask-
projects:
  - name: flask-app
    source:
      type: git
      location: "https://github.com/shaneboulden/flask-questions-app"
components:
  - type: chePlugin
    id: ms-python/python/latest
  - type: dockerimage
    alias: python
    image: quay.io/eclipse/che-python-3.8:next
    memoryLimit: 512Mi
    mountSources: true
    env:
      - name: FLASK_SECRET
        value: 'you-will-never-guess'
    endpoints:
      - name: websocket-forward
        port: 8080
        attributes:
          protocol: http
          secure: 'false'
          public: 'true'
          discoverable: 'false'
commands:
  - name: run
    actions:
      - type: exec
        component: python
        command: '${HOME}/.local/bin/gunicorn wsgi:application -b 0.0.0.0:8080'
        workdir: '${CHE_PROJECTS_ROOT}/flask-app'
  - name: install
    actions:
      - type: exec
        component: python
        command: 'pip3 install -r requirements.txt'
        workdir: '${CHE_PROJECTS_ROOT}/flask-app'
Let's break down this devfile:
- New workspaces will be generated with a name starting with
flask-. - The source code for this project is hosted at https://github.com/shaneboulden/flask-questions-app and will be cloned into the workspace.
- We're using a base Python environment from the Eclipse Che project hosted at Quay.io.
- We've limited workspaces created from this devfile to 512 MB of memory.
- We've created an environment variable for the Flask cross-site request forgery (CSRF) secret, ensuring the secret isn't stored in the source.
- We've created an endpoint for the web server used in development. This will allow us to test out the Flask app inside the containerized workspace.
- We've created two commands,
installandrun. We'll use these to easily install the application dependencies, run the web server, and view our changes to the Flask application.
Select Custom Workspace from the CodeReady Workspaces dashboard. Then, in the Devfile section of the following form specify the devfile URL (Figure 7) :
https://raw.githubusercontent.com/shaneboulden/flask-questions-app/main/devfile.yml
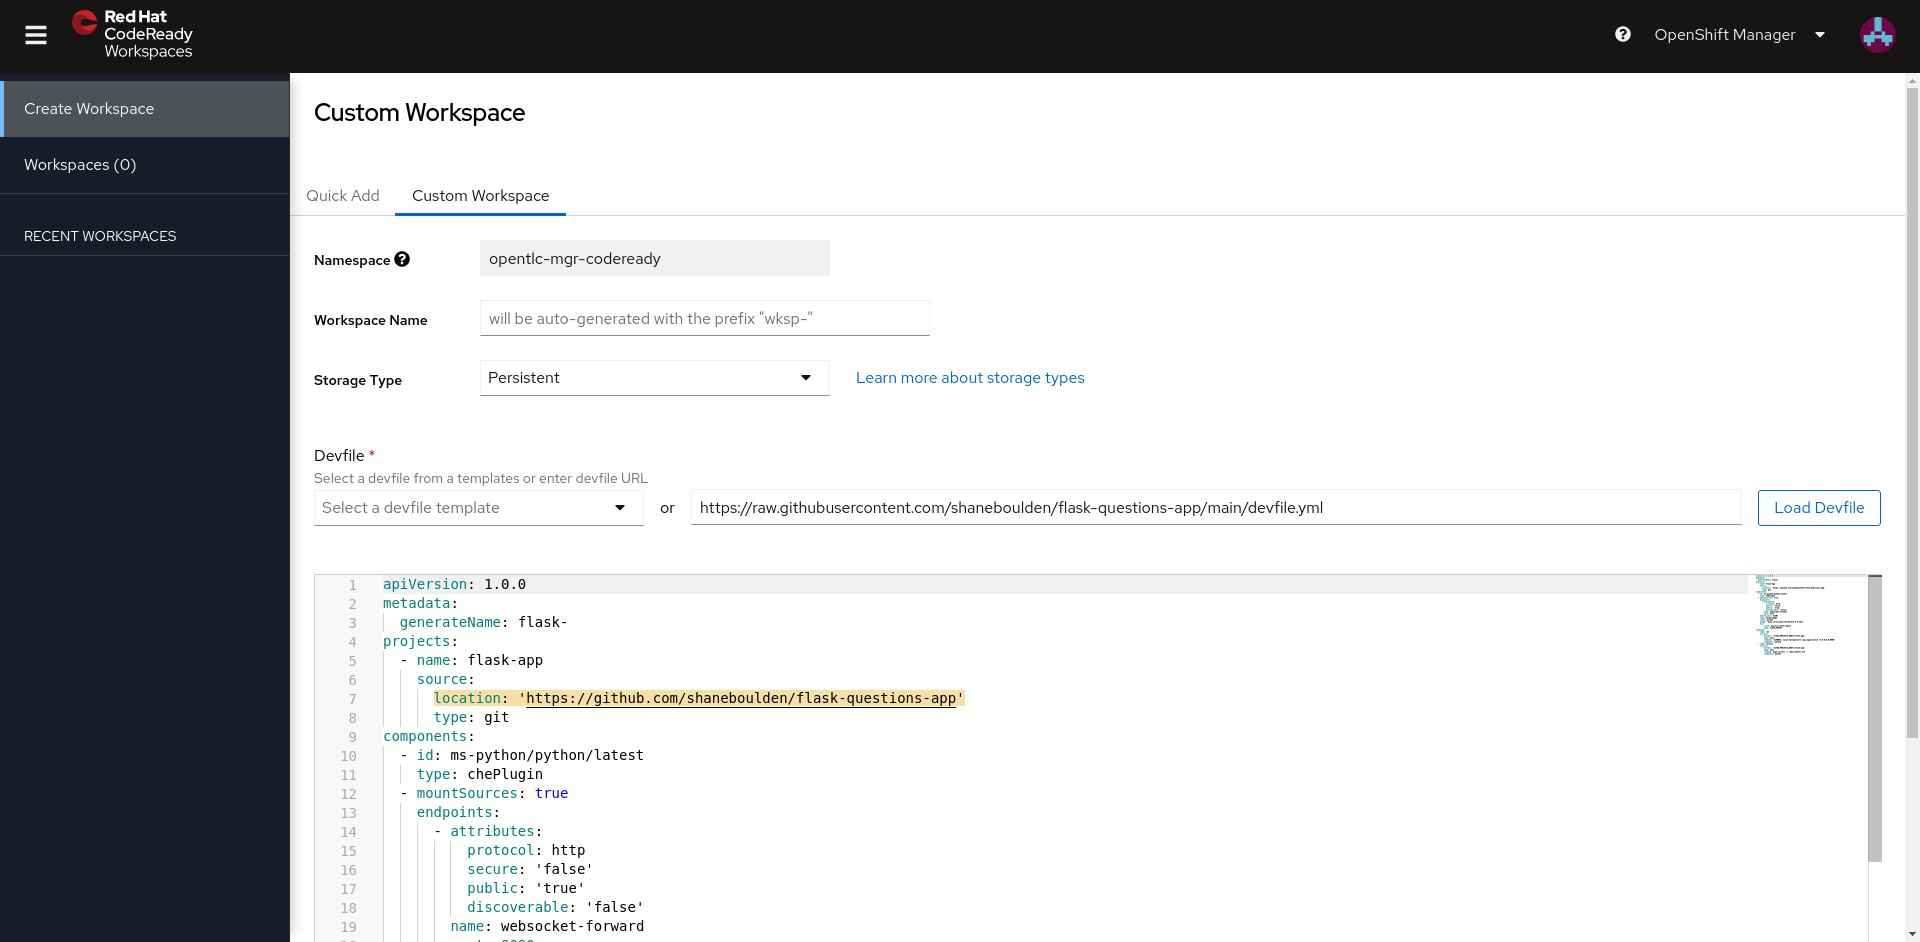
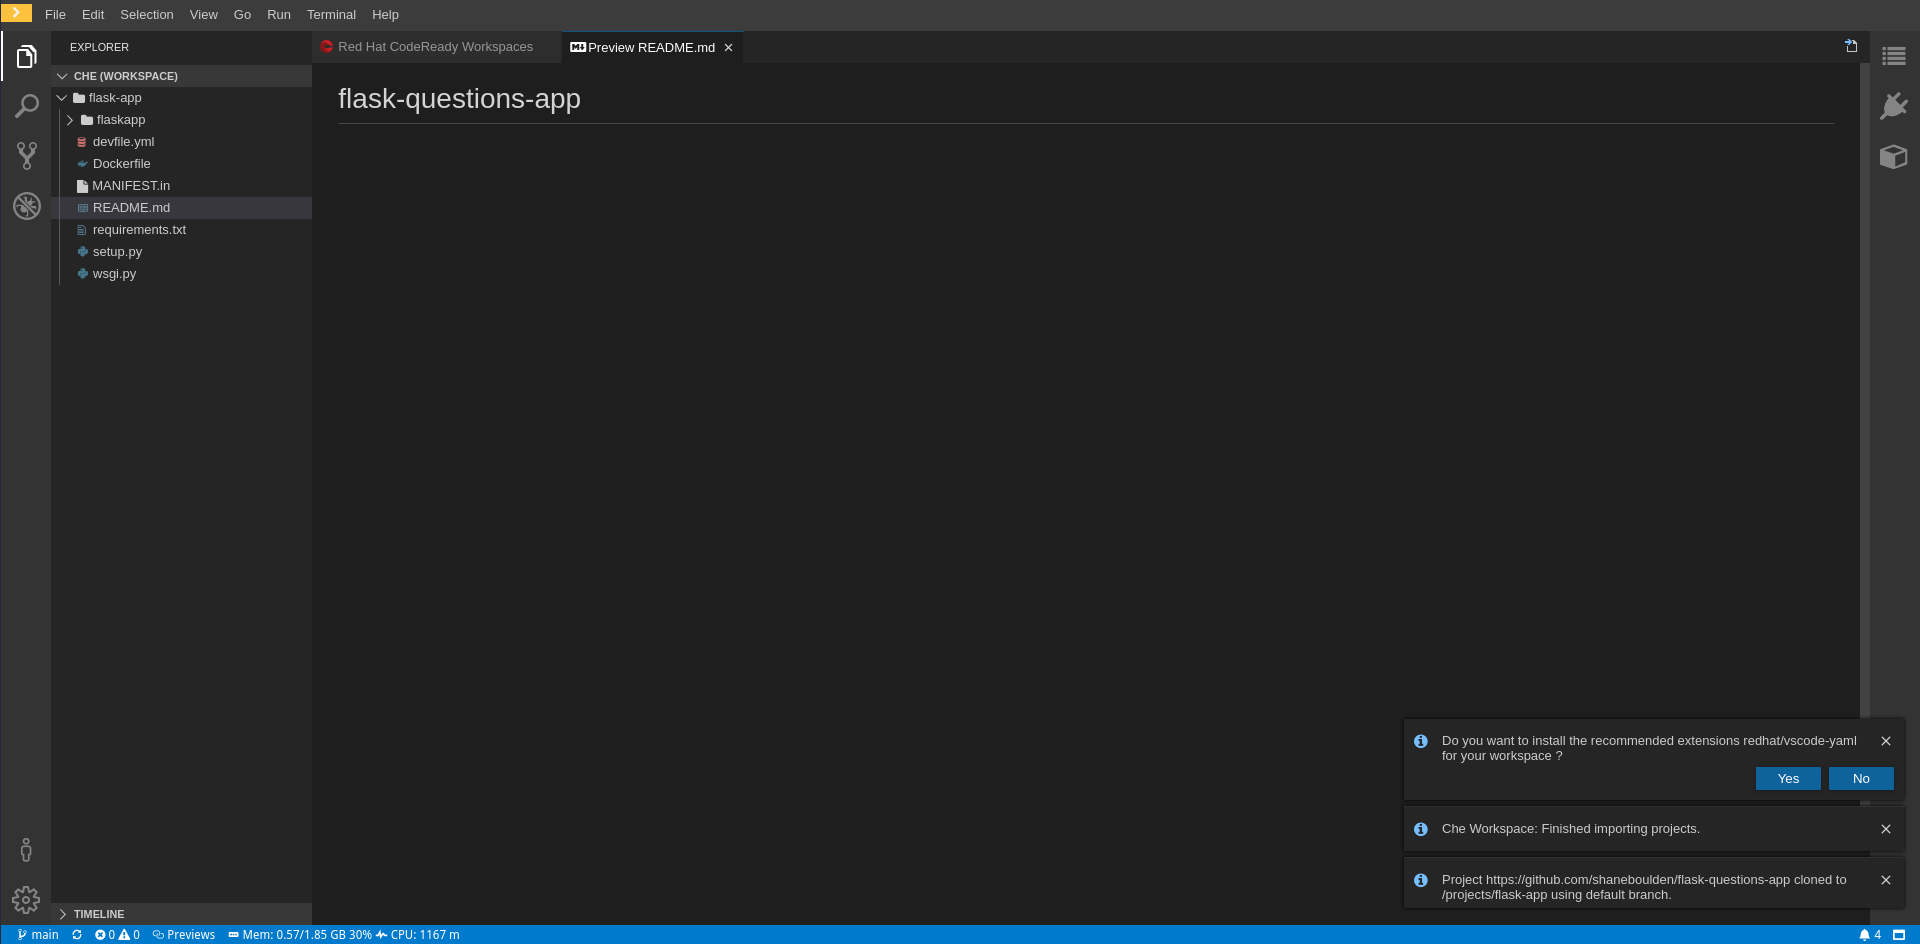
Select Load Devfile—>Create & Open to start creating the custom workspace. When it's complete you'll see the new workspace with the source code explorer open, as shown in Figure 8.
Exploring the Flask workspace
Now that our workspace is created, let's explore some of the configuration we've created. Select the power cord on the right to see the endpoints (Figure 9).
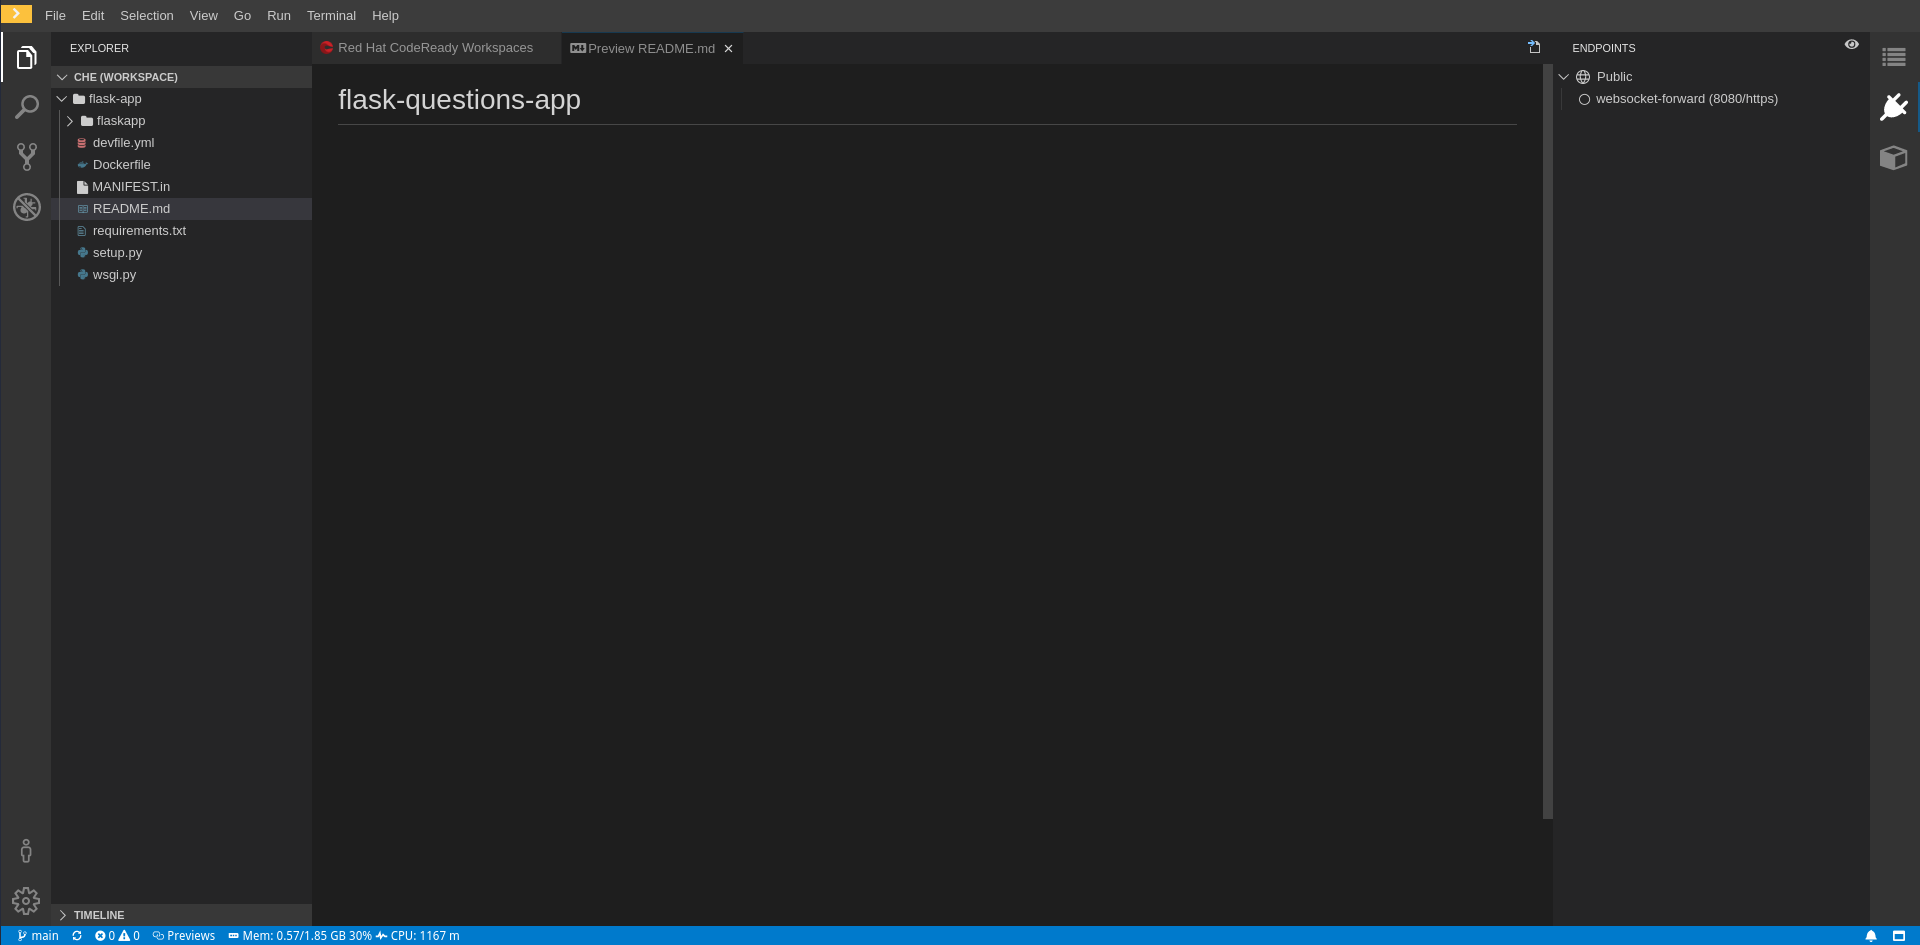
There's a single endpoint created here for port 8080. When we run the web server inside the workspace, this endpoint will be activated so we can view the application.
We also have a couple of commands created by the devfile. If you select Terminal—>Run task, you'll see the commands shown in Figure 10.

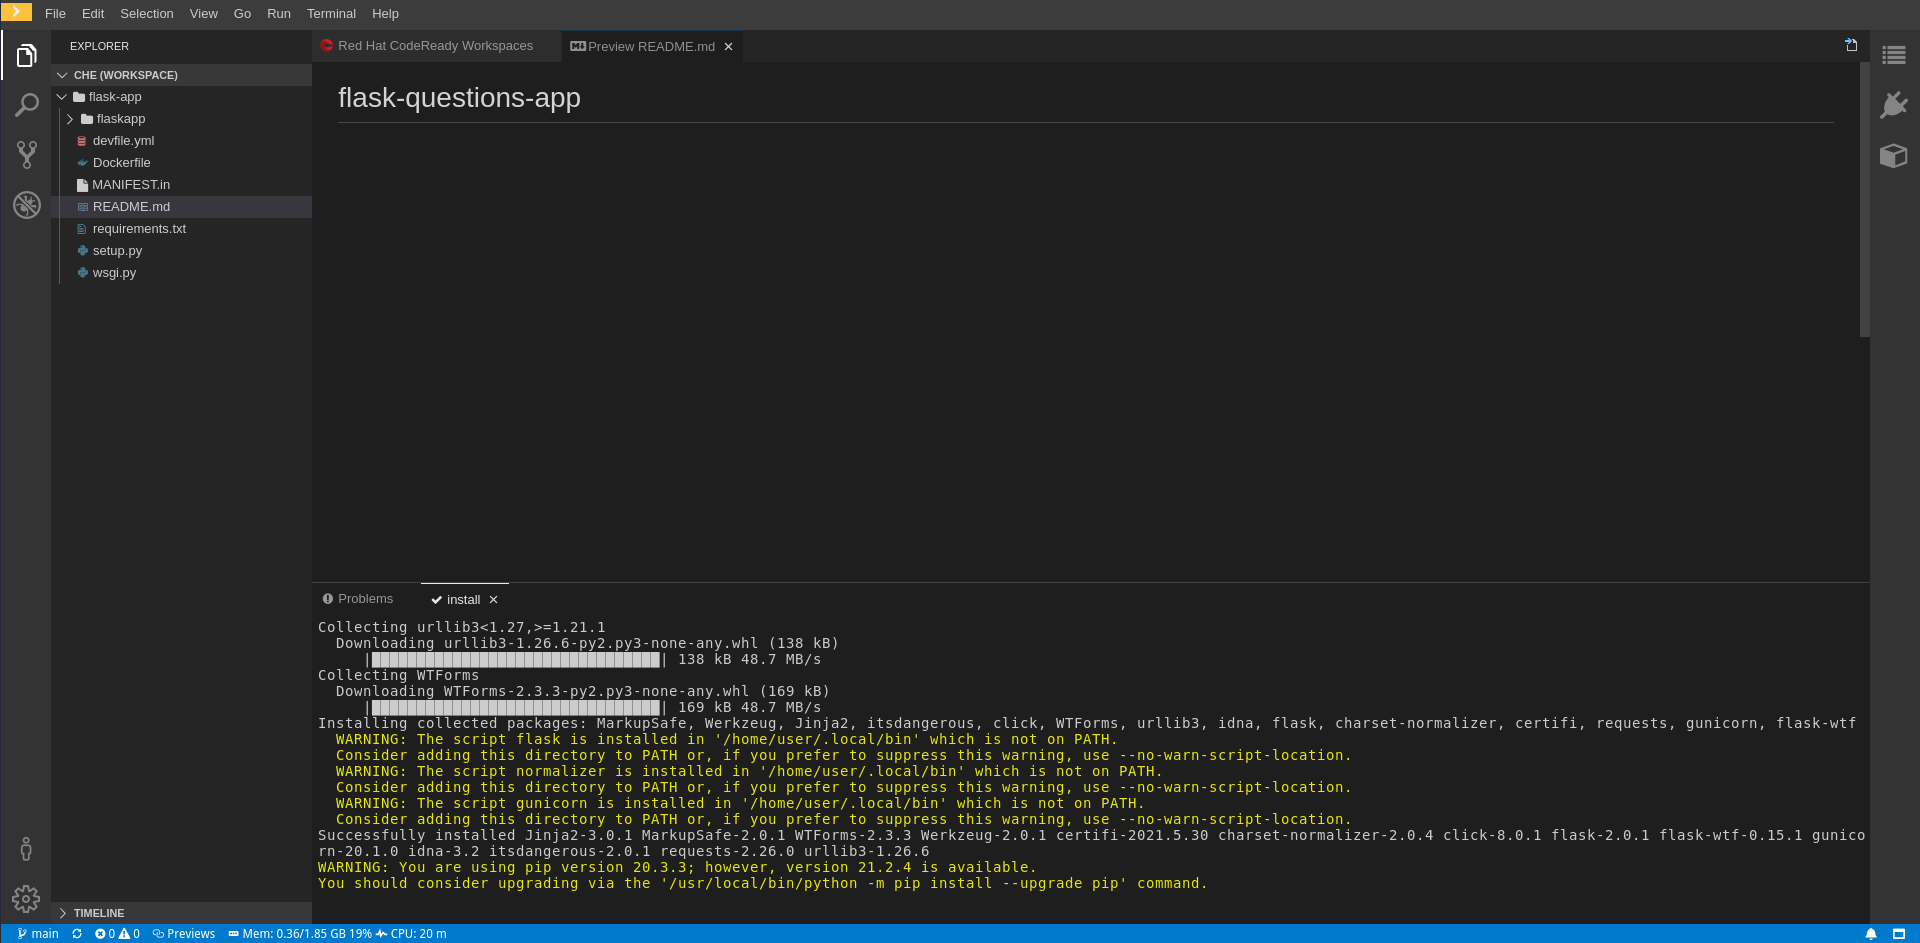
Let's run the Install first. When you execute the task, you should see a terminal output window opened, as shown in Figure 11.
Our dependencies are now installed, so let's run the application. Select Terminal—>Run Task and the run command. You'll see the web server open up in a new terminal output in a new window. CodeReady Workspaces will also detect that the endpoint is now available, and prompt you to either open it in a new tab or a preview within the workspace. Figure 12 shows the endpoint prompt.

Select either option to view the Flask application, as shown in Figure 13.

Updating the Flask application
Everything's looking good! We've got a containerized workspace created for our application development environment, and a couple of codified commands and endpoints we can use to quickly prepare the environment and get our application running.
Let's make a change and see how it is reflected in the workspace. Expand the source code explorer and find the index.html file, as shown in Figure 14.
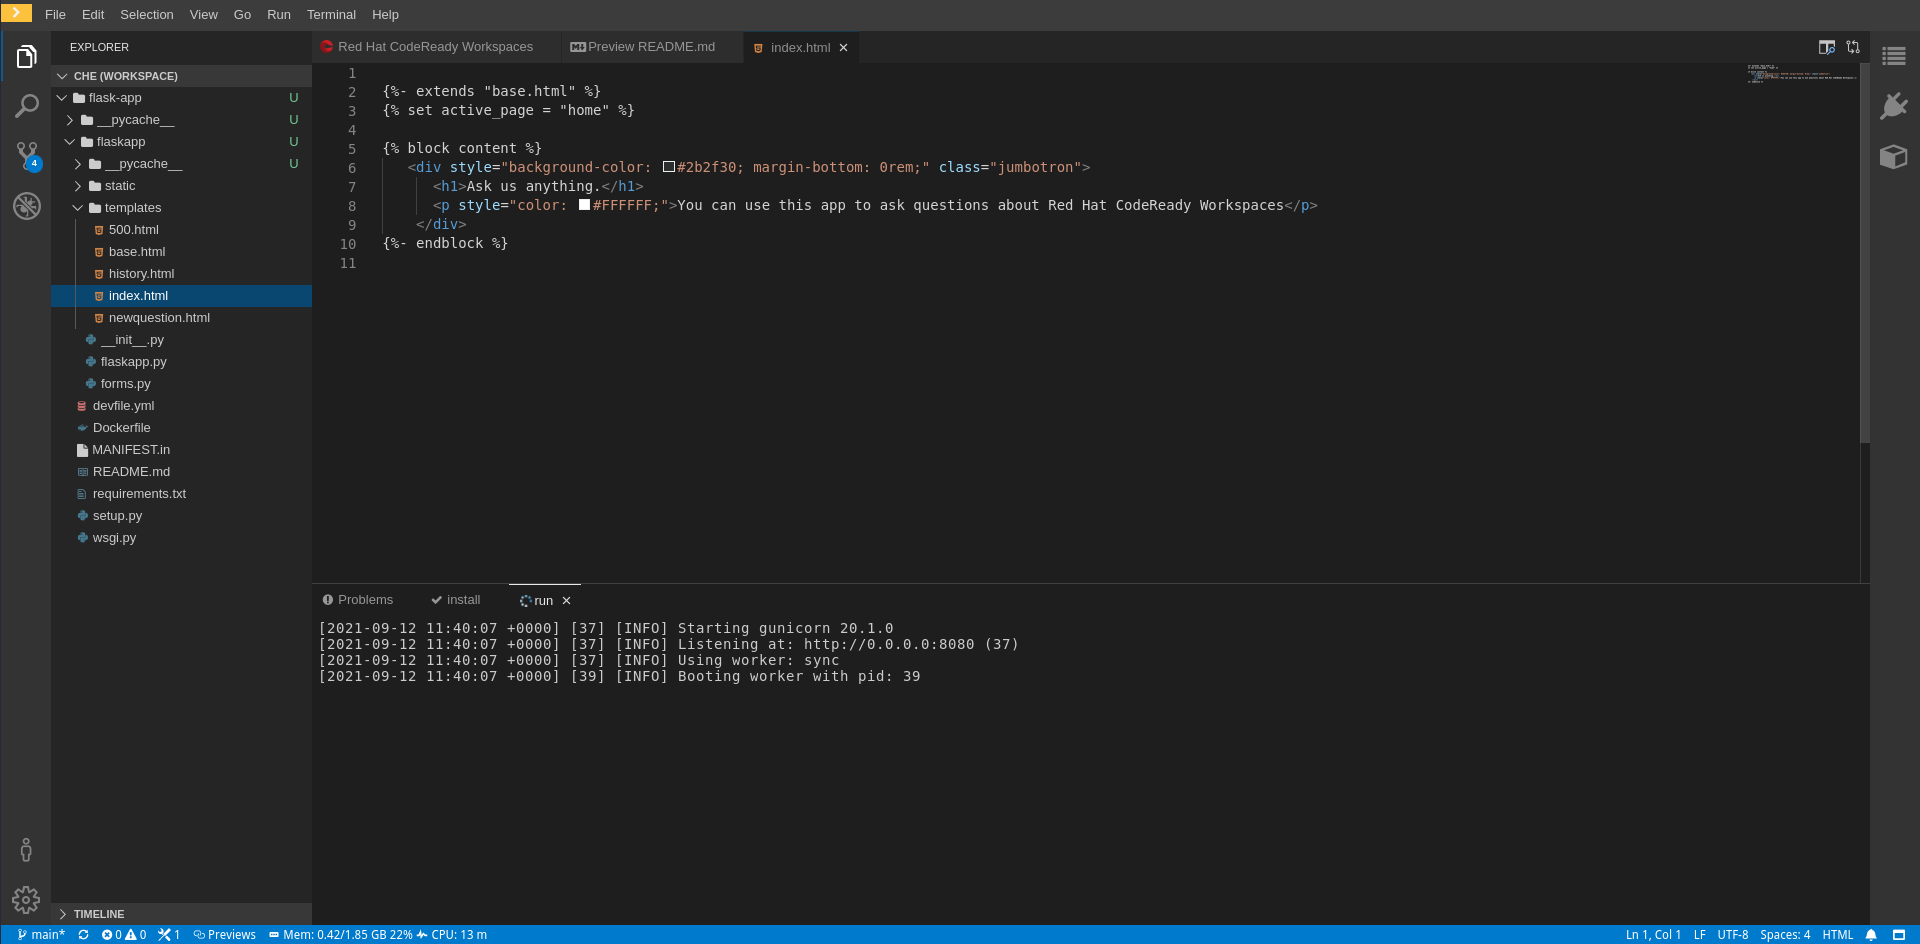
Change the line:
<h1>Ask us anything.</h1>
To read:
<h1>Welcome.</h1>
Stop the web server (press Ctrl-C in the Run window), and select Terminal—>Run last task to restart the web server. Alternatively, you can press Ctrl-Shift-K. Open the preview or new tab again, and verify the page now contains the new greeting shown in Figure 15.

Do more with Python, Flask, and OpenShift
We now have a containerized development environment for our Flask application that's hosted on OpenShift, and we can access it anytime. When new developers join the team, we can simply allow them to load the workspace with the devfile and quickly instantiate their own development environment. All the changes to the devfile are version controlled with the application source, so we can keep our development environment in lockstep with the Flask application.
If you want to take what you've learned in this article a step further, you can create a Python development environment for a machine learning workflow. Brian Nguyen's excellent article will get you started. Also, see Using a custom devfile registry and C++ with Red Hat CodeReady Workspaces and Devfiles and Kubernetes cluster support in OpenShift Connector 0.2.0 extension for VS Code for more about the technologies used in the example. Visit the CodeReady Workspaces landing page for more about CodeReady Workspaces.
Last updated: November 8, 2023