This is the fifth chapter in our “computer vision at the edge” series, in which we will dive into the preparation of a custom dataset. Below you can see all the different episodes in this series:
- How to install single node OpenShift on AWS
- How to install single node OpenShift on bare metal
- Red Hat OpenShift AI installation and set up
- Model training in Red Hat OpenShift AI
- Prepare and label custom datasets with Label Studio
- Deploy computer vision applications at the edge with MicroShift
Data labeling with Label Studio
Data labeling is the practice of accurately labeling data for the purpose of correct identification by training models, algorithms, etc. It is crucial for training models because it provides the necessary annotations and context for algorithms to learn effectively. Machine learning models understand patterns and make accurate predictions or classifications from labeled data. It also ensures that models can generalize well to unseen examples, improving their performance and reliability in real-world applications. Ultimately, robust data labeling enhances the overall quality and effectiveness of machine learning systems, making them more trustworthy and valuable for various industries and domains.
Label Studio offers a comprehensive suite of data labeling capabilities, making it a versatile tool for various machine learning tasks. Its intuitive interface and user-friendly design allow for a seamless and efficient labeling process. Its open source nature allows for customization and integration with existing workflows, making it an accessible choice for both beginners and experienced data annotators. Overall, Label Studio simplifies the data labeling process, enabling users to annotate datasets quickly and accurately. Because of Label Studio’s easy-to-use open source platform, it is an excellent choice for what we are trying to achieve.
If you are reading this, you are probably interested in knowing more about how to prepare and label a custom dataset. In this case, we will cover data labeling with Label Studio to locate objects on images and create the corresponding bounding boxes around them. In the next few sections, we will learn how to deploy the application on our single node and use it to prepare the custom dataset to be later consumed during the YOLO model training.
Label Studio deployment
Label Studio, as previously introduced, is a comprehensive suite for data labeling. It can be installed on a wide variety of infrastructures, like on-premise and cloud, through different installation methods. One of them—and the one that fits better in our environment—is directly deploying the application and dependent components in our Red Hat OpenShift cluster via deployment.
First of all, we need to create a new namespace where we will deploy all the resources associated with the labeling tool.
oc new-project labelstudioAnd once we have this new project available, we will dive into the deployment of the different components that make up the tool.
PostgreSQL
In the first instance, Label Studio requires persistent storage to save some metadata. For this reason, it requires the deployment of a PostgreSQL database. In this step, we will show you how to get that up and running in your environment.
Start by applying the database Configmap:
vi db_configmap.yamlapiVersion: v1 kind: ConfigMap metadata: name: postgres-config labels: app: postgres data: POSTGRES_DB: db POSTGRES_USER: postgres POSTGRES_PASSWORD: postgresoc apply -f db_configmap.yamlThis database will require a persistent volume to store the data. We can either create it from the web console or directly apply the following file:
vi db_pvc.yamlapiVersion: v1 kind: PersistentVolumeClaim metadata: name: postgres-pvc spec: accessModes: - ReadWriteOnce resources: requests: storage: 5Gioc apply -f db_pvc.yamlNow that the volumes are created, we can proceed with the PostgreSQL deployment:
vi db_deployment.yamlapiVersion: apps/v1 kind: Deployment metadata: name: postgres spec: replicas: 1 selector: matchLabels: app: postgres template: metadata: labels: app: postgres spec: containers: - name: postgres image: postgres:alpine imagePullPolicy: "IfNotPresent" ports: - containerPort: 5432 envFrom: - configMapRef: name: postgres-config env: - name: PGDATA value: /var/lib/postgresql/data/pgdata volumeMounts: - mountPath: /var/lib/postgresql/data name: postgres-vol volumes: - name: postgres-vol persistentVolumeClaim: claimName: postgres-pvcoc apply -f db_deployment.yamlFinally, we just need to expose the database service:
vi db_service.yamlapiVersion: v1 kind: Service metadata: name: postgres labels: app: postgres spec: type: NodePort ports: - port: 5432 selector: app: postgresoc apply -f db_service.yaml
Label Studio
After finishing the storage configuration in our application and deploying the database, we can continue by deploying Label Studio’s application itself.
The images and annotations created with Label Studio will be stored in our node, meaning that we need to create another PVC for storage purposes:
vi ls_pvc.yamlapiVersion: v1 kind: PersistentVolumeClaim metadata: name: labelstudio-data-pvc spec: accessModes: - ReadWriteOnce resources: requests: storage: 5Gioc apply -f ls_pvc.yamlApply the deployment. This will pull the latest
label-studioimage and will connect the PVCs and the PostgreSQL database to the application:vi ls_deployment.yamlapiVersion: apps/v1 kind: Deployment metadata: name: labelstudio spec: replicas: 1 selector: matchLabels: component: labelstudio strategy: type: Recreate template: metadata: labels: component: labelstudio spec: containers: - name: labelstudio image: heartexlabs/label-studio:latest imagePullPolicy: Always stdin: true tty: true env: - name: DJANGO_DB value: default - name: POSTGRE_NAME value: postgres - name: POSTGRE_USER value: postgres - name: POSTGRE_PASSWORD value: postgres - name: POSTGRE_PORT value: "5432" - name: POSTGRE_HOST value: postgres volumeMounts: - name: labelstudio-data-vol mountPath: /label-studio/data volumes: - name: labelstudio-data-vol persistentVolumeClaim: claimName: labelstudio-data-pvcoc apply -f ls_deployment.yamlCreate the service that will be expose the
8080port:vi ls_service.yamlapiVersion: v1 kind: Service metadata: name: labelstudio spec: ports: - port: 8080 selector: component: labelstudio clusterIP: Noneoc apply -f ls_service.yamlAs a last step, we are going to create a route that will make the application accessible from our browser:
vi ls_route.yamlapiVersion: route.openshift.io/v1 kind: Route metadata: name: label-studio-route spec: path: / to: kind: Service name: labelstudio port: targetPort: 8080oc apply -f ls_route.yaml
We have just finished the Label Studio deployment. It’s time to start playing with it and prepare our custom dataset. Run this command to get the route we just created:
oc get routeNAME HOST/PORT PATH SERVICES PORT
label-studio-route label-studio-route-labelstudio.sno.pemlab.rdu2.redhat.com / labelstudio 8080 Access the route from a web browser. If everything was configured correctly, the Label Studio login page should show (Figure 1). You can log in by creating a new account or using an existing one.

Labeling a custom dataset
Once you've accessed the webpage and logged in, we can begin labeling our custom dataset.
- We are going to firstly create our project by selecting the Create Project button.
- In the Project Name tab, you can use whatever name best suits your dataset; in our case, we are just going to name it
Custom dataset. - Next, we will import the images we want to label in the Data Import tab.
- In this page you can directly paste a URL to your dataset images or directly Upload the images you want to label from your computer.
- Navigate to the Labeling Setup tab, where we are going to select the template we will use to label our images.
- Select the Object Detection with Bounding Boxes. This will open a new wizard to configure our different classes.
From there, we will create the new labels for our custom dataset. Delete the existing labels, type the new ones and click Add. In my case, I want to detect different aircrafts. My labels are
A380andB747, as shown in Figure 2.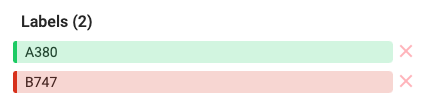
Figure 2: Creation of two new custom labels for the A380 and B747 classes. - After that, we'll select Save in the upper-right corner to begin labeling our data.

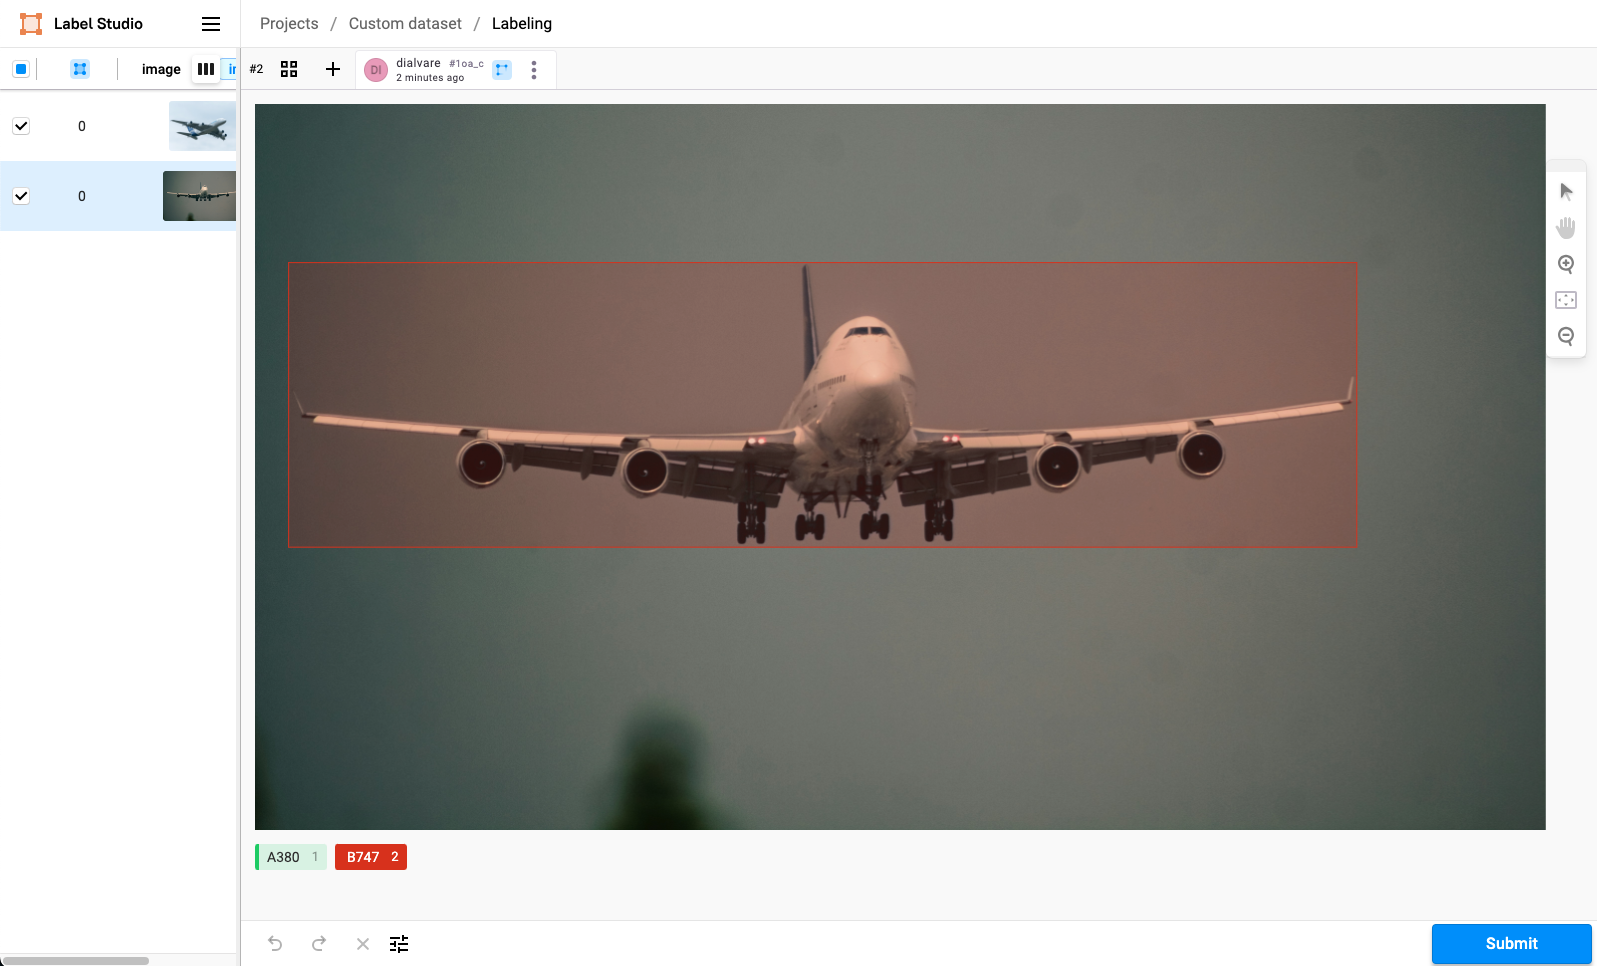
From the project dashboard, select Label all tasks, which will take you to the first image to label. To select a label, you can either click the corresponding label or press the number on your keyboard that corresponds to the label. For example, the A380 is labeled as 1. After pressing 1, click and drag on the image to create a bounding box where the aircraft is located (Figure 3).

Remember to create a different box for each aircraft present in the image. If in the same image both aircraft types coexist, make sure you are selecting the corresponding label for each one. When done, select the next image on the left side of the screen. Figure 4 shows another example for a B747 (class 2).
Once you are done labeling, Submit them, and return to the project dashboard. In the upper-right corner, select Export. Since we will use this data to train YOLO object detection models, export the data in the YOLO format (Figure 5).

This will trigger the prepared and labeled dataset download. When finished, unzip the file. Now, let’s take a look at the folders that it includes:
/images: contains the original images./labels: contains a single text file per image. Each line in the file represents the class number and the coordinates for each bounding box.classes.txt: list with the labels in order. In our case:A380,B747.
Now that we have our dataset ready, we can push all these files into a Git repository to be imported to Red Hat OpenShift AI.
Video demo
Watch the following video demo to see how to prepare a custom dataset for AI/ML model training.
Next steps
In this article, you learned about the importance of accurately labeled data. To help us put this into practice, we have deployed Label Studio in our OpenShift cluster to label our custom data.
In the next article, we will train a YOLO object detection model with our newly labeled data using Red Hat OpenShift AI.
Last updated: May 23, 2024