This post was originally published on redhat.com.
Part 1: Adding Unit Tests to Native iOS Red Hat Mobile Application Platform Application
A robust and agile mobile application development environment requires continuous integration and delivery. It also requires an integrated and automated unit testing process that helps bring applications to market successfully. This two-part series details my work done at the Red Hat Open Innovation Labs and as a Mobile Technical Account Manager to capture these mobile innovations in a useful, repeatable way. In part one of this two-part series, I break down the steps to create and unit test a native iOS application using Red Hat Mobile Application Platform. In part two, I’ll show how Jenkins can be used to automate continuous integration and unit testing of that Mobile app. If you would like to try out our Red Hat Mobile Application Platform product please visit our Red Hat Mobile Application Platform site.
Requirements
- Xcode 7.3
- Red Hat Mobile Application Platform 3.12 (or later)
- Mac OSX El Capitan
Using the Red Hat Mobile Application Platform portal, create a new project and select the Native iOS hello world project. In this tutorial we will be working with the objective-C application. Copy and git clone the native objective-C project to your development machine. Run the command pod install in the project folder to install all the dependencies. Now we have our project ready to open by Xcode.
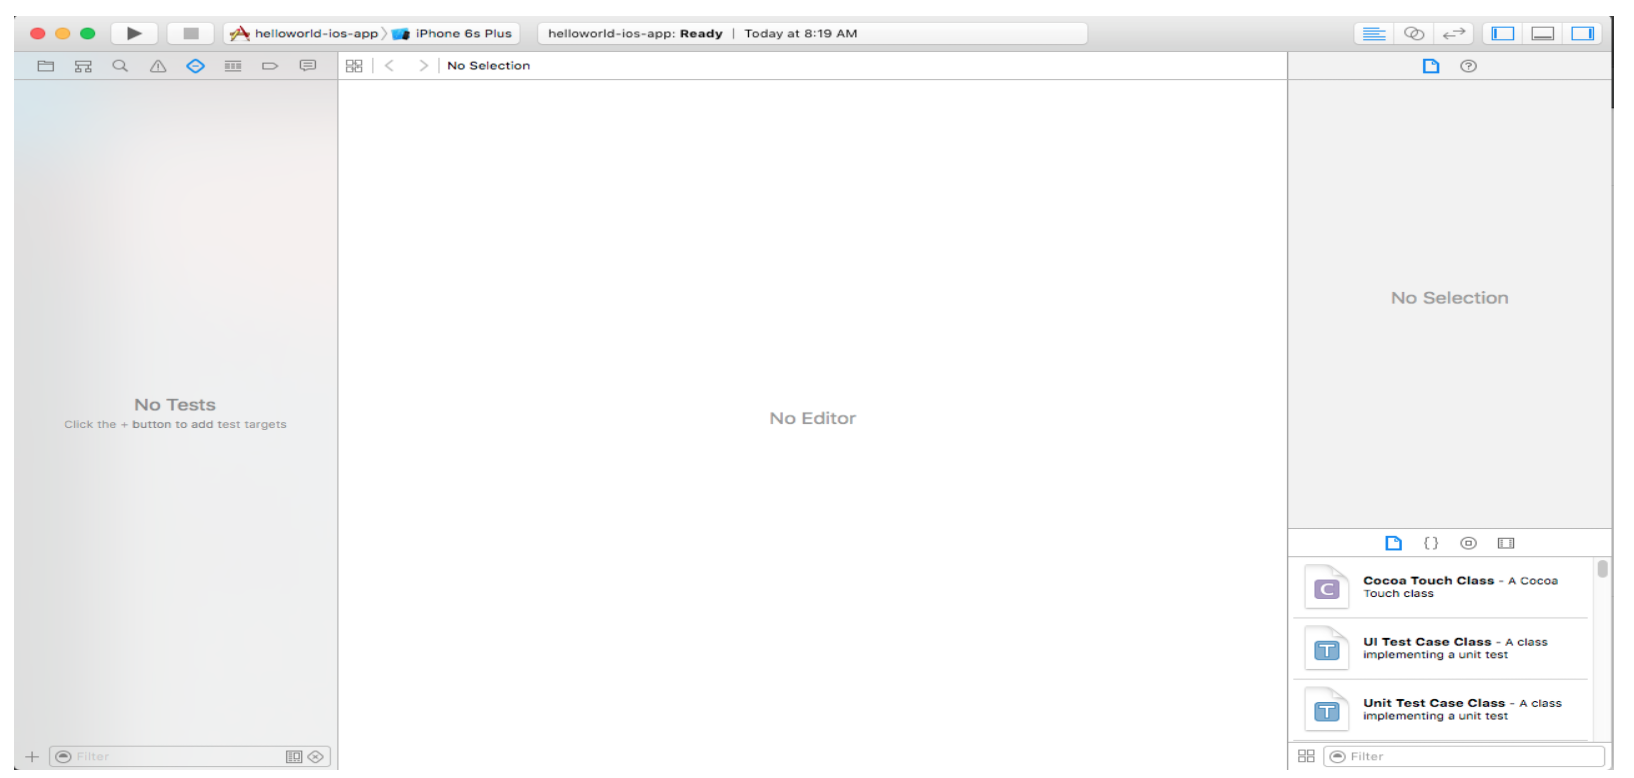
Using Xcode open the file helloworld-ios-app.xcworkspace. Click on the testing navigator tab as shown below. It should all be empty.
For reference, check out this great documentation.
Before we start adding unit tests, let’s add two utility functions to add and multiply two numbers. Go back to the code section, right click on helloworld-ios-app folder and add a new file of Cocoa Touch Class. This should create a header file and source file in the folder you chose. Add the two utility functions as seen below:

Now that we have the two functions, we can go ahead and start creating unit tests.
Xcode has 2 types of testing
- Functional tests
- User Interface tests
Click back to the test navigator, and let’s add functional tests. Click on the bottom right + menu and choose new unit test target.
NumberOperationUtility.h

 <Foundation/Foundation.h>
@interface NumberOperationUtility : NSObject
   -(int) addTwoNumbers: (int) firstNumber toSecondNumber: (int)secondNumber ;
  -(int) multiplyTwoNumbers: (int) firstNumber toSecondNumber: (int) secondNumber; @end

NumberOperationUtility.m

#import "NumberOperationUtility.h"
@implementation NumberOperationUtility
 -(int) addTwoNumbers: (int) firstNumber toSecondNumber: (int) secondNumber {
   return firstNumber + secondNumber;
}
-(int) multiplyTwoNumbers: (int) firstNumber toSecondNumber: (int) secondNumber {
  return firstNumber*secondNumber;
} @end
Give it a name and make sure it is Objective-C for language and then finish. Now we should have a test target along with a unit test template already provided as seen below: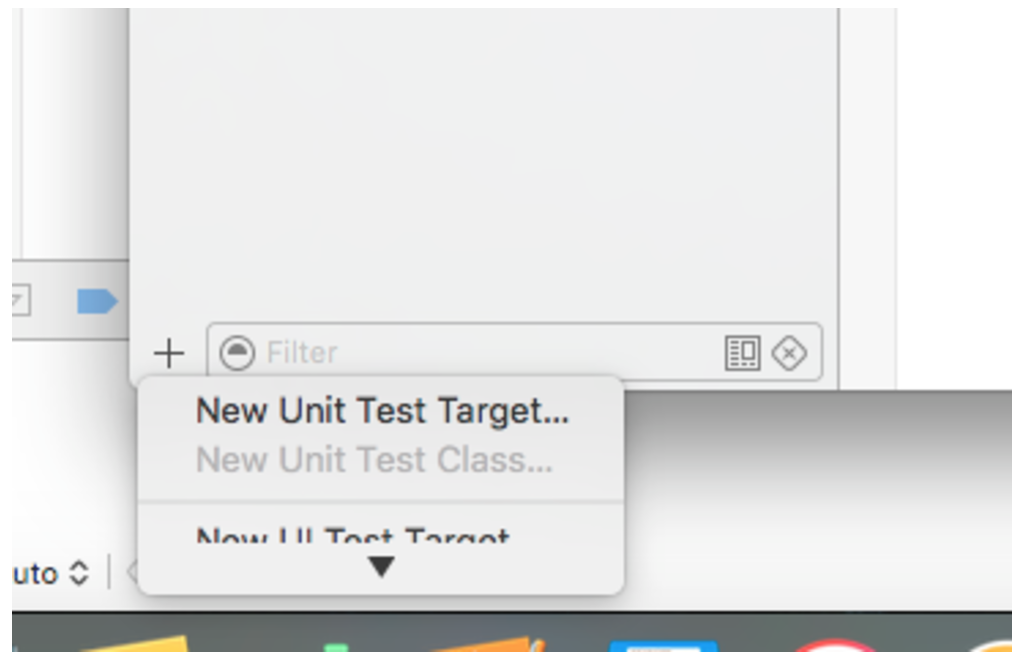
We can either add a new unit test or just change the name of the provided unit test to NumericOperationUnitTest. The code below includes the two unit test for addition and multiplication.
NumericOperationUnitTest.m

#import "NumberOperationUtility.h"
@interface NumericOperationUnitTest : XCTestCase
@property (nonatomic) NumberOperationUtility *numberOperation;
@end

@implementation NumericOperationUnitTest - (void) setUp {
  [super setUp];
  // Put setup code here. This method is called before the invocation of each test method in the class.
  self.numberOperation = [[NumberOperationUtility alloc] init];
}

- (void) tearDown {
  // Put teardown code here. This method is called after the invocation of each test method in the class.
  [super tearDown];
}

- (void) testAddition {
  // This is an example of a functional test case.
 // Use XCTAssert and related functions to verify your tests produce the correct results.
  int additionResult=[self.numberOperation addTwoNumbers:100 toSecondNumber:200];
  XCTAssertTrue(additionResult==300,"Addition Test Failed");
}

- (void) testMultiplication {
 // This is an example of a functional test case.
 // Use XCTAssert and related functions to verify your tests produce the correct results.
 int multiplicationResult=[self.numberOperation multiplyTwoNumbers:100 toSecondNumber:200];
  XCTAssertTrue(multiplicationResult==20000,"Addition Test Failed");
}

- (void) testPerformanceExample {
 // This is an example of a performance test case.
 [self measureBlock:^{
   // Put the code you want to measure the time of here.
 }];
}

@end
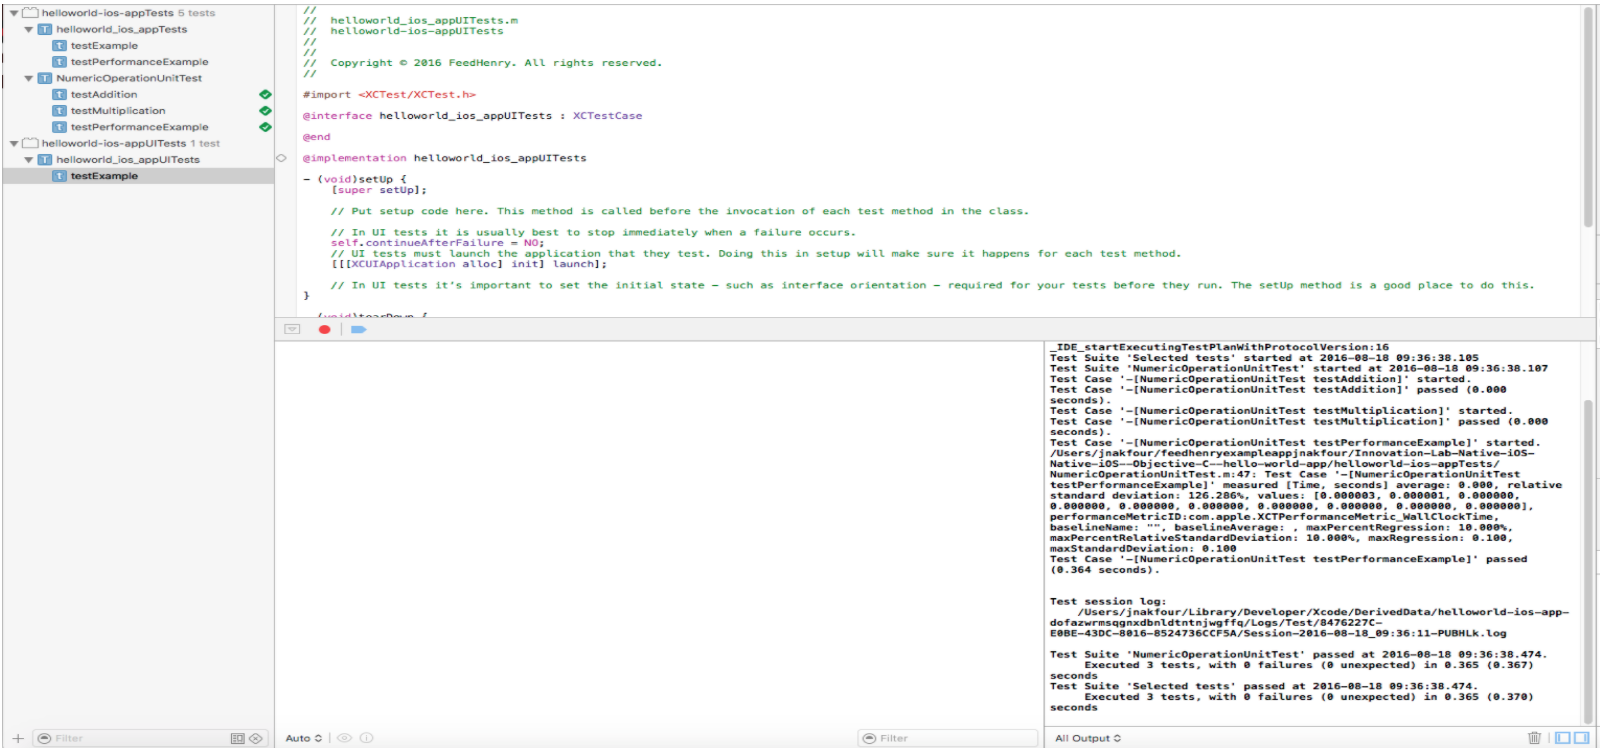
To run the test, simply click on the arrow by the test name and the tests should run successfully as seen below:
Now, let’s add some UI unit testing. Xcode has an exciting feature where you can actually record your UI tests and it generates the code for the test. First, we will need to make some changes to our template app by adding an alert window that pops up with the cloud response. Change the cloudCall function in HomeViewController.m to the following code:
- (IBAction) cloudCall:(id)sender {
  [name endEditing:YES];
  NSDictionary *args = [NSDictionary dictionaryWithObject:name.text forKey:@"hello"];
  FHCloudRequest *req = (FHCloudRequest *) [FH buildCloudRequest:@"/hello" WithMethod:@"POST" AndHeaders:nil AndArgs:args];

  [req execAsyncWithSuccess:^(FHResponse * res) {
     // Response
     NSLog(@"Response: %@", res.rawResponseAsString);
     result.text = [res.parsedResponse objectForKey:@"msg"];
     UIAlertView *alert = [[UIAlertView alloc] initWithTitle:@"Response"
            message:[res.parsedResponse objectForKey:@"msg"]
            delegate:nil
            cancelButtonTitle:@"OK"
            otherButtonTitles:nil];
            [alert show];
  } AndFailure:^(FHResponse * res) {
     // Errors
     NSLog(@"Failed to call. Response = %@", res.rawResponseAsString);
     result.text = res.rawResponseAsString;
     UIAlertView *alert = [[UIAlertView alloc] initWithTitle:@"Response"
            message:res.rawResponseAsString
            delegate:nil
            cancelButtonTitle:@"OK"
            otherButtonTitles:nil]; [alert show]; }];
}
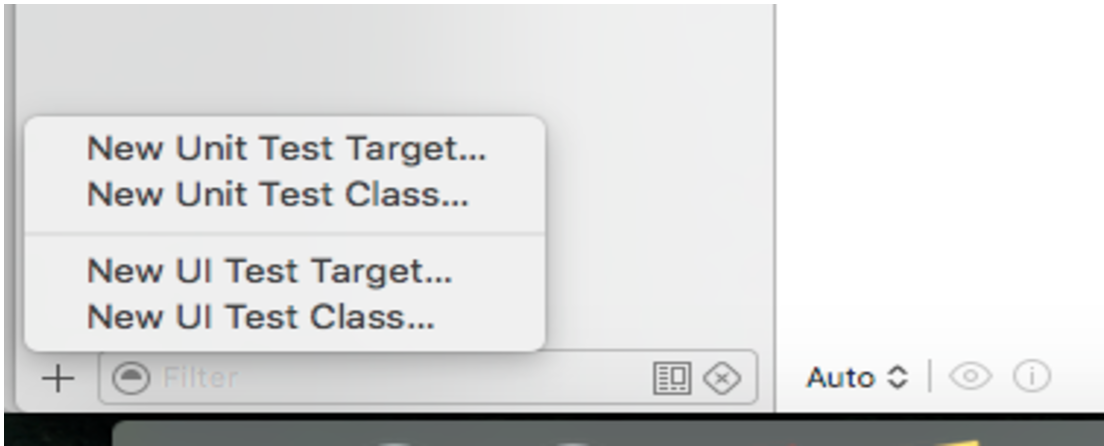
You can run the application and try it. Every time the button is tapped, an alert shows up with the response. Now that we have some UI action to test, let’s switch to the test navigation bar and add a new UI unit test. Click on the bottom left + menu item and select new UI Test Target.
Give it a name and click finish. Now we should have a new UI test target with some templates to write the tests. Let’s record our test by clicking on the testExample and making sure the cursor is in the testExample function where the code needs to be. Click on the red round circle found at the bottom of the window to start recording.
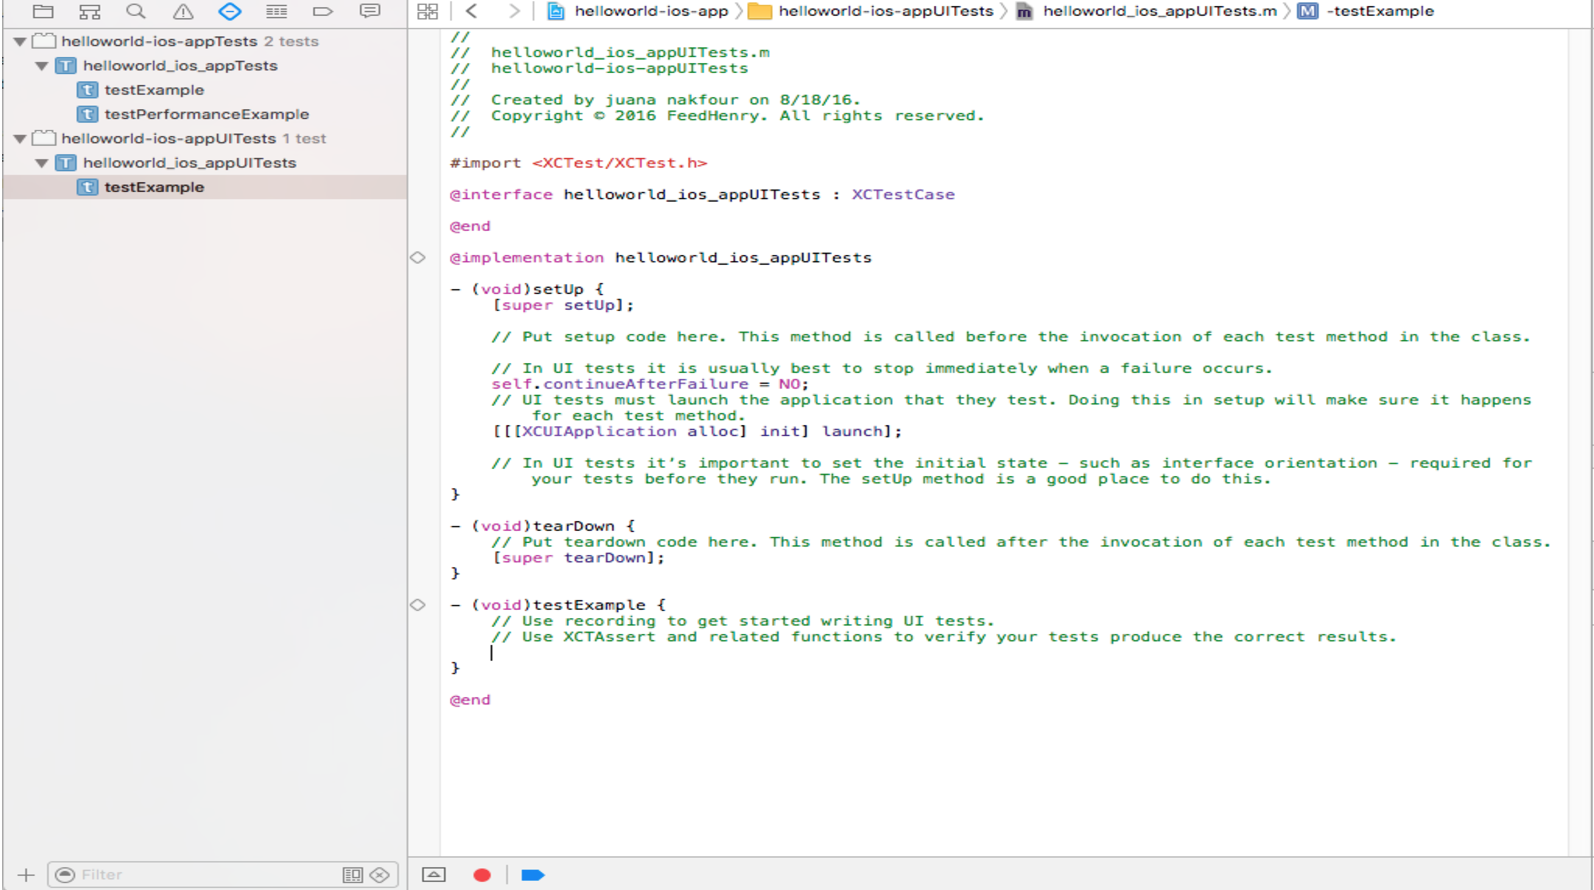
This should actually build the code and launch the emulator. As it is recording, click on the button and wait for the response before clicking on the “OK” of the alert window. You should see something similar to the code below. We added a sleep(10) before tapping on the button to allow FH.init to complete.
- (void) testExample {
   // Use recording to get started writing UI tests.
   // Use XCTAssert and related functions to verify your tests produce the correct results.

   XCUIApplication *app = [[XCUIApplication alloc] init];
   sleep(10);
   [app.buttons[@"Call"] tap];

   XCUIElement *okButton = app.alerts[@"Response"].collectionViews.buttons[@"OK"];
   [okButton tap];
}
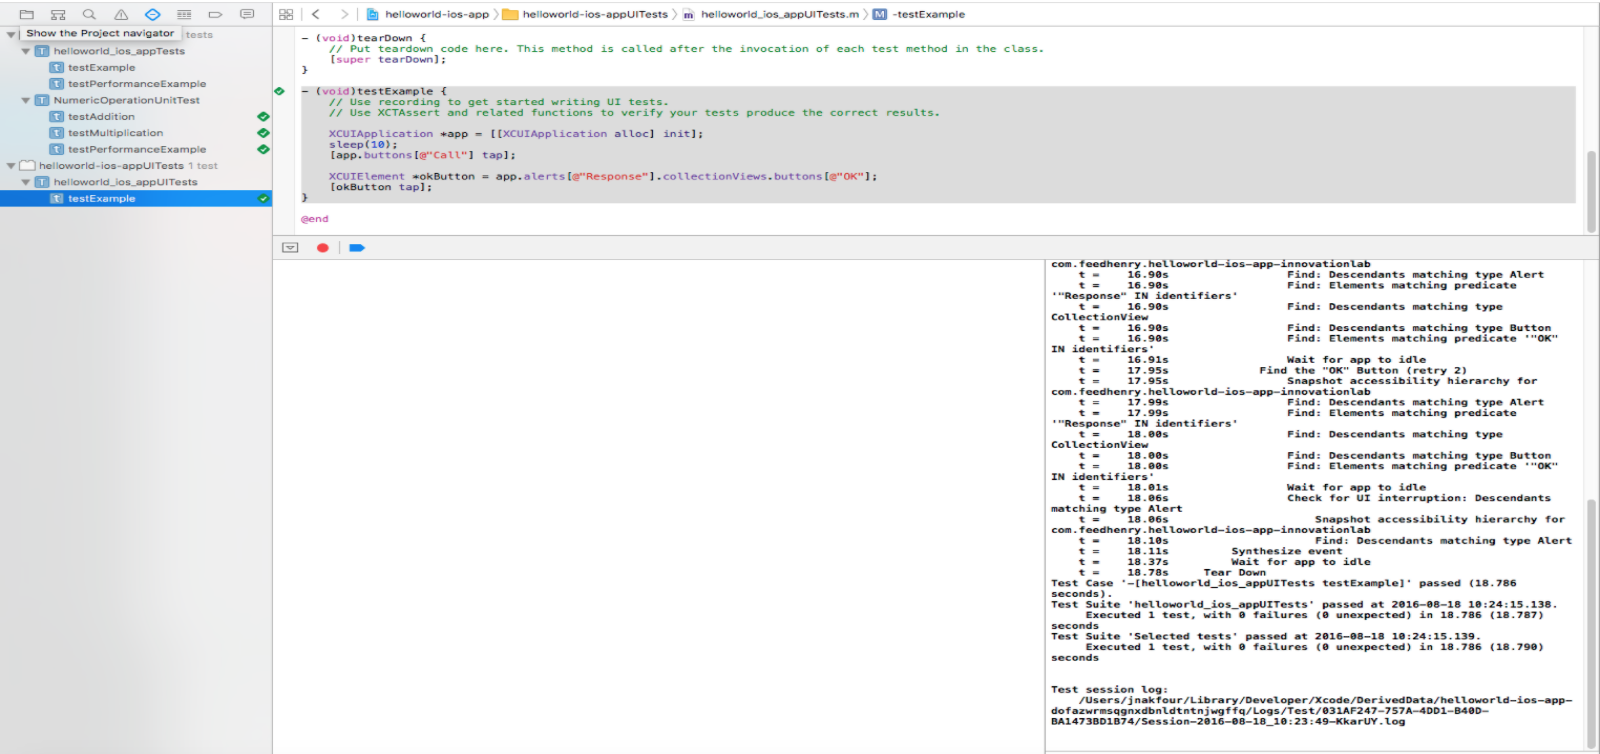
To try out this test, simply run the test and the results should be a success.
This concludes part one of our tutorial for adding unit tests to an Red Hat Mobile Application Platform native iOS application. In part two, I’ll show how Jenkins can be used to automate continuous integration and unit testing of that mobile app which will be published next.
 Juana Nakfour is a Senior Mobile Technical Account Manager with over 15 years advanced R&D experience in the telecommunications industry. Juana’s focus is broad and include wireless communication networks, embedded/mobile devices and microservices.
A Red Hat Technical Account Manager (TAM) is a specialized product expert who works collaboratively with IT organizations to strategically plan for successful deployments and help realize optimal performance and growth. The TAM is part of Red Hat’s world class Customer Experience and Engagement organization and provides proactive advice and guidance to help you identify and address potential problems before they occur. Should a problem arise, your TAM will own the issue and engage the best resources to resolve it as quickly as possible with minimal disruption to your business.
Last updated: October 31, 2023