Prerequisites:
- Red Hat OpenShift cluster.
- Fundamentals of OpenShift AI learning exercise.
- Workbench: Real-time data collection and processing learning exercise
- AWS account
Step-by-step guide:
1. Configure the Data Science Pipeline server
As a data scientist, you can enhance your data science projects on OpenShift AI by building portable machine learning (ML) workflows with data science pipelines using runtime images or containers. This enables you to standardize and automate machine learning workflows, facilitating the development and deployment of your data science models.
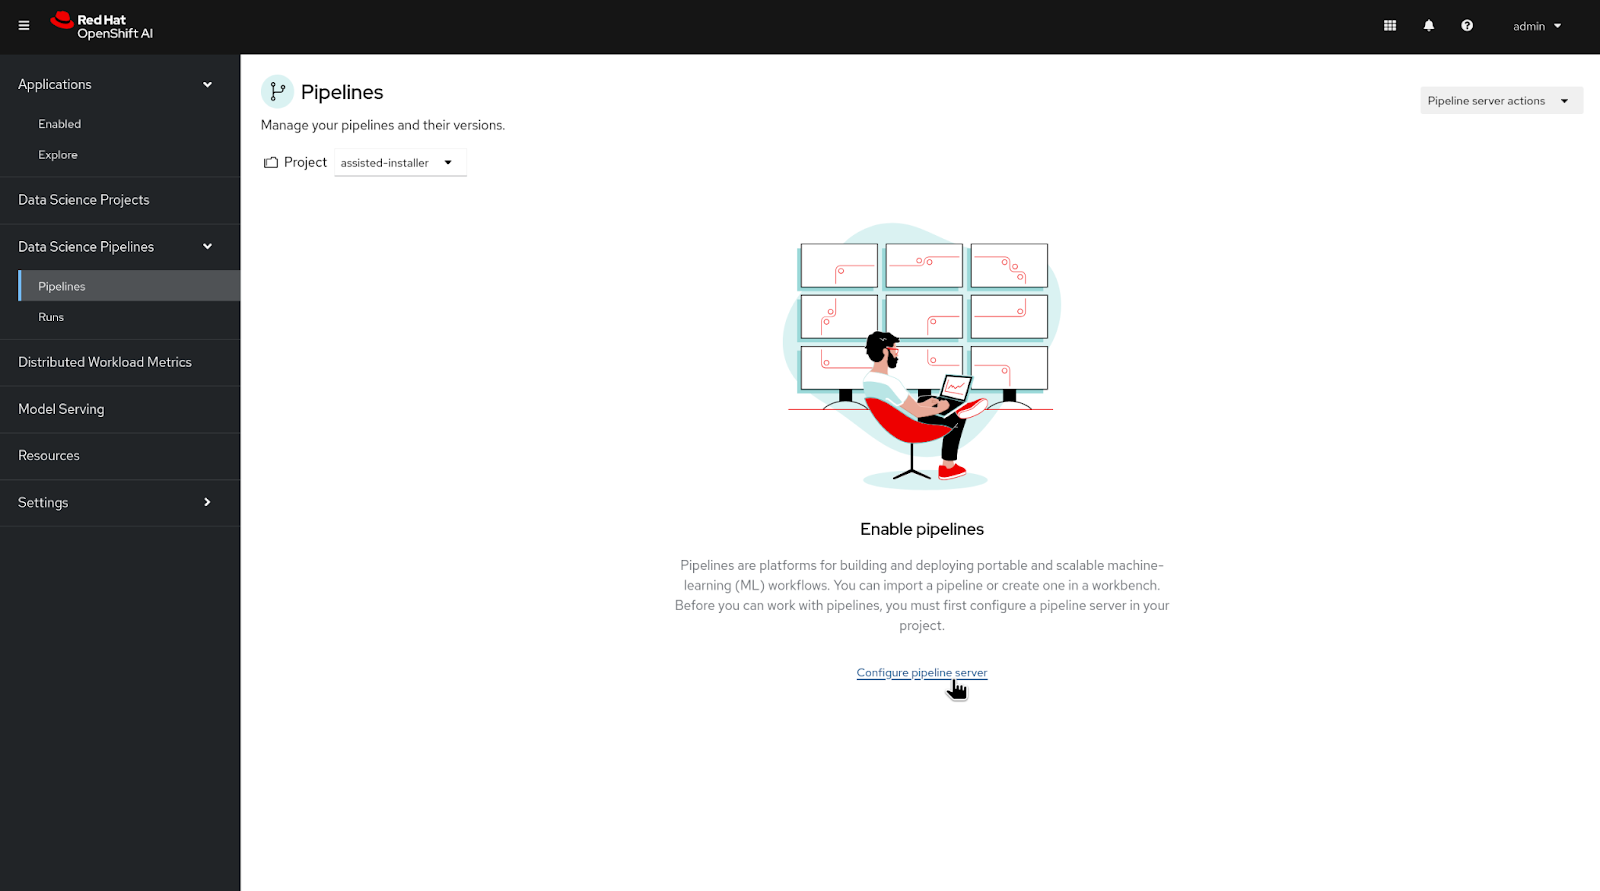
To set up the OpenShift Pipeline server, follow these steps:
- Log in to the OpenShift AI dashboard.
- From the left menu, select "Pipelines" under "Data Science Pipelines".
- In the middle of the screen, click on "Configure pipeline server".
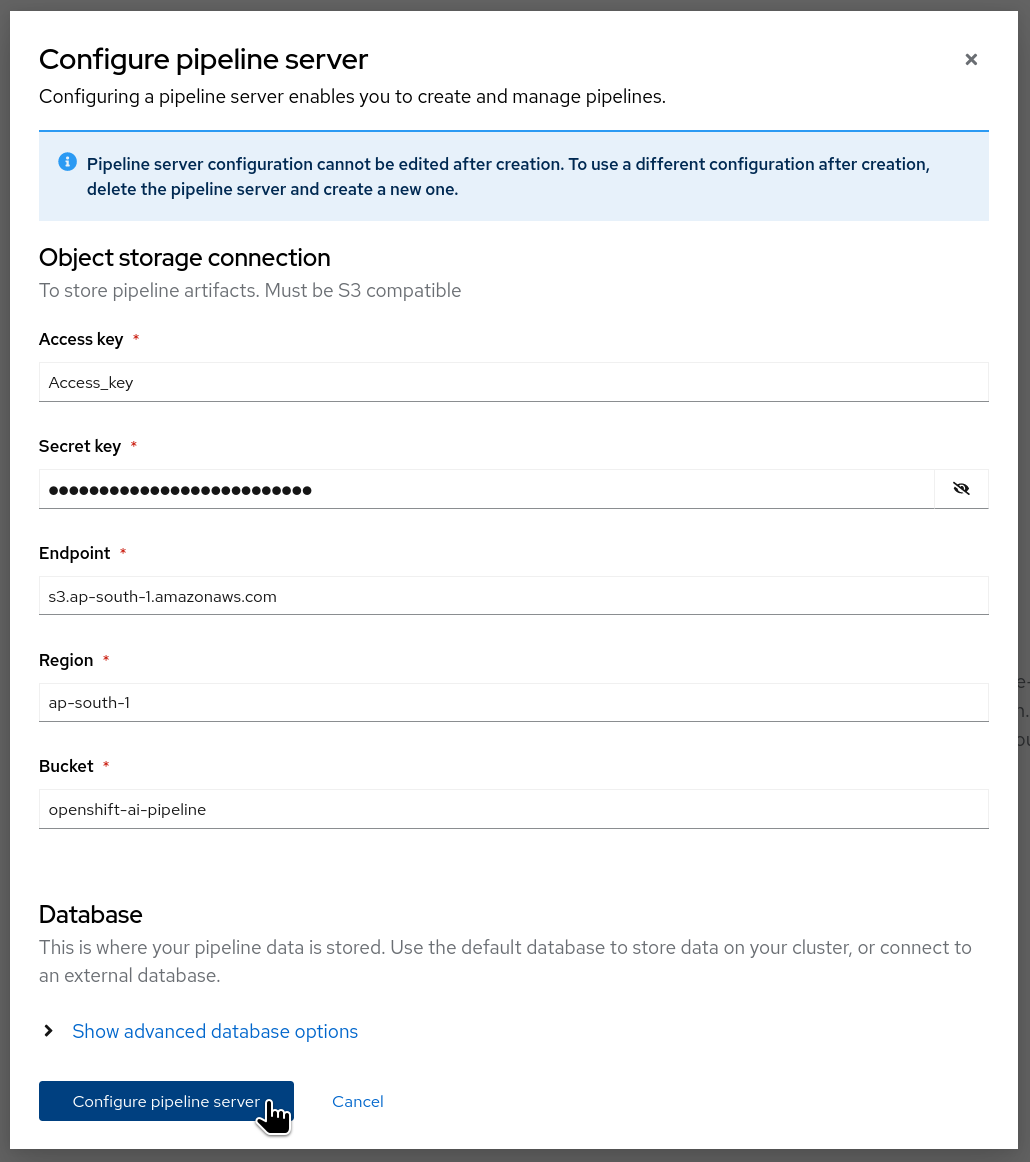
You will be directed to a form where you need to provide the credentials for AWS S3.
Note: Ensure that you have configured the workbench in the project, otherwise the pipeline configuration will fail.
- Add your AWS access and secret keys.
- Specify the endpoint of your AWS S3 bucket based on your region. You can check yours from here.
- Define the region of your AWS S3 bucket.
- Specify the name of your S3 bucket.
- Click on "Configure pipeline server."
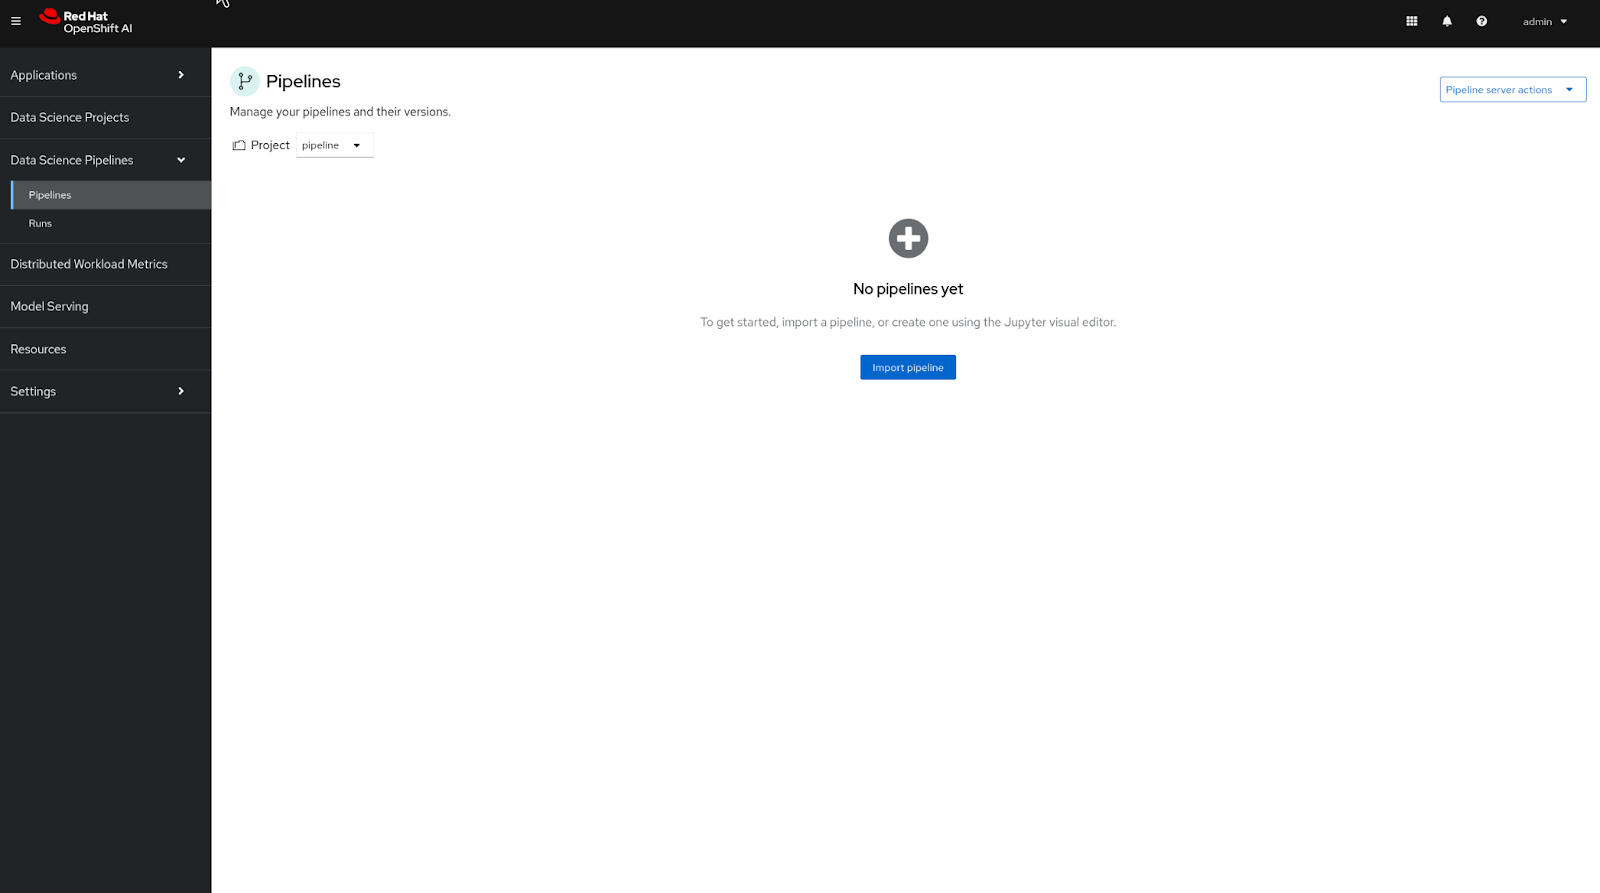
The pipeline server creation process may take some time, so please remain on the loading page of the OpenShift AI console.
Once the pipeline server is created, you will be directed to the next page, where you can upload or import the pipeline file. However, since we don't have one yet, we can proceed with pipeline creation. See Figure 3 below.
2. Set the Pipeline Runtime Image
Ensure that you have set up the workbench. If not, refer to the previous learning exercise for guidance on creating it. Once the workbench is established, proceed with the following steps to create a pipeline.
We're going to utilize the Elyra JupyterLab extension to design and execute data science pipelines directly within JupyterLab. Inside the workbench, click on "Pipeline Editor" found in "Elyra" section of the Launcher.
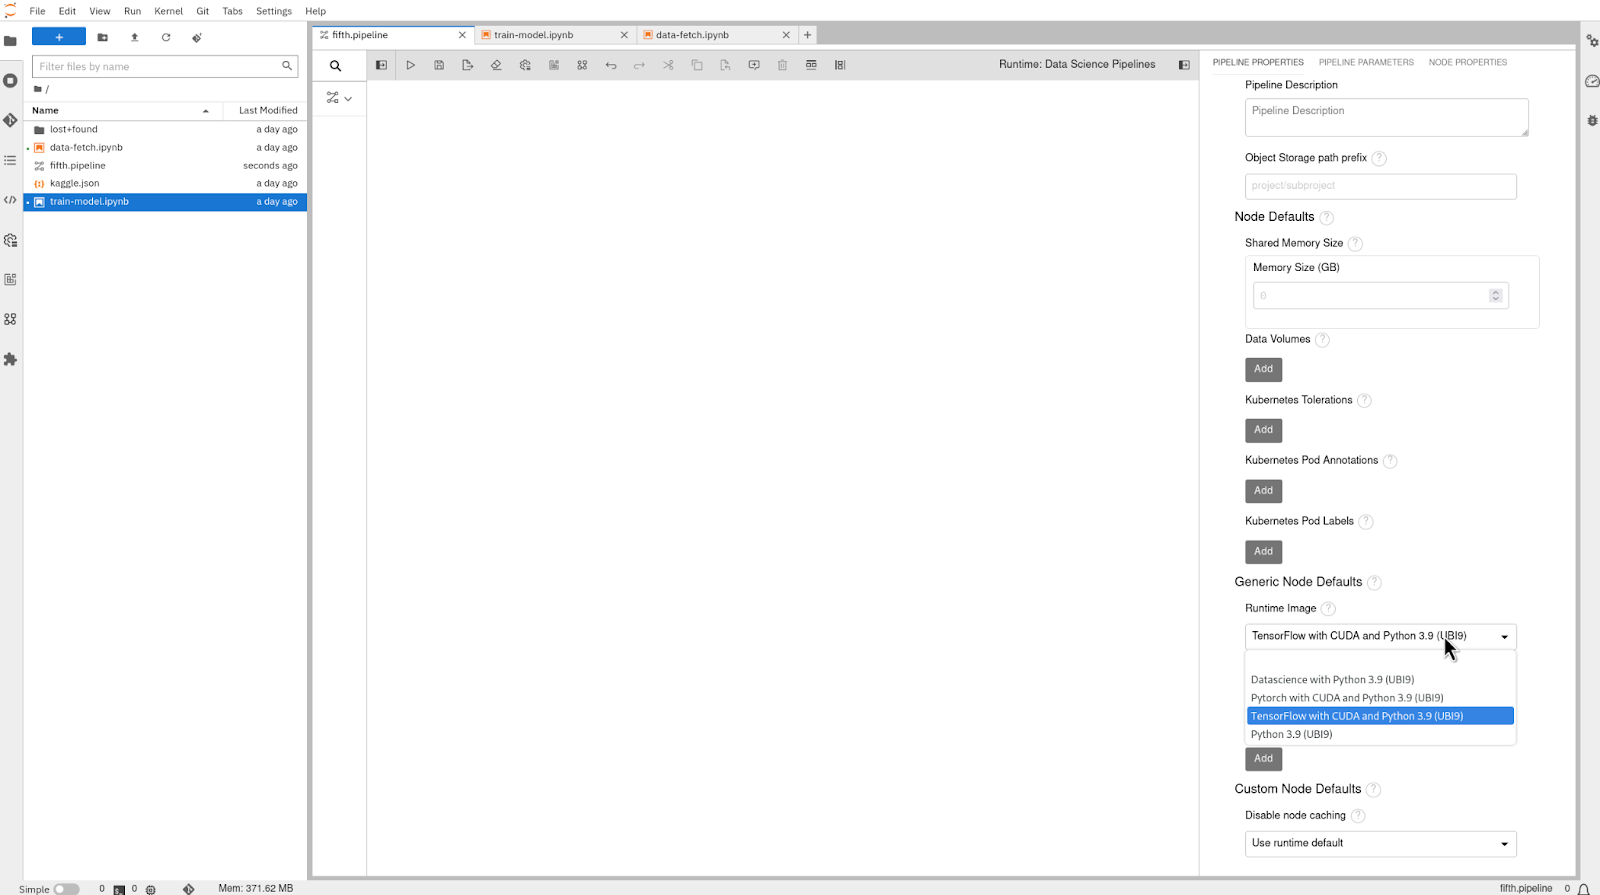
- Select the small top-right arrow icon beside "Runtime: Data Science Pipelines".
- Click on the "PIPELINE PROPERTIES" tab.
- Choose the "TensorFlow with CUDA and Python 3.9 (UBI9)" image from the drop-down menu of the "Runtime Image" option under "Generic Node Defaults".
See Figure 4, below.
3. Add new Data Science Pipelines runtime configuration
A runtime configuration grants Elyra access to resources, including Red Hat OpenShift AI Data Science Pipelines, for scalable pipeline execution. You can oversee runtime configurations through JupyterLab. The following instructions will help you to create a pipeline.
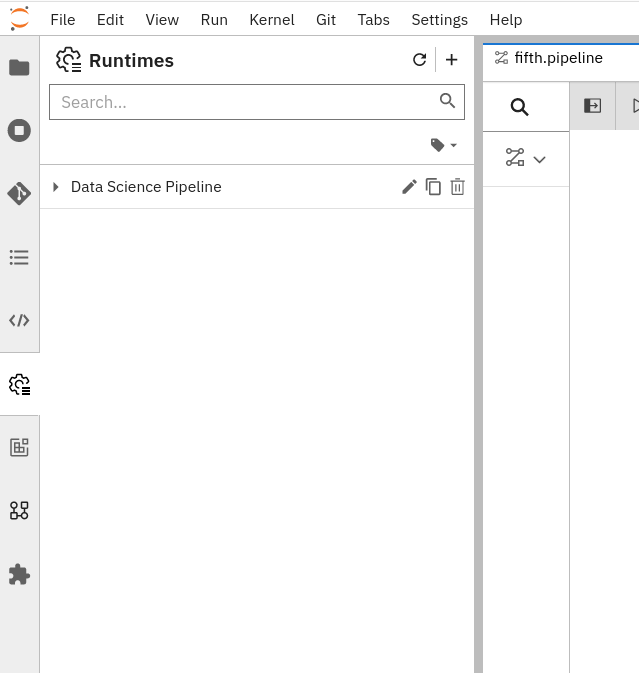
- From the left menu, select the
option in JupyterLab.
- You will find the pre-configured runtime listed as "Data Science Pipeline," as depicted in Figure 5, below.
Note: If the runtime configuration is missing, restart the workbench. Stop and start the workbench using the toggle switch.
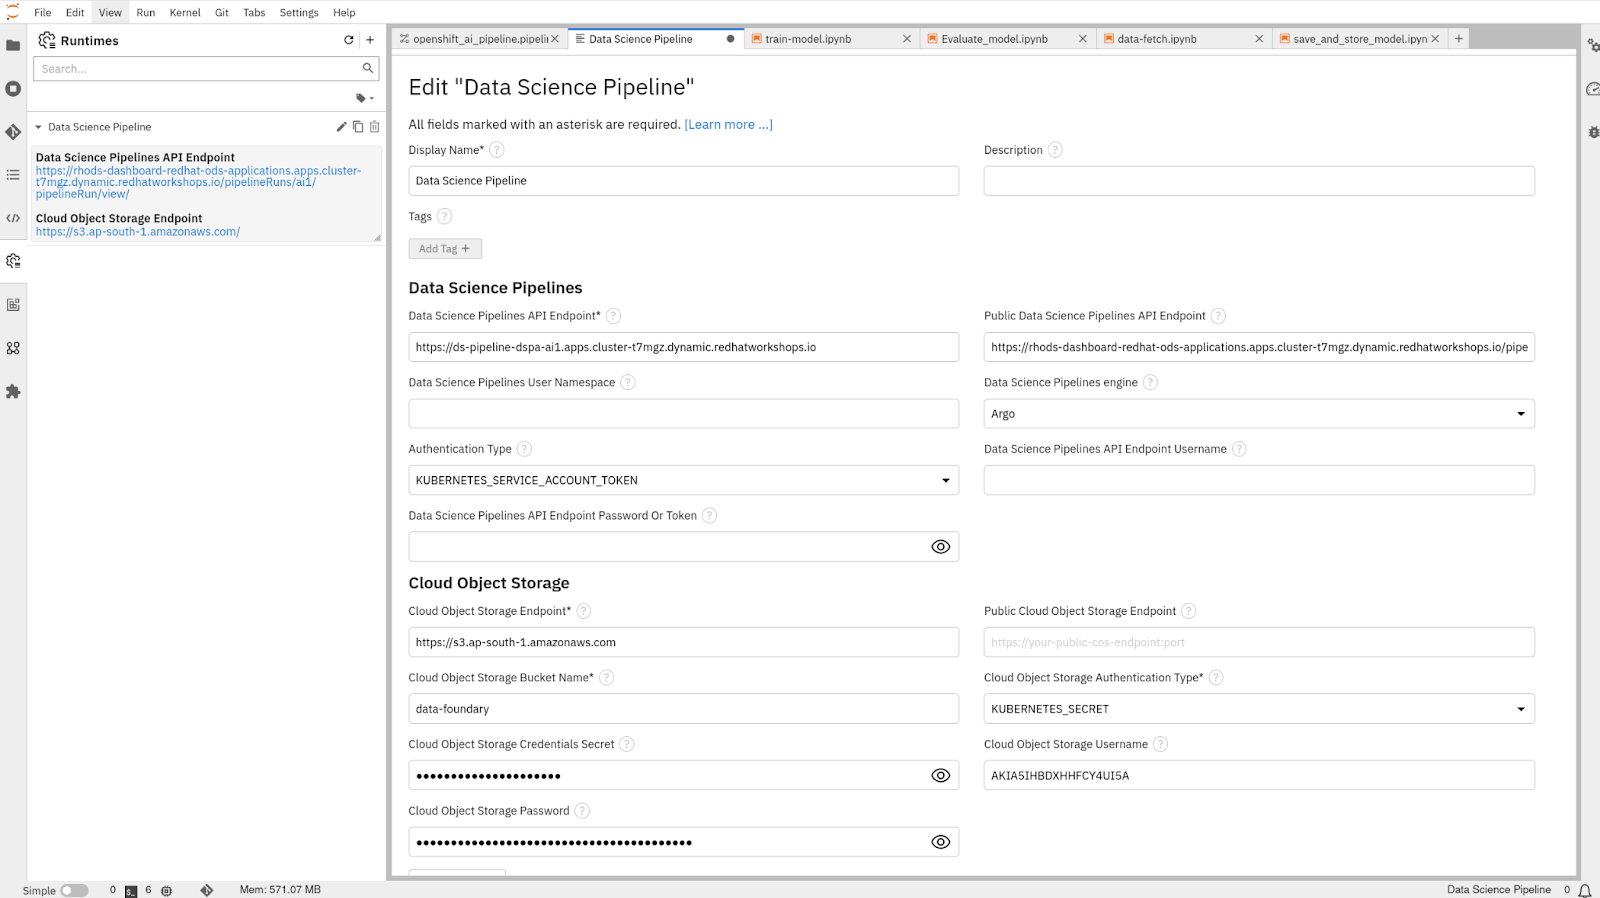
Clicking on the listed data science pipeline grants access to all configurations, mirroring Figure 6, below. This ensures proper navigation and swift access to pertinent settings, streamlining the pipeline creation process.
4. Create a Pipeline
A pipeline comprises interconnected nodes that delineate execution dependencies, with each node representing a configurable component tailored to execute distinct tasks. These tasks encompass various stages of the machine learning workflow, such as data loading, preprocessing, model training, or deployment. This modular approach enhances flexibility and promotes reusability across different projects and scenarios.
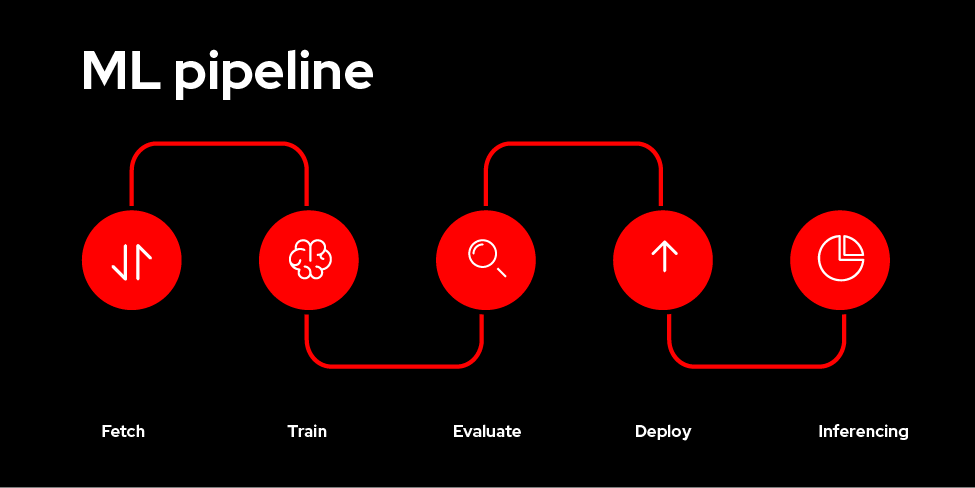
Pipeline Stages:
In this learning exercise, the pipeline will consist of four primary stages:
- Data Fetch: This stage retrieves data from a designated source. This could be a local file system, a database, or even a cloud storage service.
- Training: The fetched data is used to train the ML model. This stage involves defining the training script and specifying hyperparameters.
- Save & Deploy: The trained model is saved in a format suitable for deployment (e.g., Keras, TensorFlow SavedModel). Optionally, the model can be deployed as a web service within OpenShift AI. Finally, the model is uploaded to Amazon S3 for persistence and sharing.
Clone the GitHub repository in JupyterLab using this link and navigate to the "5_OpenshiftAI-pipeline" directory.
This sample pipeline uses datasets from Kaggle. Ensure you have registered with Kaggle and uploaded the "kaggle.json" file to the Jupyter Notebook. Refer to this exercise to setup Kaggle, if not already done.
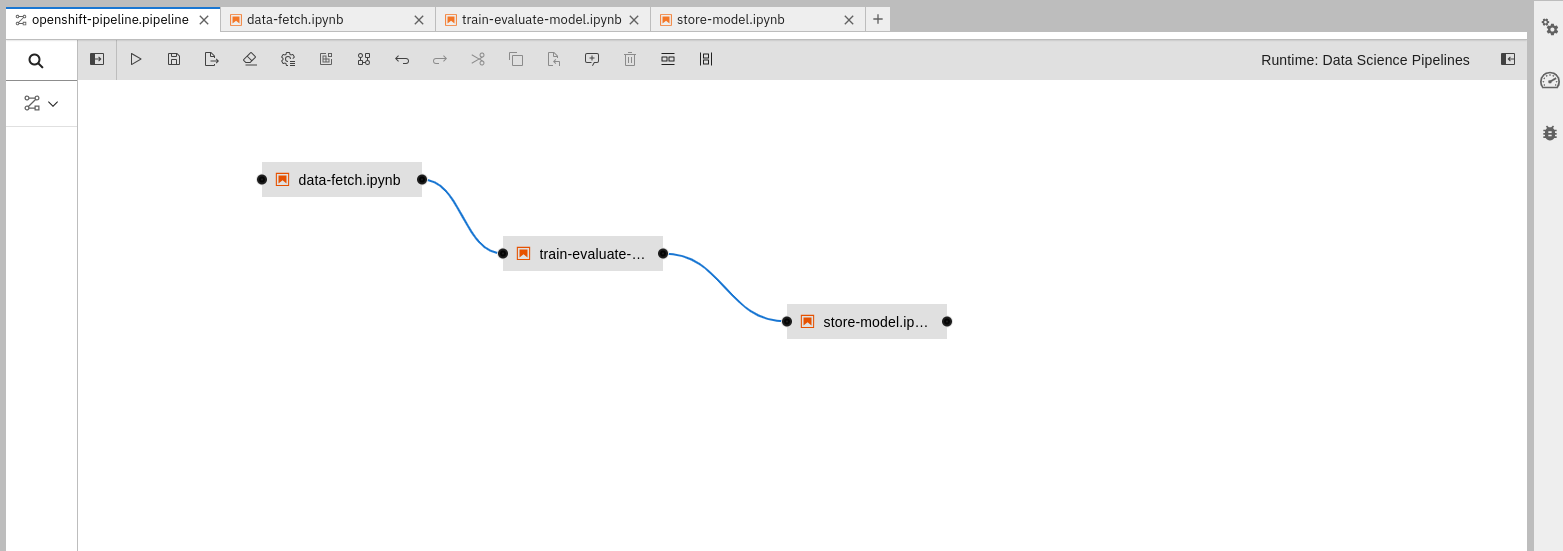
Open the "Openshift_ai_pipeline.pipeline" file. You will see the contents of the pipeline displayed on your screen. Alternatively, you can pick and drop the notebook into the Elyra board and connect the links between them as shown below in Figure 7.
Edit "store-model.ipynb" and set AWS credentials, bucket name and region to store the artifacts.
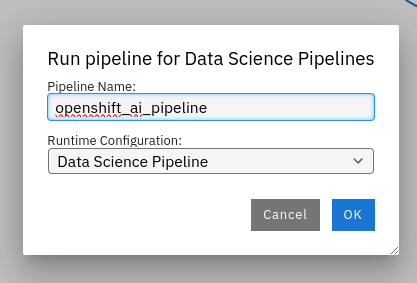
When you're done with the pipeline assembly, it's time to execute the pipeline. Click on the play button listed on the top execution bar. Then, you will get a pop-up to define the name of the pipeline and select the runtime configuration.
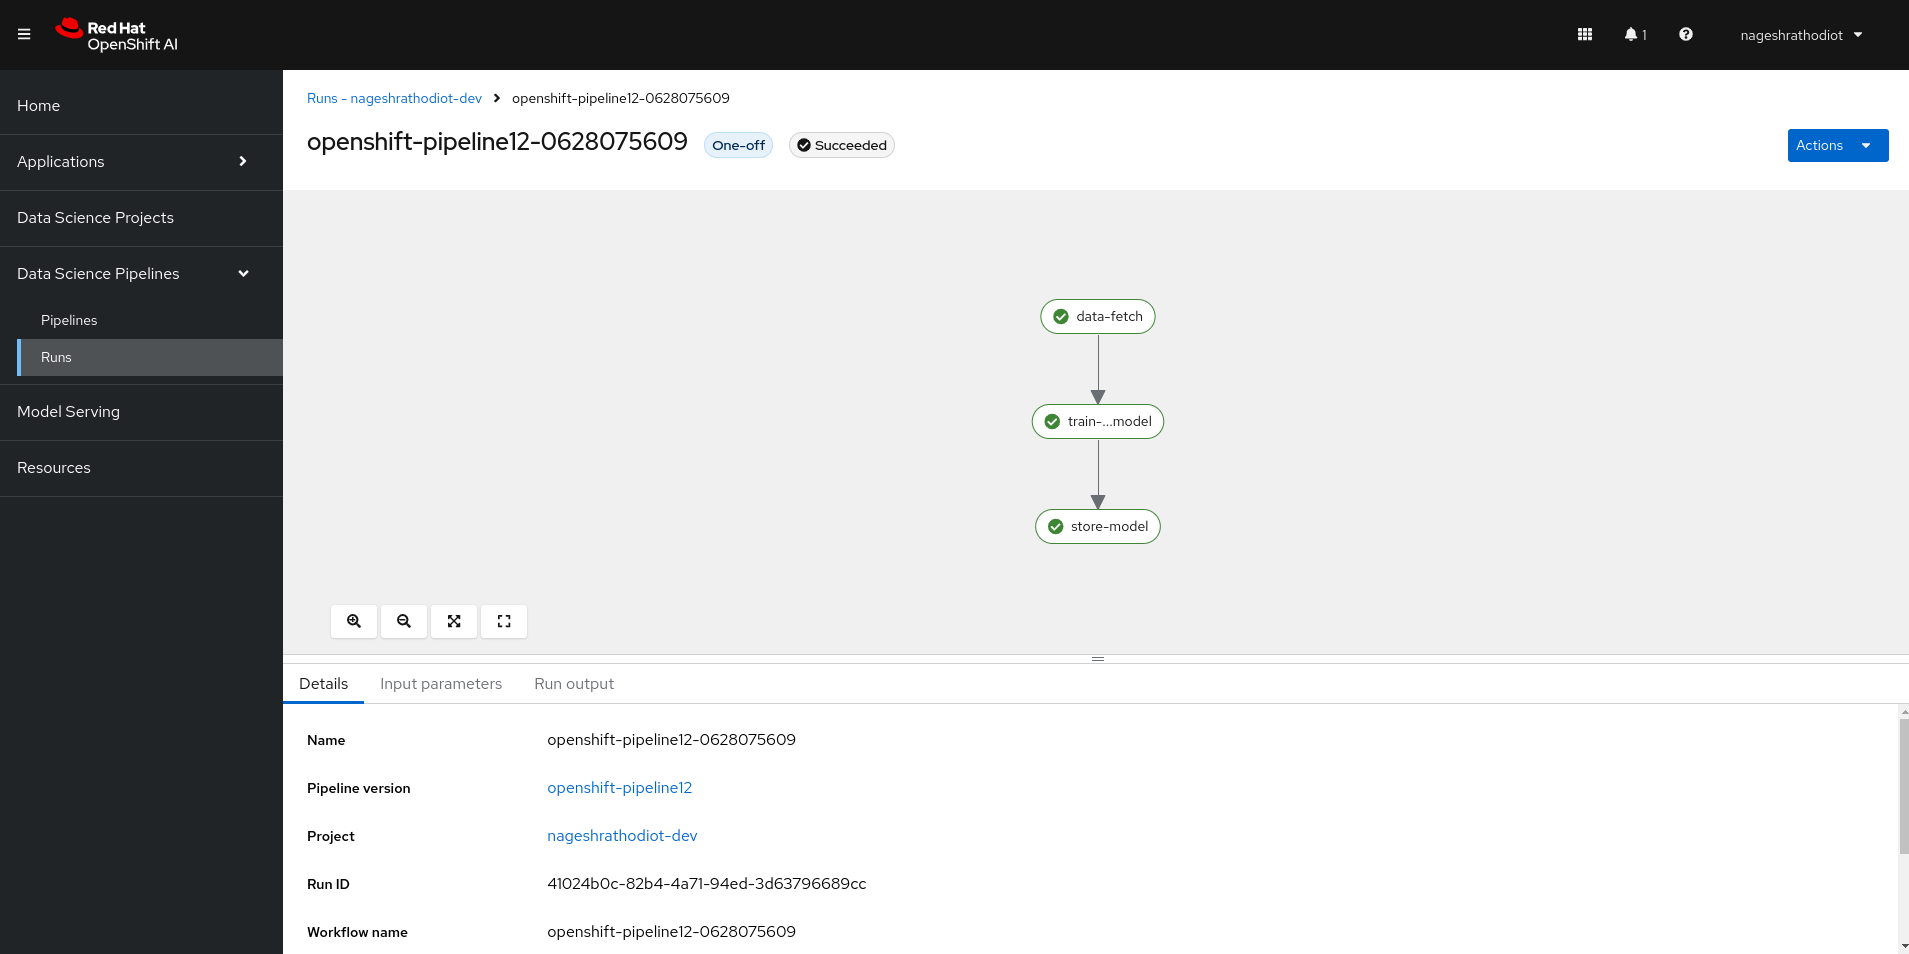
Upon initiating the pipeline execution, you'll receive a message confirming the submission and packaging of the pipeline. Upon successful submission, click on "Run Details" to monitor the progress. This will redirect you to the OpenShift AI platform, where you can track the execution of each stage. As the pipeline progresses, stages will transition to green upon successful completion, allowing you to track the workflow's advancement in real-time, mirroring the representation provided in Figure 9 below.
Check artifacts in the AWS S3 bucket
In the previous step, we configured the Data Science Pipeline server, where we specified the details for accessing the S3 storage. This configuration ensures seamless integration between the pipeline and the AWS S3 bucket, facilitating efficient artifact management and accessibility throughout the pipeline execution process.
- Log in to your AWS account.
- Navigate to the S3 services.
- Locate the newly created pipeline directory within the S3 bucket.
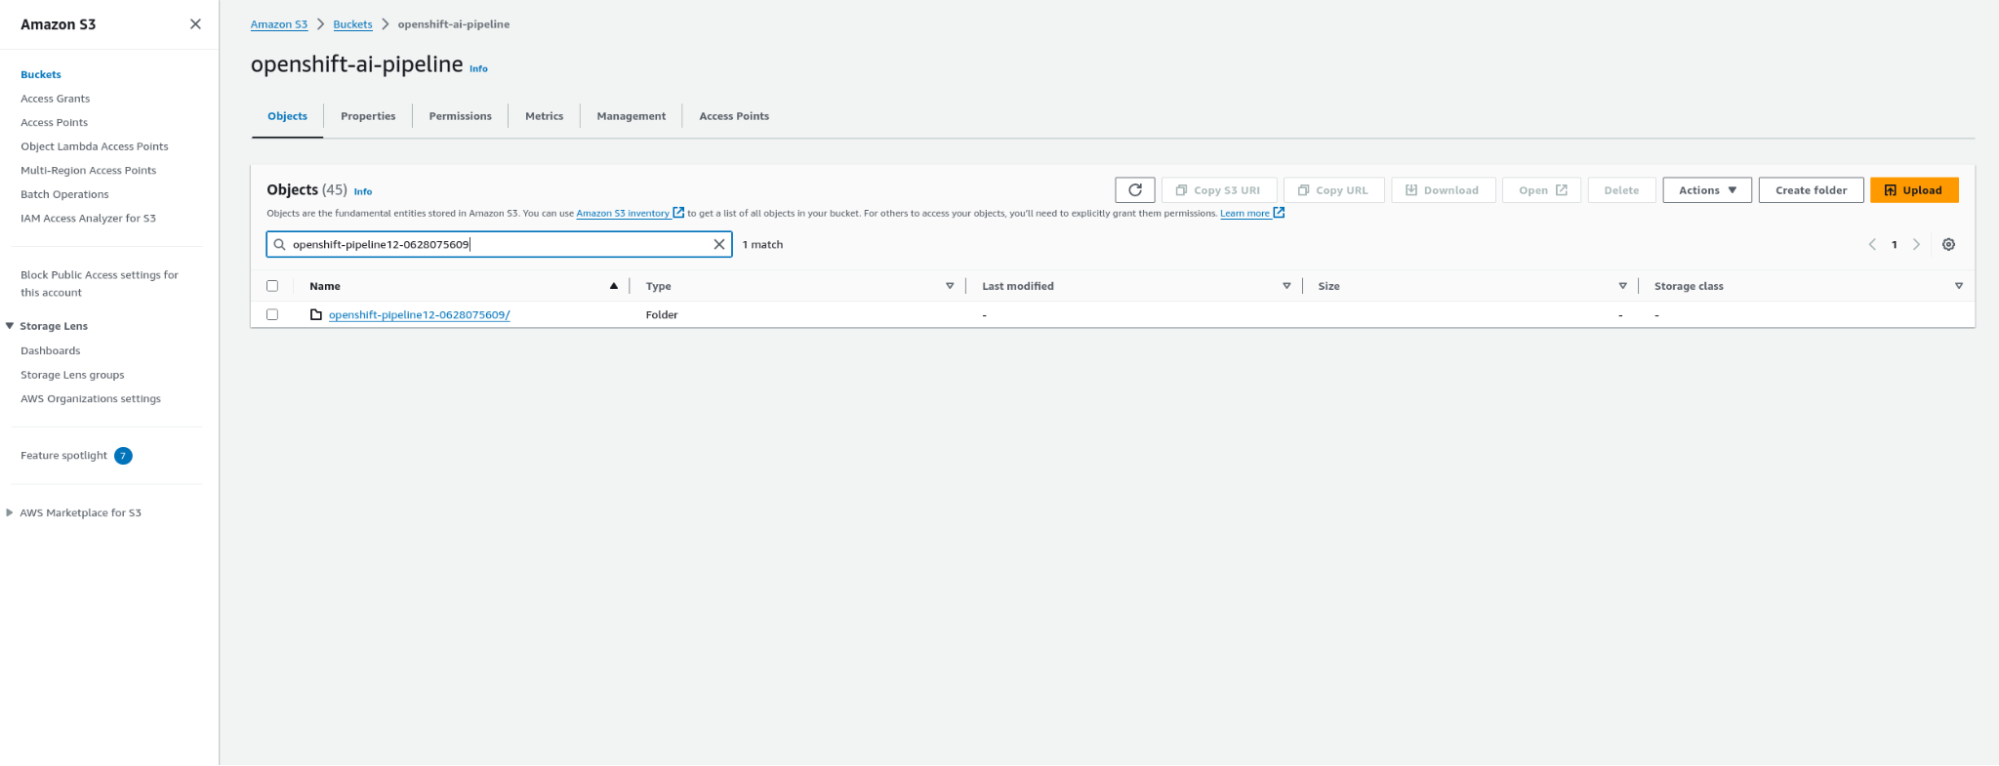
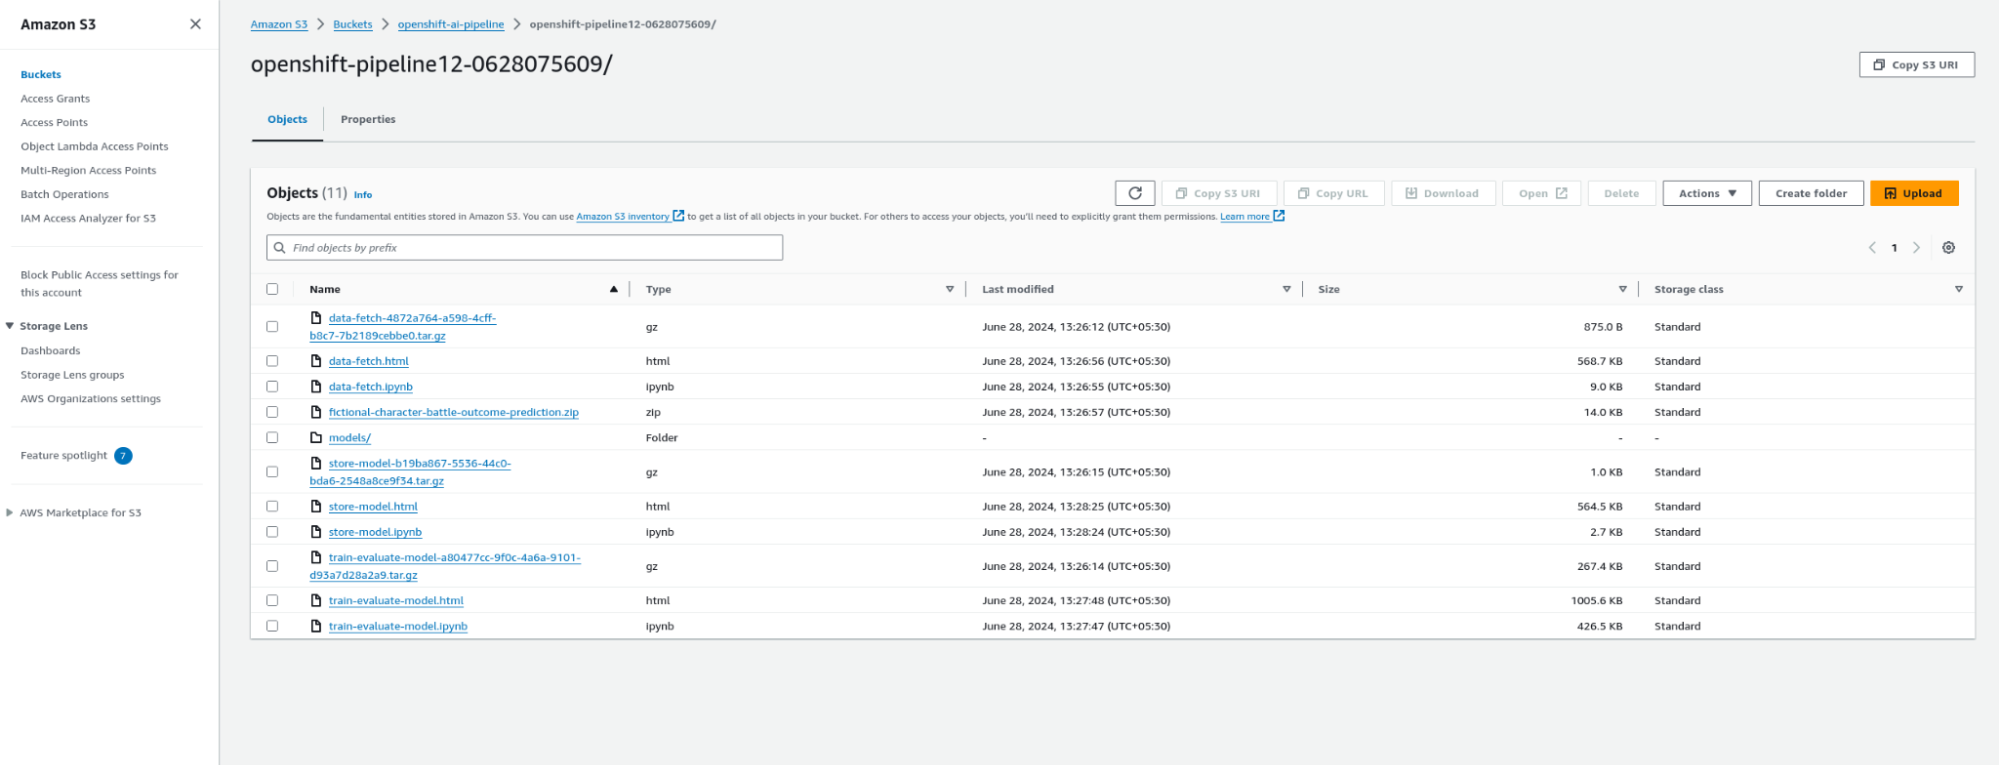
To check the stored artifacts of the pipeline in the AWS S3 bucket, click on the directory that has been created. You will find the artifacts of your pipeline organized by stages, similar to the illustration provided below in Figure 11.
5. Scheduling Pipeline Runs
OpenShift AI integrates seamlessly with OpenShift AI cron jobs, enabling you to schedule automated pipeline executions. This functionality empowers you to regularly train and update your models with the latest data, ensuring they remain relevant and accurate over time.
Continuous training and deployment are imperative in application development. To meet these demands, it's essential to continuously collect data from the database and train the model to ensure optimal results and accuracy. Scheduling facilitates this process efficiently with OpenShift AI.
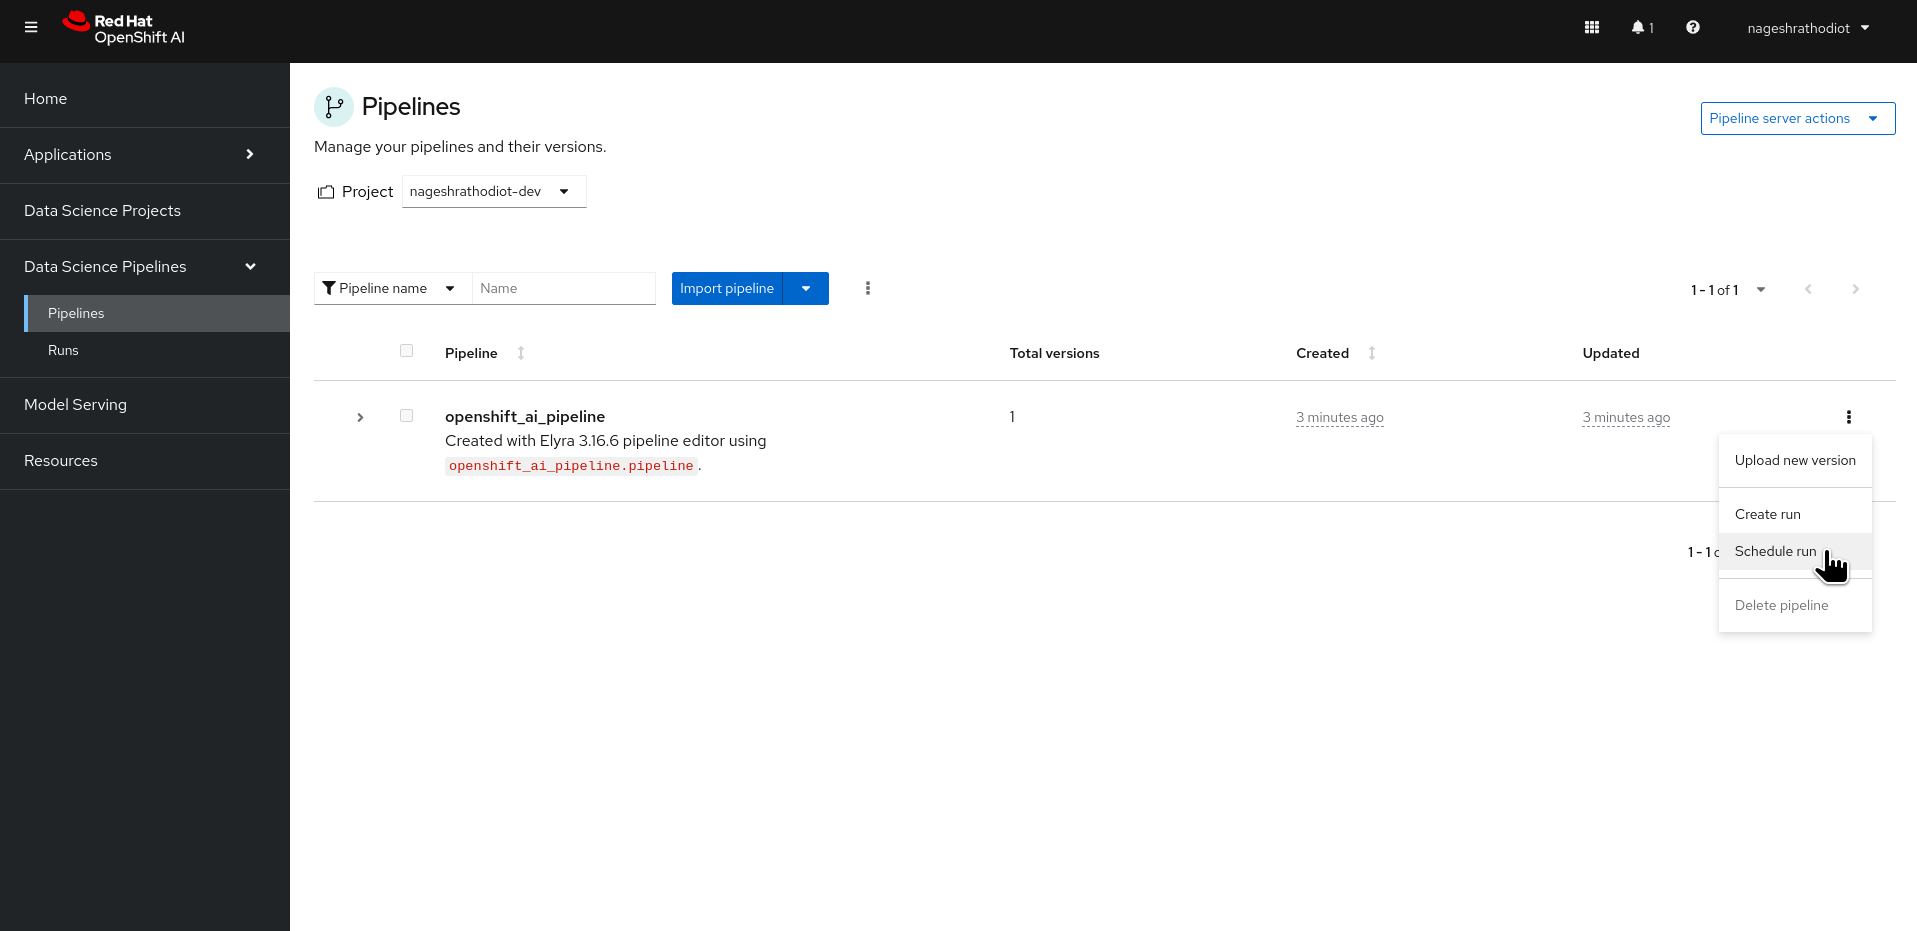
To schedule a run, navigate to the "Pipelines" section under "Data Science Pipeline" in the left menu of OpenShift AI. From the list of pipelines, select "Schedule run," as illustrated in Figure 12, below.
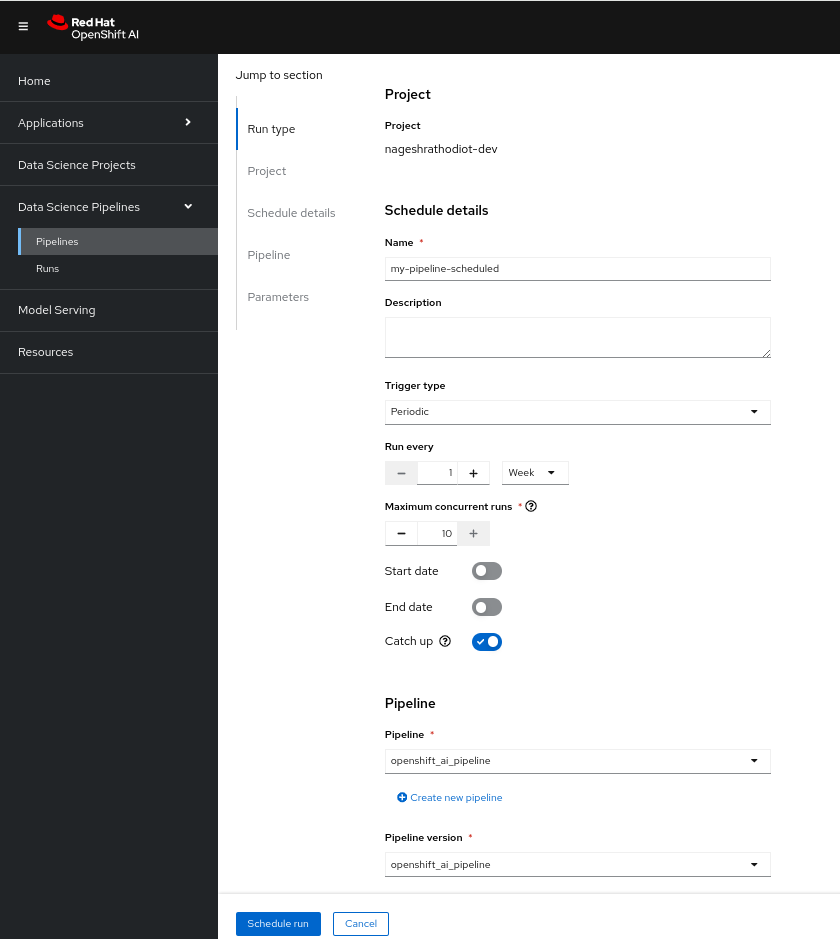
Upon accessing the scheduling configuration, you'll be prompted to:
- Define the name of the scheduled run.
- Choose the "Trigger type" as Periodic or Cronjob.
- Specify the frequency under "Runs every," such as once a day, according to your needs.
- Define the concurrency runs for jobs.
- Finally, click on "Schedule run" to confirm.
You'll see the listed schedule run on your pipeline screen, resembling the Figure 14 below.

Summary
In this learning exercise, we learned about the configuration and creation of Red Hat OpenShift AI pipelines. These pipelines were precisely crafted across four stages, culminating in the storage of models and artifacts on an S3 bucket. Scheduled runs were implemented to ensure the seamless execution of these pipelines on configured frequency, embodying a comprehensive approach to deploying AI solutions with OpenShift.
