ChatGPT is a language model developed by OpenAI, part of the GPT (Generative Pre-trained Transformer) series of models. It is designed to generate human-like text based on the input it receives. However, there are alternatives. Some open source options are meant to run locally/on-premises instead of in a hosted solution, making them perfect for controlling your data so that it doesn't go outside your boundaries or out of your control.
One of these projects is GPT4All. GPT4All is an ecosystem to train and deploy powerful and customized large language models (LLM) that run locally on a standard machine with no special features, such as a GPU.
This article will demonstrate how to integrate GPT4All into a Quarkus application so that you can query this service and return a response without any external resources.
Install GPT4All
The first thing you need to do is install GPT4All on your computer. This step is essential because it will download the trained model for our application. A GPT4All model is a 3GB - 8GB size file that is integrated directly into the software you are developing.
GPT4All provides specific bindings for different languages on top of the C/C++ model backends. Currently, the following language bindings are provided:
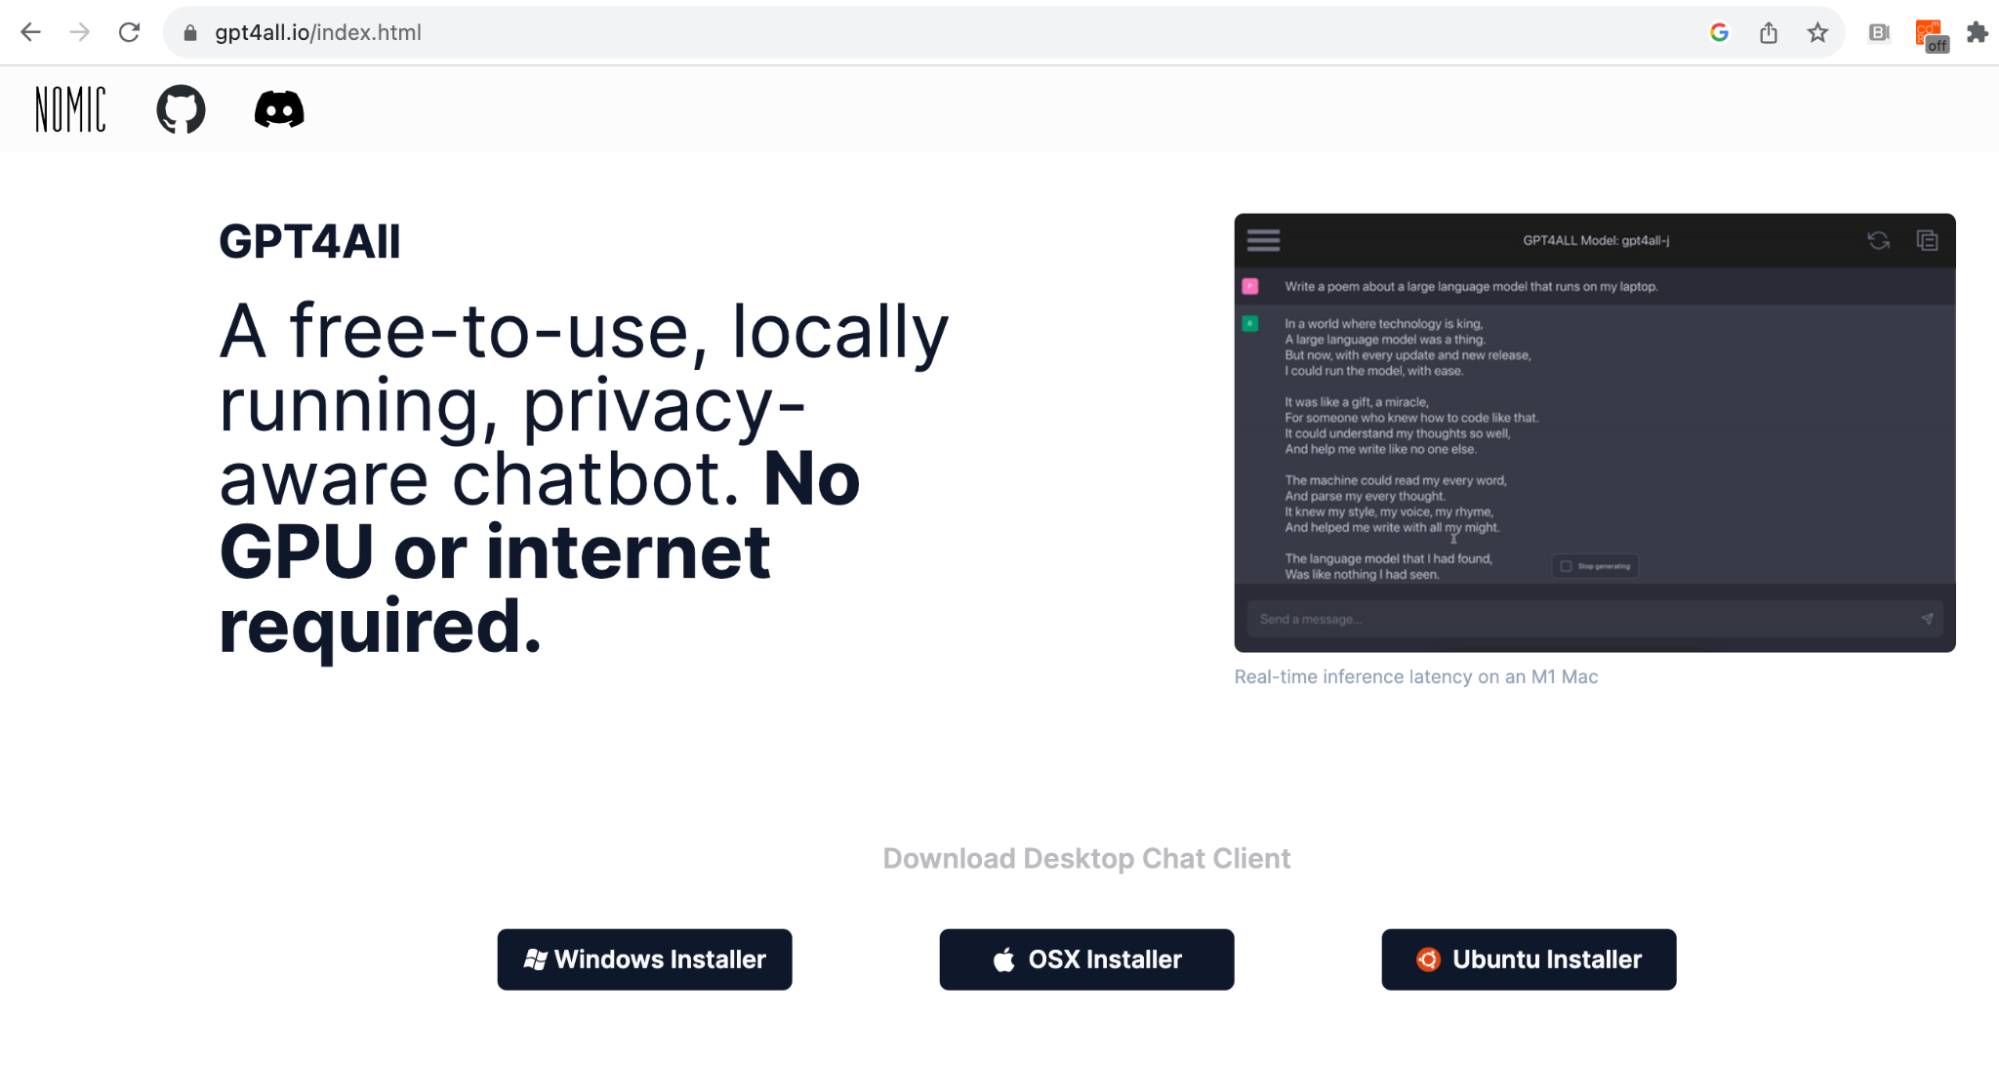
To install GPT4All, navigate to https://gpt4all.io/index.html, select your operating system, and download the executable file.
Figure 1 shows the GPT4All homepage with all of the available installation options.
Once you have downloaded the application, install and open the program. This application, in addition to being used to use the models without programming skills (it's like the OpenAI Chat GPT chat interface), is used to download and manage the different available models.
Download the data model
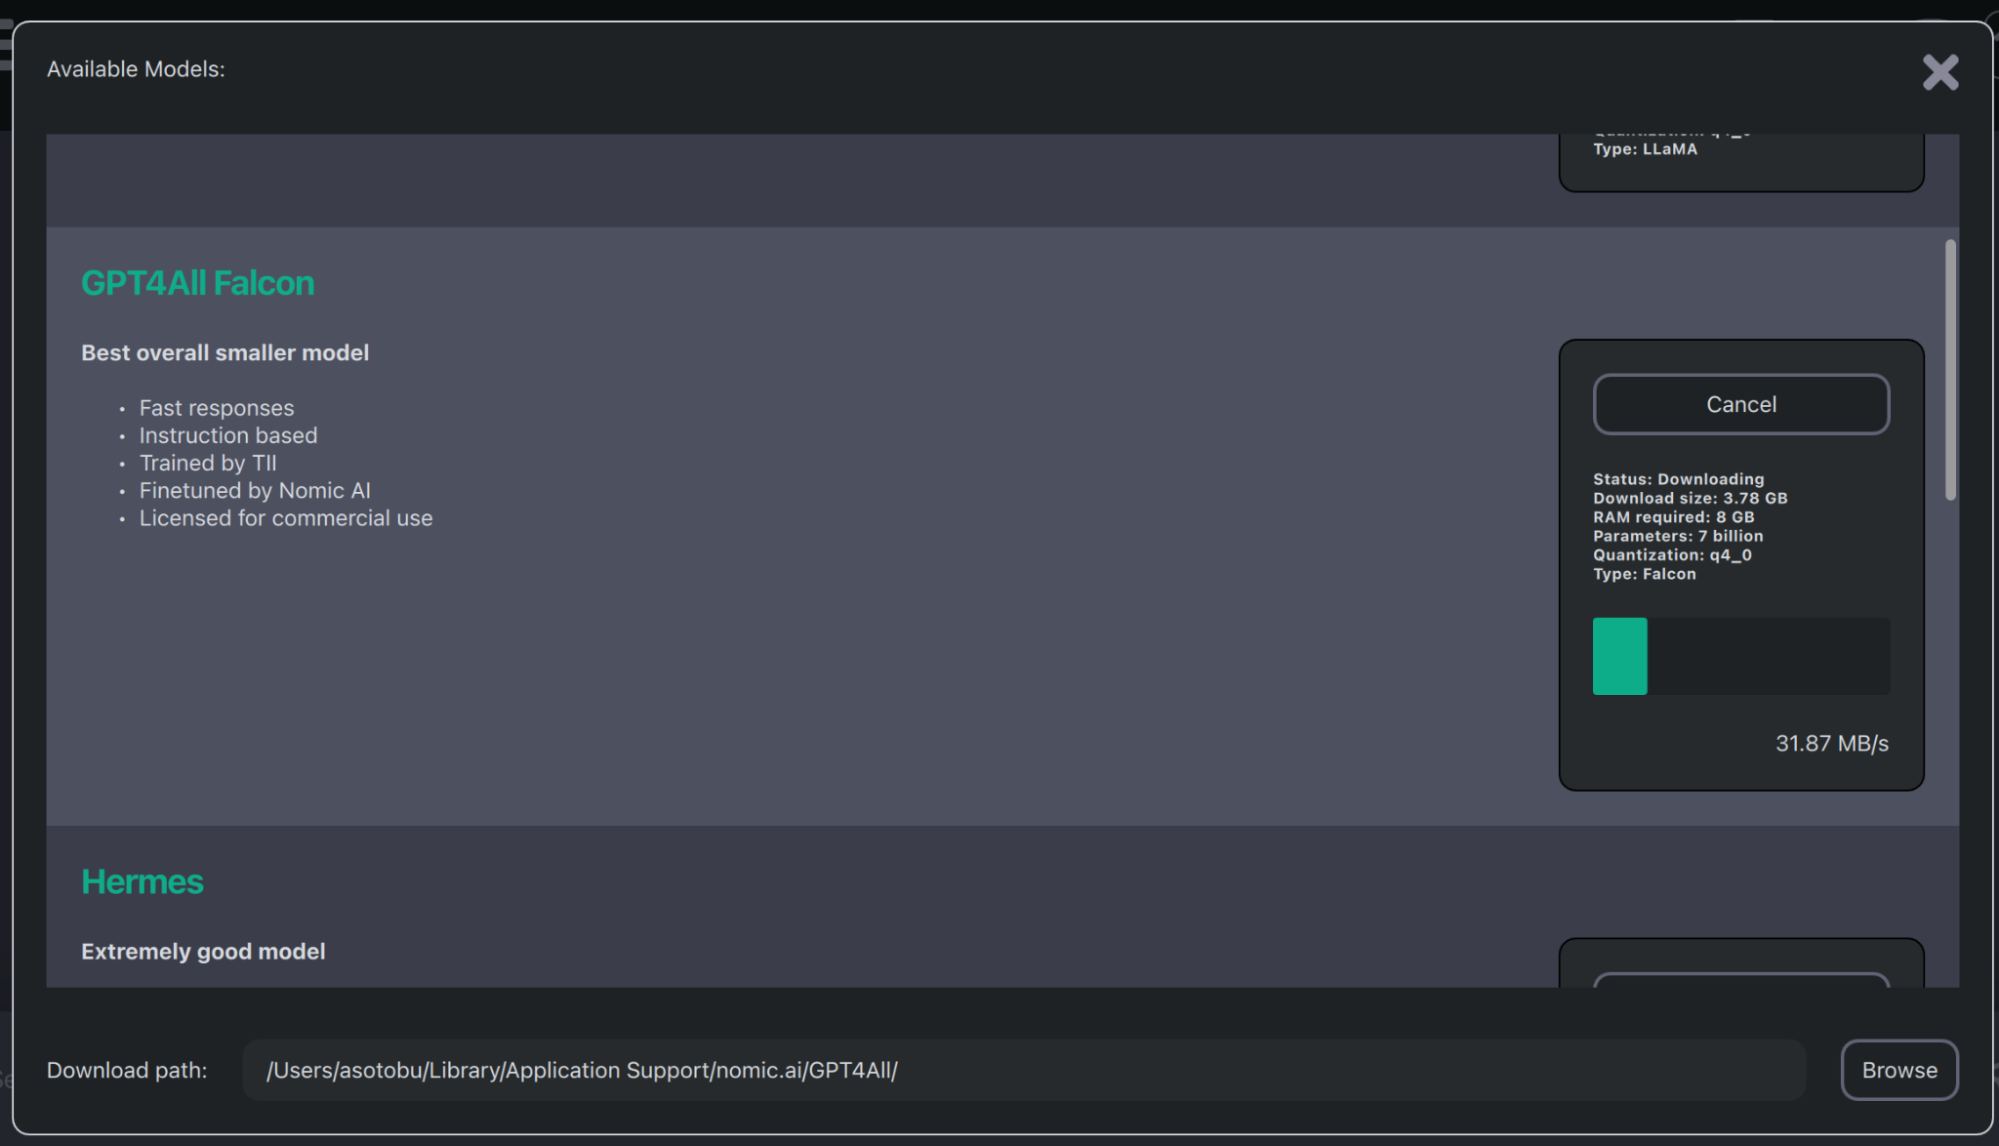
The first thing you'll see when starting the application is a window that lets you decide on the data model to download. In this case, choose GPT4All Falcon and click the Download button. This process might take some time, but in the end, you'll end up with the model downloaded. This model is an Apache-2 licensed chatbot trained over a massive curated corpus of assistant interactions, including word problems, multi-turn dialogue, code, poems, songs, and stories.
Figure 2 depicts the pop-up window shown the first time you start the GPT4All application.
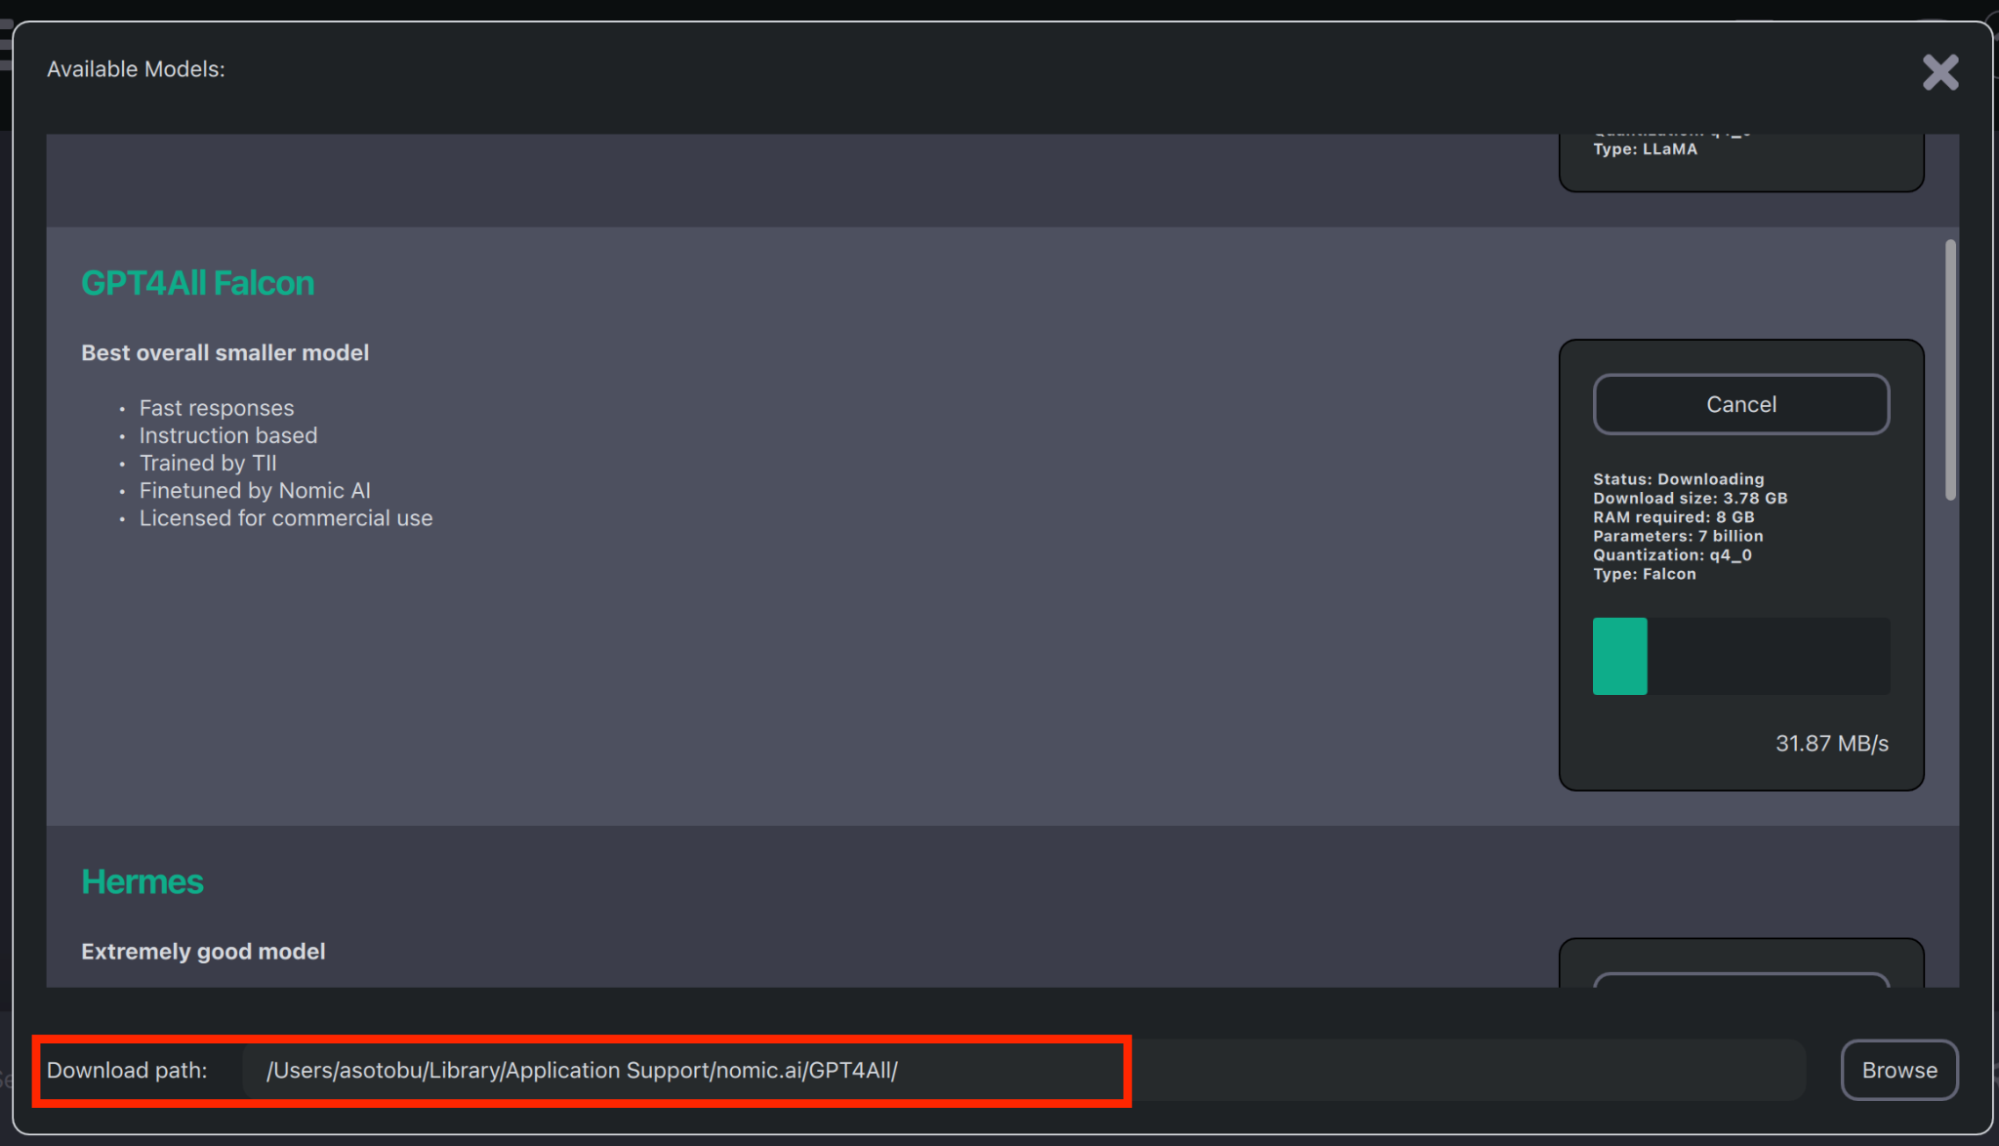
Once the download process is complete, the model will be presented on the local disk. The location is displayed next to the Download Path field, as shown in Figure 3—we'll need this later in the tutorial.
With the model in place, let's scaffold the Quarkus application.
Build the Quarkus application
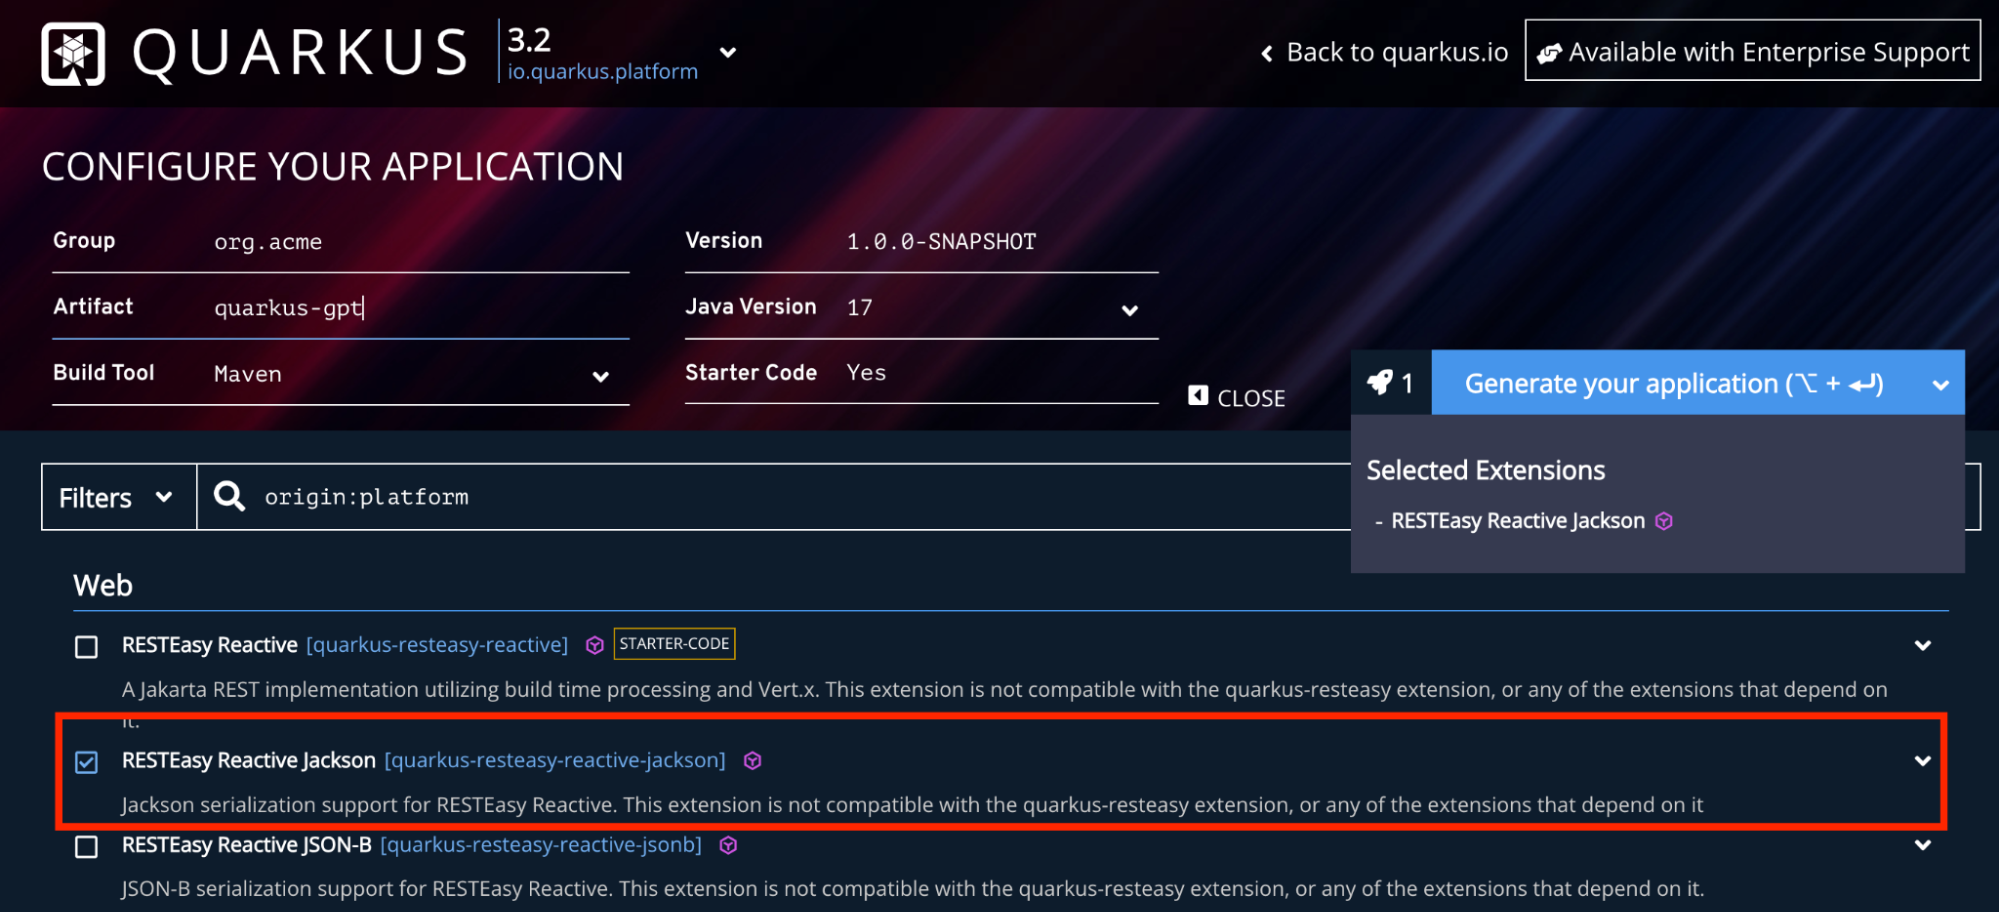
First, go to https://code.quarkus.io/ and generate a new Quarkus application with RESTEasy and the Reactive Jackson extension. You can pre-populate these options with all necessary dependencies by clicking this link.
Figure 4 shows the Quarkus generator page.
Click the Generate the application button, download the zip file, and unzip it.
Open the unzipped project in your desired integrated development environment (IDE). In the following section, you'll add the GPT4All Java binding dependency and modify the REST endpoint, adding the integration code between Quarkus and GPT4All.
Implement the REST API
We want to implement a REST service that receives a question as body content, uses the GPT4All local model to find the answer, and then responds with a message back to the caller.
Before adding any new code, rename the default path definition from @Path("/hello") to @Path("/interact") to show precisely the purpose of the endpoint.
Next, start by defining the REST method signature by opening the GreetingResource.java file and creating the following method:
import jakarta.ws.rs.POST;


@POST

@Consumes(MediaType.TEXT_PLAIN)

@Produces(MediaType.TEXT_PLAIN)

public String hello(String content) { }
This method will contain all the logic necessary for interacting with GPT4All and add the GPT4All Java bindings in the classpath.
Add GPT4All Java bindings
Open the pom.xml file and add the following dependencies:
<dependency>

   <groupId>com.hexadevlabs</groupId>

   <artifactId>gpt4all-java-binding</artifactId>

   <version>1.1.5</version>

</dependency>

<dependency>

  <groupId>org.slf4j</groupId>

  <artifactId>slf4j-simple</artifactId>

  <version>1.7.36</version>

</dependency>
The first dependency is the Java binding library to interact with the model from Java code; the second is not mandatory but is used as a logging framework by GPT4All.
Next, before you can query the model, you need to configure and initialize the Java binding classes. Open the GreetingResource.java class again, copy the following code, which will configure the location and file containing the data model (recall that in the previous section, we mentioned that this directory was important), and initialize everything.
// Import required

import com.hexadevlabs.gpt4all.LLModel;


// Quarkus configuration properties specifying the location of the data model


@ConfigProperty(name = "model.path")

String baseModelPath;


@ConfigProperty(name = "model.file")

String modelFilePath;


// GPT4All facade classes

LLModel model;

LLModel.GenerationConfig config;


// Configures and Initialize the model

@PostConstruct

public void initModel() {


    java.nio.file.Path modelPath = java.nio.file.Path.of(baseModelPath, modelFilePath);


    model = new LLModel(modelPath);

    config = LLModel.config()

            .withNPredict(4096).build();

}


// When the application is shutting down, the model is closed

@PreDestroy

public void cleanModel() throws Exception {

    model.close();

}
The next step is to fill in the hello method with the integration code:
// Creates the object required by GPT4All to send the question


final List<Map<String, String>> message = List.of(createMessage(content));


// Sends the question to the model

final LLModel.ChatCompletionResponse chatCompletionResponse =

       model.chatCompletion(message, config);


// Returns the response

return chatCompletionResponse.choices.toString();


The full version of the GreetingResource.java class is shown in the following snippet:


package org.acme;


import com.hexadevlabs.gpt4all.LLModel;

import jakarta.annotation.PostConstruct;

import jakarta.annotation.PreDestroy;

import jakarta.ws.rs.Consumes;

import jakarta.ws.rs.POST;

import jakarta.ws.rs.Path;

import jakarta.ws.rs.Produces;

import jakarta.ws.rs.core.MediaType;

import java.util.List;

import java.util.Map;

import org.eclipse.microprofile.config.inject.ConfigProperty;


@Path("/interact")

public class GreetingResource {


    @ConfigProperty(name = "model.path")

    String baseModelPath;


    @ConfigProperty(name = "model.file")

    String modelFilePath;


    LLModel model;


    LLModel.GenerationConfig config;


    @PostConstruct

    public void initModel() {

        java.nio.file.Path modelPath = java.nio.file.Path.of(baseModelPath, modelFilePath);

        model = new LLModel(modelPath);

        config = LLModel.config()

            .withNPredict(4096).build();

    }


    @PreDestroy

    public void cleanModel() throws Exception {

        model.close();

    }


    @POST

    @Consumes(MediaType.TEXT_PLAIN)

    @Produces(MediaType.TEXT_PLAIN)

    public String hello(String content) {


        // Creates the object required by GPT4All to send the question

        final List<Map<String, String>> message = List.of(createMessage(content));


        // Sends the question to the model

        final LLModel.ChatCompletionResponse chatCompletionResponse =

            model.chatCompletion(message, config);


        // Returns the response

        return chatCompletionResponse.choices.toString();

    }


    private Map<String, String> createMessage(String content) {

        return Map.of("role", "user", "content", content);

    }

}
Before deploying the solution, the last thing to do is to configure the location parameters in the application.properties file:
# Model file, if you download another model, then the file is a different one

model.file=ggml-model-gpt4all-falcon-q4_0.bin


# Directory where model is stored

model.path=/Users/asotobu/Library/Application Support/nomic.ai/GPT4All
Run the application
We will package and start the application like any other Java application. Open a terminal window and run the following command from the root directory of the project:
./mvnw clean package -DskipTests
When the process finishes, start the application by running the following command:
java -Xms8G -Xmx8G -jar target/quarkus-app/quarkus-run.jar
In another terminal window, let's send a request to our service asking to code a Java class that encodes a string into Base64:
curl -X 'POST' \

  'http://localhost:8080/hello' \

  -H 'accept: text/plain' \

  -H 'Content-Type: text/plain' \

  -d 'write a Java program that encodes to base64'
This operation can take seconds or minutes, depending on the amount of memory, CPUs, and JVM heap defined when starting the application, etc.. Some patience might be necessary.
The output should be similar to the following:
[{role=assistant, content=
Here's a sample Java program that encodes a string to Base64:
java

import java.util.Base64;


public class Base64Encoder {

    public static void main(String[] args) throws Exception {

        String str = "Hello World!";

        String base64Encoded = Base64.encodeToString(str.getBytes(), Base64.DEFAULT);

        System.out.println(base64Encoded);

    }

}
This program uses the Base64 class from the java.util package to encode the string "Hello World!" to Base64. The Base64.encodeToString method takes the string to be encoded and the encoding algorithm (in this case, Base64.DEFAULT) as arguments and returns the base64-encoded string.
Note that the Base64 class can be used to decode Base64-encoded strings as well.
Pretty impressive so far—the application is running on your local machine with no external party involved.
Parse the output
The output is in Markdown format, with the code provided within a code block, explaining the function of the code and some hints as text. To generate source code files automatically, you must parse the content and extract just the Java code block.
One of the Java libraries you can use to parse and extract data from Markdown documents is commonmark.
Open the pom.xml file and add the following dependency:
<dependency>

  <groupId>org.commonmark</groupId>

  <artifactId>commonmark</artifactId>

  <version>0.20.0</version>

</dependency>
This library uses the visitor pattern to navigate through the document blocks and extract the required information; in this case, the Java block containing the encoding to Base64 logic. With the Java source code extracted, you could create a file, return the content to the caller, or parse the Java code to modify any part.
Let's modify the previous class to retrieve and parse the answer given by GPT4All and extract only the Java source code block instead of the complete response.
Start by creating a class implementing the Visitor pattern, visiting only source code blocks. When a code block is found, validate it's a Java block and store its content into a variable:
import org.commonmark.node.AbstractVisitor;

import org.commonmark.node.FencedCodeBlock;

import java.util.Optional;


static class JavaCodeBlockVisitor extends AbstractVisitor {


    private String sourceCode;


    public Optional<String> getGeneratedSourceCode() {

        return Optional.ofNullable(sourceCode);

    }


    @Override

    // Only visit code blocks

    public void visit(FencedCodeBlock code) {

        // If it's a Java block

        if ("java".equals(code.getInfo())) {

            // Get the content of the block

            sourceCode = code.getLiteral();

        }

    }

}
Next, modify the hello method to get the content from the GPT4All API instead of returning it directly:
import java.util.List;

import java.util.Map;


// Returns the response

final List<Map<String, String>> choices = chatCompletionResponse.choices;


// Check if there is a response

if (choices.isEmpty()) {

    throw new IllegalStateException("No Java code");

}


// Gets the content in Markdown format

String text = choices.get(0).get("content");
You also need to use the Markdown parser to navigate through all the blocks using the previous visitor class:
import org.commonmark.node.Node;

import org.commonmark.parser.Parser;


final Parser parser = Parser.builder().build();


// Parse the content

final Node node = parser.parse(text);


// Navigate through the model, finding Java blocks

JavaCodeBlockVisitor javaCodeBlockVisitor = new JavaCodeBlockVisitor();

node.accept(javaCodeBlockVisitor);
Before rerunning the example, change the return content to the one extracted within the JavaCodeBlockVisitor class:
// Return the Java code

return javaCodeBlockVisitor.getGeneratedSourceCode().orElseThrow(() -> new IllegalArgumentException("No code found"));
Build and package the application, repeat the same request as was executed previously, and notice that only the source code is returned, not the complete response.
Conclusion
This article showed how you can use GPT models without depending on external services like OpenAI ChatGPT. If you have privacy concerns but still want to use AI to generate some Java code, then the GPT4All project is a good choice as it runs within a localized environment.
Moreover, GPT4All lets you train your model or improve an existing model with your data. Since you execute it locally, the data is kept from everyone. The interaction with Java is straightforward, with no complex steps; all you need to do is load the library and start interacting with the model.
Finally, you've seen a library to parse Markdown documents in Java, a handy toolkit for extracting information from Markdown content.
GPT4All opens a new door in the AI revolution, letting you use AI without depending on cloud instances or closed models. GPT4All lets you train, deploy, and use AI privately without depending on external service providers.