To deploy enterprise Java applications with Red Hat JBoss Enterprise Application Platform (JBoss EAP) servers to Red Hat OpenShift, developers have usually needed to learn how to use OpenShift templates or Operators to specify Kubernetes and OpenShift resources such as build config, deployment, volume, environment variables, and application image. This article, the first of a two-part series, explains a simpler way to deploy an enterprise Java application to OpenShift using Helm charts, and how to connect the application to a PostgreSQL database.
Note: In Part 2, learn how to make this application a bootable JAR using JBoss EAP Extension Pack (XP) with a Helm chart.
Helm: Simplifying application deployment on Kubernetes
Deployment practices are not familiar to application developers because resource definition has traditionally been determined by the IT operations team. When moving rapidly into the DevOps era, developers need to take more responsibility to set appropriate resources in alignment with cloud microservices.
To solve these problems for developers, Helm was designed to simplify application deployment on Kubernetes. Helm is a software package manager similar to the DNF package manager in Fedora and the Windows Package Manager. Package managers allow developers to install software tools and maintain them (e.g., upgrade, delete, and patch) quickly using a command-line interface or graphical user interface (GUI).
Developers can install a particular collection of files representing Kubernetes resources by using a Helm chart. When the chart is installed, it is managed by a release. The developer can delete or upgrade the release on demand to make application deployment changes.
OpenShift also supports a Helm chart to deploy applications with multiple runtime environments, including JBoss EAP. Developers can select and install a Helm chart from OpenShift's developer perspective. Then they can upgrade, roll-back, and uninstall an existing Helm chart (release) during the application lifecycle.
At the end of this article, you will have a traditional enterprise Java application running on clustered JBoss EAP servers that connect to a PostgreSQL database using the JBoss EAP Helm chart, as shown in Figure 1.
Note: The Helm charts for JBoss EAP 7.4 are a technology preview feature on OpenShift 4.8, so support is limited when you use these features in production environments.

Installing a JBoss EAP Helm chart
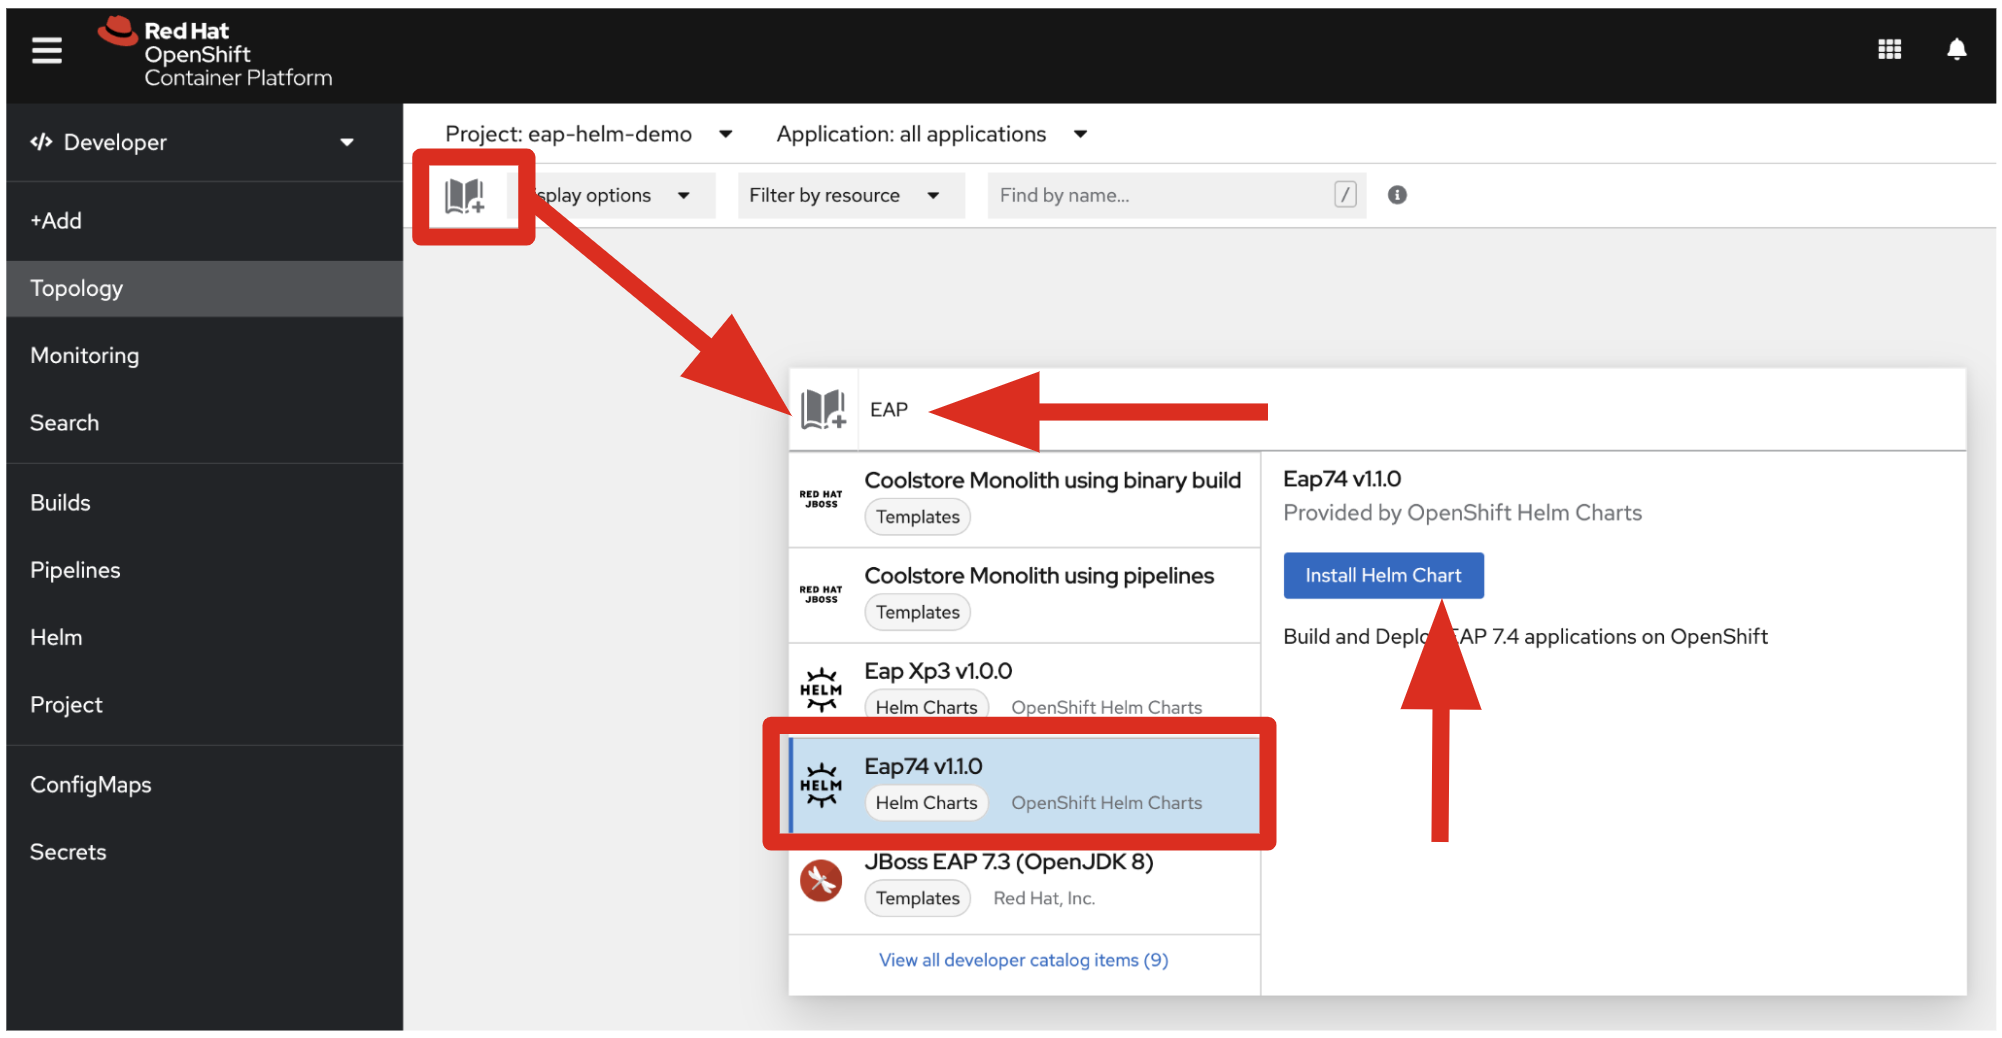
Go to the developer console in OpenShift and navigate to the Topology view. Create a new project named eap-helm-demo by clicking the Add to Project icon on the left top and entering EAP into the search box. Then select the Eap74 v1.1.0 Helm chart and click Install Helm Chart, as shown in Figure 2.
Now define a specific build, image, and deployment for an example Todo back-end application. Switch to the YAML view to add Source-to-Image (S2I) build and deploy configurations, as shown in Figure 3.
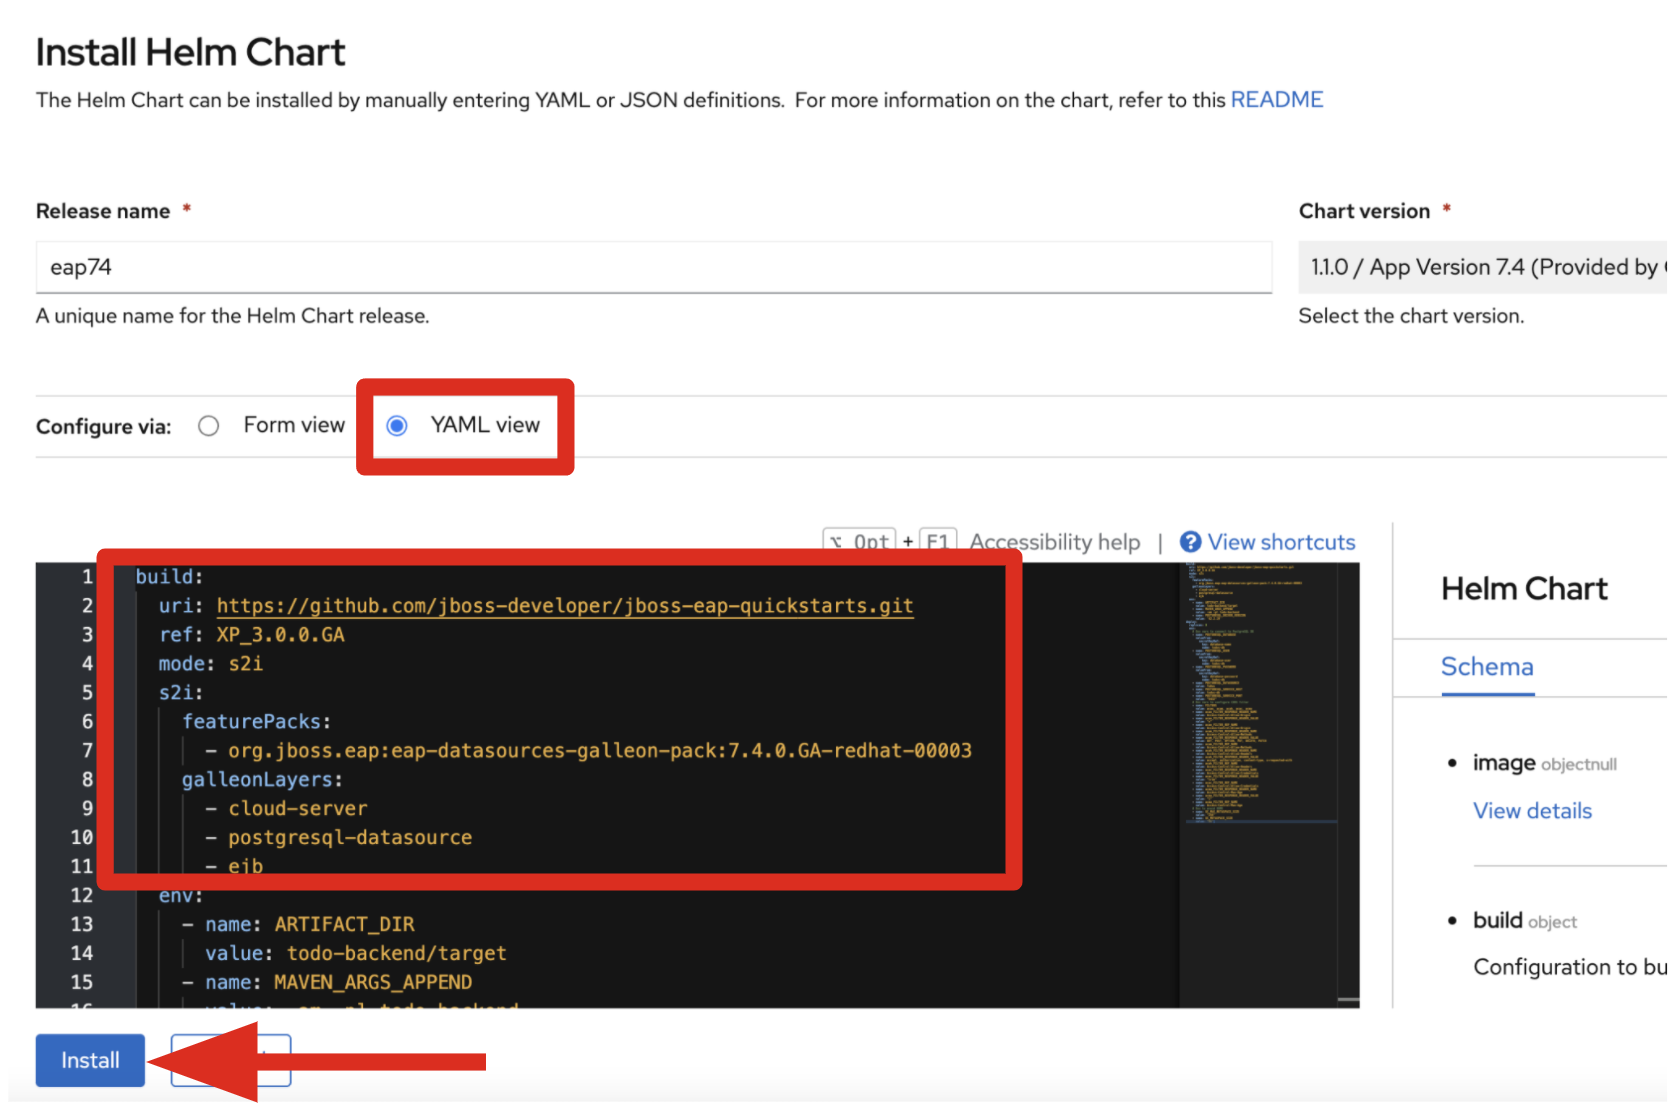
JBoss EAP 7.4 provides a galleon feature pack to add data sources, content trimming, and MicroProfile specifications for enterprise Java applications. Three feature packs (cloud-server, postgresql-datasource, and ejb) are installed while the S2I build runs. The following snippet shows how you can define S2I mode with a galleon feature pack for a PostgreSQL data source in the build section, as well as how to set the clustered servers (with three replicas) in the deploy section:
build:
  mode: s2i
  s2i:
    featurePacks:
      - org.jboss.eap:eap-datasources-galleon-pack:7.4.0.GA-redhat-00003
    galleonLayers: cloud-server,postgresql-datasource,ejb
  env:
    - name: ARTIFACT_DIR
      value: todo-backend/target
 deploy:
  replicas: 3
Click the Install button after you add the custom configuration to the YAML file. You can find the entire YAML configuration at the Todo back-end repository.
Note: You will probably see an ErrImagePull or ImagePullBackOff message in the resources, as shown in Figure 4. No worries—your JBoss EAP 7.4 application is building successfully, but your deployment will report ErrImagePull and ImagePullBackOff until the build is complete.

Deploying a PostgreSQL database
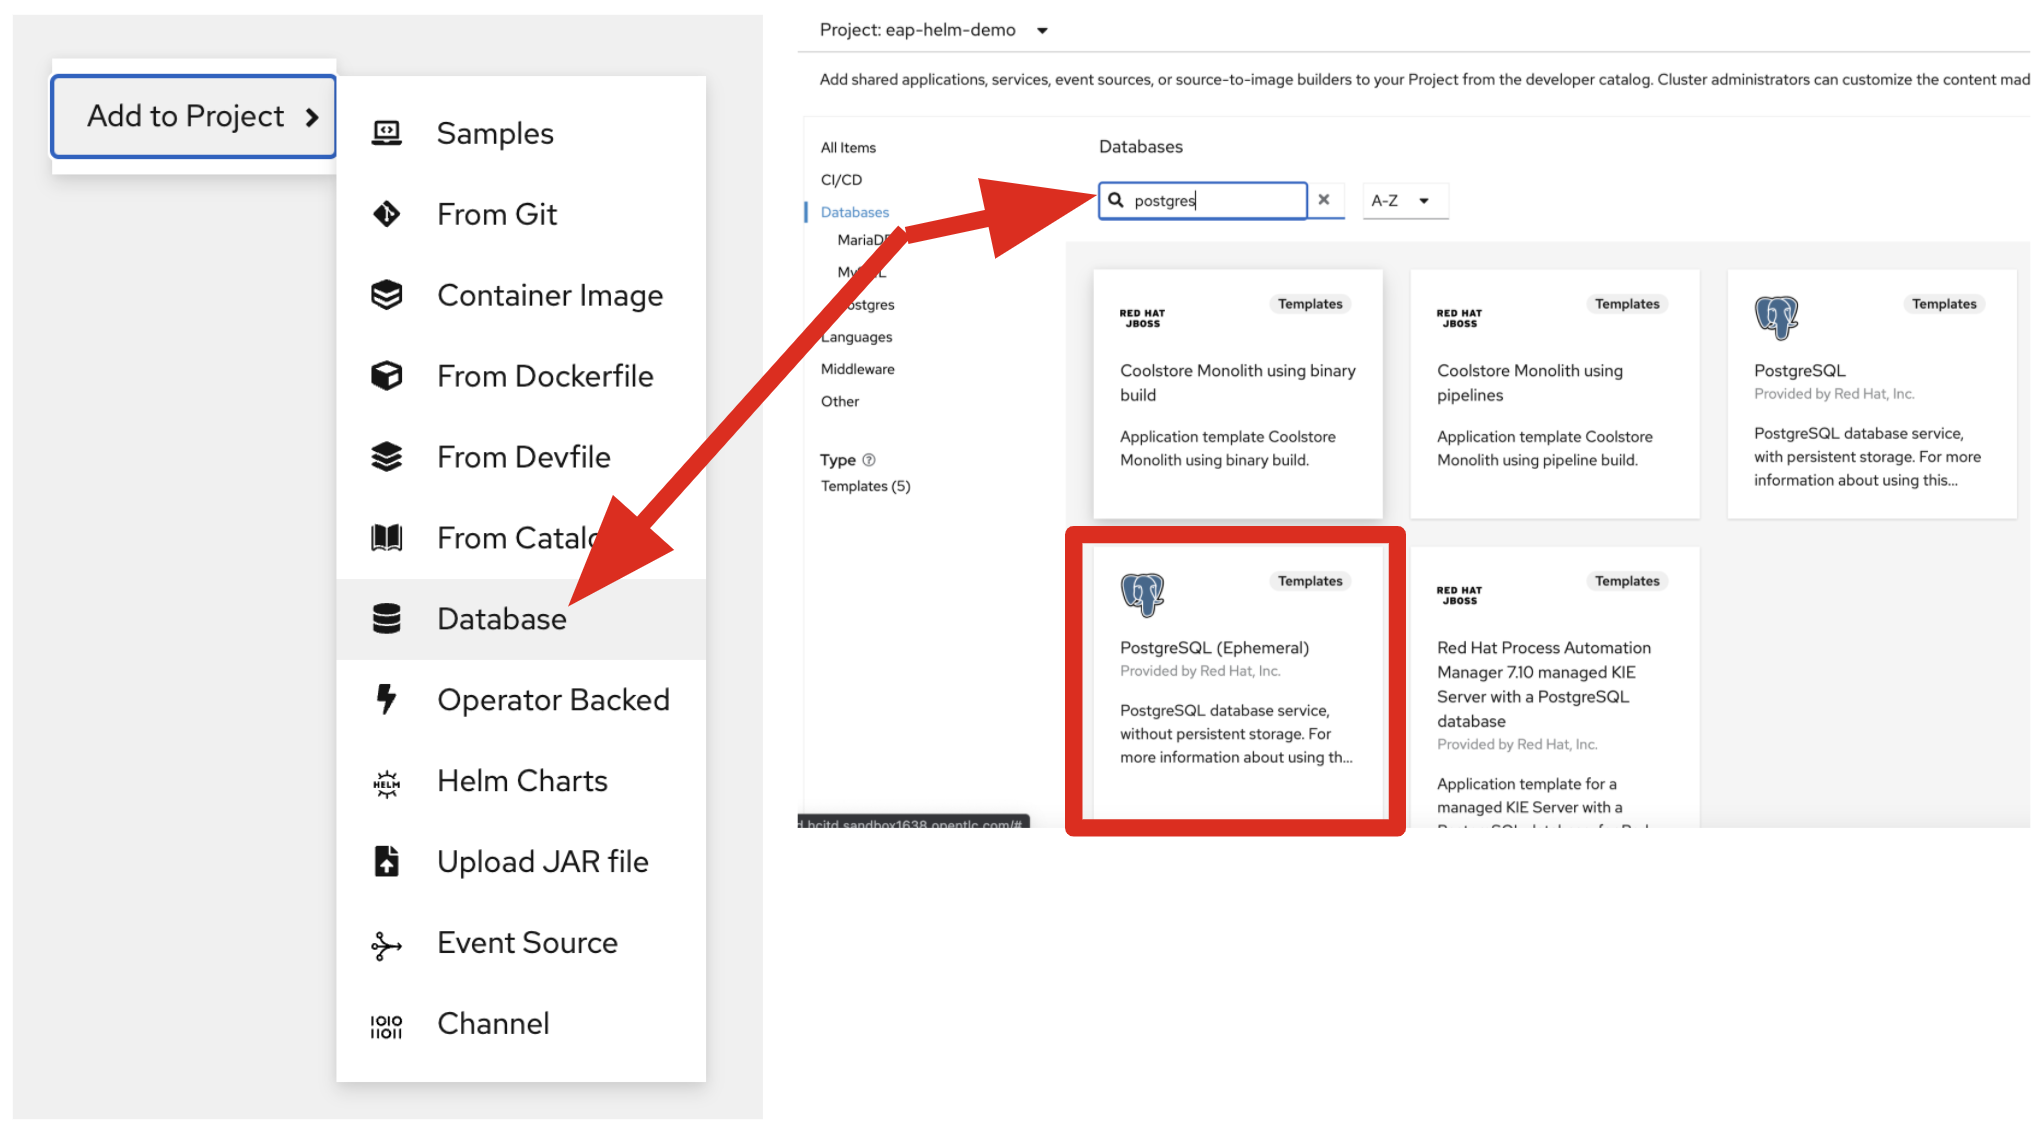
Let’s now deploy a new PostgreSQL database to communicate with the JBoss EAP servers. Right-click on the Topology view, then select Database in the pop-up menu. Next, enter postgres into the search box and click on the PostgreSQL (Ephemeral) template, as shown in Figure 5.
Click Instantiate Template and fill in the following fields, as shown in Figure 6, leaving the other fields at their default values.
- Database Service Name:
todos-db - PostgreSQL Connection Username:
todos-db - PostgreSQL Connection Password:
todos-db - PostgreSQL Database Name:
todos-db
Then click Create, as shown in Figure 6.

Once the application build is complete, your image is automatically rolled out as shown in Figure 7. Create a connector between the JBoss EAP pod and the PostgreSQL pod via the drag-and-drop feature in the Topology view.

When you click Open URL, a new web page opens automatically. Copy the route URL for the next step.
Testing the enterprise Java application
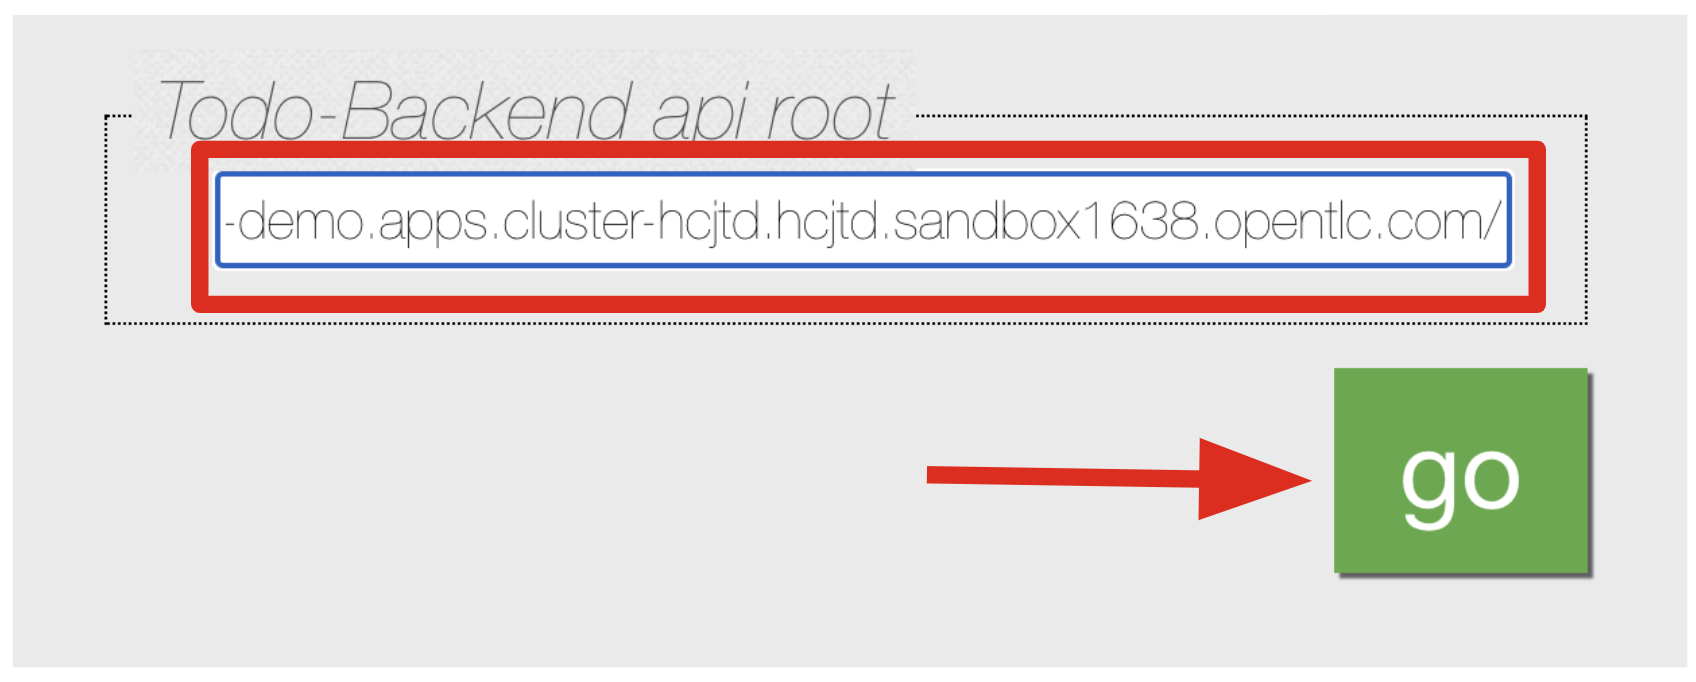
When the deployment is complete, visit your Todo front-end application by opening a new window in a web browser and pasting in the route URL you copied in the previous step. Then click the go button shown in Figure 8.
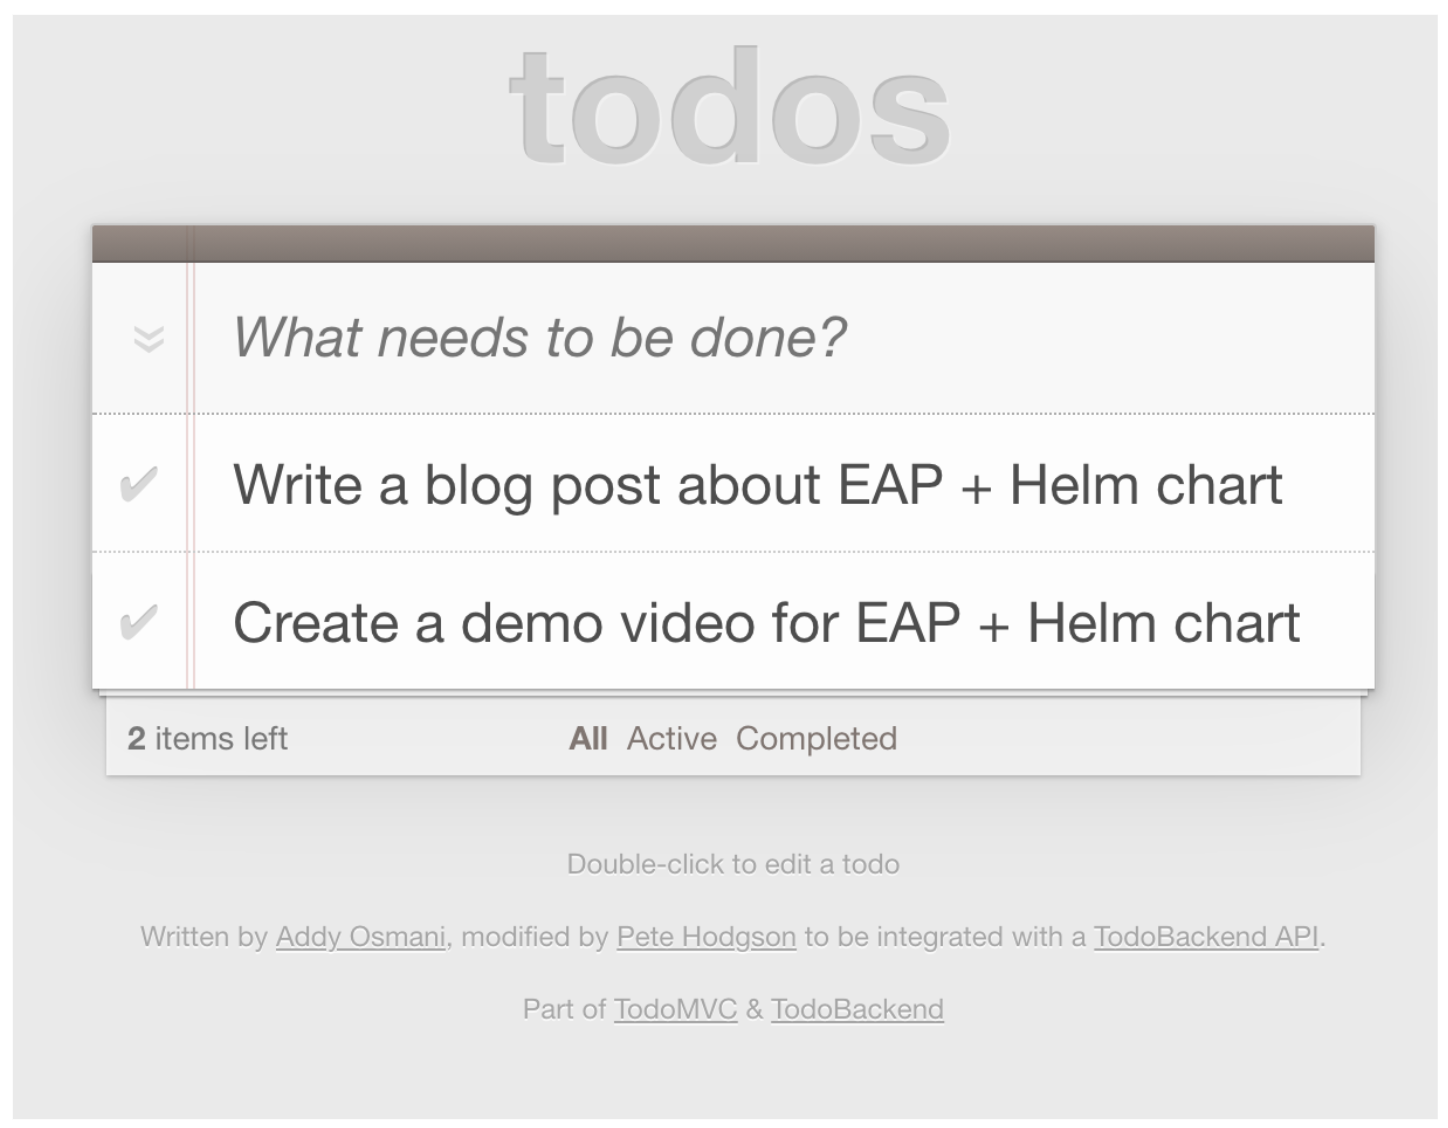
Now you should be able to add, update, and remove items in the to-do list, as shown in Figure 9.
What’s next
This article has shown how to deploy traditional enterprise Java applications to the cloud on Red Hat OpenShift using a Helm chart. The JBoss EAP Helm chart lets Java developers specify the application runtime environment on JBoss EAP in terms of build strategy, source repository, galleon feature packs, and server replication (clustering). The procedures shown in this article are much easier for developers than using OpenShift templates or Kubernetes Operators.
Read next: The next article in this series walks you through how to make this application a bootable JAR using JBoss EAP Extension Pack (XP) with a Helm chart.
Additional resources:
Last updated: July 25, 2023