Operators greatly increase the power of Kubernetes as an environment and orchestration tool for running scalable applications This article shows you how to create your own Kubernetes Operator. Although production applications often run in the cloud, you don't need a cloud service for the tutorial; you'll download everything you need onto a local system.
This article is an update to 'Hello, World' tutorial with Kubernetes Operators. Architecture upgrades in the Kubernetes Operator SDK (in version 0.20) put that article out of date. This tutorial takes you on the journey of writing your first Kubernetes Operator using Kubernetes Operator SDK 1.11+.
The role and behavior of Kubernetes Operators
A Kubernetes Operator manages your application's logistics. It contains code called a controller that runs periodically and checks the current state of your service's namespaced resources against the desired state. If the controller finds any differences, it restores your service to the desired state in a process called reconciliation. For instance, if a resource crashed, the controller restarts it.
You can imagine an unofficial agreement between you and the Kubernetes Operator:
You: "Hey Opo, I am creating the following resources. Now it's your responsibility to keep them running."
Operator: "Roger that! Will check back regularly."
You can build an operator with Helm Charts, Ansible playbooks, or Golang. In this article, we use Golang. We'll focus on a namespace-scoped operator (as opposed to a cluster-scoped operator) because it's more flexible and because we want to control only our own application. See the Kubernetes Operators 101 series for more background on operators.
Now we'll create an operator.
Setup and prerequisites
We'll start by getting these resources on your system:
- The Go language (Golang)
- The Minikube environment for running Kubernetes locally
- The Kubernetes Operator SDK 1.11+
For prerequisites, I recommend the following:
- Some programming language experience. This example uses Golang, so some knowledge of that language would be helpful but is not required.
- Patience (very important).
Let's set up the software requirements.
Install Golang
Get Golang version 1.16.x from the Golang download site, then configure the following environment variable:
$GOPATH=/your/preferred/path/Next, verify the installation:
# Verify
$ go version
go version go1.16.3 linux/amd64
Set up a cluster on Minikube
After downloading Minikube, make sure it is properly installed and running:
$ minikube status
minikube
type: Control Plane
host: Running
kubelet: Running
apiserver: Running
kubeconfig: Configured
Set up the Operator SDK
Install the Operator SDK, then verify that it is installed:
# Verify
$ operator-sdk version
operator-sdk version: "v1.11.0", commit: "28dcd12a776d8a8ff597e1d8527b08792e7312fd", kubernetes version: "1.20.2", go version: "go1.16.7", GOOS: "linux", GOARCH: "amd64"
Build the Kubernetes Operator
Now we'll build our Kubernetes Operator in just six steps. I provide a link to the code for you to download at each step.
Step 1: Generate boilerplate code
To create your local cluster, run the minikube start command:
$ mkdir -p $GOPATH/src/operators && cd $GOPATH/src/operators
$ minikube start init
Then run operator-sdk init to generate the boilerplate code for our example application:
$ operator-sdk initThe code for this step is available in my Hello Operator GitHub repository.
Step 2: Create APIs and a custom resource
In Kubernetes, the functions exposed for each service you want to provide are grouped together in a resource. Thus, when we create the APIs for our application, we also create their resource through a CustomResourceDefinition (CRD).
The following command creates an API and labels it Traveller through the --kind option. In the YAML configuration files created by the command, you can find a field labeled kind with the value Traveller. This field indicates that Traveller is used throughout the development process to refer to our APIs:
$ operator-sdk create api --version=v1alpha1 --kind=Traveller

Create Resource [y/n]
y
Create Controller [y/n]
y
...
...
We have asked the command also to create a controller to handle all operations corresponding to our kind. The file defining the controller is named traveller_controller.go.
The --version option can take any string, and you can set it to track your development on a project. Here, we've started with a modest value, indicating that our application is in alpha.
The code for this step is available in the Hello Operator GitHub repository.
Step 3: Download the dependencies
Our application uses the tidy module to remove dependencies we don't need, and the vendor module to consolidate packages. Install these modules as follows:
$ go mod tidy
$ go mod vendor
The code for this step is available in the Hello Operator GitHub repository.
Step 4: Create a deployment
Now we will create, under our Kubernetes Operator umbrella, the standard resources that make up a containerized application. Because a Kubernetes Operator runs iteratively to reconcile the state of your application, it's very important to write the controller to be idempotent: In other words, the controller can run the code multiple times without creating multiple instances of a resource.
The following repo includes a controller for a deployment resource in the file controllers/deployment.go.
The code for this step is available in the Hello Operator GitHub repository.
Step 5: Create a service
Because we want the pods created by our deployment to be accessible outside our system, we attach a service to the deployment we just created. The code is in the file controllers/service.go.
The code for this step is available in the Hello Operator GitHub repository.
Step 6: Add a reference in the controller
This step lets our controller know the existence of the deployment and service. It does this through edits to the reconciliation loop function of the traveller_controller.go file.
Find the code for this step in the Hello Operator GitHub repository.
Now, perhaps it's time for a hydration break. Then we'll try out our service.
Deploy the service
There are multiple ways to deploy our CRD:
- Run the server locally.
- Run the server in a cluster.
- Deploy the service via an Operator Lifecycle Manager (OLM) bundle.
For the sake of brevity, we will run the service locally.
Install the CRD
All we have to do to deploy our hard work locally is to run a build:
$ make installThis command registers our custom kind schema (Traveller in this case) within our Kubernetes cluster. Now any new request specifying this kind will be forwarded to our Traveller controller internally.
You will find the code for this step in the Hello Operator GitHub repository.
Deploy a CRD instance
We still have to enable our resources in Kubernetes. Queue up a request to create our resource through the following command:
$ kustomize build config/samples | kubectl apply -f -At this stage, our Kubernetes cluster is aware of our Traveller CRD. Spin up the controller:
$ make runThis command will execute the reconciliation function in traveller_controller.go, which in turn creates our deployment and service resources.
Run the Kubernetes Operator
Now we will dive into our local cluster and check its behavior.
Check the state
Make sure that the resources are running:
$ kubectl get all

NAME                             READY   STATUS    RESTARTS   AGE
pod/hello-pod-6bbd776b6d-cxp46   1/1     Running   0          6m4s

NAME                      TYPE        CLUSTER-IP      EXTERNAL-IP   PORT(S)        AGE
service/backend-service   NodePort    10.xx.xxx.xxx   <none>        80:30685/TCP   6m4s
service/kubernetes        ClusterIP   10.xx.0.1       <none>        443/TCP        168m

NAME                        READY   UP-TO-DATE   AVAILABLE   AGE
deployment.apps/hello-pod   1/1     1            1           6m4s

NAME                                   DESIRED   CURRENT   READY   AGE
replicaset.apps/hello-pod-6bbd776b6d   1         1         1       6m4s
Expose the service
Open our newly created service in a browser as follows:
$ minikube service backend-service
|-----------|-----------------|-------------|---------------------------|
| NAMESPACE | NAME | TARGET PORT | URL |
|-----------|-----------------|-------------|---------------------------|
| default | backend-service | 80 | http://192.168.49.2:30685 |
|-----------|-----------------|-------------|---------------------------|
? Opening service default/backend-service in default browser...
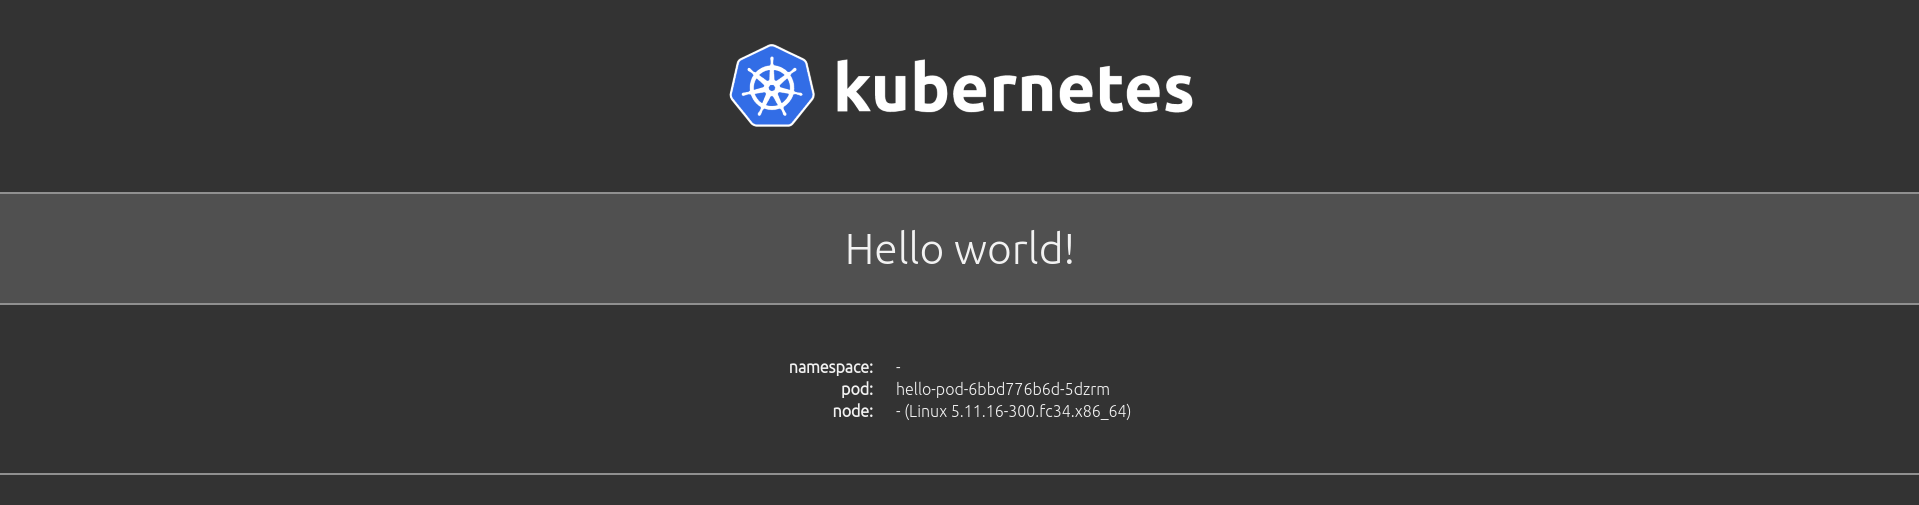
➜ ~ Opening in existing browser session.The browser screen should look like Figure 1.
Congratulations—you have just deployed your first Kubernetes Operator!
Conclusion
Operators extend Kubernetes APIs and create custom objects in the cluster. This feature of Kubernetes opens a number of avenues for developers to customize the cluster in a manner best suited for our application and environment. This article only touched on the power of Kubernetes Operators in a minimal way. They are capable of doing far more than what we accomplished here. I encourage you to take this article as a starting point for building awesome Kubernetes Operators.
Explore more Kubernetes resources:
Last updated: August 21, 2024