Page
Install Red Hat Developer Hub on Developer Sandbox for Red Hat OpenShift
This lesson will walk you through a simple installation of Red Hat Developer Hub (Developer Hub) on the Developer Sandbox for Red Hat OpenShift.
In this lesson, you will:
- Set up your Developer Sandbox.
- Install Developer Hub on the Developer Sandbox.
Set up your Developer Sandbox
The Developer Sandbox is a 30-day, no-cost OpenShift cluster. To prepare your instance for this lesson:
- Go to the Developer Sandbox page: https://sandbox.redhat.com/.
- If you are not logged in, you will reach the Log in to your Red Hat account screen.
- Do you have a Red Hat account?
- Yes - Follow the prompts to log in with your method of choice.
- No - Click Register for a Red Hat account and follow the process, then log in. You can use this account for many things throughout Red Hat.
- Once you reach https://sandbox.redhat.com/, click the Get started button to create or launch your Developer Sandbox.
- When you reach the "Congratulations, you're ready to get started!" dialog box, click Got it.
- Go to the Red Hat OpenShift tile and click Launch.
- When you reach the "Log in with..." screen, click DevSandbox. Follow the prompts to enter the Developer Sandbox.
You can launch the guided tour later at any time by going to the question mark icon in the upper-right corner next to your account name.
Note: While the Developer Sandbox gives you 30 days of access, it hibernates applications when you’re not using it. If you perform the installation and then come back to it after a day or more, you will find the pods that run Red Hat Developer Hub and the composite database have been scaled down to zero. Scale them back up to one, then allow them some time to settle. We cover scaling your pods in Install Red Hat Developer Hub on Developer Sandbox.
Install Red Hat Developer Hub in your Developer Sandbox
Now that you are in your Developer Sandbox account:
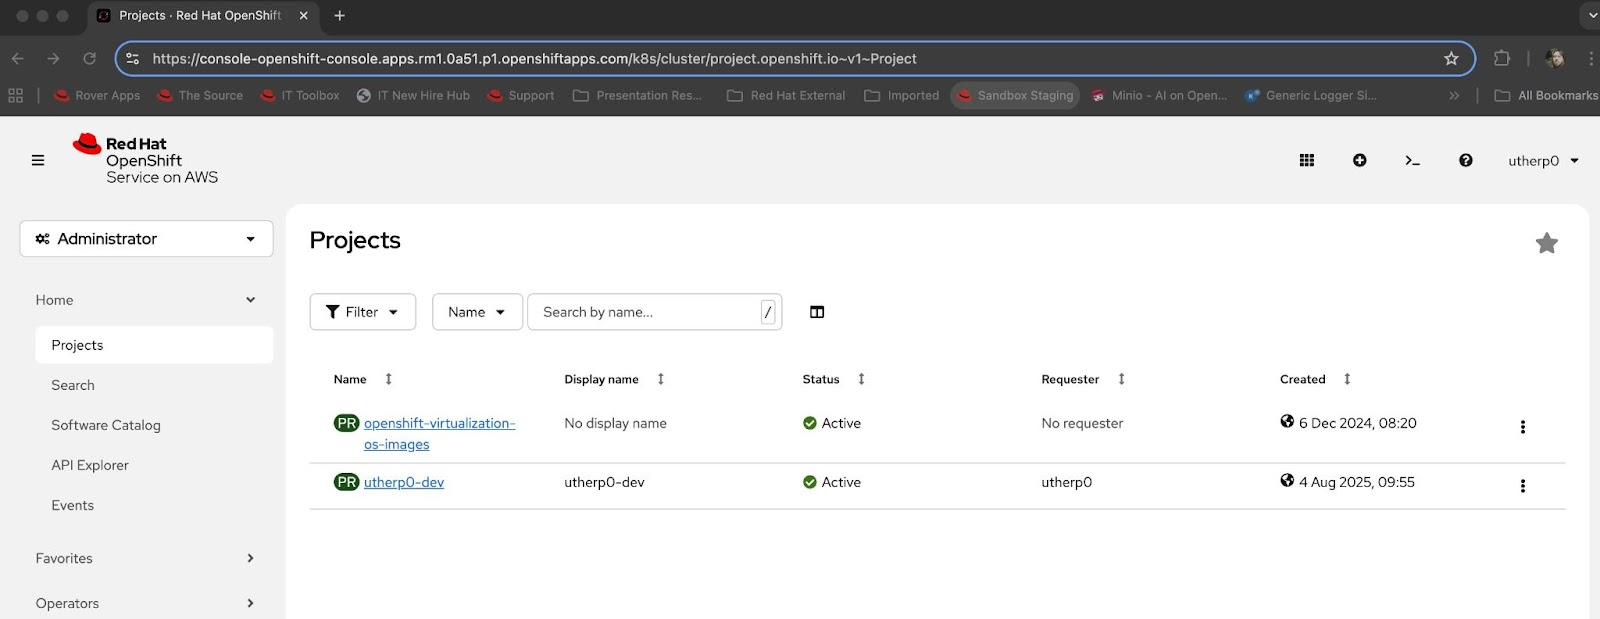
Select Administrator to change to the Administrator viewpoint. You will see a screen that shows your allowed projects on the Developer Sandbox (Figure 4). You may see extra projects; these are to do with the Virtualization engine. We are interested in the project that starts with your username and ends with
-dev. If you do not see the projects, simply click on Home and then Projects.
Figure 4: Directly view your OpenShift projects in the Developer Sandbox. - Click on the project that starts with your username and ends with
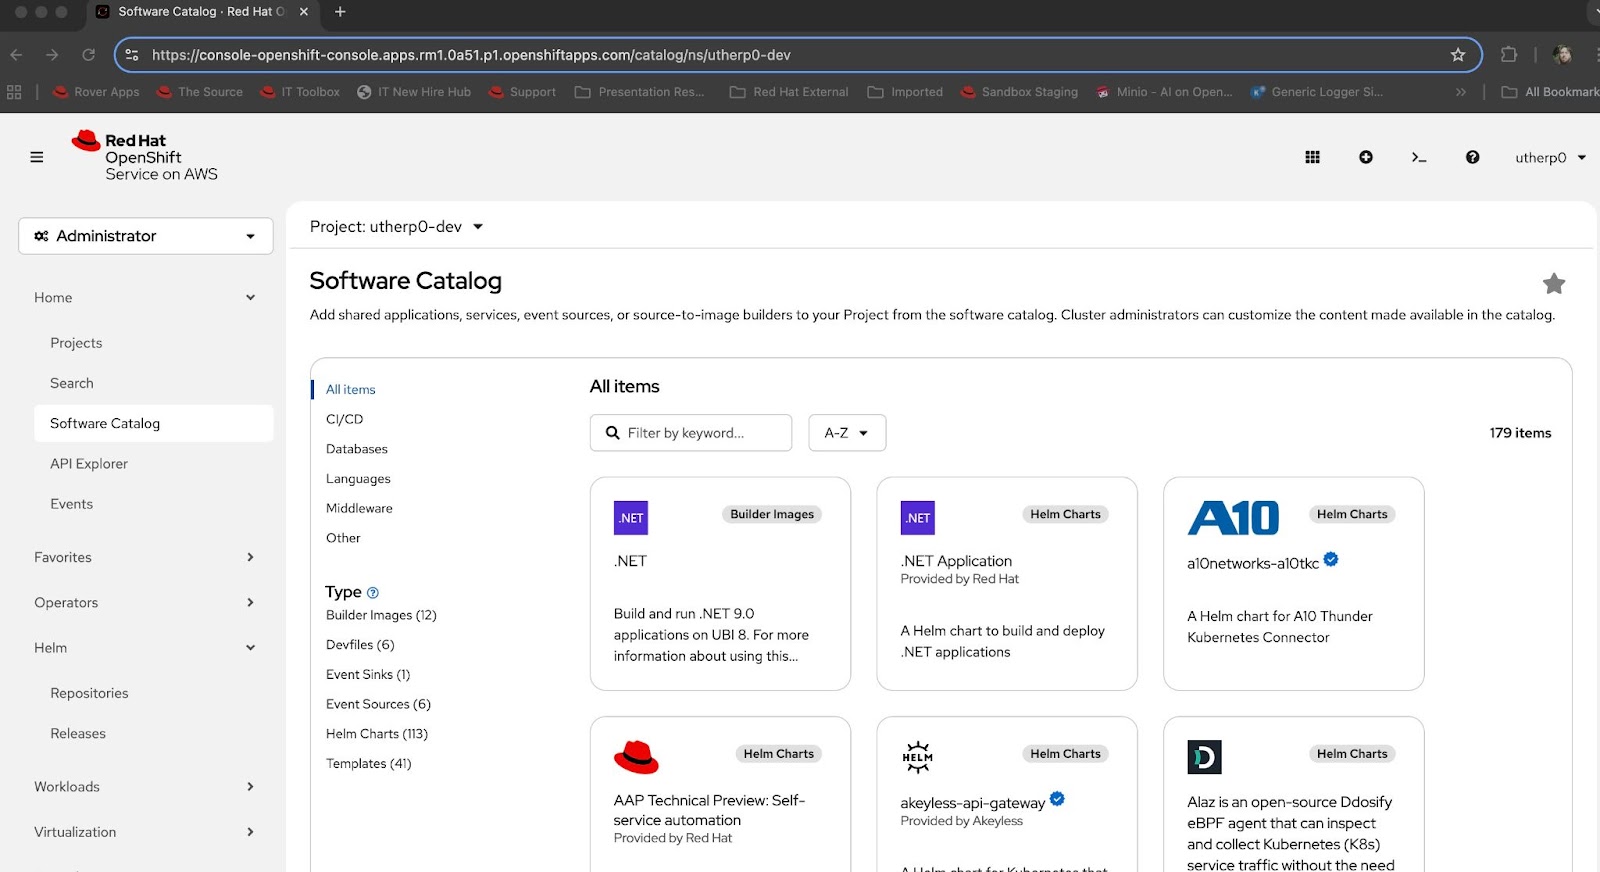
-dev. Now click on Home and Software Catalog (Figure 5).
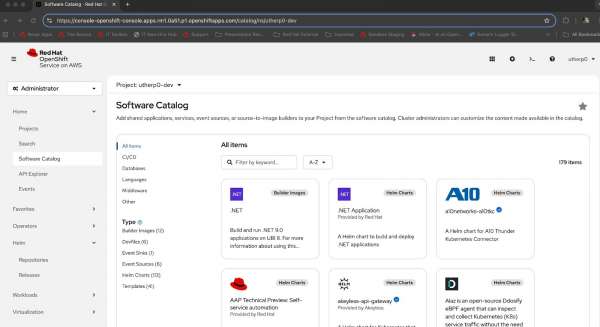
Figure 5: The Software Catalog provides access to the developer catalog. Now it’s time to install the Developer Hub components using the Helm chart. Under Developer Catalog, select Helm chart and type developer hub into the search box (Figure 6).
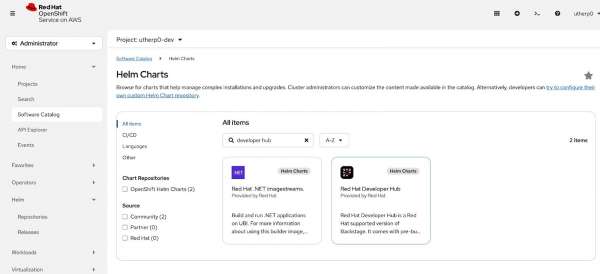
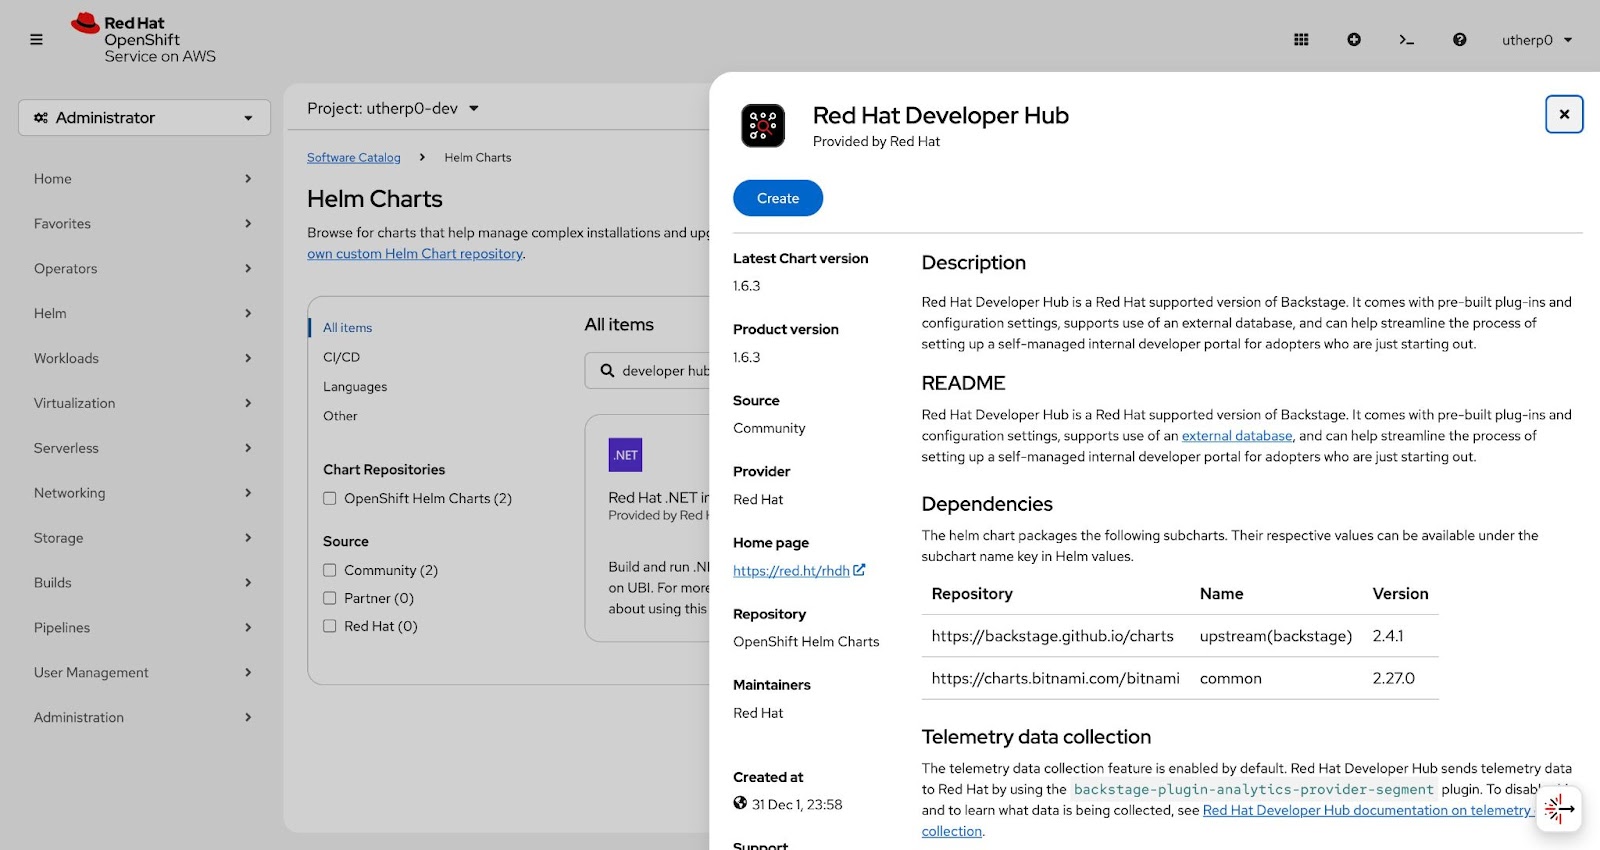
Figure 6: The OpenShift Helm Charts screen inside the Developer Sandbox Click on the Backstage Helm chart (Figure 7).
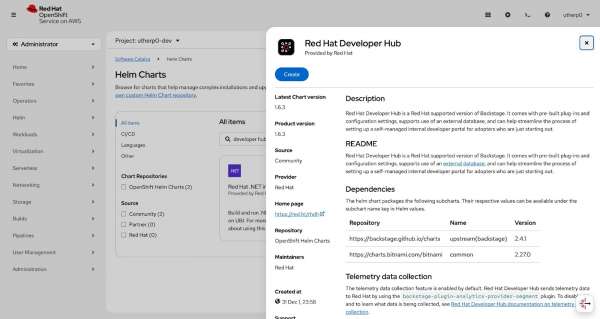
Figure 7: Click Create to install Red Hat Developer Hub via this Helm chart. Click Create to reach the Create Helm Release screen (Figure 8).
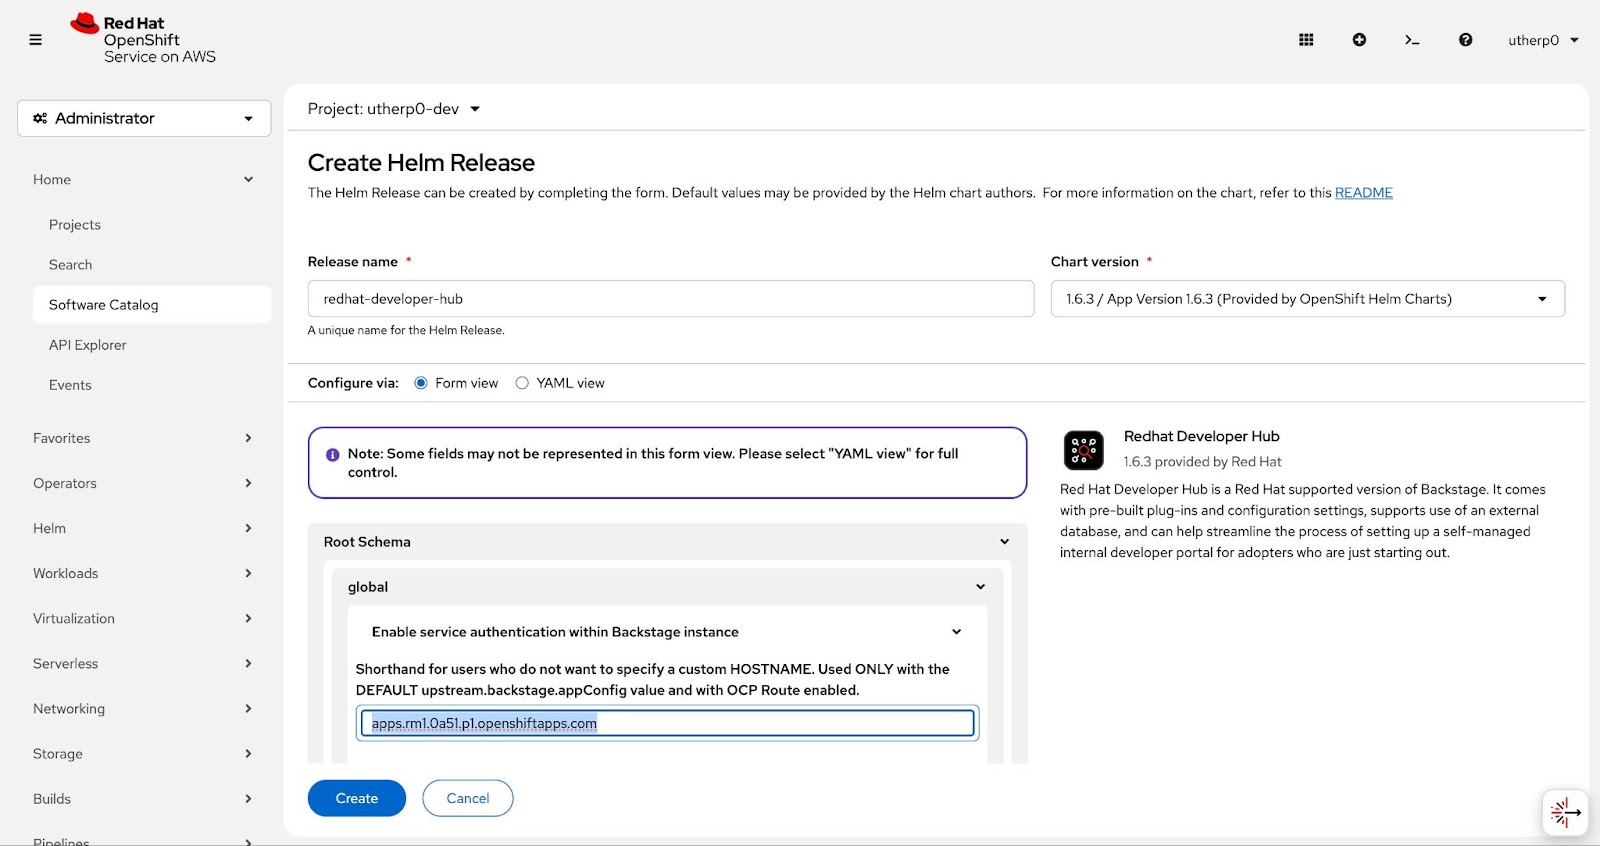
For the sake of initial simplicity, you will install Developer Hub with all of the defaults, then add additional features (including GitHub authorization) after installation. The advantage of installing Developer Hub onto OpenShift is that we can change the configuration parameters via injected Secrets and ConfigMaps after we have a running version. Doing this restarts the pods with the new configuration injected as additional configuration files to be used by Developer Hub, which simplifies customizing and configuring it.
When we have an Operator, installation will be even simpler, with configuration options injected directly as components in the Custom Resource.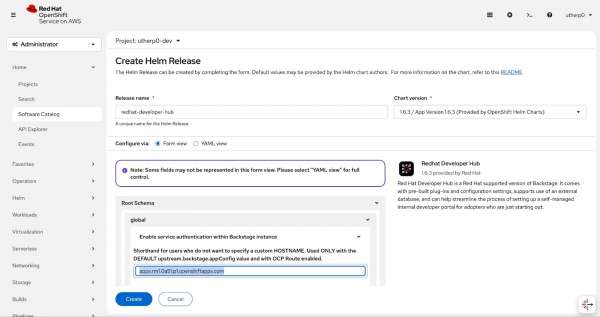
Figure 8: In the Create Helm Release screen, you can configure your Helm chart before creating it. - Navigate to Root Schema -> global. Then, under Enable service authentication within Backstage instance, enter the required shorthand in the format
apps.{your_sandbox_url}.openshiftapps.com(See the URL bar at the top of Figure 8 to see where to find this information in your Developer Sandbox URL). For example:apps.rm3.7wse.p1.openshiftapp.com - Click Create.

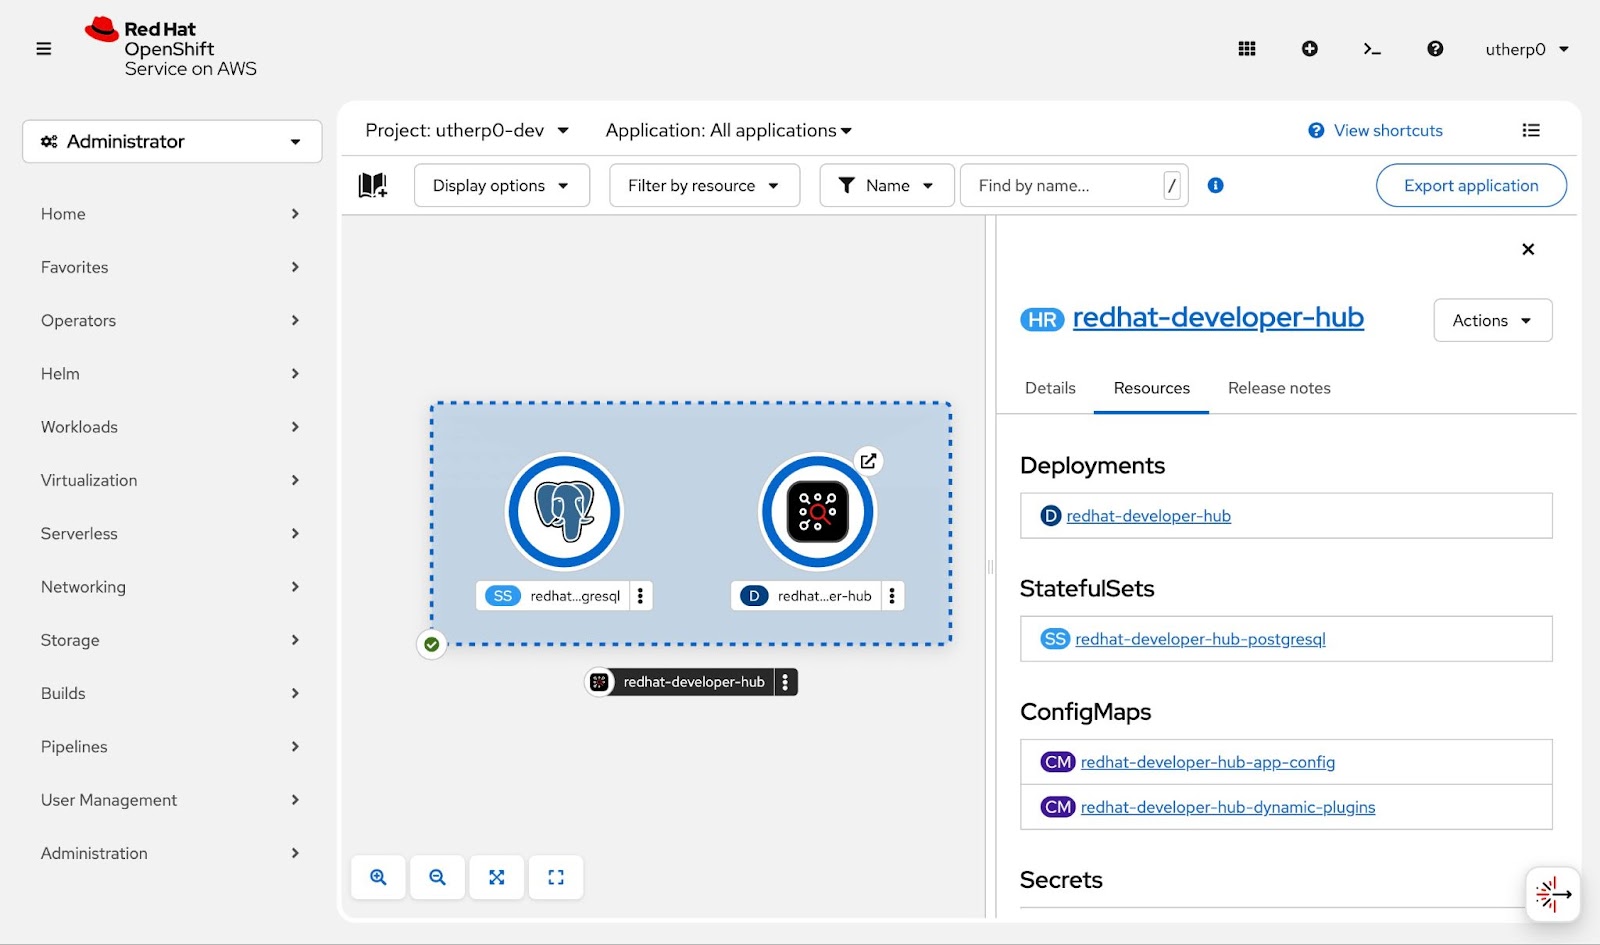
The Helm chart installs the pre-configured components needed for the Red Hat Developer Hub application. In our case, it installs a StatefulSet for the database. Developer Hub uses Postgres as its storage mechanism, and the Helm chart installs and configures the database for you as well as an instance of the Developer Hub application. This application is the controller that serves the UI that the end users consume.
You, as the platform engineer, control the configuration of this application, which stores its objects and state in the Postgres database. If you leave it for a couple of minutes, the application will install and stabilize (Figure 9).
Info alert: Note: An OpenShift project is effectively a grouping of objects that are accessed and interacted with together.
The roundels (the round edges of the icons) for both the StatefulSet (database) and the application should be blue. There are 3 shades of blue as a pod is launched, each getting darker until the required pods are running and healthy. You can verify that launch is complete by clicking the developer-hub circle to see more details. The circle will show "1 Pod" when you're ready to proceed.
You have now installed a version of Developer Hub, albeit one that needs more configuration so your users can consume it.
For now, select the Route icon in the top-right of the roundel for the developer-hub application, and the screen in Figure 10 will appear in a separate tab. Make note of your route URL, you will need it later.
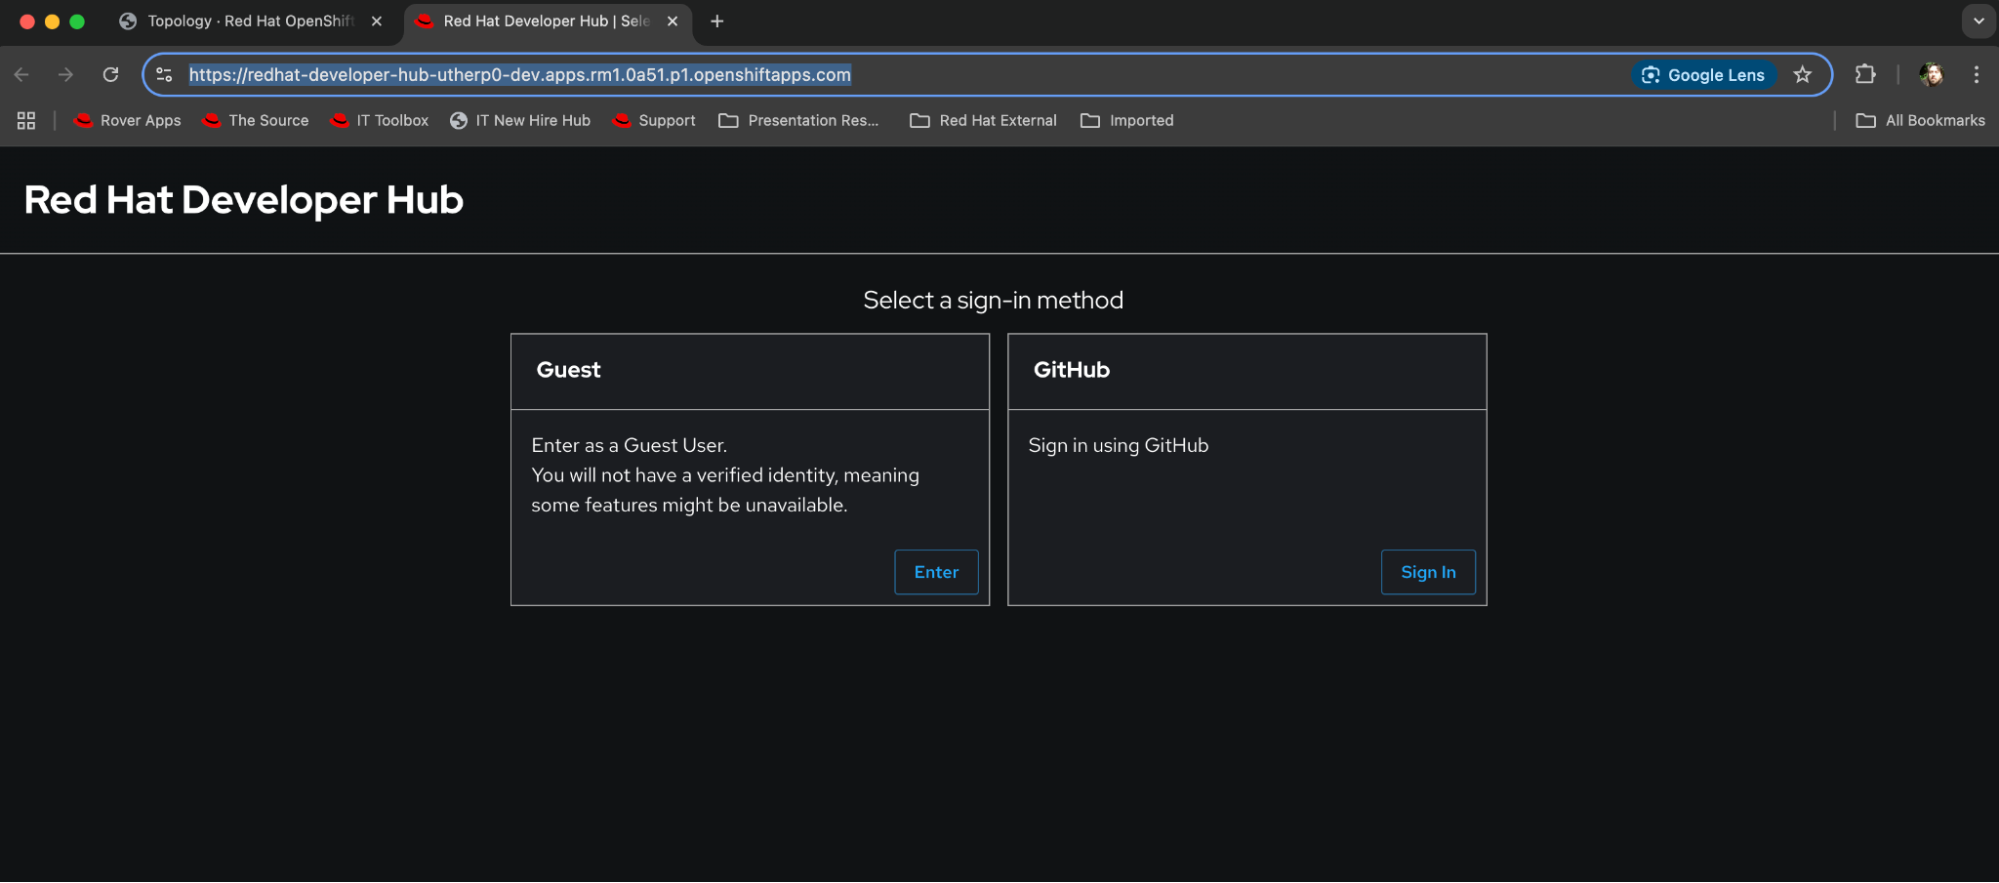
Your application is now running with its default configuration.
