Creating, associating, and using a database with a MicroProfile-based microservice
In this blog post, I will cover how to create, populate, and associate a database to your MicroProfile-based microservice. I will also cover how to modify your microservice so that it makes use of the database.
This is the continuation of the "A MicroProfile-based microservice on OpenShift Container Platform - Part 1; Creating a simple MicroProfile-based microservice and deploying it to OpenShift Container Platform" blog post and it assumes you have completed all its steps. If you have not done Part 1, please do so at this time.
Steps
Creating a database, associating it to the microservice and populating it
The Eclipse MicroProfile 1.0 specification does not include an ORM/JPA/DatabaseAccess-type API yet, it may or may not include one in the future. If you’d like to provide your feedback on what APIs should be included in future releases, please visit the Eclipse MicroProfile community and start a new thread, so we will need to include the datasources WildFly Swarm fraction as well as a dependency to Postgresql to our application.
The first thing is to set-up a postgresql database and connect it to your MicroProfile-based microservice. To keep the number of non-MicroProfile fractions to a minimum, I decided to take a more inline implementation approach for the database creation and integration to the MicroProfile-based microservice. The best practices and more declarative approach would be to use JPA to map Java objects to the database and use these Java objects in the microservice, however, this would have required the inclusion of another WildFly Swarm fraction, namely the JPA fraction.
Make sure to go to the Projects page first:
And click on "Add to project":
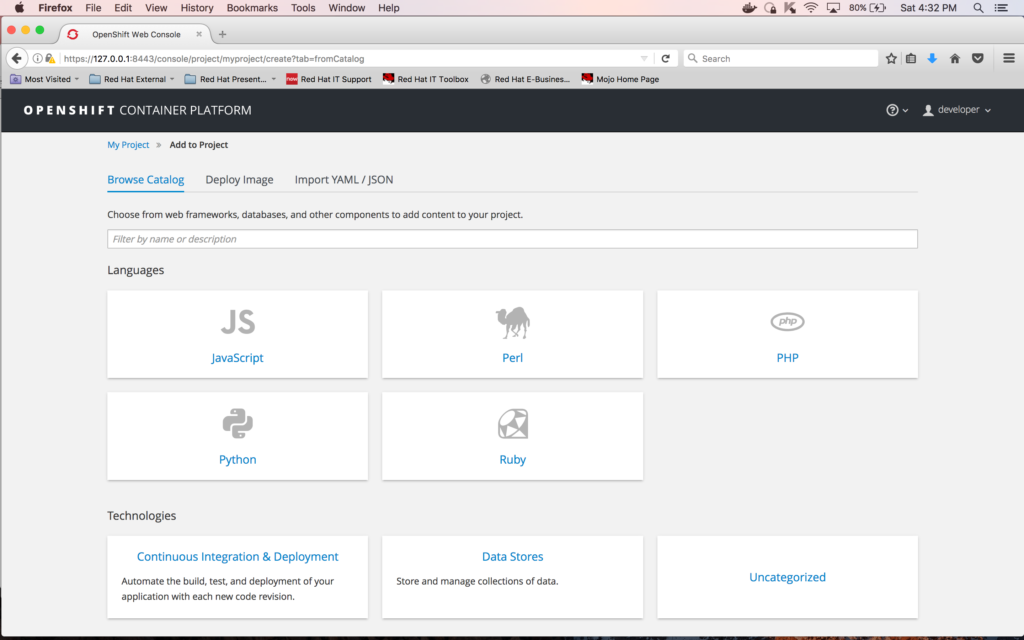
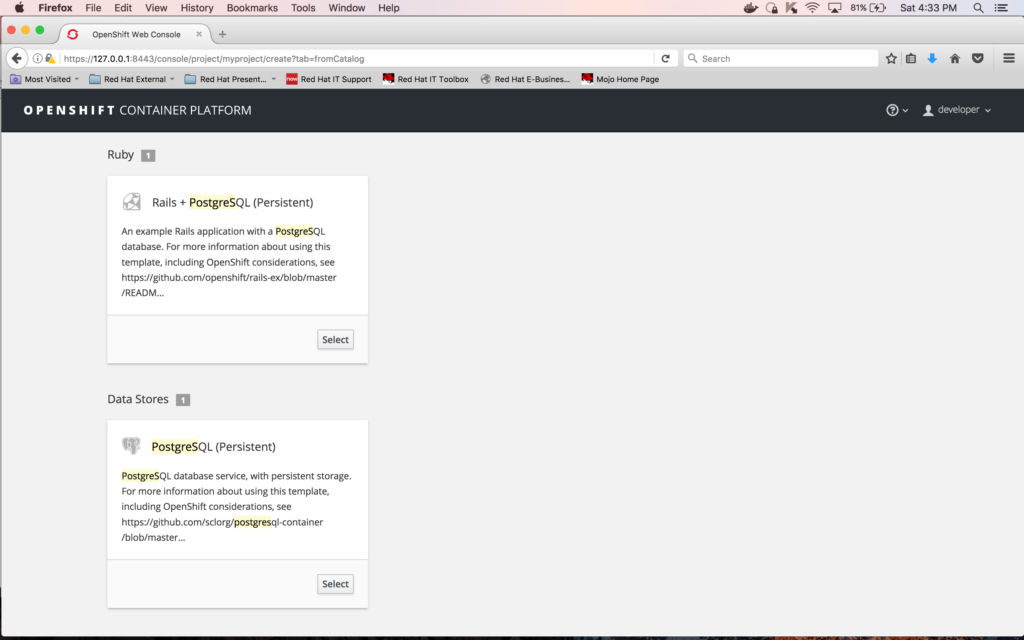
Enter "postgres" in the filter box and click the "Select" button on "PostgreSQL (Persistent)" tile:
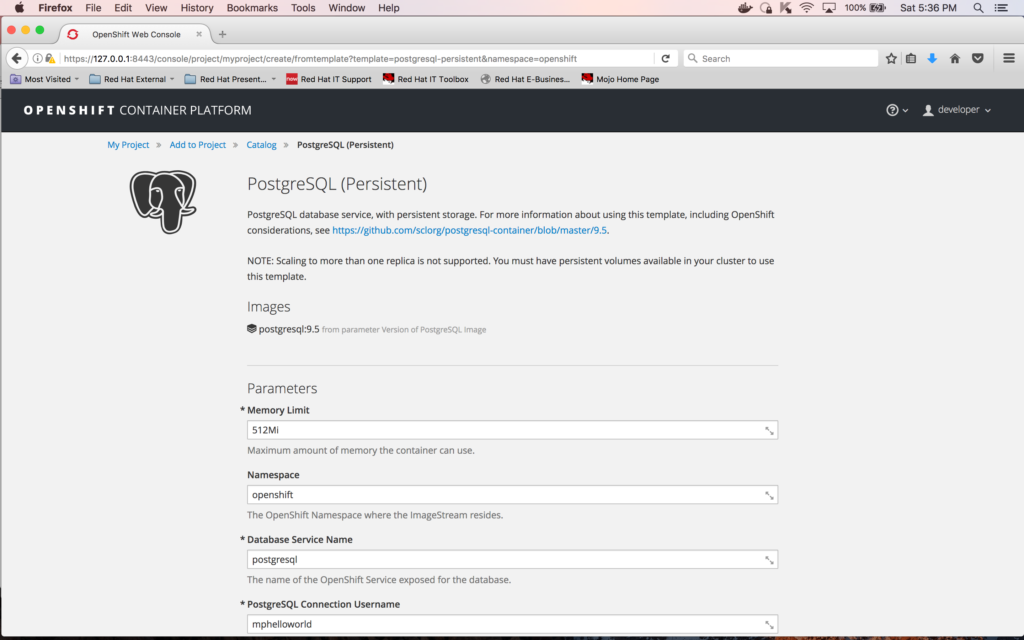
Once you press "Select", you will get the configuration settings screen for the database that you’re about to create. Enter the following limits for the database (leave rest with default values):
Memory limit: 512Mi
Database Service Name: postgresql
PostgreSQL Connection Username: mphelloworld
PostgreSQL Connection Password: mphelloworld
PostgreSQL Database Name: mphelloworlddb
Label name: project
Label value: mpHelloWorld
After entering all the values, click on the "Create" button at the bottom of the page (you need to scroll down until you see it):
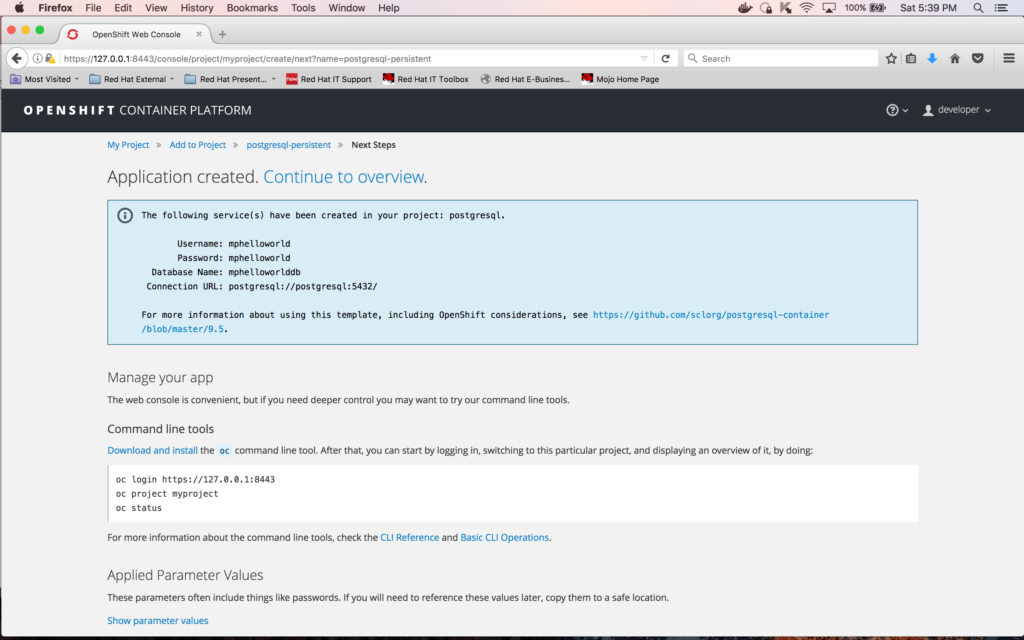
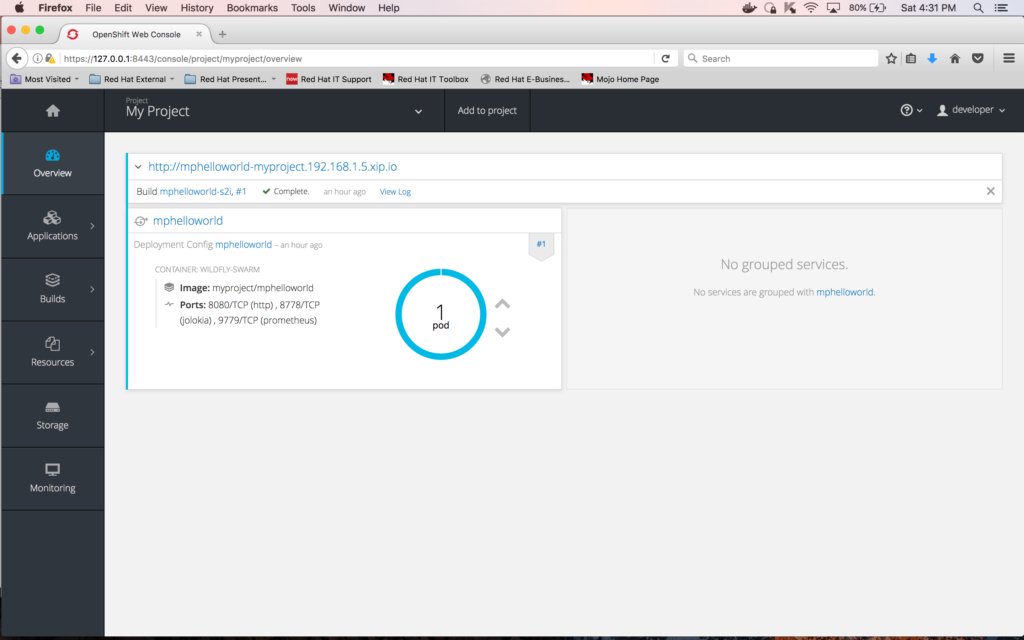
Click on "Continue to overview"; the following screen will display:
Associating the database to the microservice
In order for the microservice "mphelloworld" to be able to communicate with the database, we need to include some environment variables in its DeploymentConfig. This is accomplished by entering the following command (make sure you are in the top-level directory of the MicroProfile-based microservice on your laptop):
oc env dc mphelloworld -e POSTGRESQL_USER=mphelloworld -e PGPASSWORD=mphelloworld -e POSTGRESQL_DATABASE=mphelloworlddb
Here's a screen snapshot of the command above:

This update will cause an automatic re-deployment of the "mphelloworld" pod.
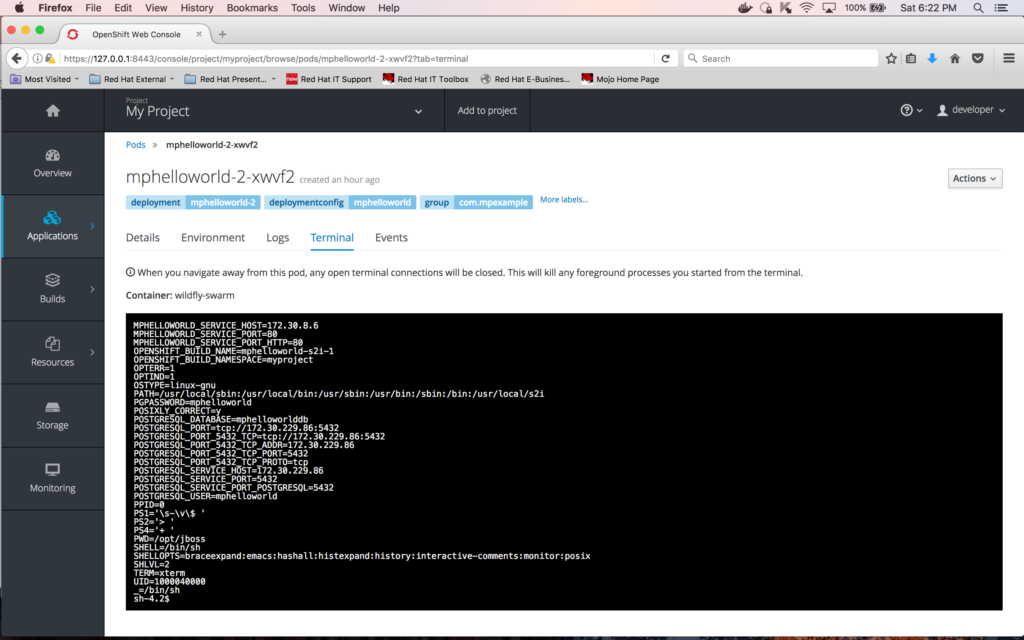
If you’d like to verify that these environment variables are now part of the newly deployed "mphelloworld" pod, you can go to the Terminal for the pod and enter "set" at the Terminal prompt:
Populating the database
We need to populate the database now and to this end, you need to create a file with the content below (Notice that the table name is "names" and its columns are "id" and "string"):
DROP TABLE IF EXISTS names;
BEGIN;
CREATE TABLE names (id serial PRIMARY KEY, string varchar);
INSERT INTO names (string) VALUES ('Johnny');
INSERT INTO names (string) VALUES ('Jenny');
INSERT INTO names (string) VALUES ('Billy');
INSERT INTO names (string) VALUES ('Mary');
INSERT INTO names (string) VALUES ('Bobby');
COMMIT;
You can cut the text above and paste it into a file on your local drive. Save the file and give it the name "names.sql". Make sure to create a staging directory, call it "stage", and then move the file "names.sql" to the directory "stage".
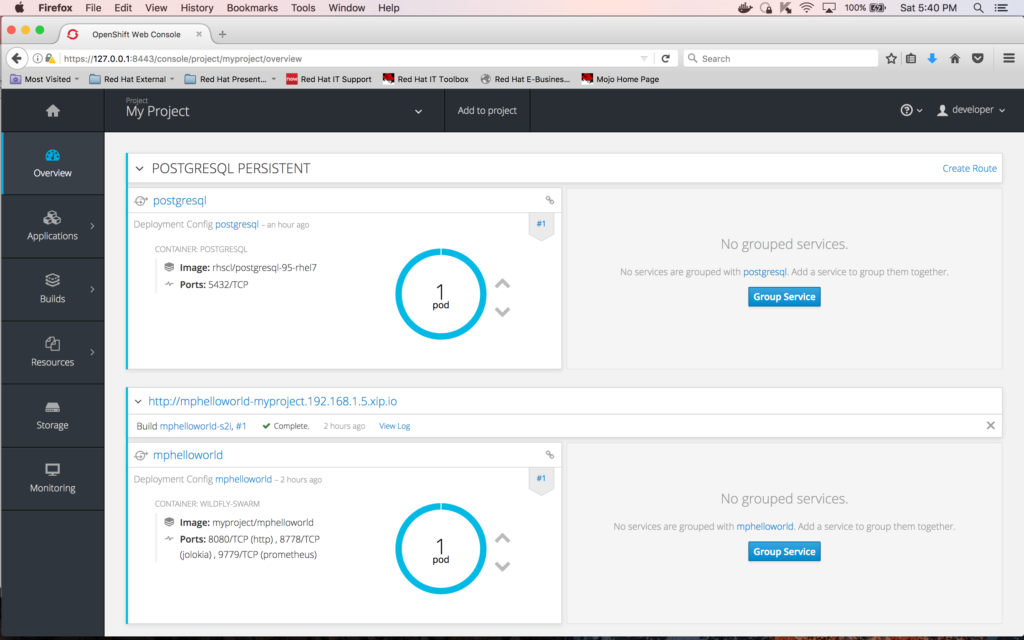
The next step is to copy this file to your "postgresql" pod. But first, you need to get the instance name of the pod. Go to the overview screen that lists all the pods in your project by clicking on the "Overview" icon on the left vertical toolbar:

Then, click on the circle surrounding the "1 pod" label for "postgresql"; this will take you to the detailed pod information screen:
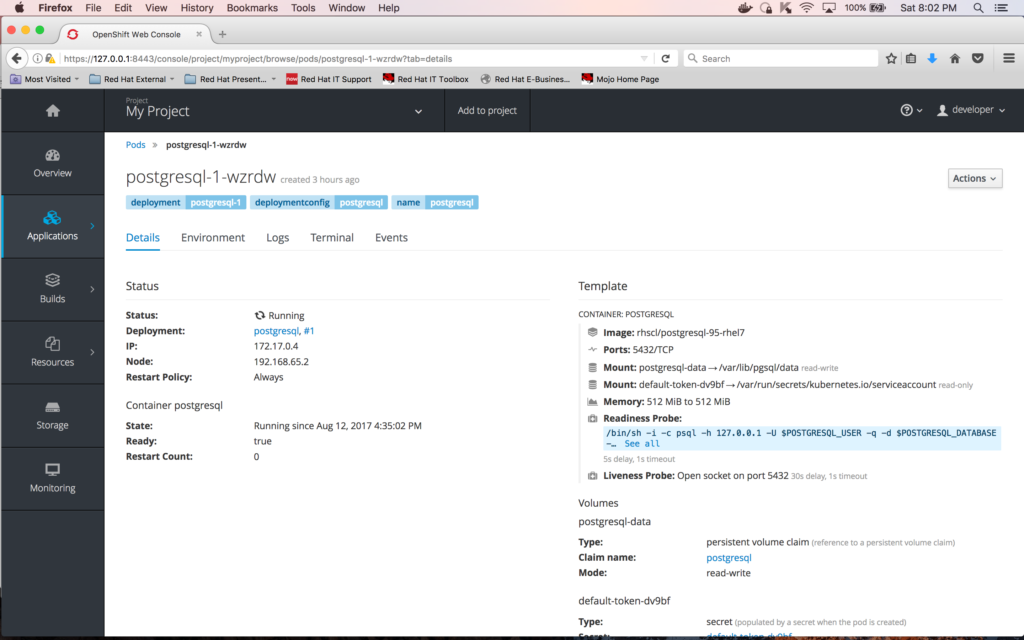
On this screen, you can see the name of the container, which is "postgresql-1-wzrdw".
OpenShift is very strict with permissions and what directories you can write or not in the container. One good place that will always be writeable in a container is the directory /tmp. So, copy the file "names.sql" from your local drive (the rsync command takes a directory as its arguments - this is the reason that we needed to create a directory called "stage" and moved the "names.sql" file to it) to the pod "postgresql-1-wzrdw" by executing the following command:
oc rsync stage/ postgresql-1-wzrdw:/tmp
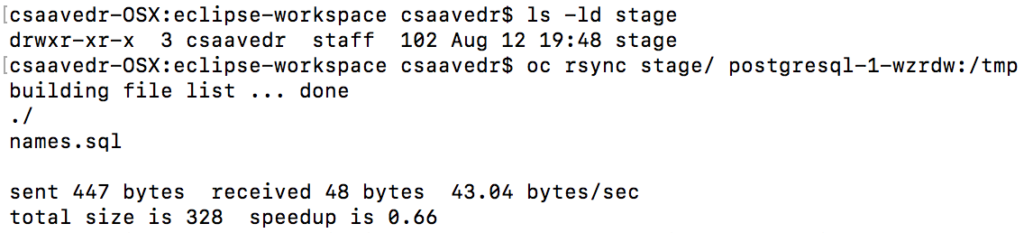
In the preceding command, the slash at the end of the directory "stage" tells rsync to move the contents of the directory "stage" (in this case, the command will only copy the file "names.sql" to the container).
To verify that the file was successfully copied to the container, go to the Terminal for the container "postgresql-1-wzrdw" and do a directory of /tmp, as follows:
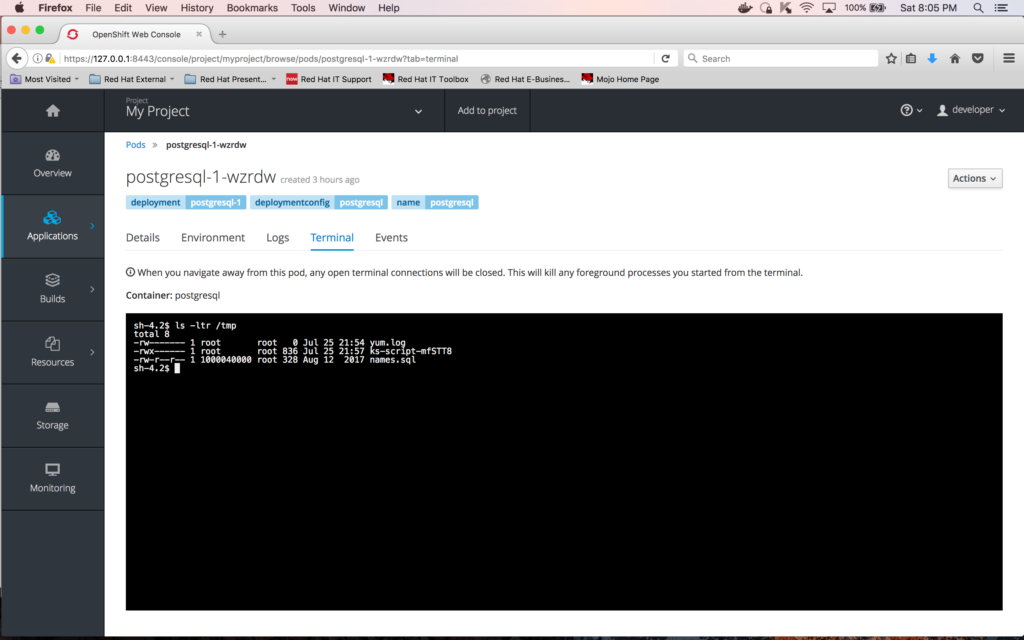
The screenshot above shows that the file "names.sql" was successfully copied to the container.
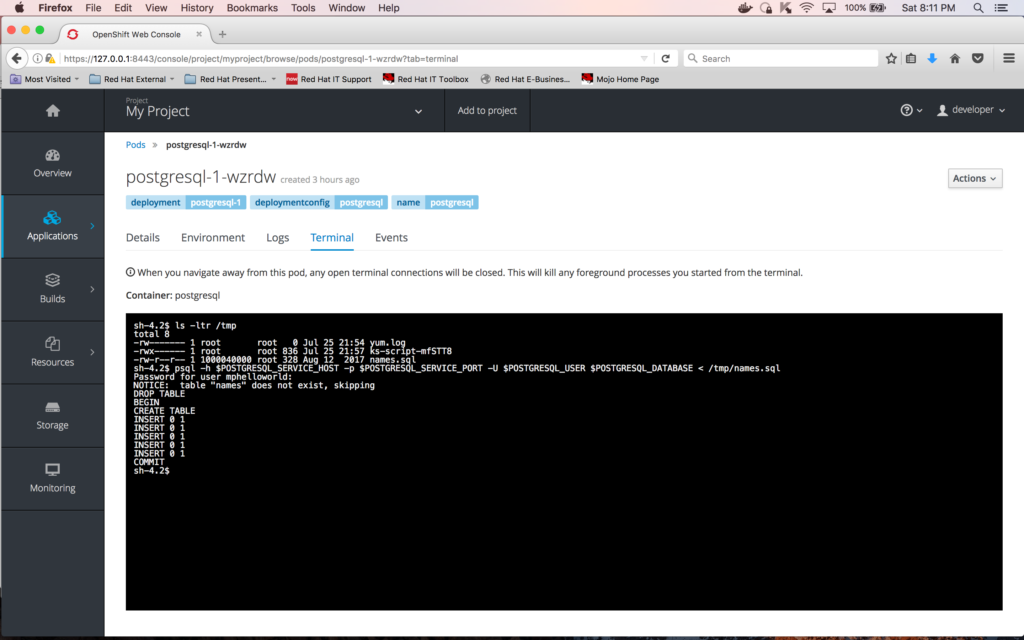
Next thing to do is to run the "names.sql" script to load the database. You do this by entering the following command in the Terminal window of the container:
psql -h $POSTGRESQL_SERVICE_HOST -p $POSTGRESQL_SERVICE_PORT -U $POSTGRESQL_USER $POSTGRESQL_DATABASE < /tmp/names.sql
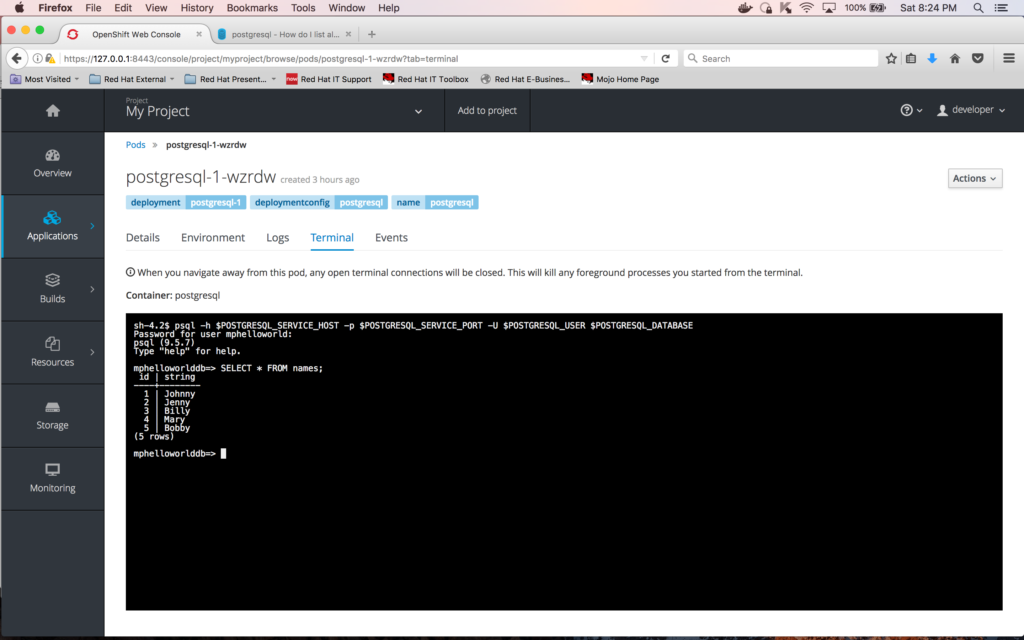
To verify the contents of the table "names", first enter the following command at the Terminal window of the container to connect to the database:
psql -h $POSTGRESQL_SERVICE_HOST -p $POSTGRESQL_SERVICE_PORT -U $POSTGRESQL_USER $POSTGRESQL_DATABASE
And the following query to see the contents of the table "names"
SELECT * FROM names;
Here is a snapshot of the execution of the two commands above:
Modifying the MicroProfile microservice to access the database
A microservice may need to make use of a database so it’s important to show how a MicroProfile microservice can accomplish this. MicroProfile 1.0 does not include any database-access libraries/APIs so we first need to manually include two dependencies into the application pom.xml:
- The first one is the dependency for the postgresql database:
<dependency>
<groupId>org.postgresql</groupId>
<artifactId>postgresql</artifactId>
<version>9.4-1200-jdbc41</version>
</dependency>
- And the second one is the dependency for the datasources WildFly Swarm fraction:
<dependency>
<groupId>org.wildfly.swarm</groupId>
<artifactId>datasources</artifactId>
</dependency>
Using a text editor or IDE, open the project’s pom.xml and enter the dependencies above.
Here’s a snippet of the before picture of the pom.xml:
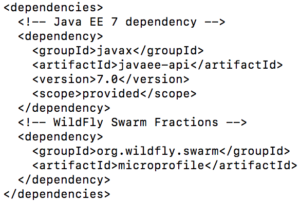
And here’s a snippet of the after picture of the pom.xml:

Secondly, we need to add logic to the project to make use of the database. Change directory to src/main/java/com/mpexample/mpHelloWorld/rest, which is where the HelloWorldEndpoint.java program is.
cd <dir of your choice>/mpHelloWorld
cd src/main/java/com/mpexample/mpHelloWorld/rest
Edit the file "HelloWorldEndpoint.java" located in this directory and replace its entire content with the following code:
package com.mpexample.mpHelloWorld.rest;
import java.sql.Connection;
import java.sql.DriverManager;
import java.sql.ResultSet;
import java.sql.Statement;
import javax.enterprise.context.ApplicationScoped;
import javax.ws.rs.Path;
import javax.ws.rs.core.Response;
import javax.ws.rs.GET;
import javax.ws.rs.Produces;
@ApplicationScoped
@Path("/hello")
public class HelloWorldEndpoint {
@GET
@Produces("text/plain")
public Response doGet() {
String greeting = "Greeting should not be this one";
try {
String dbURL = "jdbc:postgresql://";
dbURL += System.getenv("POSTGRESQL_SERVICE_HOST");
dbURL += ":" + System.getenv("POSTGRESQL_SERVICE_PORT");
dbURL += "/" + System.getenv("POSTGRESQL_DATABASE");
String user = System.getenv("POSTGRESQL_USER");
String pass = System.getenv("PGPASSWORD");
Connection conn = DriverManager.getConnection(dbURL, user, pass);
if (conn != null) {
String sqlStmt = "select id AS theKey, string AS theName from names ORDER BY random() limit 1";
Statement stmt = conn.createStatement();
ResultSet rs = stmt.executeQuery(sqlStmt);
while (rs.next()) {
greeting = "Hello " + rs.getString("theName") + " from MicroProfile microservice";
}
rs.close();
conn.close();
}
} catch (Exception e) {
return Response.ok("Database connection problem!" + e.toString()).build();
}
return Response.ok(greeting.toString()).build();
}
}
After updating the source code, you need to rebuild and re-deploy the application by executing the following command:
mvn clean fabric8:build fabric8:deploy -DskipTests

This update will cause an automatic re-deployment of the "mphelloworld" pod, so its deployment configuration needs to be updated again. You accomplish this by entering the following command:
oc env dc mphelloworld -e POSTGRESQL_USER=mphelloworld -e PGPASSWORD=mphelloworld -e POSTGRESQL_DATABASE=mphelloworlddb
And here's a screen snapshot of the xterm window:
This deployment configuration update will cause an automatic re-deployment of the "mphelloworld" pod one more time.
Once the pod is deployed, you can test it by opening a browser window and entering the URL address:
http://mphelloworld-myproject.192.168.1.5.xip.io/hello
Every time you refresh this link, you should see the following message but with different names each time:
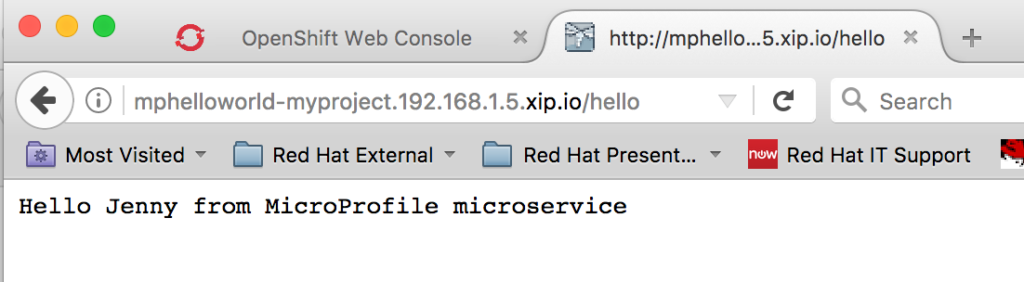
This concludes the second post of the series. In this blog post, you learned how to create a database, populate it, associate it to a MicroProfile-based microservice, which you modified to make use of the data in the database, and all on OpenShift Container Platform. Finally, you verified your MicroProfile-based service was running well by invoking it from a web browser and seeing how the returned message changed with each invocation.
In the next blog post, you will learn how to add JBoss Data Grid to cache the data coming from the database to improve the performance of your MicroProfile-based microservice.
To build your Java EE Microservice visit WildFly Swarm and download the cheat sheet.
Last updated: February 26, 2024