In Red Hat Ansible Automation Platform 2.6, you can deploy an integrated chatbot with embedded knowledge of the Ansible Automation Platform docs. This is called the Red Hat Ansible Lightspeed intelligent assistant. The chatbot can leverage a number of inference back ends. In this article series, we will explore deploying the inference service with Red Hat OpenShift AI on the same Red Hat OpenShift Container Platform cluster as Ansible Automation Platform.
OpenShift AI is an end-to-end platform built on Red Hat OpenShift, designed to streamline the entire lifecycle of AI/ML models, including large language models (LLMs).
In this first article of the series, we'll begin with a step-by-step guide to installing OpenShift AI as a self-managed software product on a self-managed OpenShift cluster. In subsequent blog posts, we will create an inference service on OpenShift AI to provide inference to an Ansible Automation Platform Lightspeed chatbot in the same OpenShift cluster.
This 3-part series will walk you through the following topics:
- Installing OpenShift AI.
- Deploying an inference service with OpenShift AI.
- Configuring Ansible Lightspeed to use your inference service.
OpenShift AI platform for LLMs
OpenShift AI, built on Red Hat OpenShift, provides an end-to-end platform designed to streamline the entire lifecycle of AI/ML models, including LLMs. It offers a suite of tools and capabilities that address the deployment challenges head-on:
- Kubernetes-native scalability: Leveraging the power of Kubernetes, OpenShift AI provides inherent scalability, allowing you to easily provision and de-provision resources based on demand. This is particularly beneficial for managing the fluctuating computational needs of LLMs.
- Integrated MLOps toolchain: OpenShift AI integrates various MLOps tools, offering capabilities for data preparation, model training, version control, model serving, and monitoring. This cohesive environment simplifies the operational aspects of LLM deployment.
- GPU acceleration: With strong support for GPU-enabled infrastructure, OpenShift AI ensures that LLMs can run efficiently, leveraging the specialized hardware they require.
Prerequisites
Ensure that you have the following prerequisites:
- An OpenShift cluster with a valid OpenShift license or trial. I don’t recommend using minimum-size OpenShift Container Platform master nodes, as we observed high CPU utilization on 4-CPU master nodes, which led to Kubernetes API availability problems. I recommend the 16 CPU master nodes.
- Cluster administrator privileges.
- A valid OpenShift AI license or trial.
- A valid Ansible Automation Platform license or subscription.
Notes and recommendations
Before we move ahead with the installations, it's important to keep the following in mind:
- Follow the installation instructions in the given order; going out of order can cause issues. The OpenShift AI operator looks for the Custom Resources defined by the operators it depends on and will not ever get to a ready state without them being present. It can degrade the health of the master nodes when the OpenShift AI operator is constantly looking for these custom resources.
- It is very important to install the versions provided in the installation instructions. Other versions are not compatible. Install Red Hat OpenShift Service Mesh 2, not Red Hat OpenShift Service Mesh 3.
Install OpenShift AI
Follow these simplified steps to install the OpenShift AI:
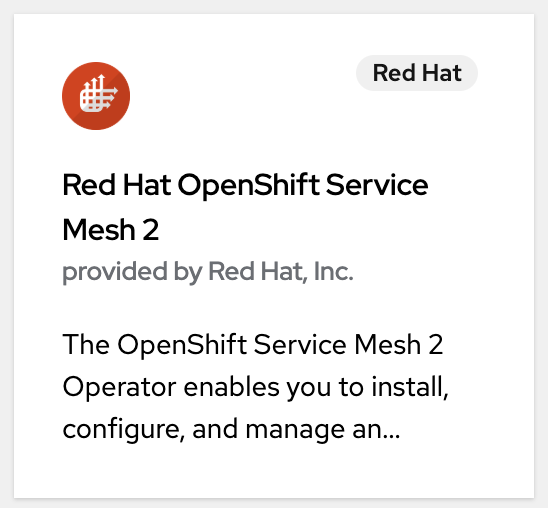
Install OpenShift Service Mesh by going to Operators → OperatorHub. Search for OpenShift Service Mesh 2 (Figure 1).

Figure 1: Installing this operator provisions the necessary custom resources (CRs). Install Red Hat OpenShift Serverless by going to Operators → OperatorHub. Search for OpenShift Serverless (Figure 2).

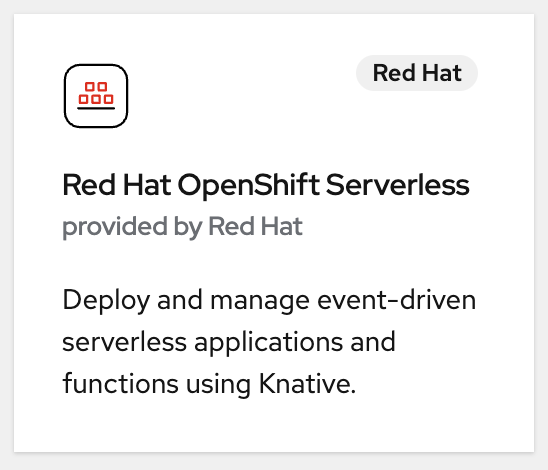
Figure 2: Installing the OpenShift Serverless operator provisions the necessary custom resources. Install OpenShift AI by going to Operators → OperatorHub. Search for OpenShift AI (Figure 3).
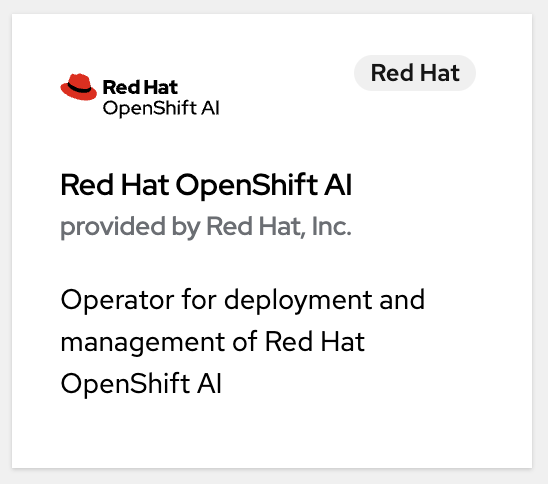
Figure 3: Installing OpenShift AI operators. - Validate the
default-dsciobject YAML file in the DSC Initialization tab of the OpenShift AI operator.- From the OpenShift homepage, go to Operators → Installed Operators. Click the OpenShift AI operator.
- In OpenShift AI, click the DSC Initialization tab.
- Click
default-dsci→ YAML tab. In the
specsection, validate that the value of themanagementStatefield for theserviceMeshcomponent is set toManaged, as follows:spec: applicationsNamespace: redhat-ods-applications monitoring: managementState: Managed namespace: redhat-ods-monitoring serviceMesh: controlPlane: metricsCollection: Istio name: data-science-smcp namespace: istio-system managementState: Managed
- Configure the
default-dscobject YAML file in the Data Science Cluster OpenShift AI operator tab.- From the OpenShift homepage, go to Operators → Installed Operators and select the OpenShift AI Operator.
- In OpenShift AI, select the Data Science Cluster tab.
- Select the default-dsc → YAML tab.
In the
spec.componentssection, configure thekservecomponent as follows:spec: components: kserve: managementState: Managed defaultDeploymentMode: Serverless RawDeploymentServiceConfig: Headed serving: ingressGateway: certificate: secretName: knative-serving-cert type: OpenshiftDefaultIngress managementState: Ma
Verify the KServe service:
- Go to Workloads → Pods.
- From the project list, select redhat-ods-applications. This is the project in which OpenShift AI components are installed, including KServe.
- Confirm that you see a running pod for the KServe controller manager, similar to the following:
kserve-controller-manager-7fbb7bccd4-t4c5g    1/1       Running
odh-model-controller-6c4759cc9b-cftmk         1/1       Running
odh-model-controller-6c4759cc9b-ngj8b         1/1       Running
odh-model-controller-6c4759cc9b-vnhq5         1/1       Running
Verify OpenShift Service Mesh:
- Go to Workloads → Pods.
- From the project list, select istio-system. This is the project in which OpenShift Service Mesh is installed.
Confirm that there are running pods for the service mesh control plane, ingress gateway, and egress gateway, similar to the following:
istio-egressgateway-7c46668687-fzsqj 1/1 Running istio-ingressgateway-77f94d8f85-fhsp9 1/1 Running istiod-data-science-smcp-cc8cfd9b8-2rkg4 1/1 Running- Verify OpenShift Serverless:
- Go to Workloads → Pods.
- From the project list, select knative-serving. This is the project in which OpenShift Serverless is installed.
Confirm that the
knative-servingproject contains numerous running pods. These include activator, autoscaler, controller, and domain mapping pods, as well as pods for the Knative Istio controller. The Knative Istio controller manages the integration of OpenShift Serverless and OpenShift Service Mesh. You should see pods similar to the following:activator-7586f6f744-nvdlb 2/2 Running activator-7586f6f744-sd77w 2/2 Running autoscaler-764fdf5d45-p2v98 2/2 Running autoscaler-764fdf5d45-x7dc6 2/2 Running autoscaler-hpa-7c7c4cd96d-2lkzg 1/1 Running autoscaler-hpa-7c7c4cd96d-gks9j 1/1 Running controller-5fdfc9567c-6cj9d 1/1 Running controller-5fdfc9567c-bf5x7 1/1 Running domain-mapping-56ccd85968-2hjvp 1/1 Running domain-mapping-56ccd85968-lg6mw 1/1 Running domainmapping-webhook-769b88695c-gp2hk 1/1 Running domainmapping-webhook-769b88695c-npn8g 1/1 Running net-istio-controller-7dfc6f668c-jb4xk 1/1 Running net-istio-controller-7dfc6f668c-jxs5p 1/1 Running net-istio-webhook-66d8f75d6f-bgd5r 1/1 Running net-istio-webhook-66d8f75d6f-hld75 1/1 Running webhook-7d49878bc4-8xjbr 1/1 Running webhook-7d49878bc4-s4xx4 1/1 Running
- Confirm the Ready state of the clusters:
- From the OpenShift homepage, go to Operators → Installed Operators. Select the OpenShift AI Operator.
- Check that the default-dsci object under DSCInitializations has a Ready state.
- Check that the default-dsc object under DataScienceClusters has a Ready state.
Access the OpenShift AI web console. On the right side of the OpenShift Container Platform console's top navigation bar, locate the square icon formed by nine smaller squares. Click it and select Red Hat OpenShift AI from the drop-down menu, as shown in Figure 4.
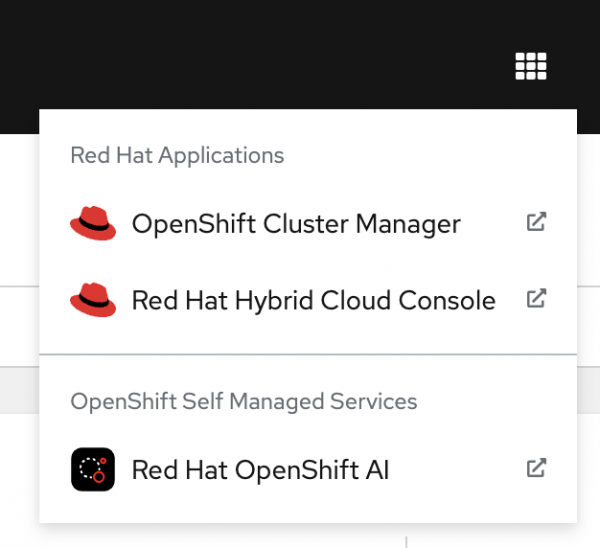
Figure 4: Red Hat OpenShift AI drop-down menu. Log in to Red Hat OpenShift AI in the new tab using your OpenShift credentials. Welcome to OpenShift AI (Figure 5).
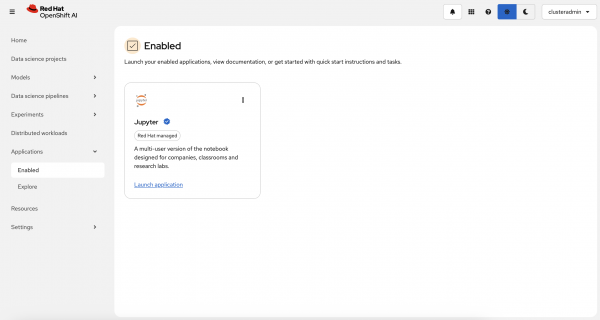
Figure 5: Log into the OpenShift AI dashboard.


Next steps
In this article, we demonstrated the steps to install OpenShift Service Mesh, OpenShift Serverless, and OpenShift AI, along with verifying their successful deployment. In the next article, we will cover how to deploy our own inference service with OpenShift AI to power the inference behind Ansible Lightspeed Intelligent Assistant.
Explore additional resources:
Last updated: September 17, 2025