Most of the time, we create our own Ansible playground to test Playbooks, features of the Red Hat Ansible Automation Platform (AAP), and many other things. We create our dedicated environment to test AAP for faster troubleshooting and resolution of customer issues.
Previously, it was a pain to install virtual machines on a Mac with an M1 chip. But now, Red Hat Enterprise Linux (RHEL) VMs can be easily installed using UTM, a system emulator and virtual machine host for macOS.
How to install a RHEL VM using UTM
It should take less than two hours to finish the setup, including installation.
To create VMs (RHEL 8.6 for automation controller) on Mac M1 machines using UTM, follow these steps:
-
Download and install UTM.
-
After installation, click “+” to create a VM.
-
Select virtualize and click Linux.
-
Download the RHEL 8 ISO DVD image.
-
Click on browse and select the image. Then click continue.
-
Select the RAM for the automation platform as per the AAP-2.2 minimum requirements document.
-
Select the 100GB disk size, then click continue.
-
Give the appropriate name to your VM, then check the Open VM Settings button.
-
Navigate to the network section. Under network mode, select bridged (advanced).
-
Click the Play button to start the installation.
-
Fill in the details you need to install RHEL 8 as your VM.
- After the installation is complete, close the VM.
-
Click the VM name in UTM and unselect the CD/DVD option. Now your RHEL machine will start normally.
-
Enable the wired connection from the network connection settings.
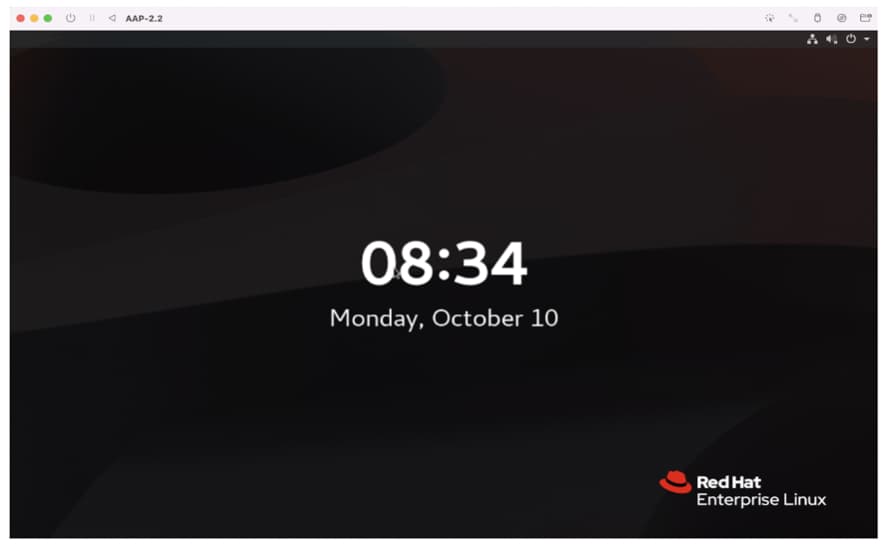
Figure 1 illustrates the installed RHEL 8 VM.
Install AAP on RHEL VM
To get your VM ready to install AAP 2.2, follow these steps:
-
Open the terminal and type
ifconfig. Note that the IP address will be in a similar subnet of your Mac IP address. -
Open a terminal in your Mac machine and connect from your Mac to the newly created VM via SSH.
-
Now your VM is ready to install AAP 2.2. Create a Red Hat Registry Service Account, following the instructions in the Creating Registry Service Accounts guide.
Now install AAP 2.2 by following these steps:
- Download AAP-2.2 from the Red Hat Ansible Automation Platform Product Software site.
- Edit the inventory file and add the correct hostname for your automation controller.
- Mandatory parameters for inventory file:
- [automationcontroller]
- [all:vars]: Admin password for your AAP controller
- pg_password: Add password for database.
- registry_username and registry_password: Credentials for container registry to pull execution environment images.
- Run the setup.sh script.
The following listing illustrates a snippet of the inventory file for AAP-2.2 installation.
# control.example node_type=control
# hybrid.example node_type=hybrid
# hybrid2.example <- this will default to hybrid
[automationcontroller]
#192.168.0.9 ansible_connection=local
#127.0.0.1 ansible_connection=local
aap ansible_connection=local
[automationcontroller:vars]
peers=execution_nodes
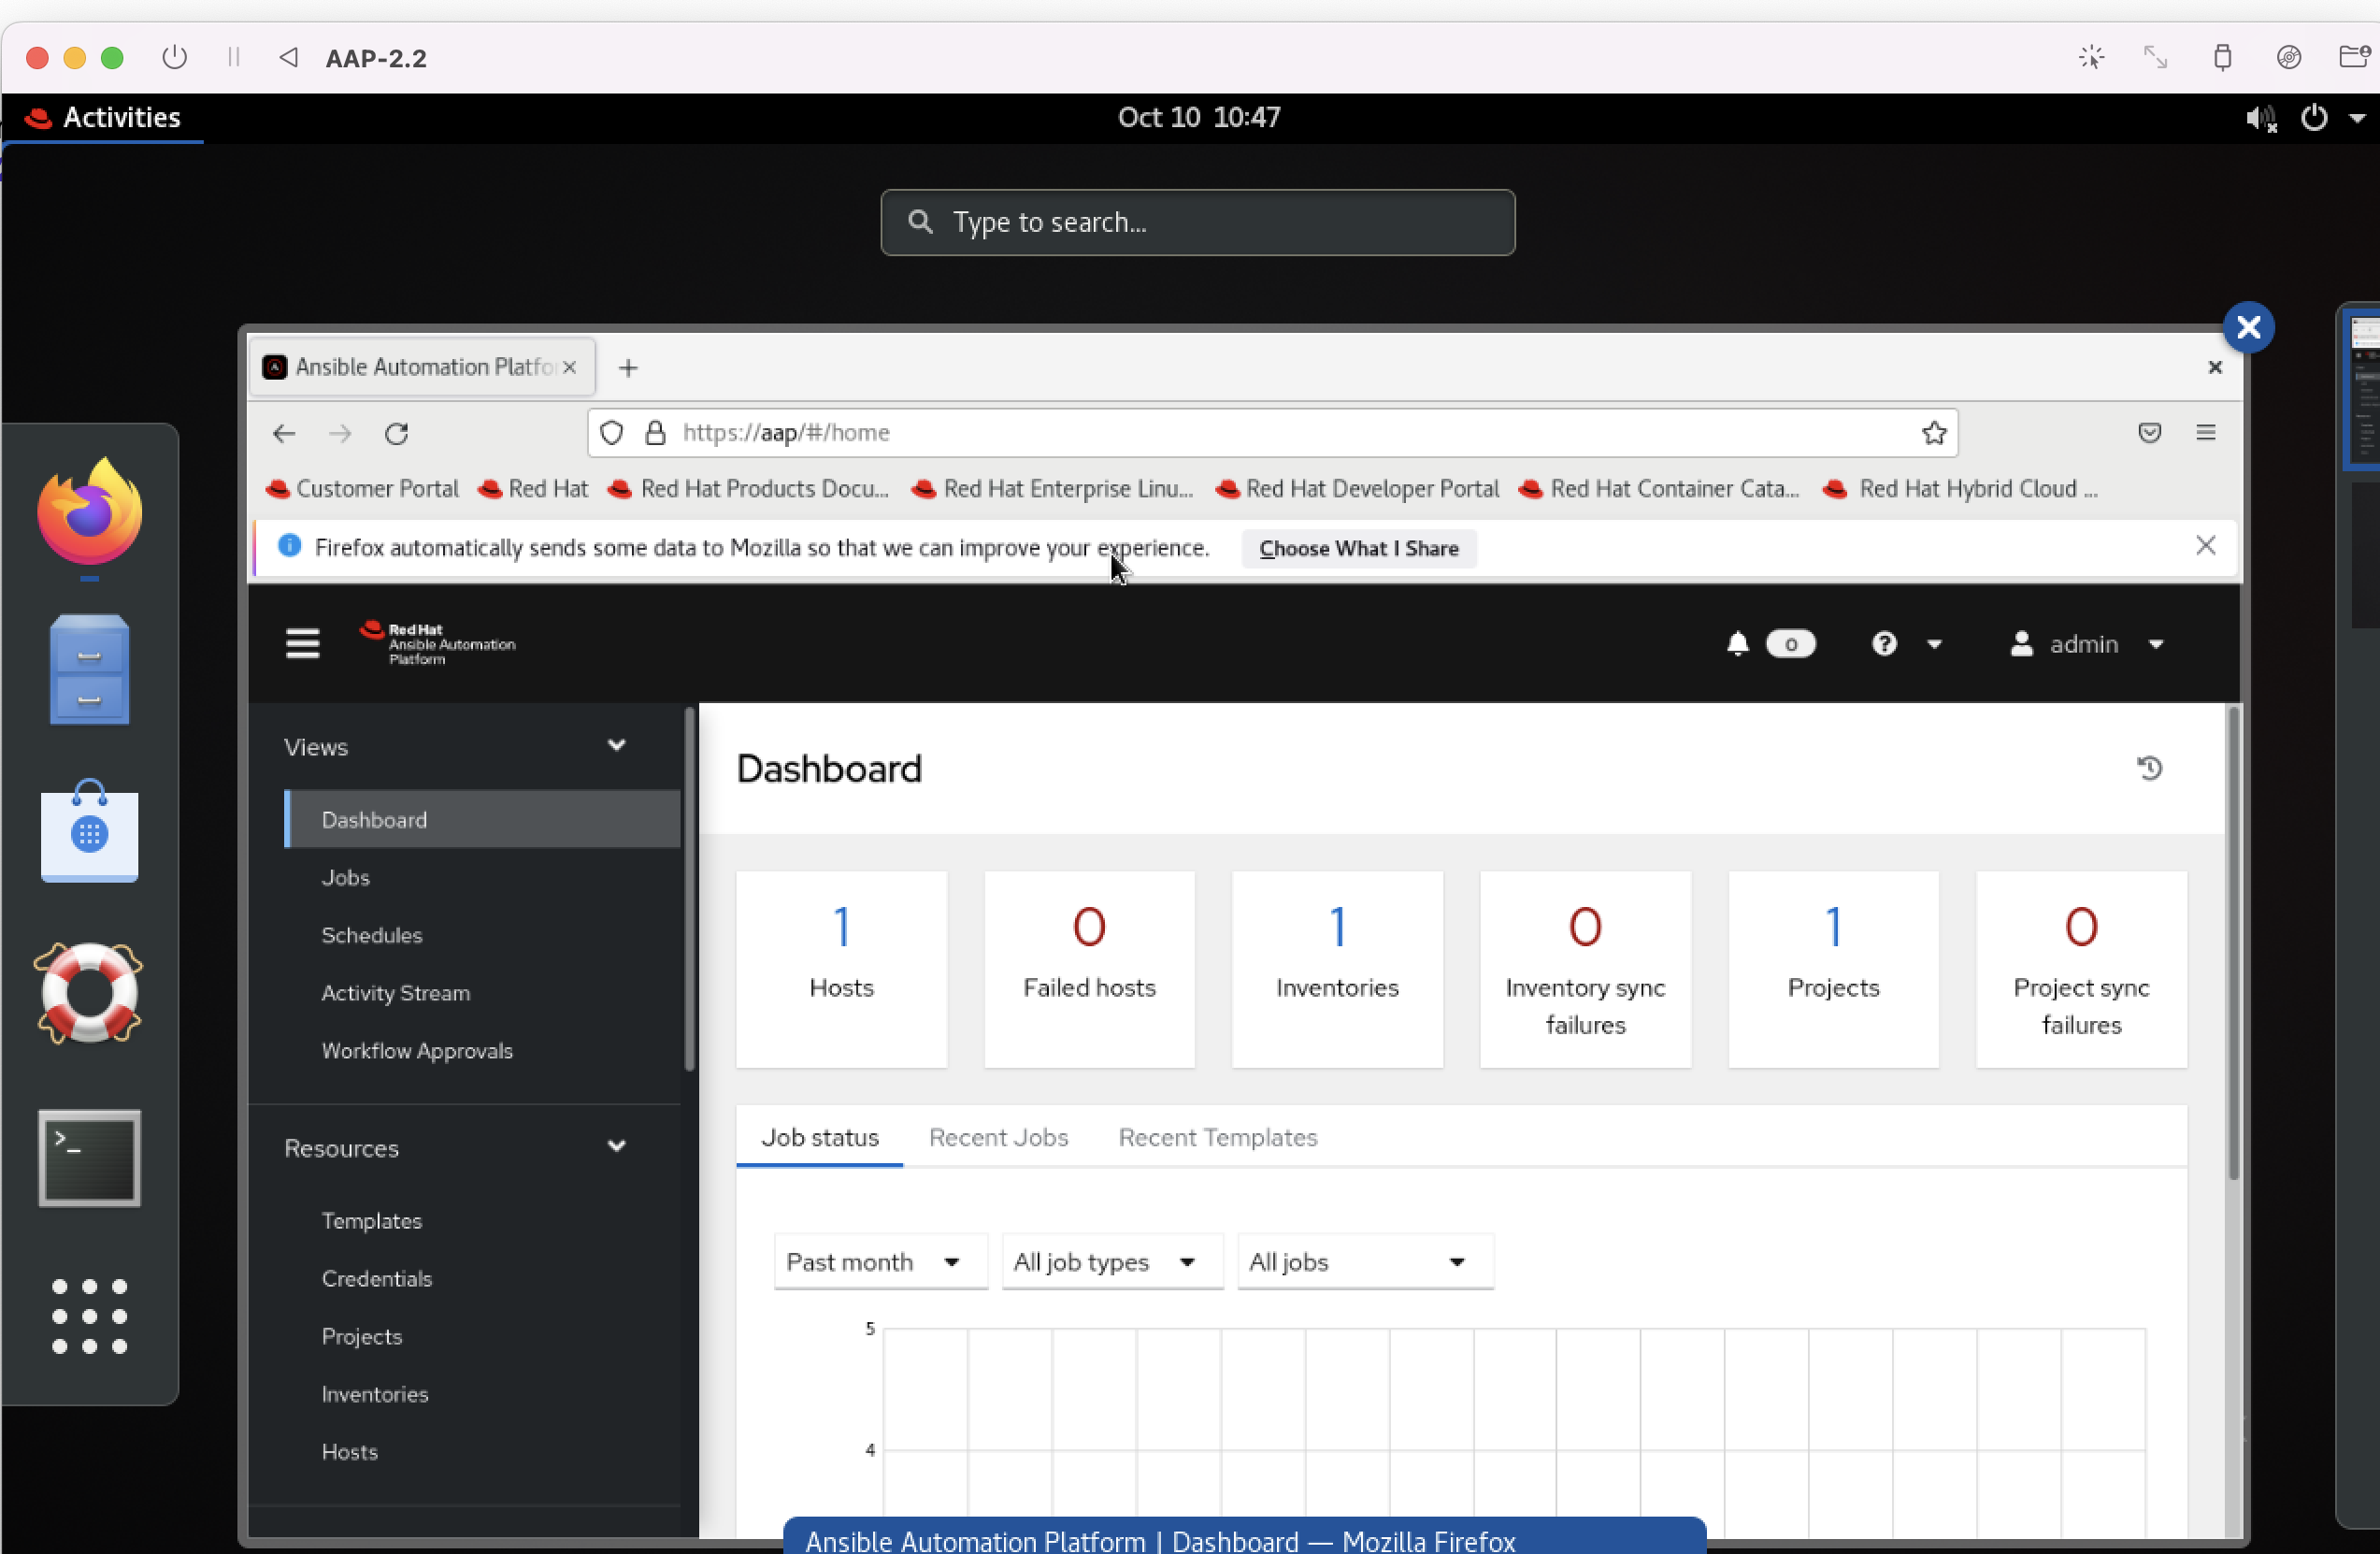
After successfully finishing the setup script, you can access the automation controller server from https://<TOWER_SERVER_NAME>/. In this scenario we are using aap as the hostname, so the URL will be https://app/ to access our automation controller UI.
Figure 2 illustrates the UI for the AAP-2.2 controller.
Note that the newly created VM should define a hostname in /etc/hostname. It would be best if you used this name in the automation controller. Otherwise, the installation will fail. Here's how you'd check the hostname of the controller machine in this file:
[root@aap aap-2.2-test]# cat /etc/hostname
aap
Summary
Now that we have shown you how easy it is to install RHEL VMs using UTM, try it for yourself. Refer to the Red Hat Ansible Automation Platform 2.2 Documentation and Red Hat Ansible Automation Platform Installation Guide for further information and resources. Feel free to comment below. We welcome your feedback.