Page
Install a front-end application on your public and private clusters

Install a front-end application on your OpenShift public cluster
Before you can build a service network to connect services, you have to install a front-end application on the public cluster and the database and payment service on the private cluster. You will accomplish both tasks in the subsequent steps.
- Log into your Developer Sandbox and click on the terminal icon (Figure 2). The terminal will take a couple of minutes to provision.

Figure 2: The Developer Sandbox login page. - Deploy the front end in the cluster using the terminal:
oc apply -f https://raw.githubusercontent.com/rpscodes/Patient-Portal-Deployment/main/patient-portal-frontend-deploy.yaml - Once the deployment is done, click on the route to access the front end. (Figure 4).
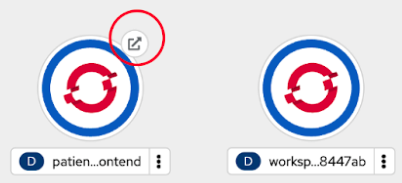
Figure 4: Select the route to access its front end. You should now see the front end of the patient portal (Figure 5). Note: There are no patient or doctor names because we have not established the connection with the database.

Figure 5: The patient portal front end. -
Install Red Hat Service Interconnect on the sandbox (public) cluster:
curl https://skupper.io/install.sh | sh -
Set the path:
export PATH="/home/user/.local/bin:$PATH"
Install the database and payment processor on your OpenShift private cluster
Now that you have installed your front-end application on your public cluster, install the database and payment processing service on your private cluster
- If you haven’t already done so, provision the other OpenShift cluster using this link (private cluster in our case) (Figure 6).
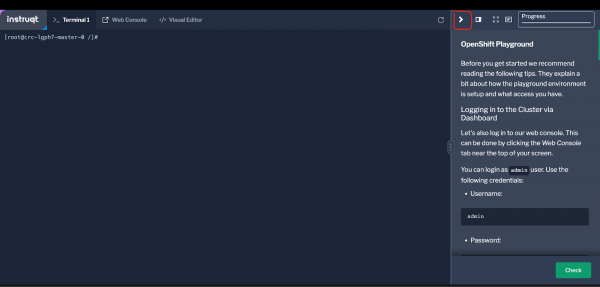
Figure 6: To minimize the window, select the Collapse instructions icon. - Create a new project in the private cluster in the terminal:
oc new-project private - Deploy the database:
oc new-app quay.io/redhatintegration/patient-portal-database:devnation --name=database - Deploy the Payment Processor:
oc apply -f https://raw.githubusercontent.com/jbossdemocentral/service-interconnect-sandbox-demo/main/payment-processor-deployment.yaml - Wait for a minute, then check if the database and payment processor pods are running on the OpenShift Private Cluster:
oc get pods - You should see output similar to this:
NAME READY STATUS RESTARTS AGE database-55578554-68kdb 1/1 Running 0 41s payment-processor-6644cdbc94-ng652 1/1 Running 0 31s - Install Service Interconnect on the private cluster:
curl https://skupper.io/install.sh | sh

This brings us to the end of the installation section. In the next section, we will use Red Hat Service Interconnect to connect all these services to make the patient portal work.
