Developing container images for Kubernetes (and Red Hat OpenShift) on my local Windows PC means I need to install a build tool. While Docker has been the de facto standard for a few years, a Free and Open Source Software (FOSS) solution, Podman, is now available. Given the cost (zero) and openness of this offering, I decided I'd go that route.
After poking around the internet (translation: web search for podman), I found Podman Desktop, a very nice UI blanket that is thrown over Podman. I decided to install Podman Desktop.
[ Learn more: What is Podman Desktop? A developer's introduction ]
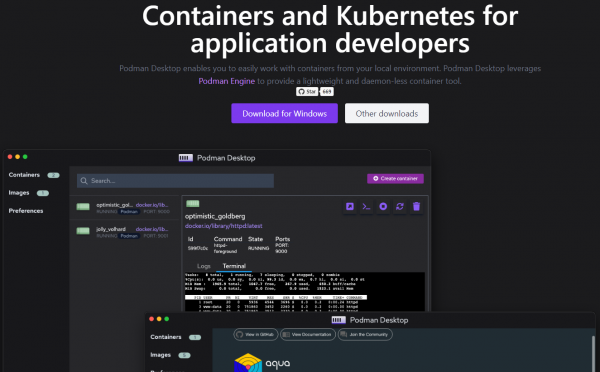
When I downloaded the Podman Desktop file, I expected an installation file ("msi" to those of us who use Windows). Instead I got an "exe" file. This, it turns out, is the application. No installation needed. I downloaded it to my desktop and there it sits.
When I started it, it immediately notified me that I needed to install Podman, the engine behind all this container-building goodness. This was nice; instead of letting me move ahead and then be greeted with an error message, Podman Desktop was proactively telling me what I needed to do. Kudos to the development team.
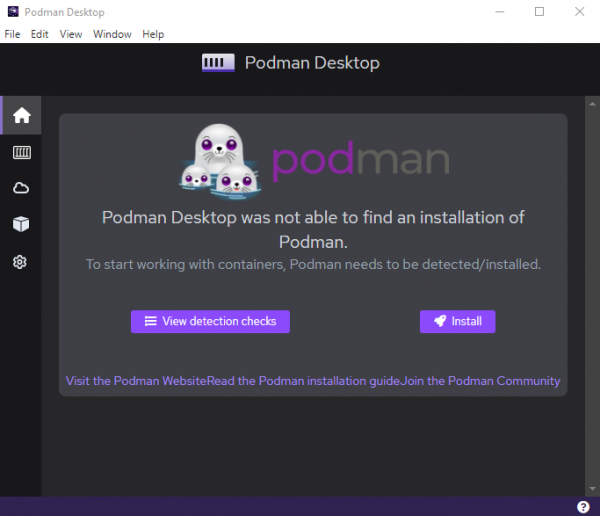
I clicked on the install button and proceeded to install Podman. It was as seamless and painless as I'd come to expect for a Windows installation.
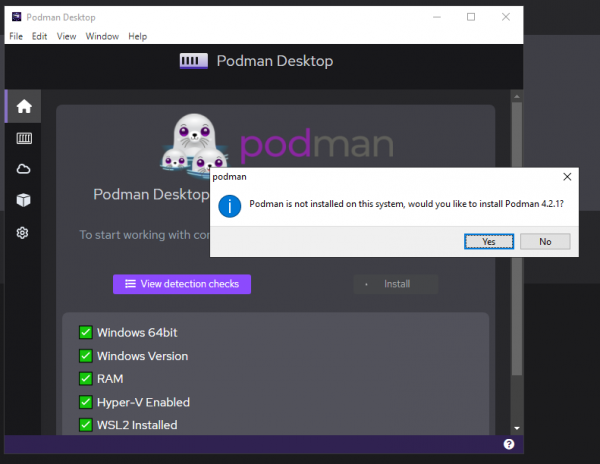
Be forewarned: You will need administrator privileges to install podman.
The installation finished by popping up an HTML document (that it had placed on my local C: drive) in my browser. This document instructed me on what I need to do next; basically, run the podman machine init command. The podman machine init command pulls a Virtual Machine (VM) from the web to be used to run Podman. Again, seamless.
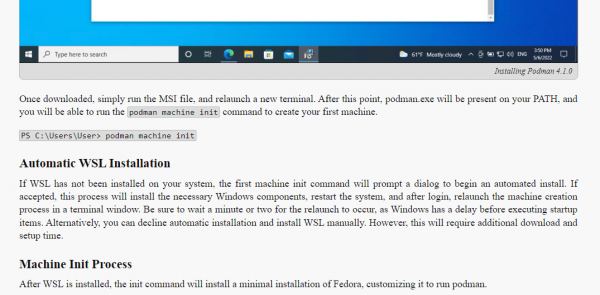
Well, it was for me, because I had already installed Windows Terminal and Windows Subsystem for Linux (WSL) on my PC. If you don't have WSL installed: 1. What are you waiting for because it's awesome?; 2. You need it to run the Podman VM. If WSL is not installed, the podman machine init command will automatically prompt you to install WSL. As before, kudos to the development team.
Finally, I simply had to run podman machine start and my container build and execute environment was up and running. I proved the whole thing by running podman run hello-world.
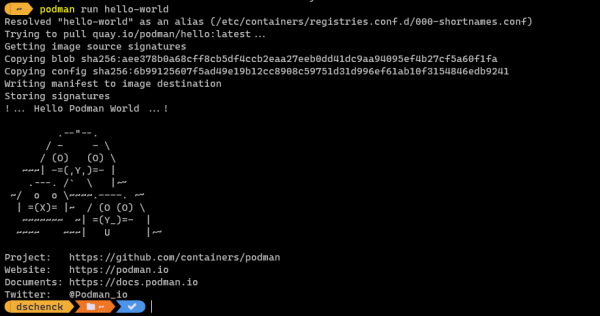
When I rebooted my machine the next day, Podman didn't work. That's because I had to again run the podman machine start command. I like this behavior; it puts me in control of whether or not the Podman VM is running and taking up CPU cycles and memory on my PC. Since I'm not always building and running container images, this makes sense. Kudos again? You bet.
Podman and Podman Machine also work on Linux and macOS, so you have a consistent experience across every platform you use. Also; check out Red Hat Developer for tools and articles (and a free OpenShift Sandbox instance) to help you.
