In a software world where each day is more hostile than the previous one, security matters and developers are coping with more and more non-functional requirements about security. The most common ones are the "OWASP Top 10": the ten security risks that every developer should know. There are many more security risks you should care about, but those ten risks are the ones having the most impact on the security of your software. Among them are authentication and access control.
The good news is that authentication and access control are now commodities in the open source world, thanks to Red Hat Single Sign-On Red Hat Single Sign-On is an access management tool that takes care of the details of most authentication protocols such as SAML, OAuth, and OpenID Connect; user consent with UMA; and even access control. It is easy to use, is very well-documented, and has a very active community: Keycloak.
This article describes how to download and install Red Hat Single Sign-On for no cost.
Why not give it a try?
Red Hat Single Sign-On is part of the Red Hat Middleware Core Services Collections (formerly called Red Hat JBoss Core Services Collection), and this means it is shipped and supported with OpenShift and most products of the Red Hat middleware portfolio. If you are already using those products in your company, chances are you can already use and deploy Red Hat Single Sign-On.
Alternatively, as a developer, you can also try Red Hat Single Sign-On through a developer subscription at no cost. If you already have a developer account, go to developers.redhat.com, click "Log in" in the upper right corner, and log in.
Register for a developer subscription
If you don't already have a developer subscription, go to developers.redhat.com/register and create your account.
Create a token to access the Red Hat registry
You will need to create a token to be able to fetch Red Hat Single Sign-On from the Red Hat registry. Go to access.redhat.com/terms-based-registry, log in with your developer account (if you have not already done so), and click "New Service Account."
Give the token a name (for the rest of this article, we will use "sso") and a meaningful description.
Click "Create" and the generated token is displayed. Save the username and the token in a safe place for future reference.
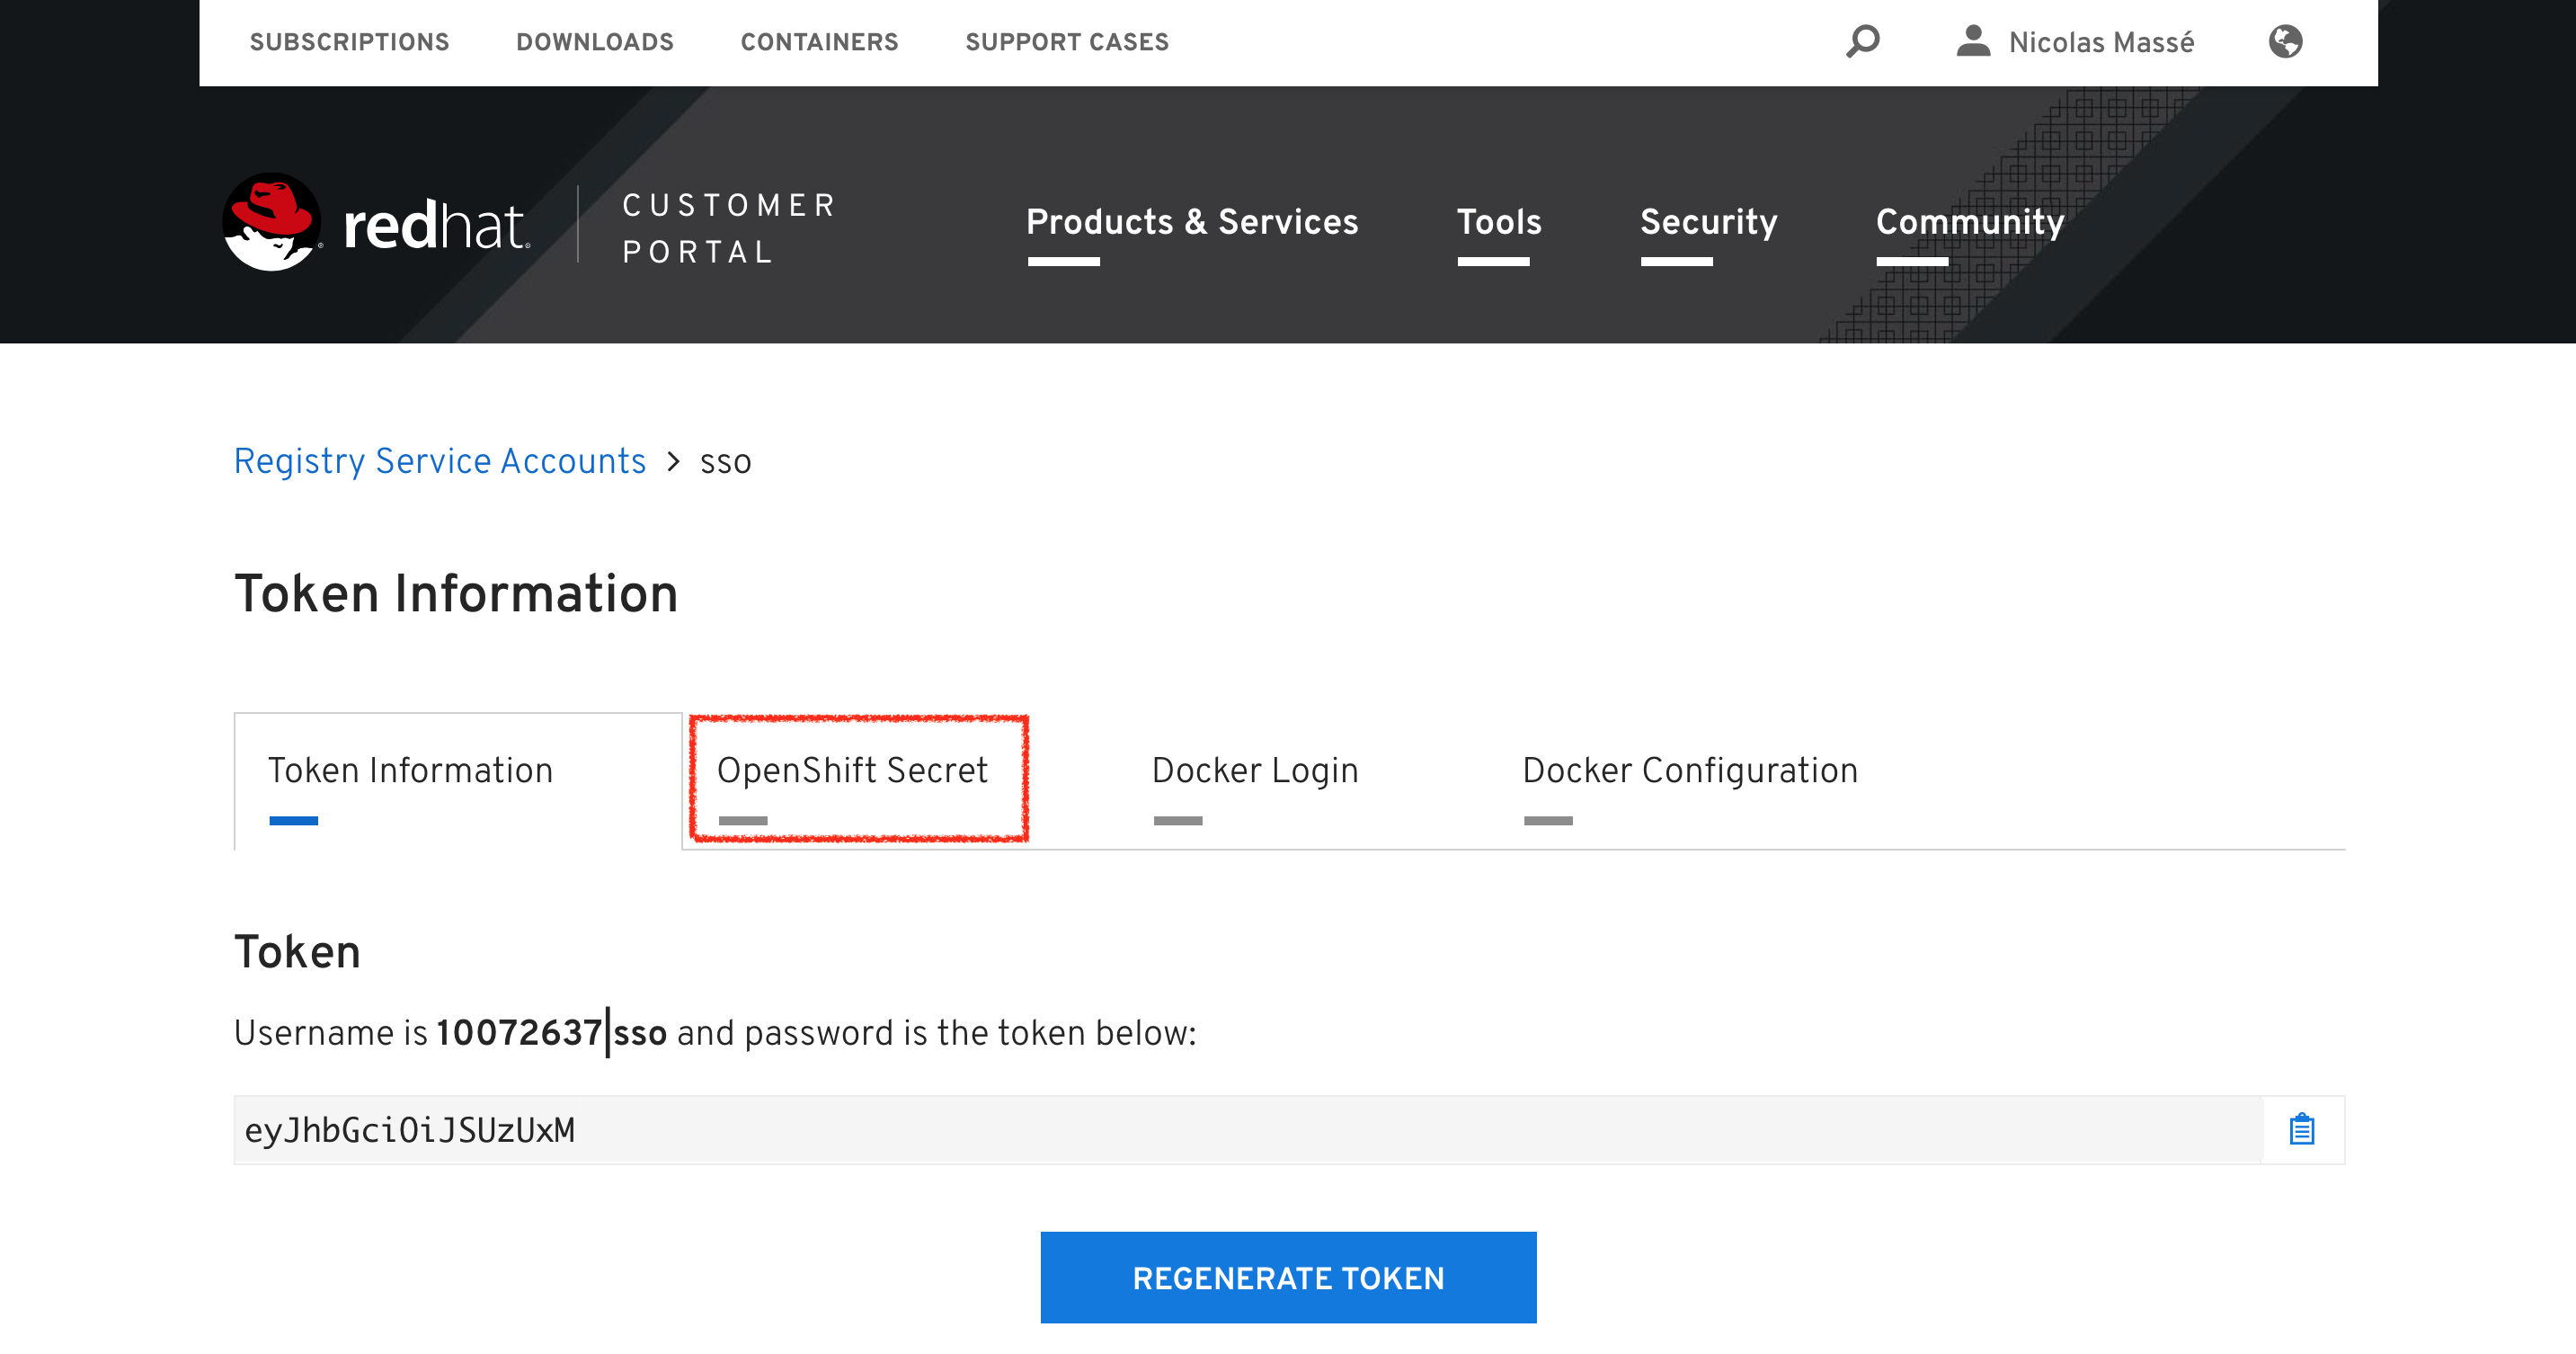
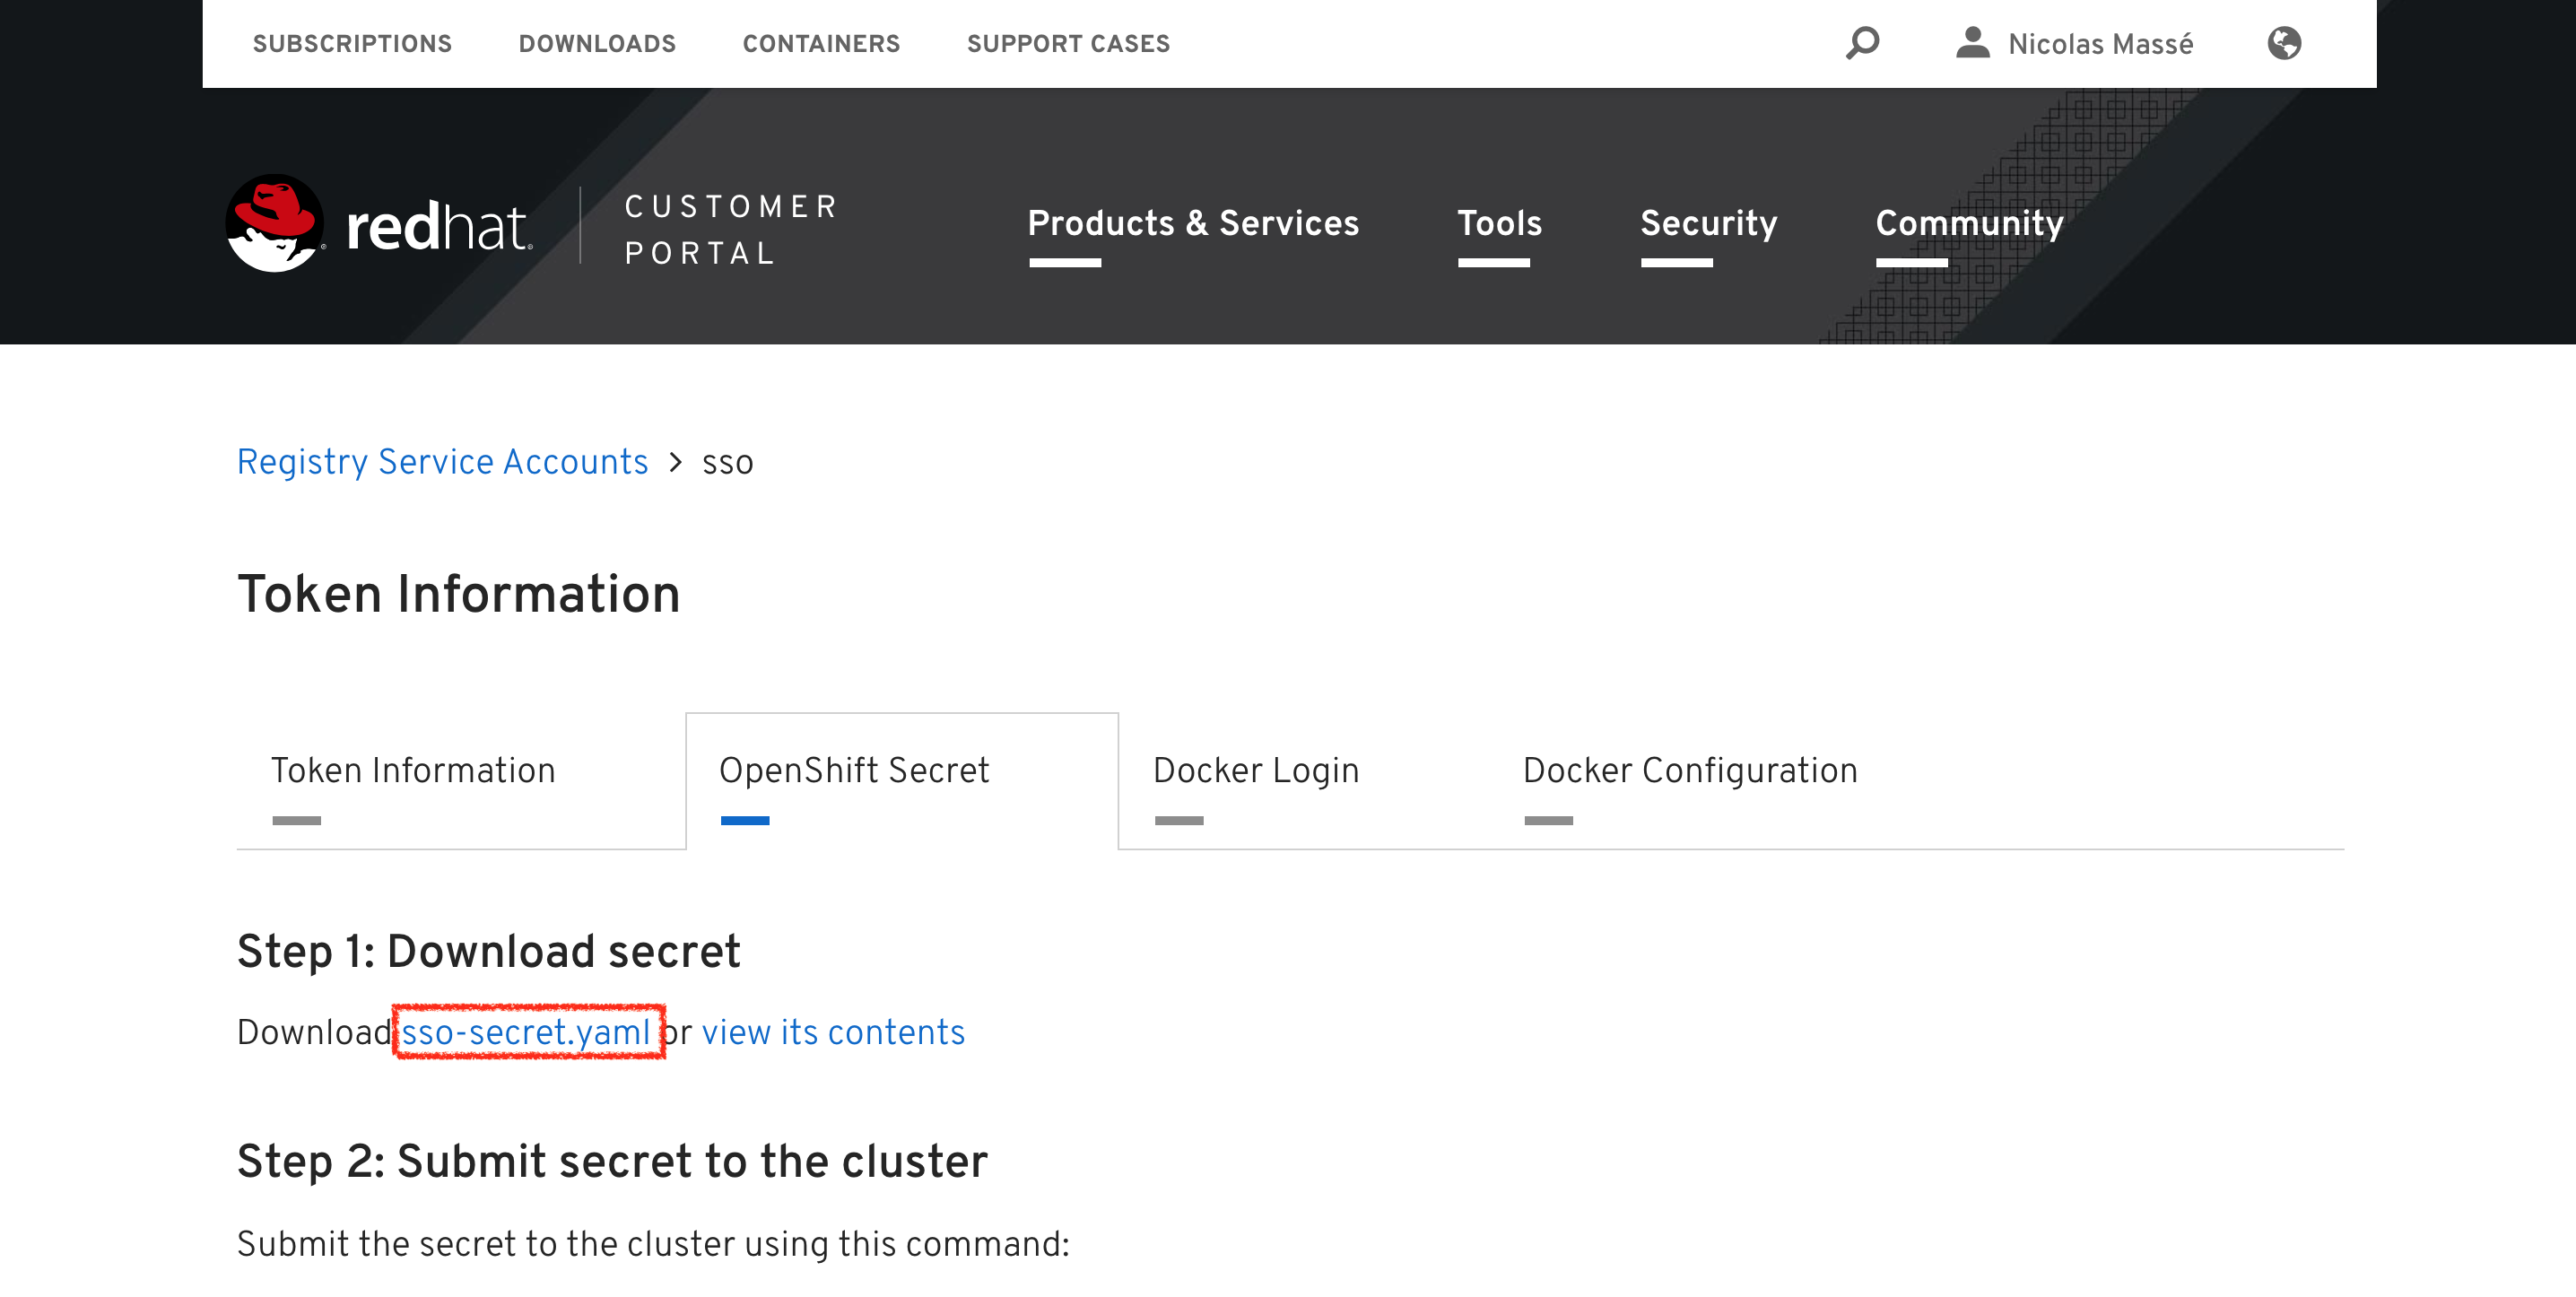
Click the "OpenShift Secret" tab and then "sso-secret.yaml" to download your token in a format OpenShift will understand. Save it somewhere convenient for later use.
Install Red Hat Single Sign-On
To install Red Hat Single Sign-On, you will need an OpenShift instance. If your company has one, use it. If not, I would recommend using Red Hat Container Development Kit (CDK)/minishift. Minishift is an OpenShift installation targeted at developers that runs on your laptop. If you need to install CDK/minishift, see these instructions.
Spin up a minishift instance:
$ minishift start
Create a new project for your Red Hat Single Sign-On deployment:
$ oc new-project sso
Inject the token you downloaded previously in your OpenShift project, as a secret:
$ oc create -f ~/Downloads/*_sso-secret.yaml
Find the name of your secret:
$ oc get secret
NAME                       TYPE                                  DATA      AGE
10072637-sso-pull-secret   kubernetes.io/dockerconfigjson        1         3m
If you named your token "sso" as suggested above, your secret should end with "-sso-pull-secret." In this example, my secret is named "10072637-sso-pull-secret."
Link your token with the default service account so that any pod in this project can use it (do not forget to change "10072637-sso-pull-secret" to your token name):
$ oc secrets link default 10072637-sso-pull-secret --for=pull
And import the Red Hat Single Sign-On 7.3 image into your project:
$ oc import-image redhat-sso73-openshift:1.0 --confirm --scheduled --from=registry.redhat.io/redhat-sso-7/sso73-openshift:1.0
You can now deploy Red Hat Single Sign-On 7.3 as explained in the documentation.
Are you eager to see Red Hat Single Sign-On live but you do not want to read the documentation? Here is a summary:
$ oc create -f https://raw.githubusercontent.com/jboss-container-images/redhat-sso-7-openshift-image/sso73-dev/templates/sso73-x509-https.json
$ oc policy add-role-to-user view system:serviceaccount:$(oc project -q):default
$ oc new-app --template=sso73-x509-https -p SSO_ADMIN_USERNAME=admin -p SSO_ADMIN_PASSWORD=password -p IMAGE_STREAM_NAMESPACE=$(oc project -q)
Wait a couple of minutes for minishift to pull the image and start the pod. You can supervise the deployment with the following command (press Ctrl-C to exit):
$ oc get pods -w
Once deployed, display the console URL using this command:
$ oc get route sso -o jsonpath='http://{.spec.host}/auth/admin/'
Open this URL in your web browser and log in with the username and password you provided during installation (admin/password, in this example).
Congratulations; you just installed Red Hat Single Sign-On!
Further reading
To get the most value out of Red Hat Single Sign-On, see the Server Administration Guide and the Securing Applications and Services Guide.
You might also wish to read Using a public certificate with Red Hat Single Sign-On/Keycloak.
Happy testing!
Last updated: August 1, 2023