Welcome back to the final part of this multipart series about deploying modern web applications on Red Hat OpenShift. In the first post, we took a look at how to deploy a modern web application using the fewest commands.
In the second part, we took a deeper look into how the new source-to-image (S2I) web app builder works and how to use it as part of a chained build.
This third and final part will take a look at how you can run your app's "development workflow" on OpenShift.
Development workflow
As mentioned in the first post, a common development workflow for modern web applications is to run a "development server" that watches your local files for changes. When a change occurs, the application's build is run and the browser is refreshed with your updated app.
Most of the modern frameworks have this "development server" built into their respective CLI tools.
A local example
Let's first start with running our application locally, so we can see how this workflow is supposed to work. We are going to continue with the React example that we saw in the previous articles. Even though we are using React as an example here, the workflow concepts are very similar for all the other modern frameworks.
For this React example, to start the "development server" we run the following:
$ npm run start
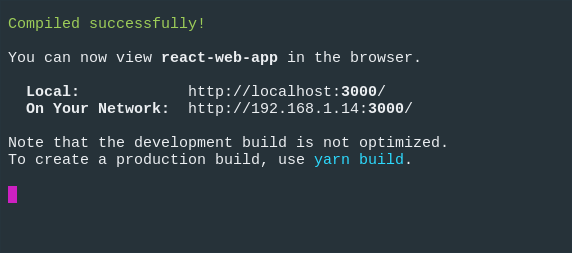
We should see something like this in our terminal:
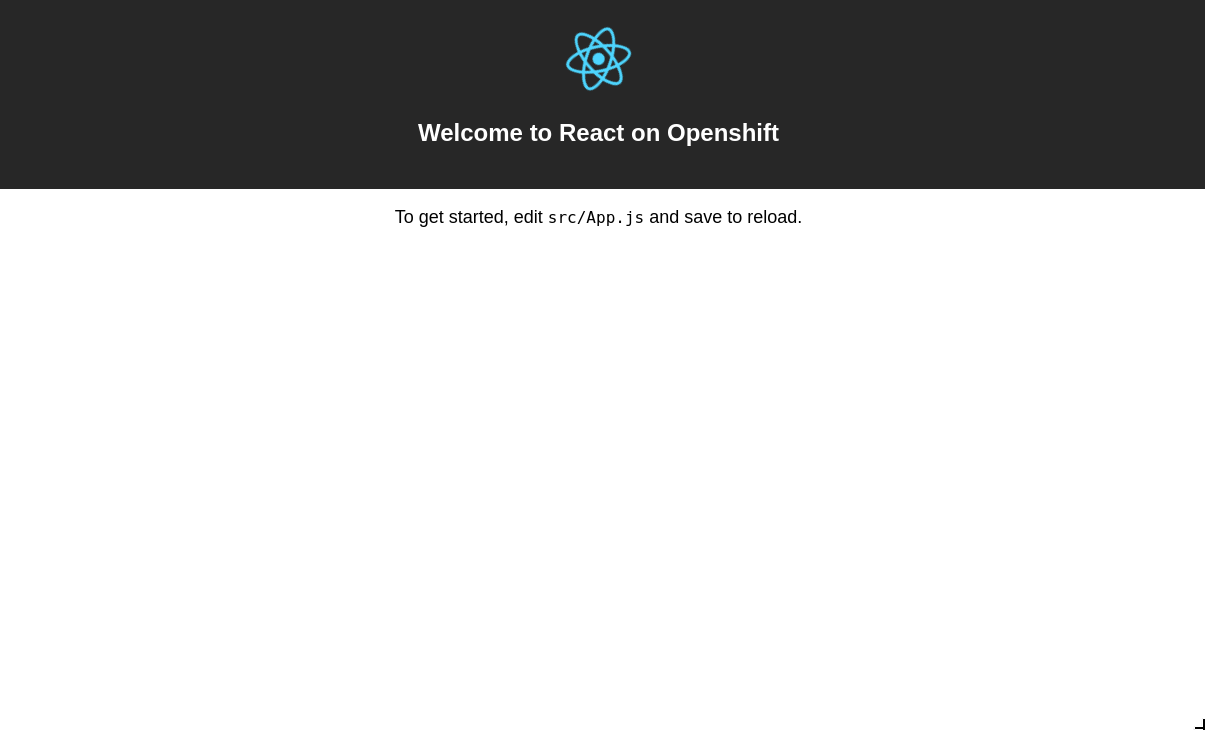
And our application should open in our default browser:
Now, if we make a change to a file, we should see the application running in the browser refresh with the latest changes.
As I said before, this is a common workflow for local development, but how can we get this workflow onto OpenShift?
Development server on OpenShift
In the previous article, we took a look at the run phase of the S2I image. We saw that the default way of serving our web app is with the serve module.
However, if we look closely at that run script, we can see that we can specify an environment variable, $NPM_RUN, which gives us the ability to execute a custom command.
For example, using the nodeshift module, the command to deploy our application might look something like this:
$ npx nodeshift --deploy.env NPM_RUN="yarn start" --dockerImage=nodeshift/ubi8-s2i-web-app
Note: The above example has been shortened to show an idea.
Here we are adding the NPM_RUN environment variable to our deployment. This will tell our run phase to run yarn start, which starts the React development server inside our OpenShift pod.
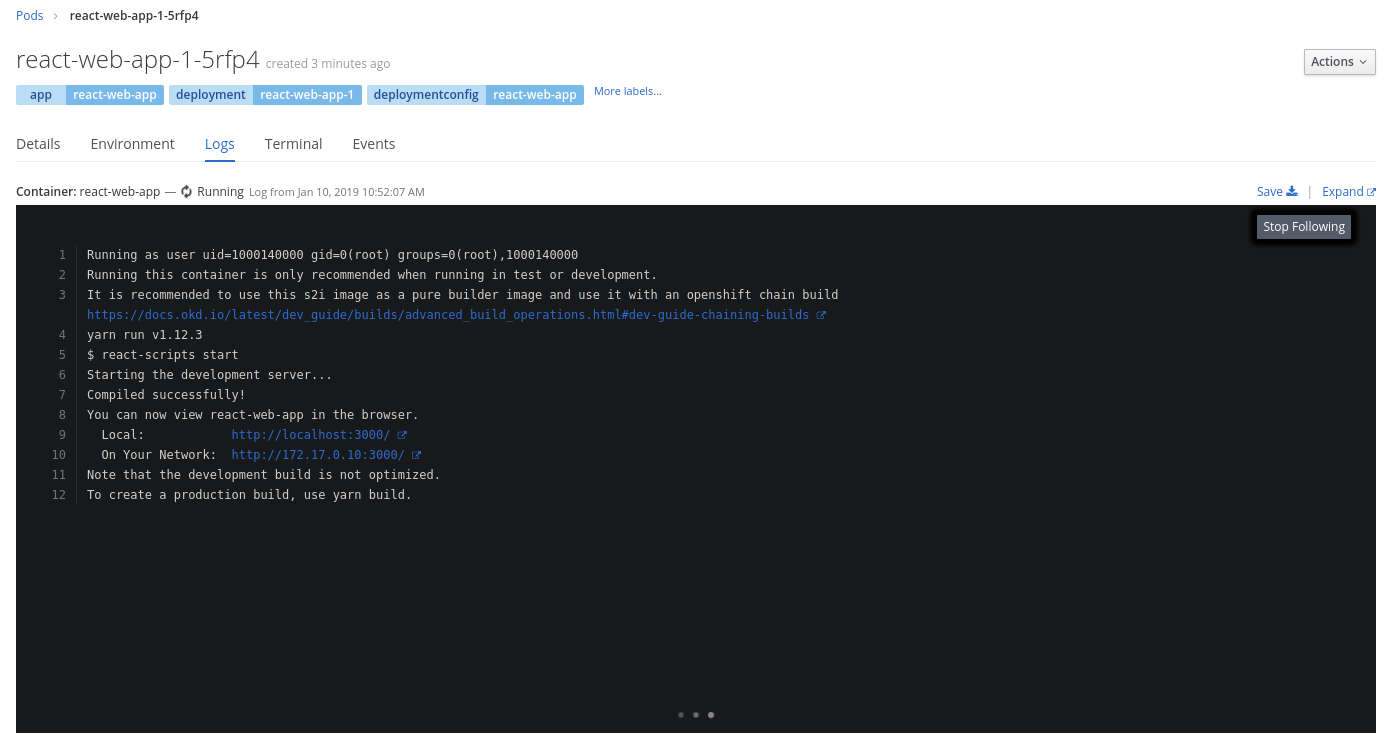
If you took a look at the log of the running pod, you might see something like this running:
Of course, this doesn't really matter unless we can sync our local code with the code that is being watched on our remote cluster.
Remote and local sync
Luckily, we can use nodeshift again to help us out. We can use the watch command.
After we run the command to deploy our application's development server, we can then run this command:
$ npx nodeshift watch
This will connect to the running pod we just created and sync our local files with our remote cluster, while also watching our local system for changes.
So if you were to update the src/App.js file, that change will be detected and copied to the remote cluster, and the running development server will then refresh the browser.
For completeness, here are the full commands:
$ npx nodeshift --strictSSL=false --dockerImage=nodeshift/ubi8-s2i-web-app --build.env YARN_ENABLED=true --expose --deploy.env NPM_RUN="yarn start" --deploy.port 3000

$ npx nodeshift watch --strictSSL=false
The watch command is an abstraction on top of the oc rsync command. To learn more about how that works, check it out here.
Even though the example we saw was using React, this technique also works with other frameworks. You just need to change the NPM_RUN environment variable.
Conclusion
In this 3 part series, we saw how to deploy modern web applications to OpenShift in a few ways.
In part one, we saw how to get started quickly with the new Web App S2I Image.
Part 2 dove a little deeper into how the S2I image worked and how to use chained builds.
This last part was a brief overview of how you can run a development server on OpenShift, and the next talks about OpenShift Pipelines and how this tool can be used as an alternative to a chained build.
Additional resources
- Deploying to OpenShift: a guide for impatient developers (free ebook)
- Building Container-Native Node.js Applications with Red Hat OpenShift Application Runtimes and Istio
- How to Debug Your Node.js Application on OpenShift with Chrome DevTools
- Zero to Express on OpenShift in Three Commands
- Announcing: Node.js General Availability in Red Hat OpenShift Application Runtimes
- Monitoring Node.js Applications on OpenShift with Prometheus
- Other articles on OpenShift and Kubernetes