I've recently gotten hold of a developer subscription of Red Hat Enterprise Linux (RHEL). The following are the steps I took to have a minimal RHEL installation as a Parallels Desktop virtual machine guest. My simple goal is to have a local, ready-to-use RHEL box that I can use to try stuff out. The items below may be well suited for new RHEL developers like myself.
Installation
Preparing the Virtual Machine
First thing to do is to prepare a Parallels Desktop virtual machine. All configuration options for the virtual machine is up to you. As for me, I just made sure it fits with the minimum requirements for a RHEL install.
Tip: When Creating the Parallels Desktop Virtual Machine, it would be better to disable the Express Install option. This allows you to control everything performed during installation.
Next, once the virtual machine is ready, boot the installation in text mode. To do this, press tab on the boot screen and append linux text at the end of the boot command.

Then, press enter and to boot to the installation configuration screen.
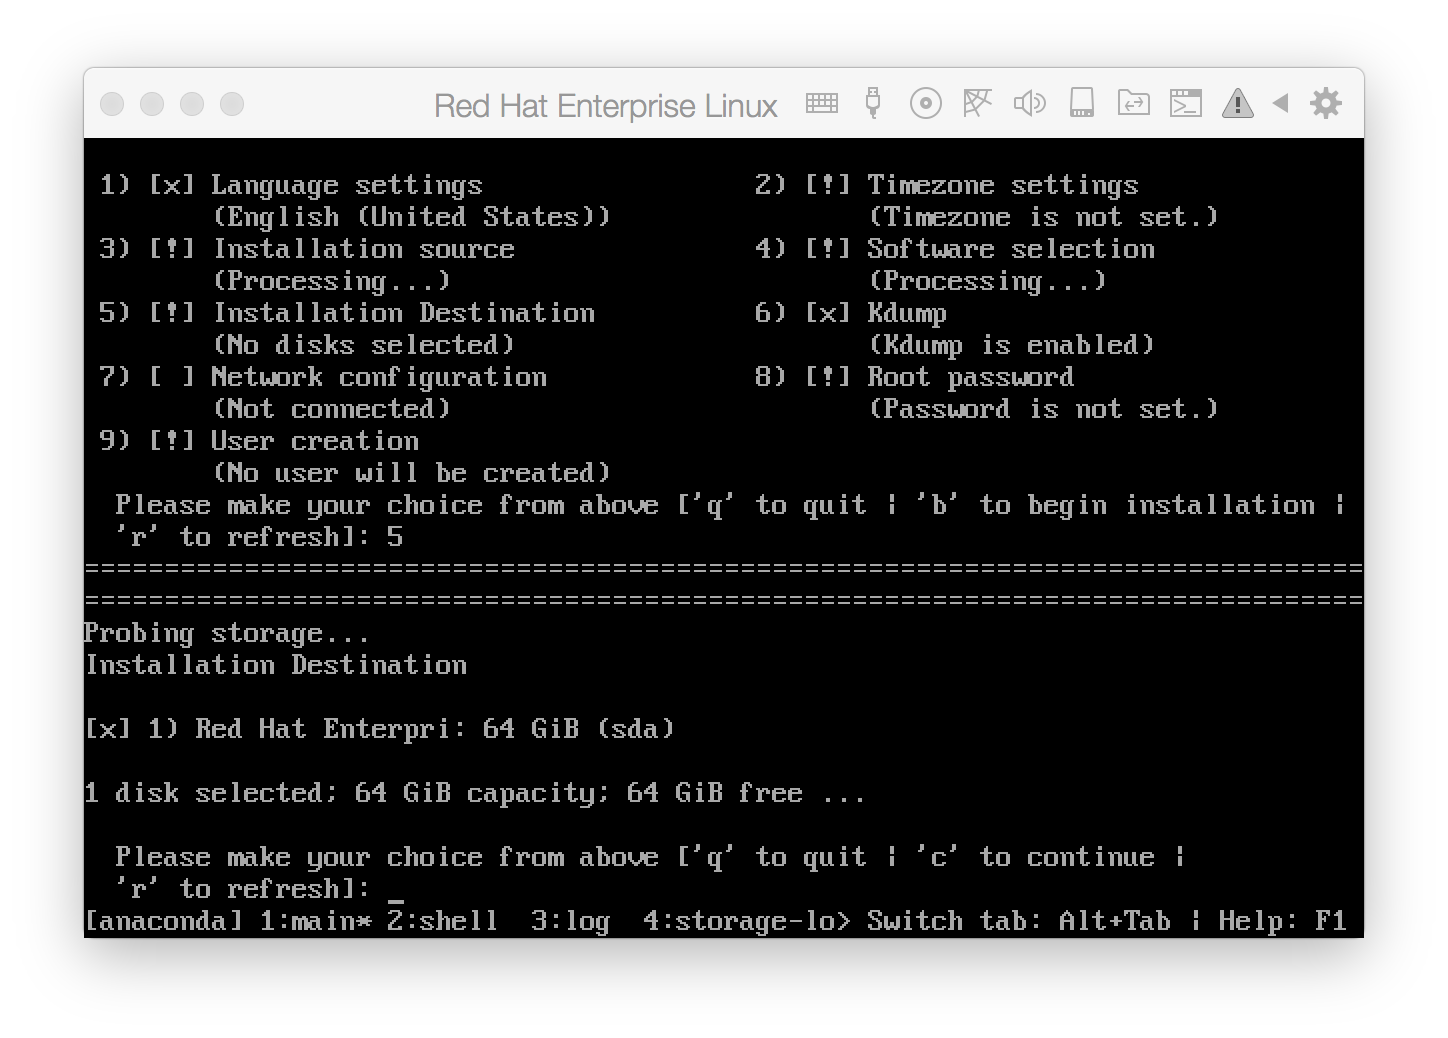
Installation Destination and Partitioning.
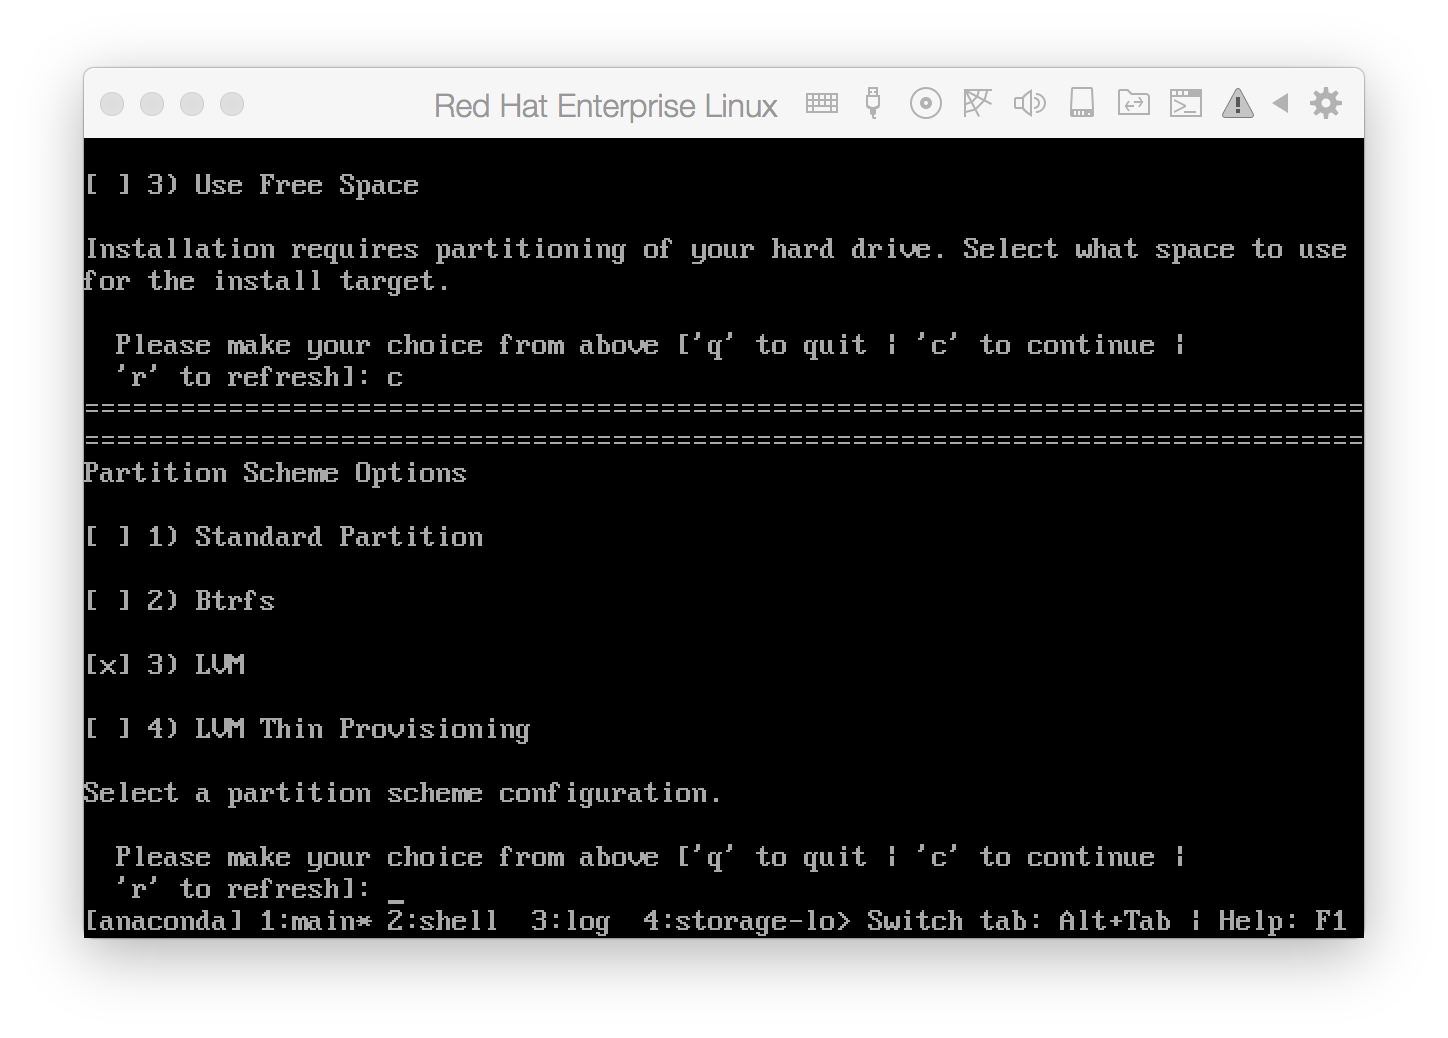
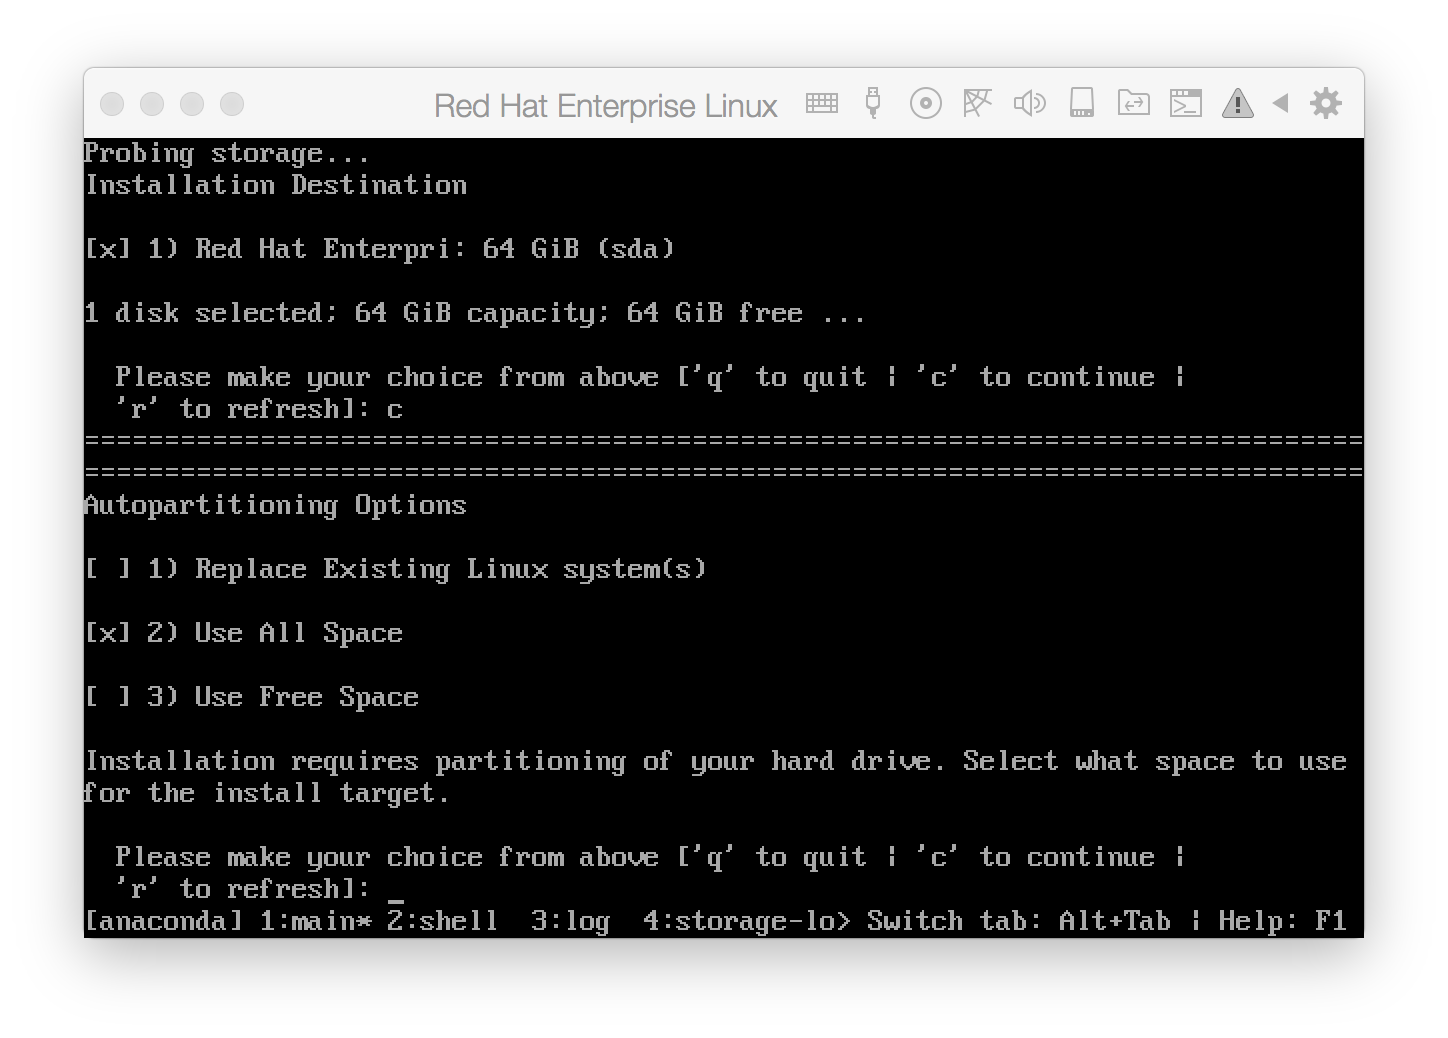
On the main install screen, choose option 5 (Installation Destination). Since this is a virtual machine, you can opt to use the entire disk image. Also, it is easier to go with the default Partition Scheme which is 3 LVM.
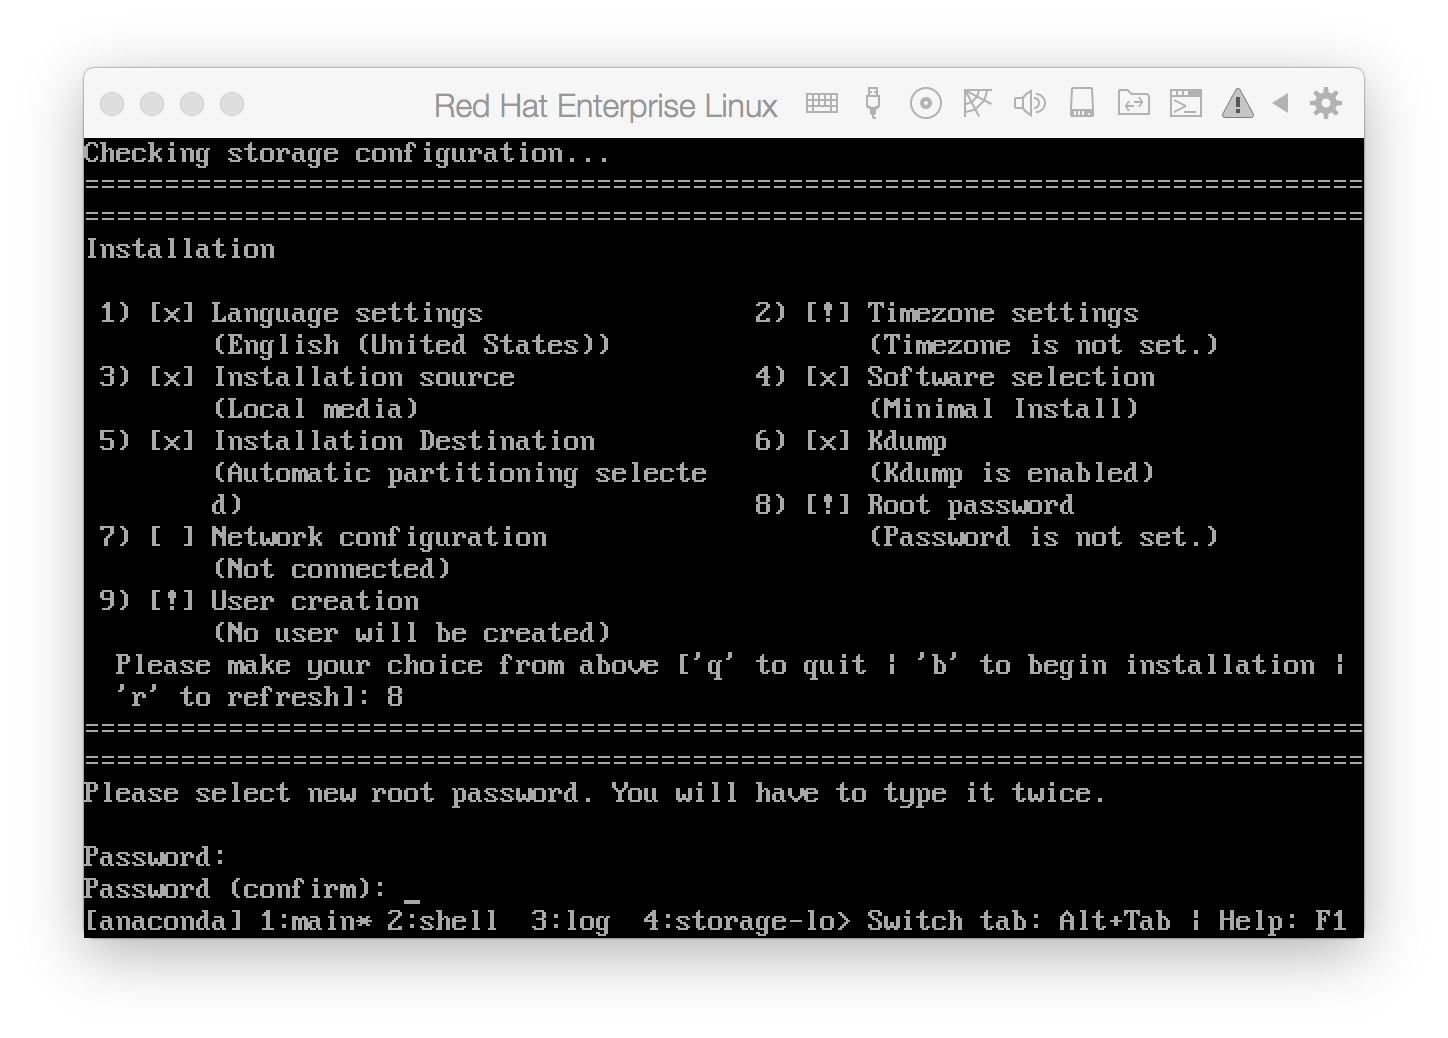
Next, set your super secret password. That is option 8 (Root Password) in the install screen.
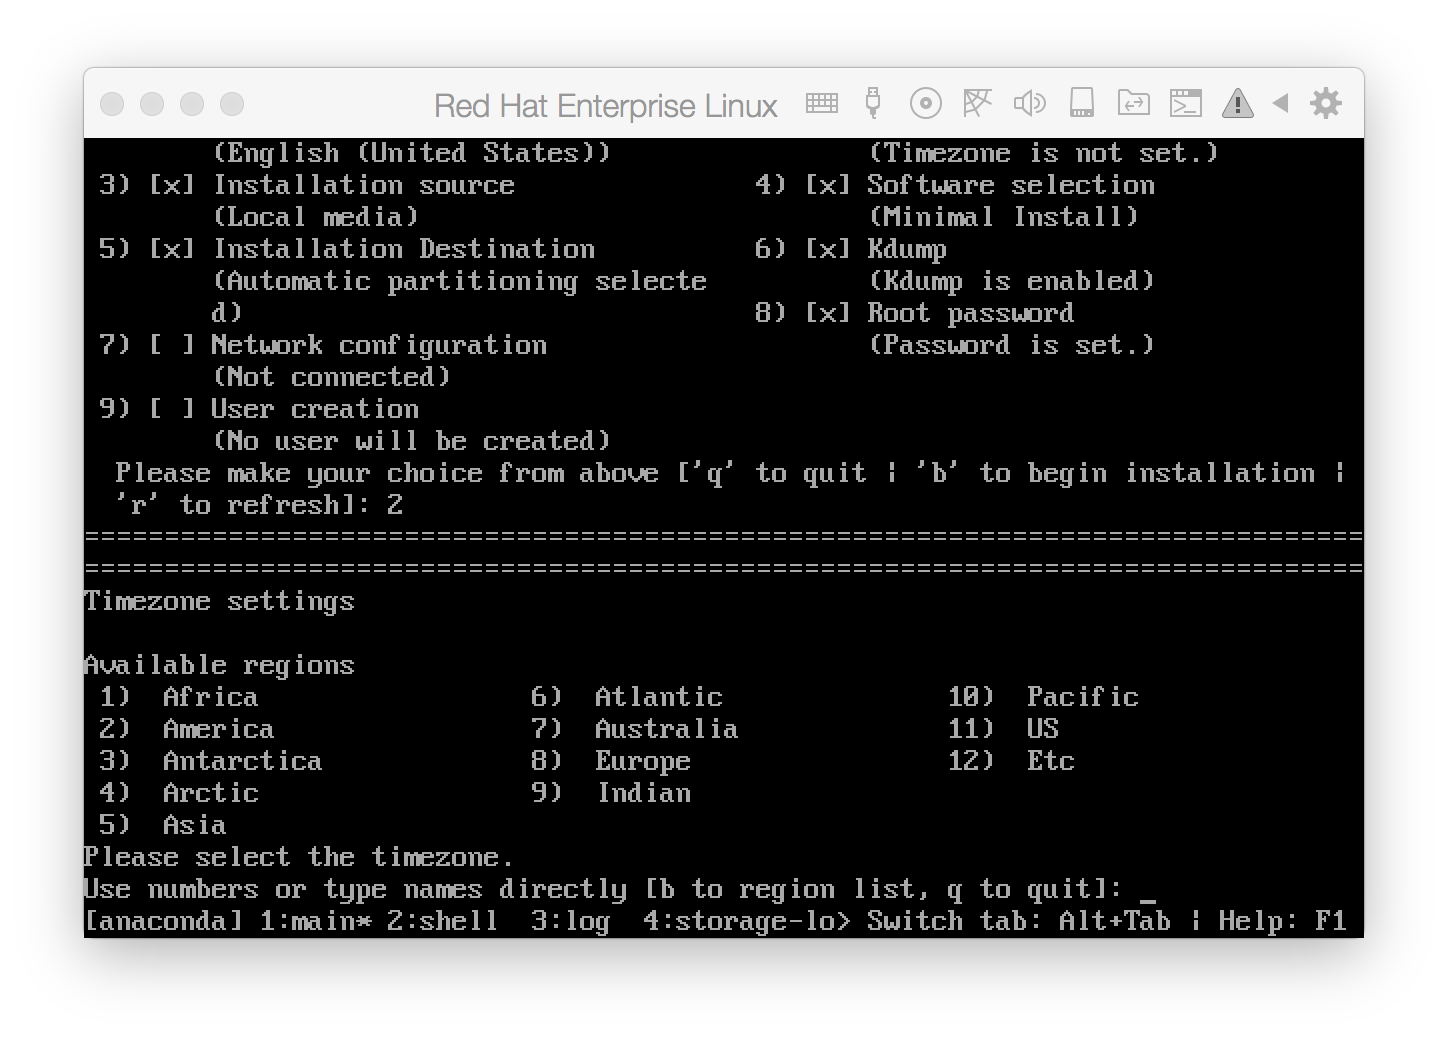
For the timezone, select option 2 (Timezone settings), set this to the appropriate value based on where you are located.

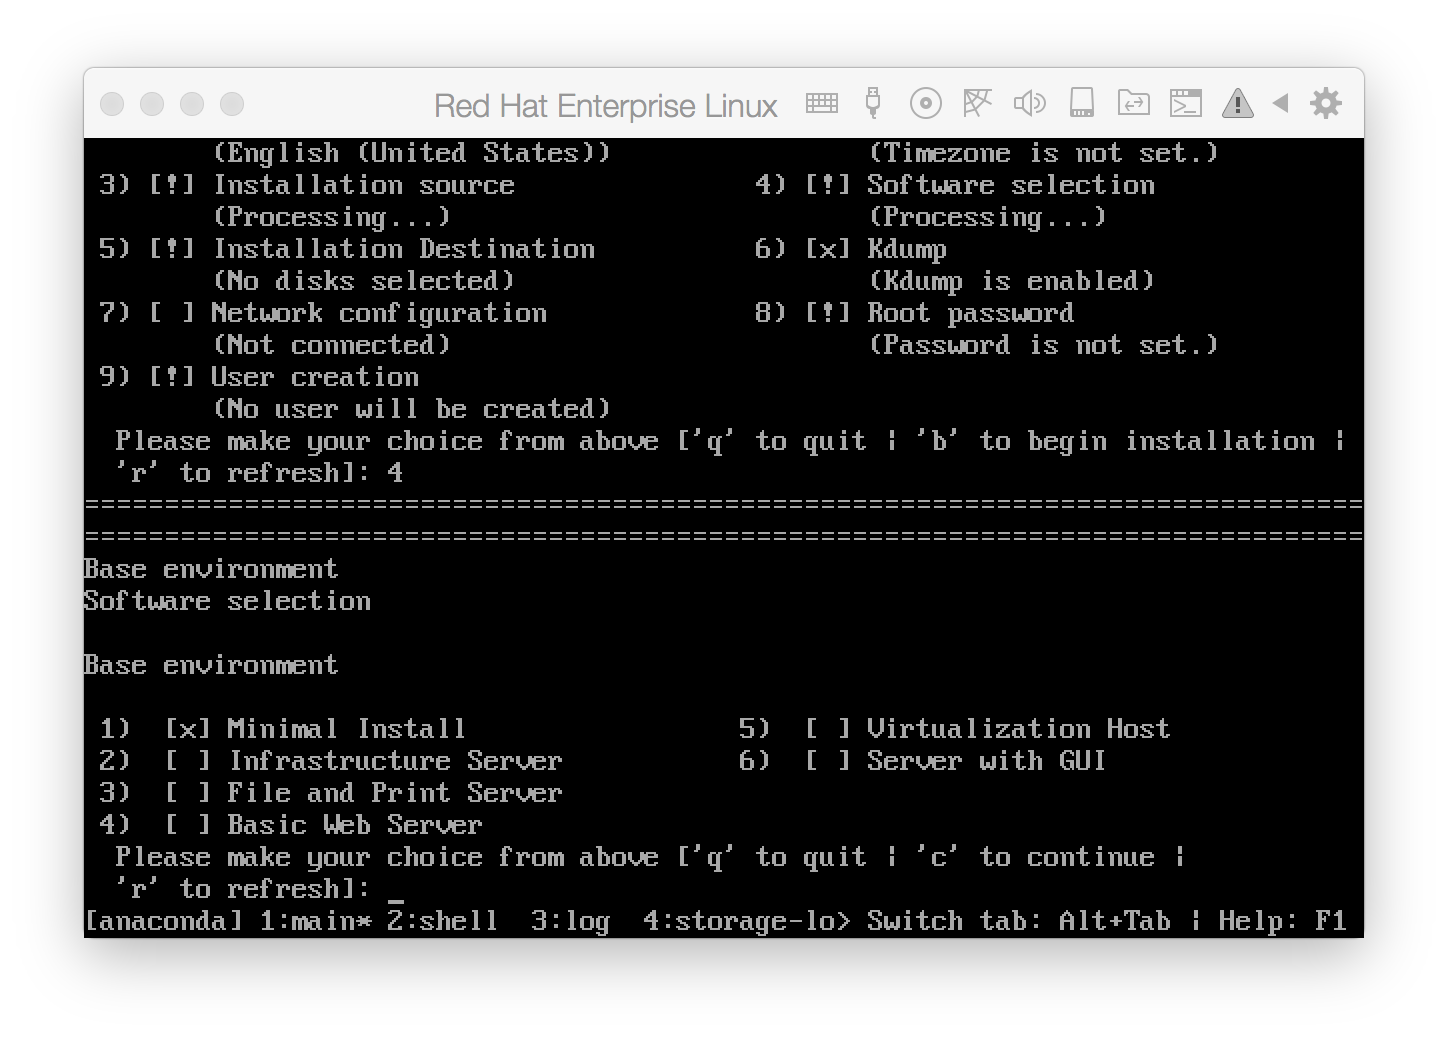
Lastly, select option 4 (Software Selection), just choose the default Minimal Install.
That is enough to get an install going. Next, press b in the main Installation menu to begin installation.
Setup
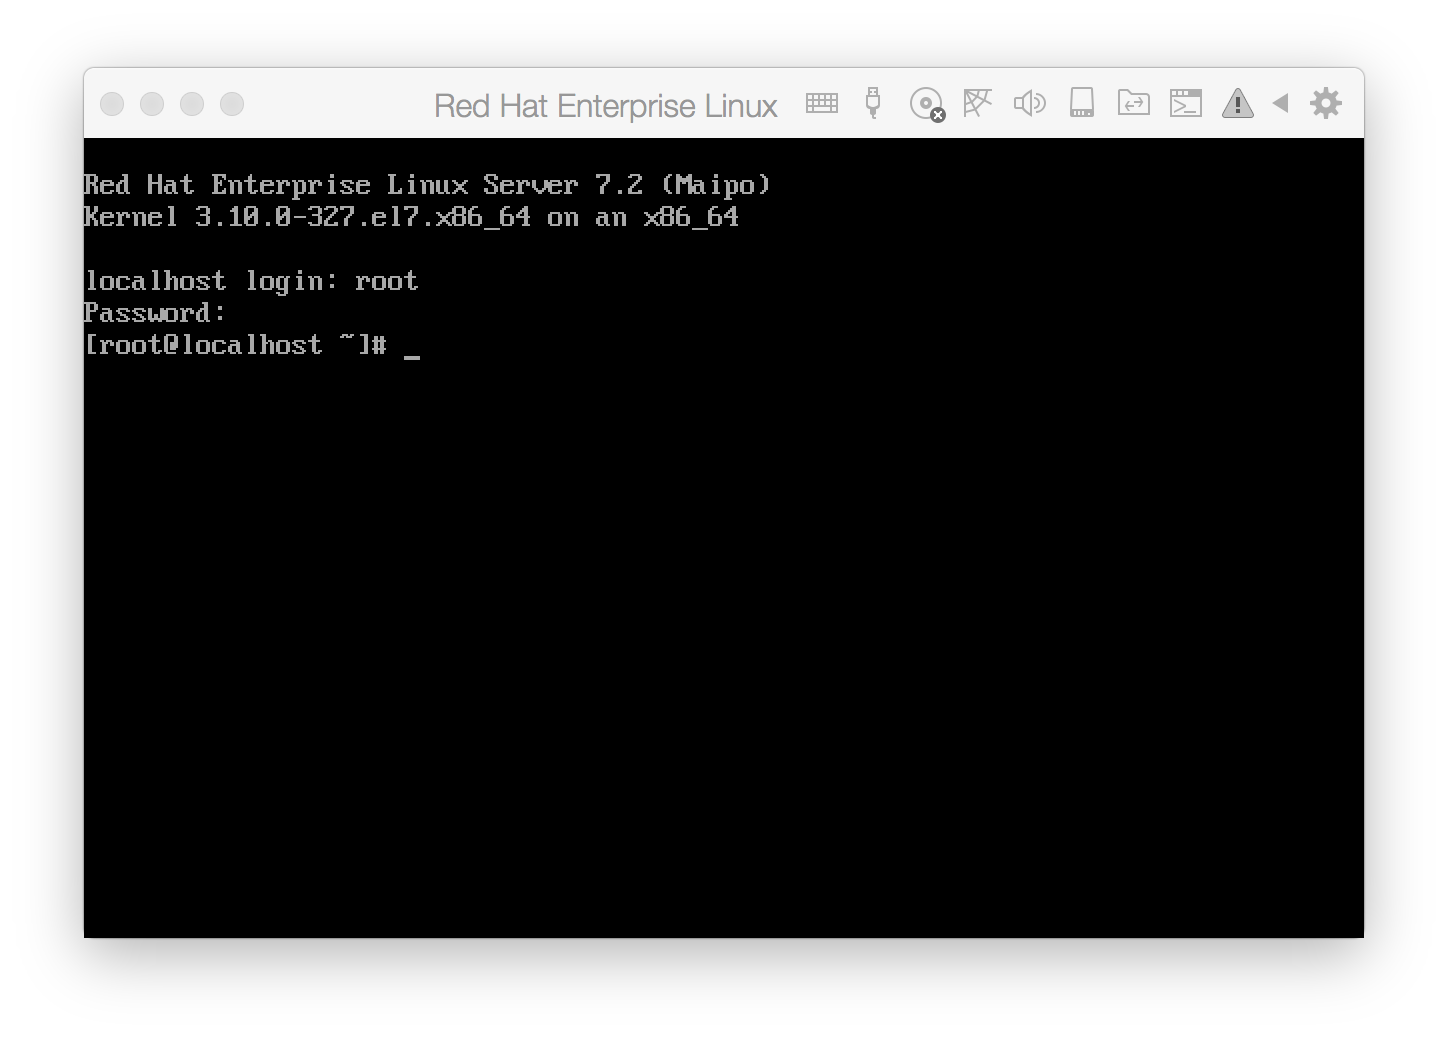
On first boot, login as root.
Configure the network interface
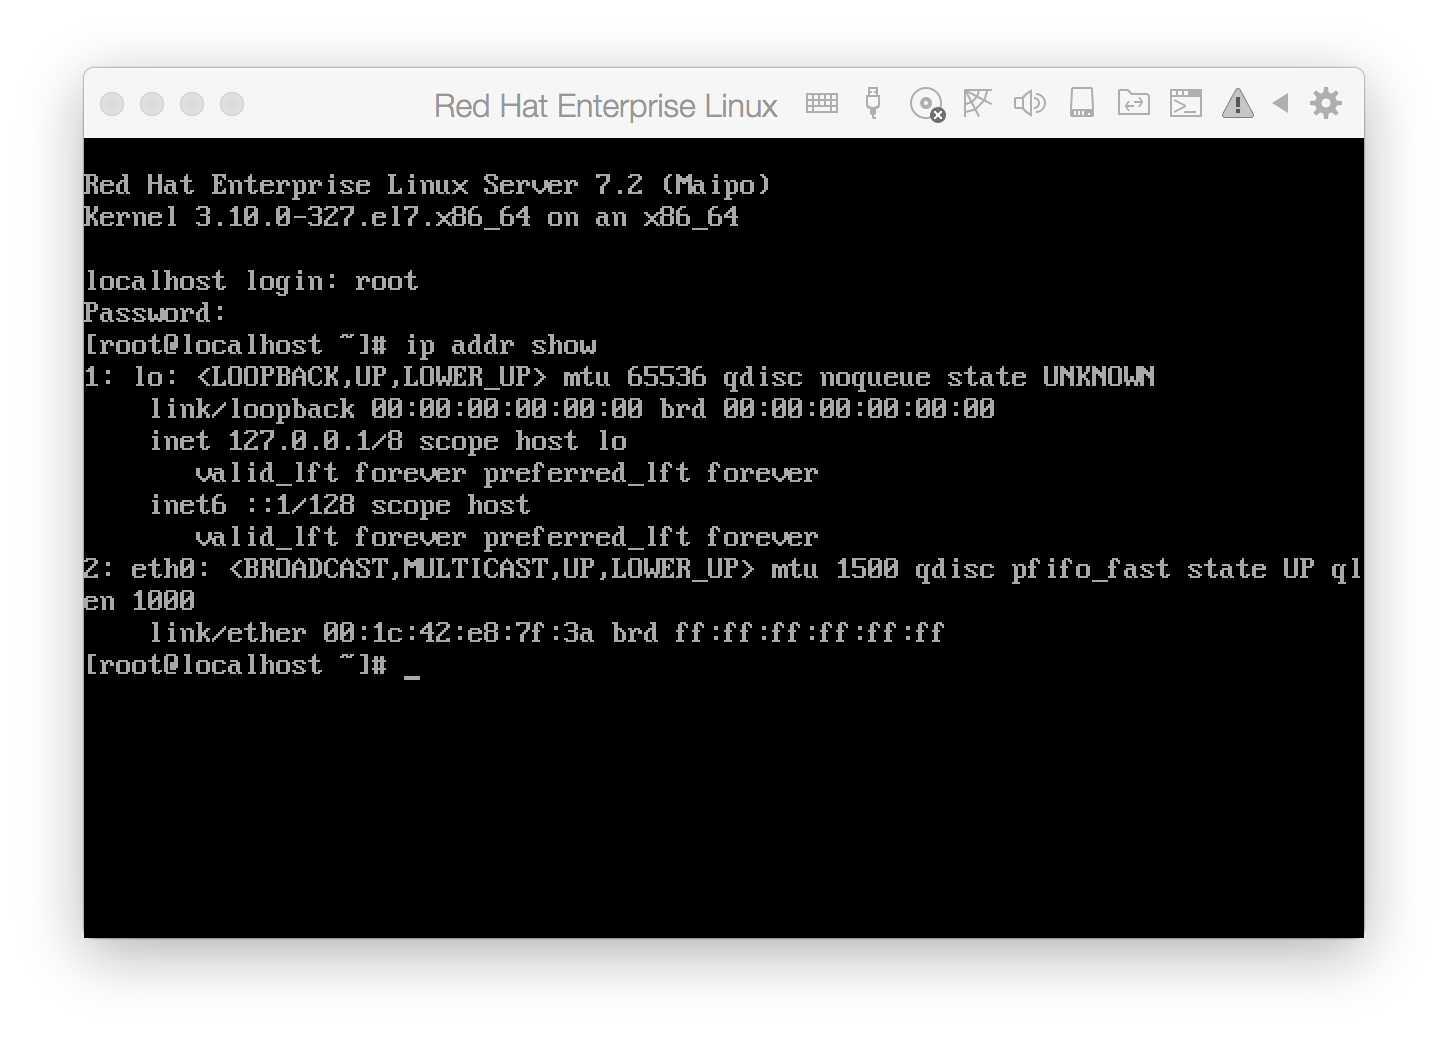
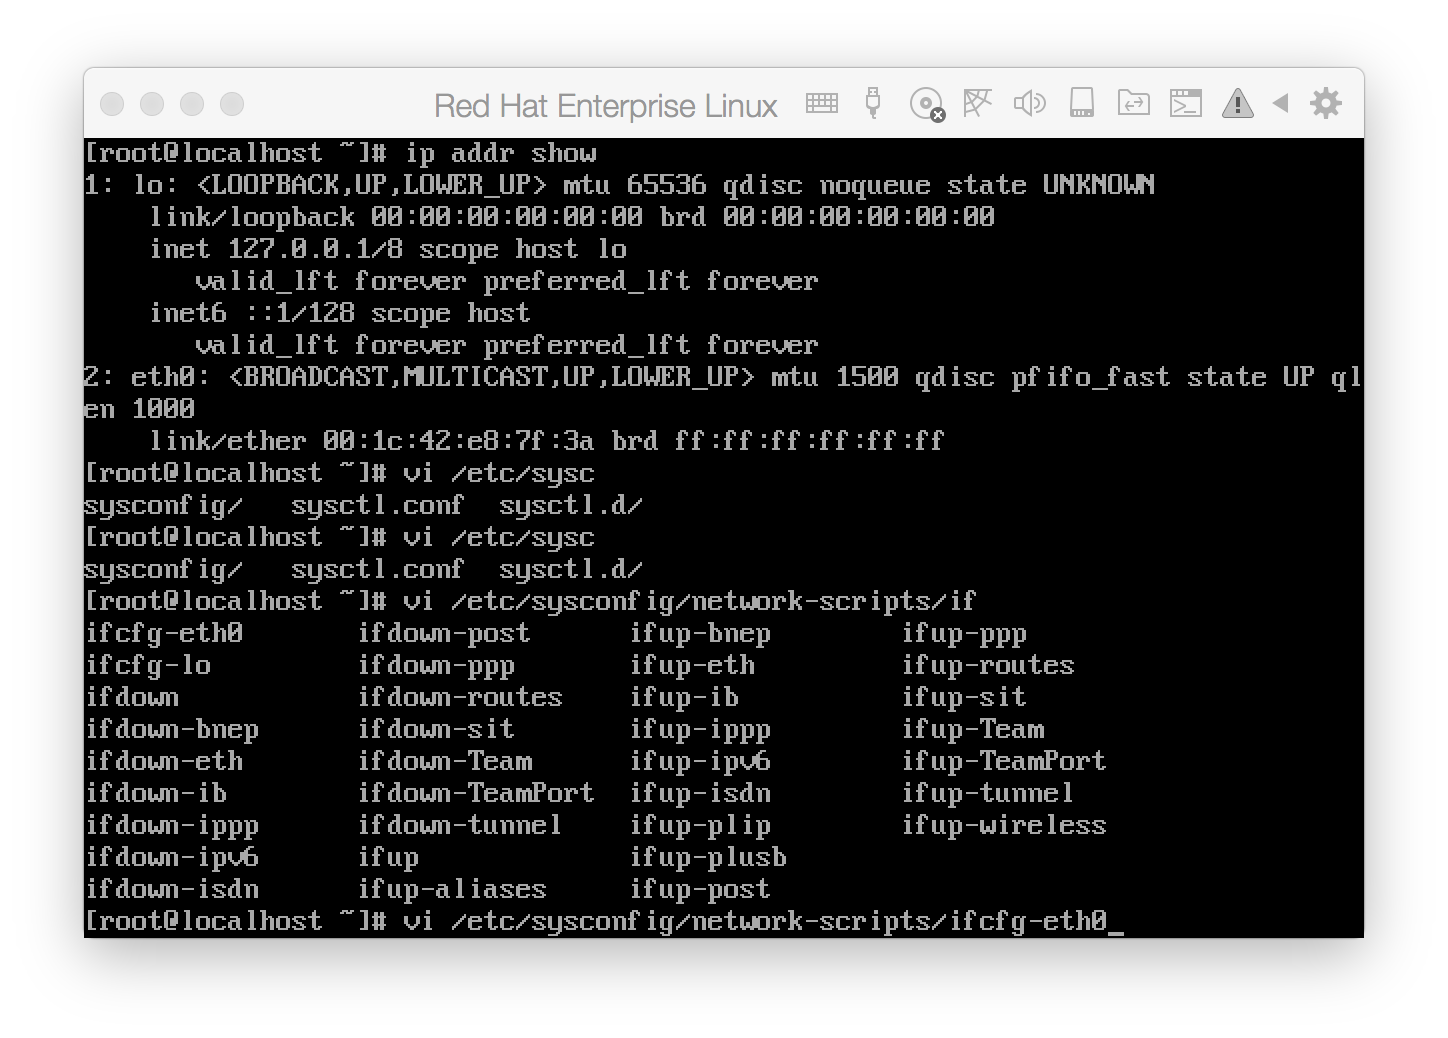
Now that we have a minimal install, the next thing to configure at this point is the network. Check the network interface name detected on boot. To do this run ip addr show. In my case, the network interface name is eth0.
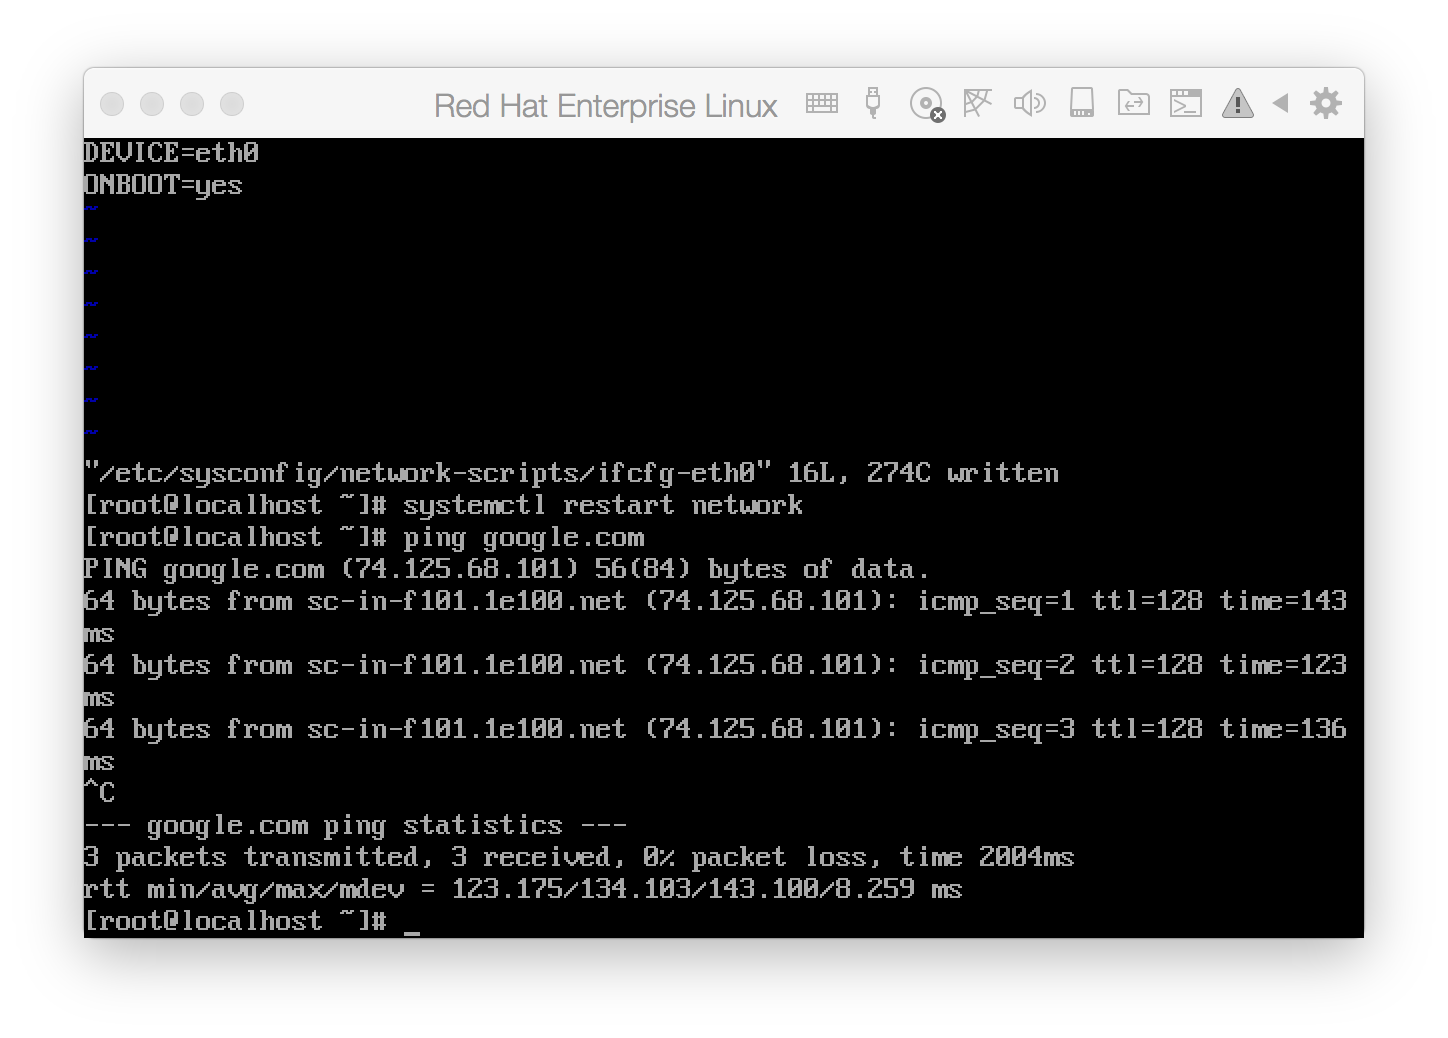
The next step is to edit the config file for the interface. Since I already know the interface name, it follows that I need to edit /etc/sysconfig/network-scripts/ifconfig-eth0. In the file, all settings were already correct except for ONBOOT=no.

I simply replaced that to yes, and saved the file. For the changes to take effect, I restarted the network by running systemctl restart network.
Once the network is up and running, the box needs to be registered. This is required to install and update packages on your box.
Configure RHEL subscription
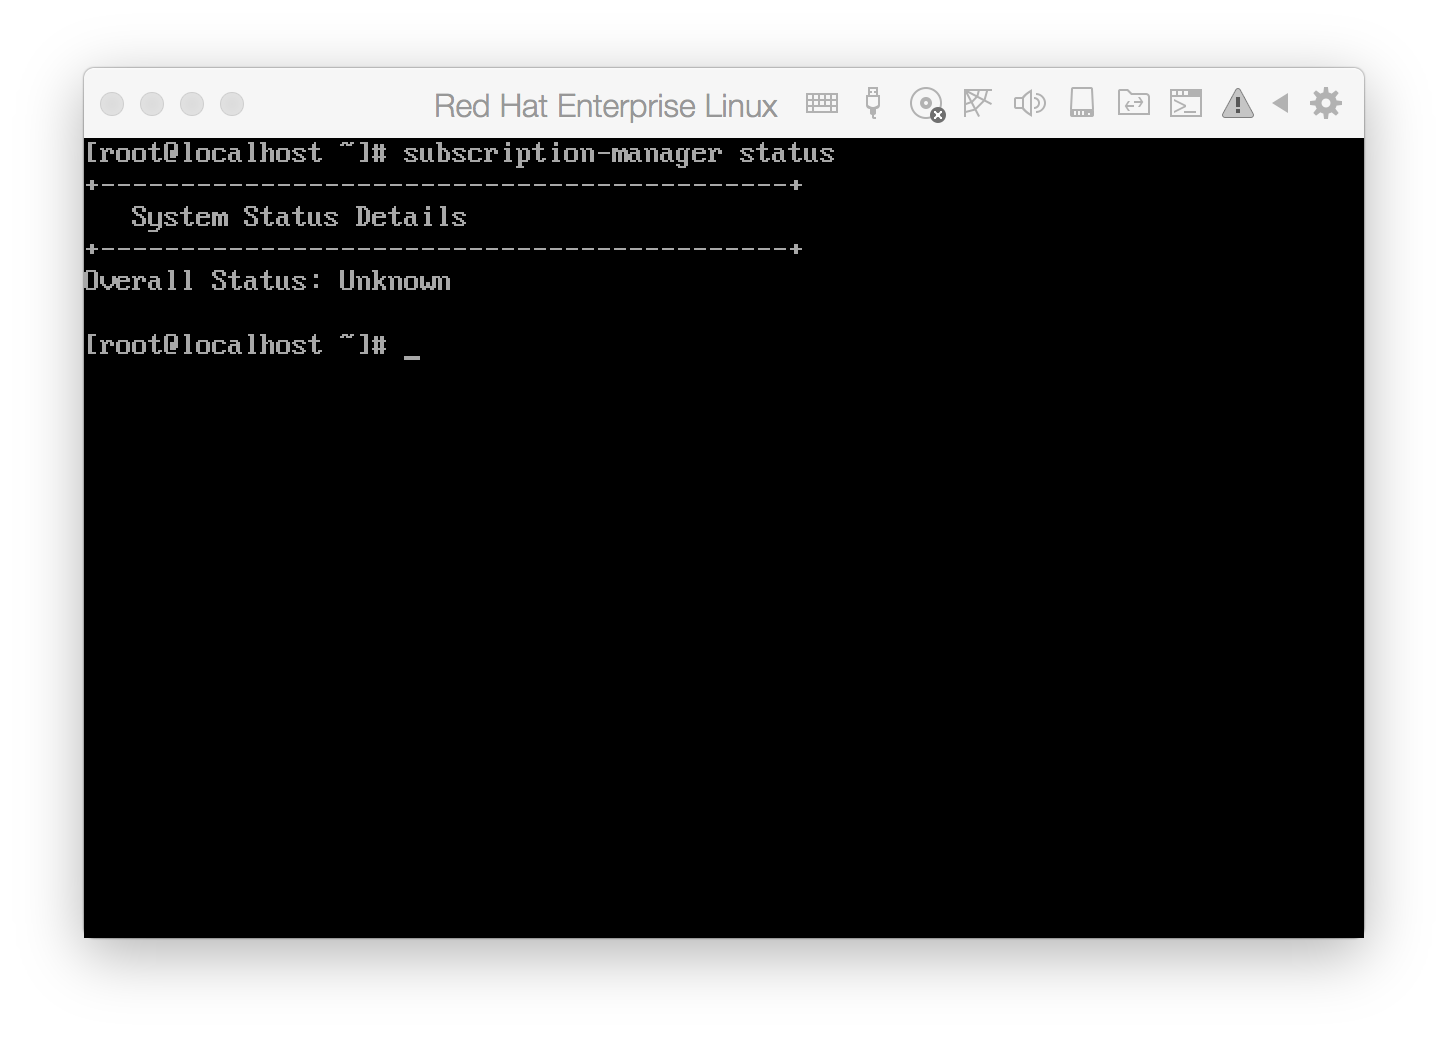
To check the current status of the machine, you can issue the command subscription-manager status. At this time, the Overall Status would most likely be Unknown.
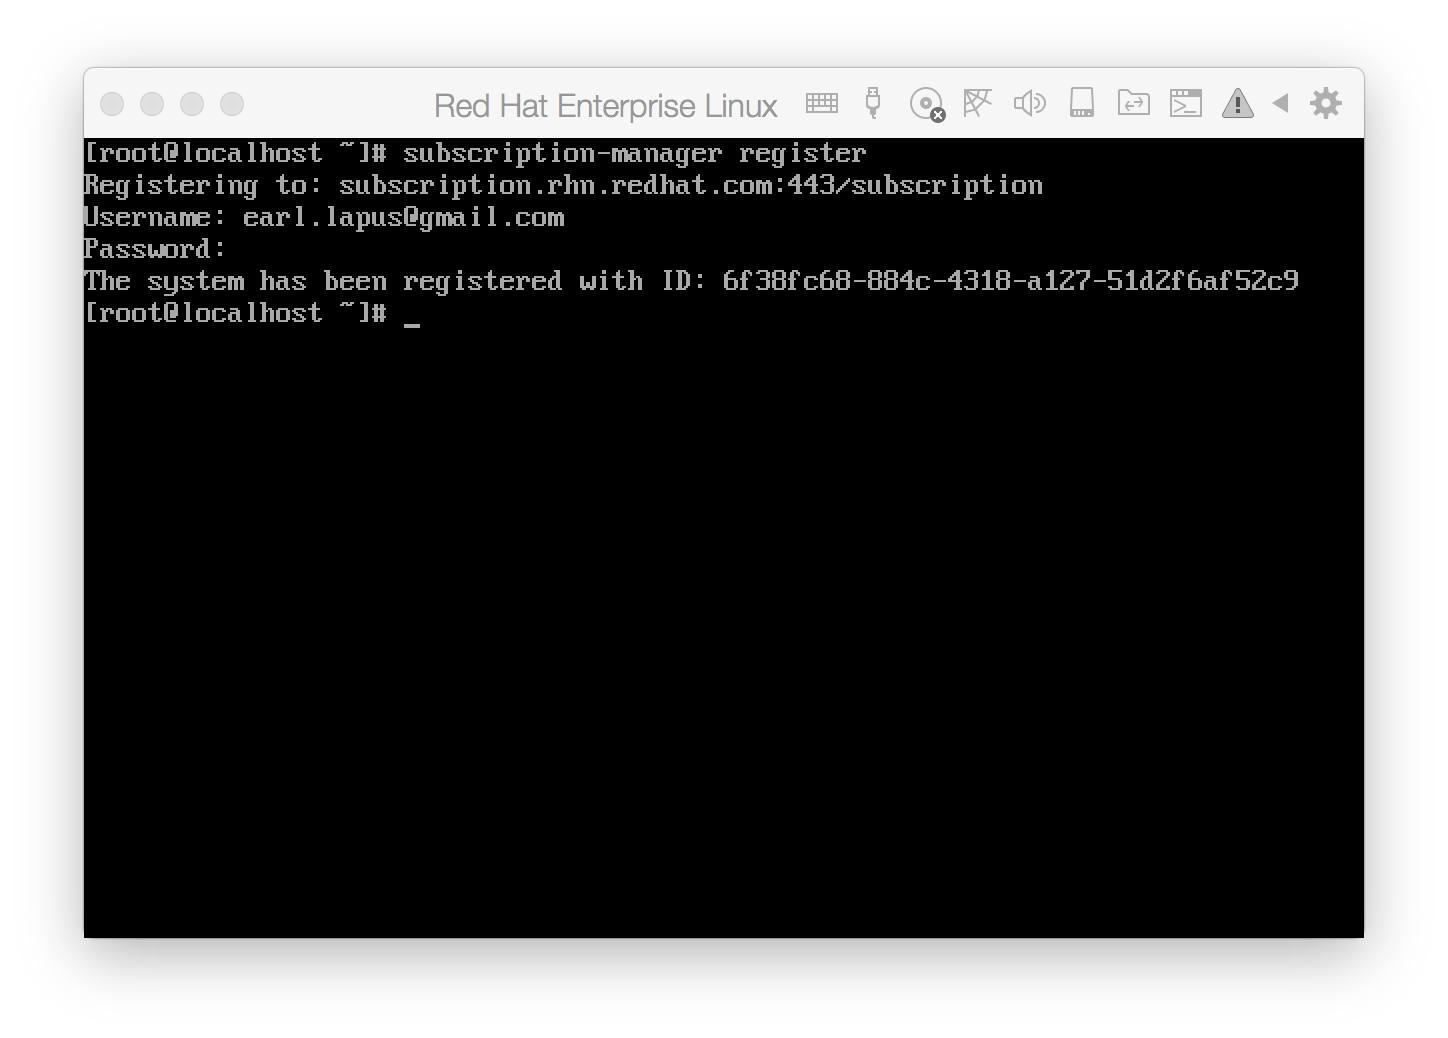
To register, just issue the command subscription-manager register. This command will prompt for a valid RedHat developer credential.
After running the register command, you need run subscription-manager attach. This links the current machine to the registered account.
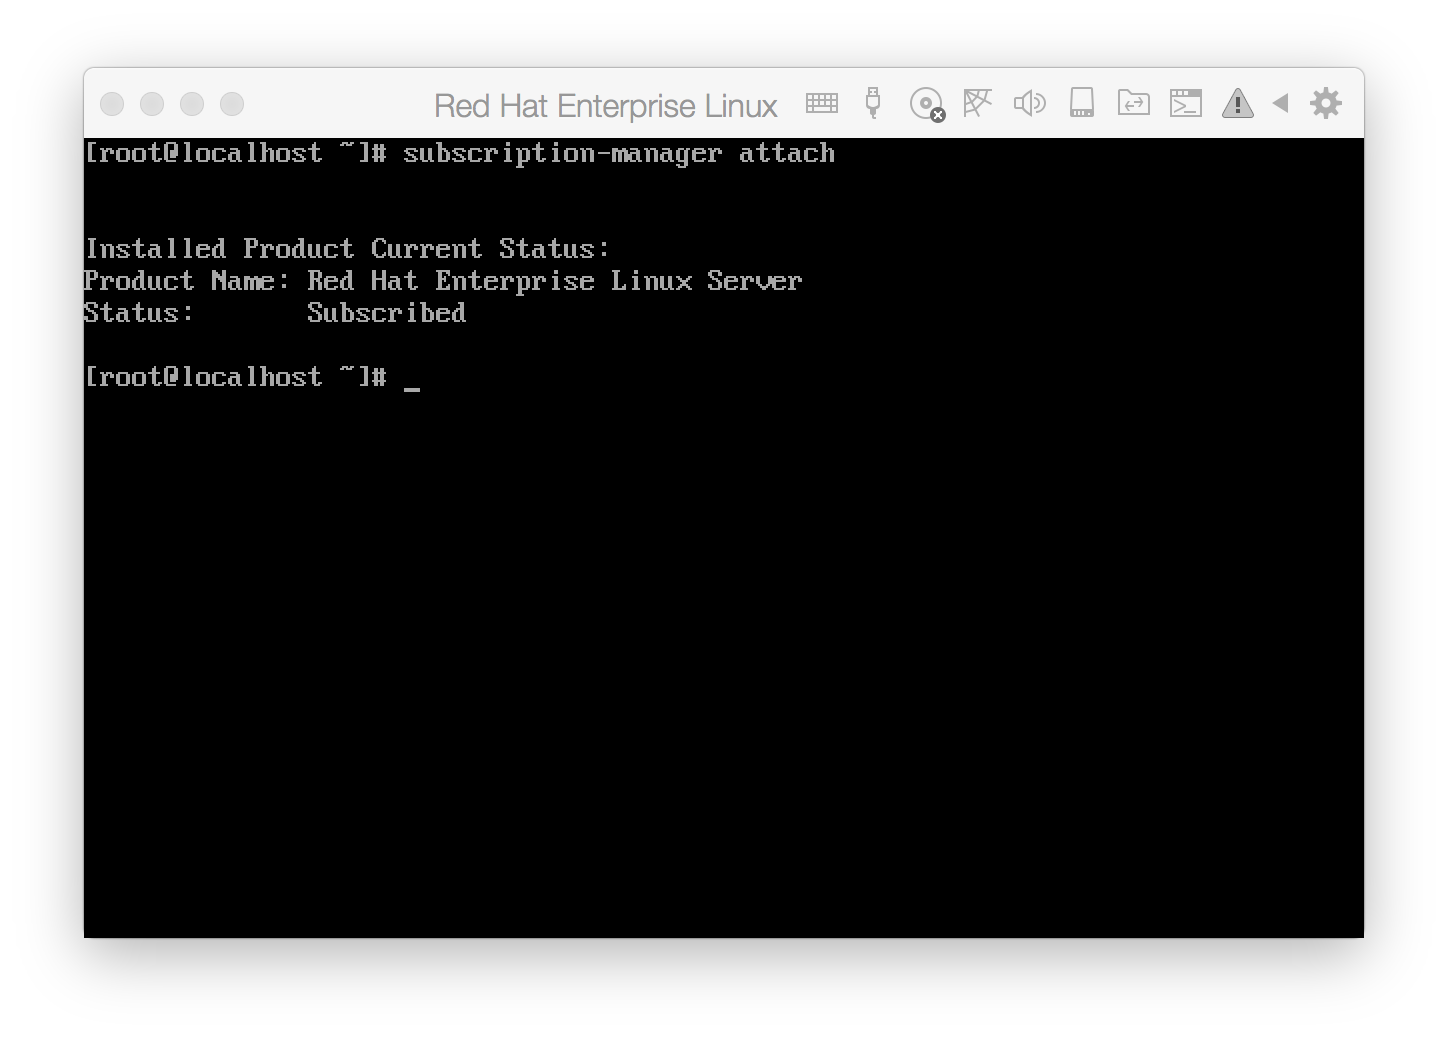
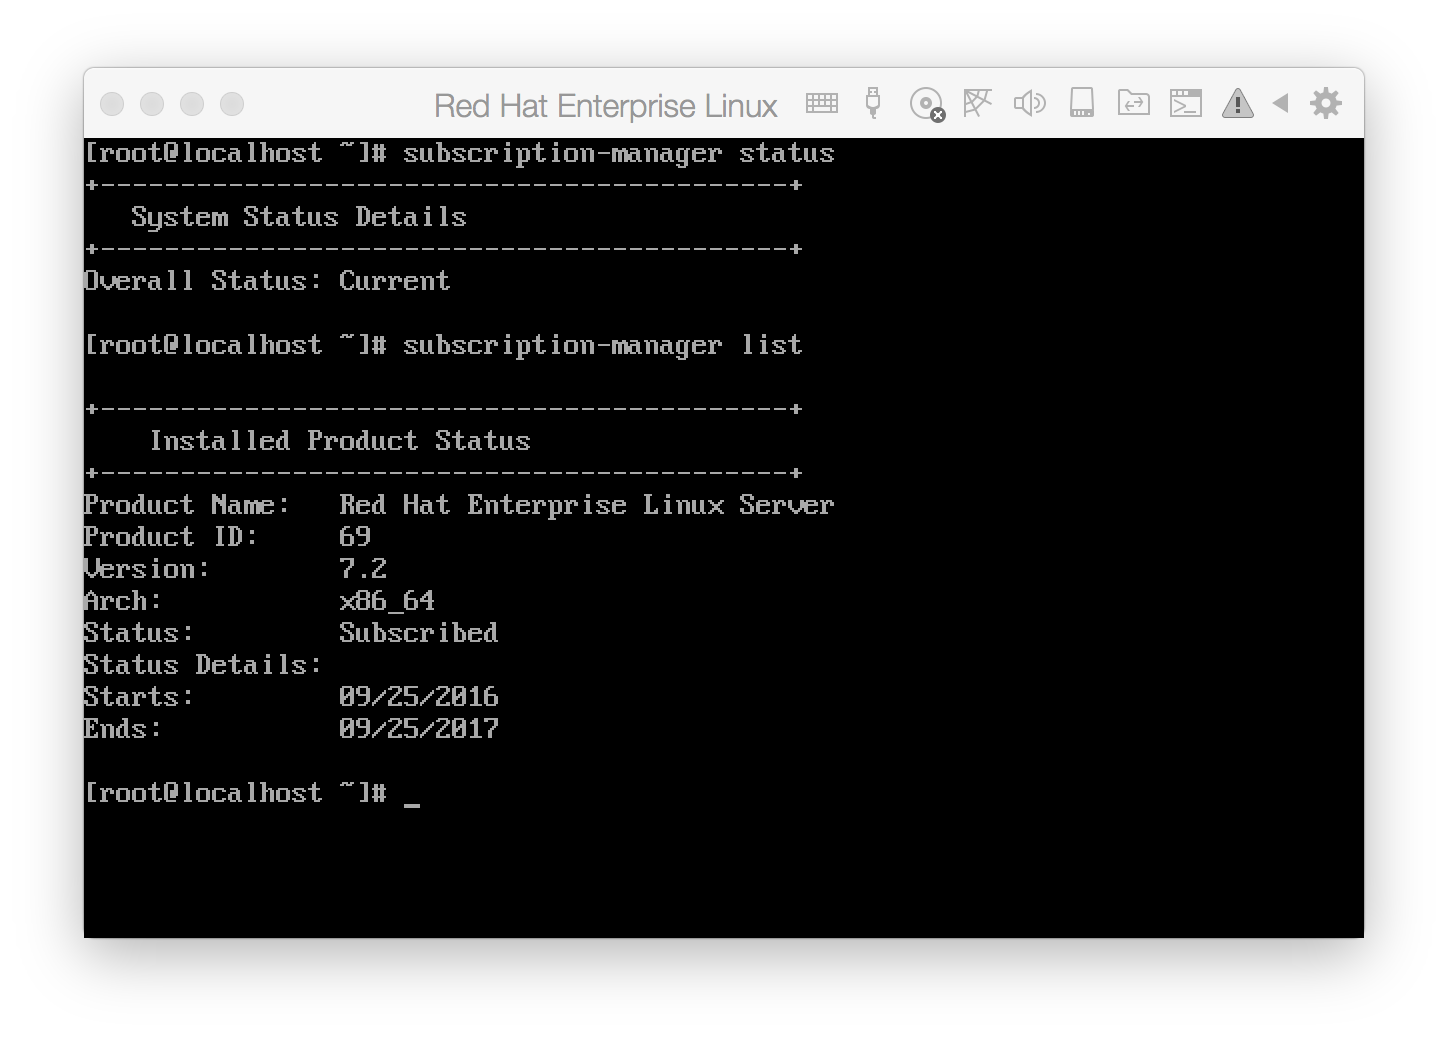
After this, you can verify the subscription by running subscription-manager status again. And, you can also see more information by running subscription-manager list.
At this point, it already possible to update your repositories and install packages that you need for development.
Installing Parallels Tools
Parallels Tools has many useful features for managing your virtual machine. Personally, I find the ability to automatically mount host folders to the guest virtual machine on boot very useful.
Parallels Tools needs to be installed on the guest machine. There are however some packages that needs to be installed first. The following are Parallels Tools pre-requisites (Parallels KB for this topic):
- gcc
- kernel headers
- checkpolicy
- selinux-policy-devel
- dkms
Enable Extras and Optional repository
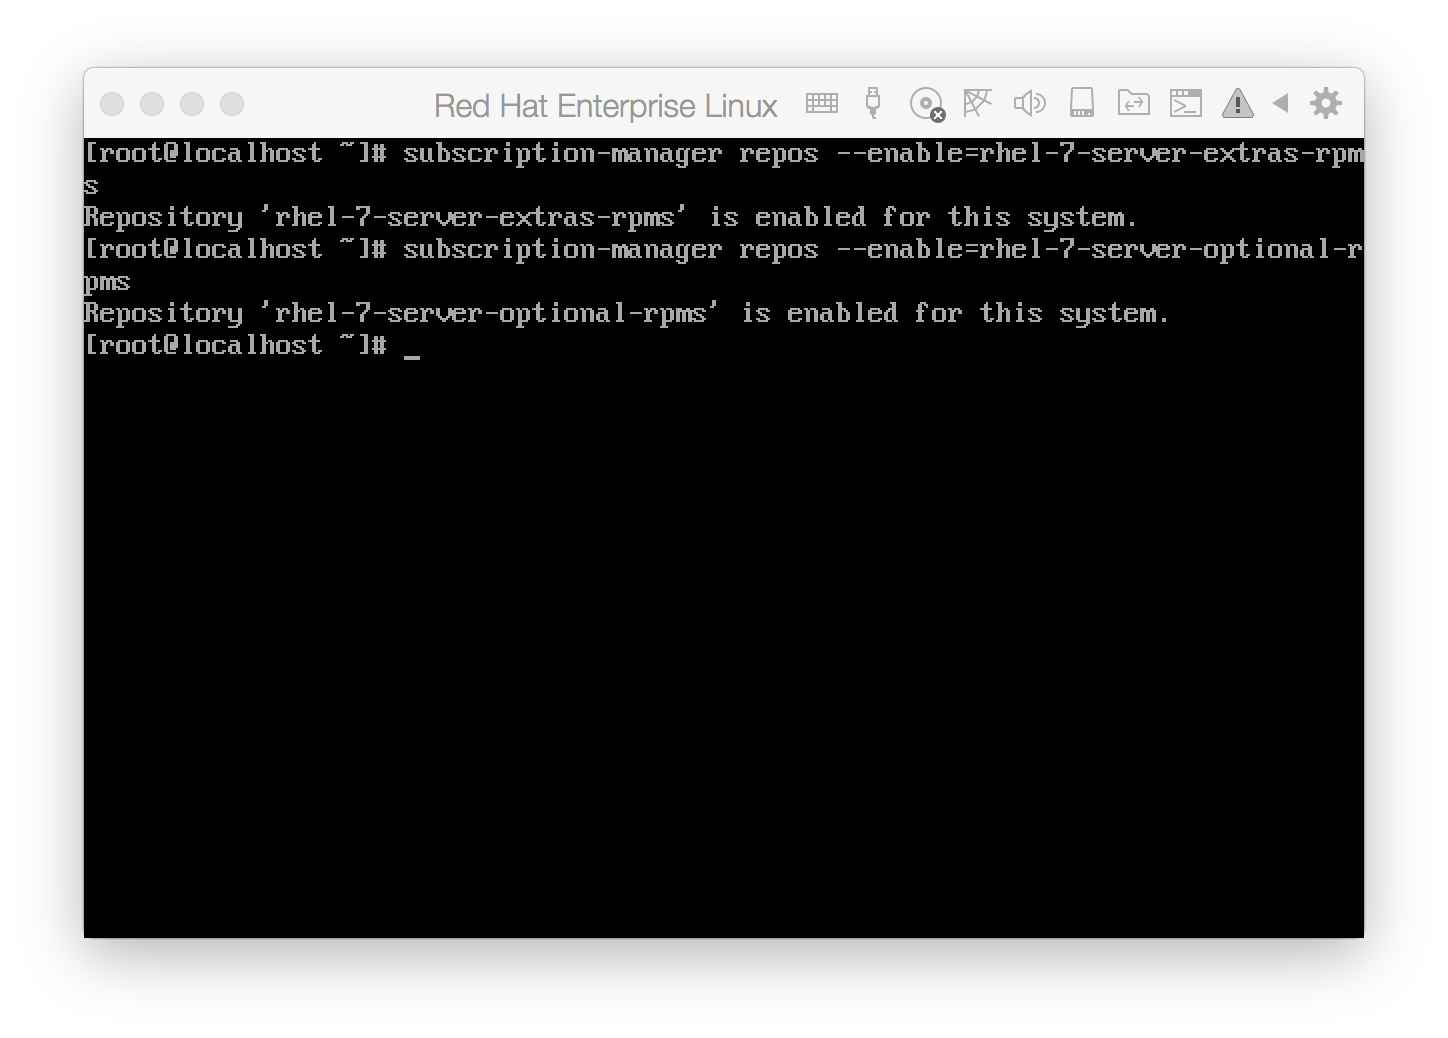
The pre-requisites require that additional repositories need to be enabled, namely: rehl-7-server-extras-rpms and rhel-7-server-optional-rpms. These repositories can be enabled using the subscription-manager.
Development Tools
Make sure to have the Development Tools group in your repository (yum groupinstall 'Development Tools') marked as enabled. Then update the packages (yum update).
Install dkms
From the pre-requisites enumerated above, only the dkms package is not found in any existing RHEL maintained repository. Instead, it is found in a community maintained repository called the EPEL Repository. For more information about the EPEL Repository, read this.
Fortunately, it is possible to add third-party Repositories in RHEL. In the case of EPEL, we need to download the EPEL repository package available for download in their website. Then, install the package manually.
See series of commands on the screenshot below:
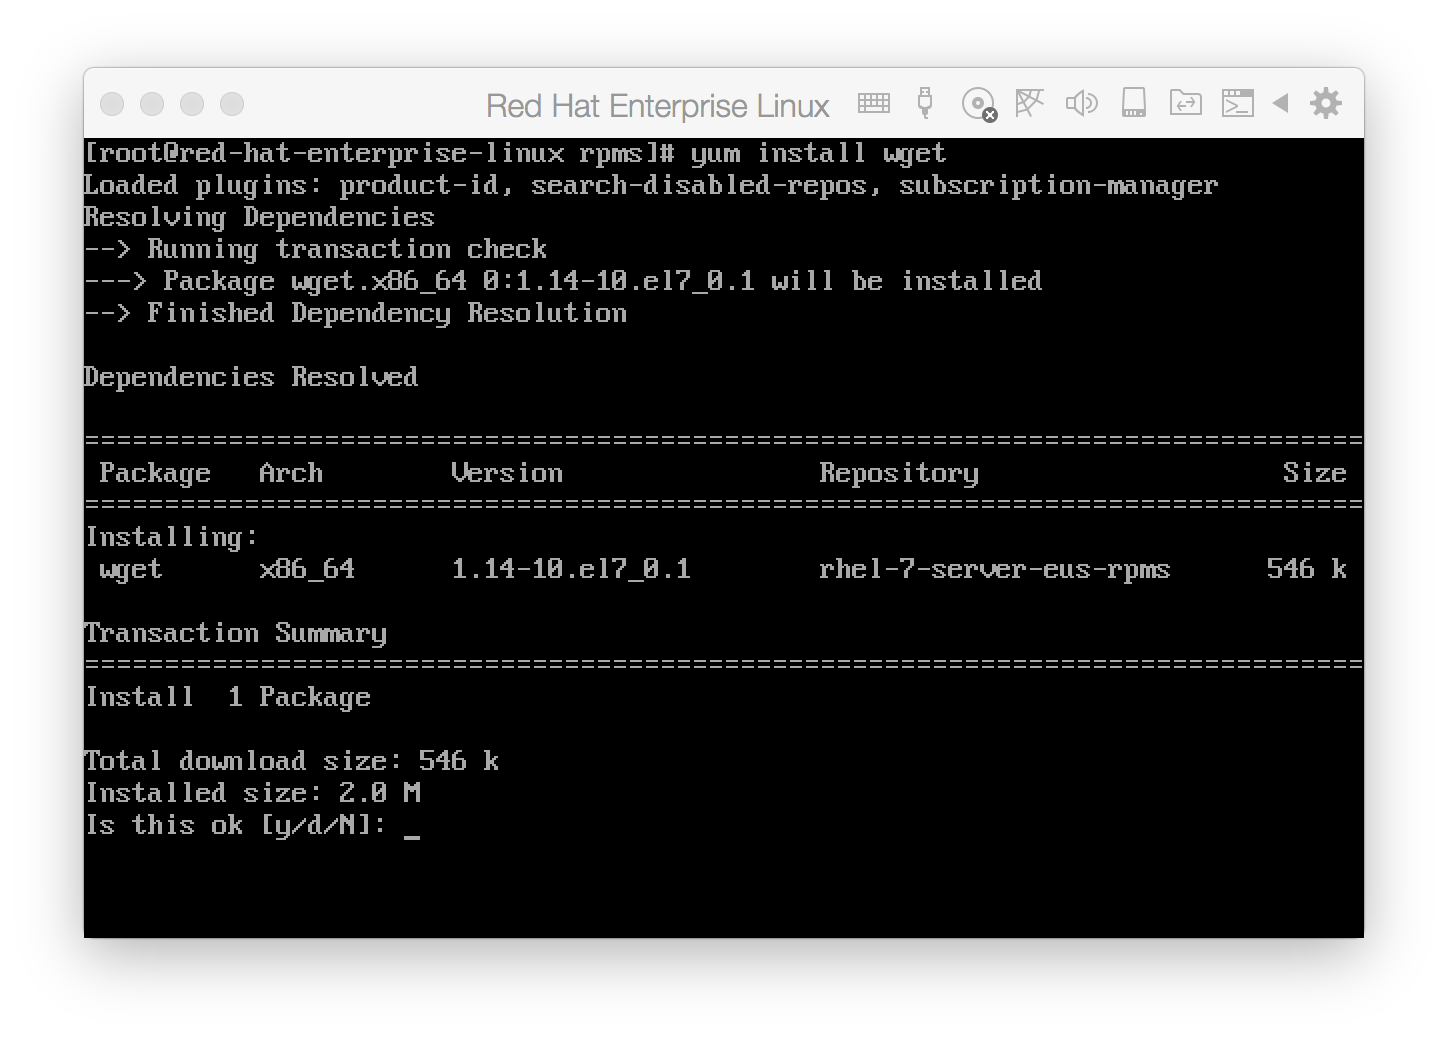

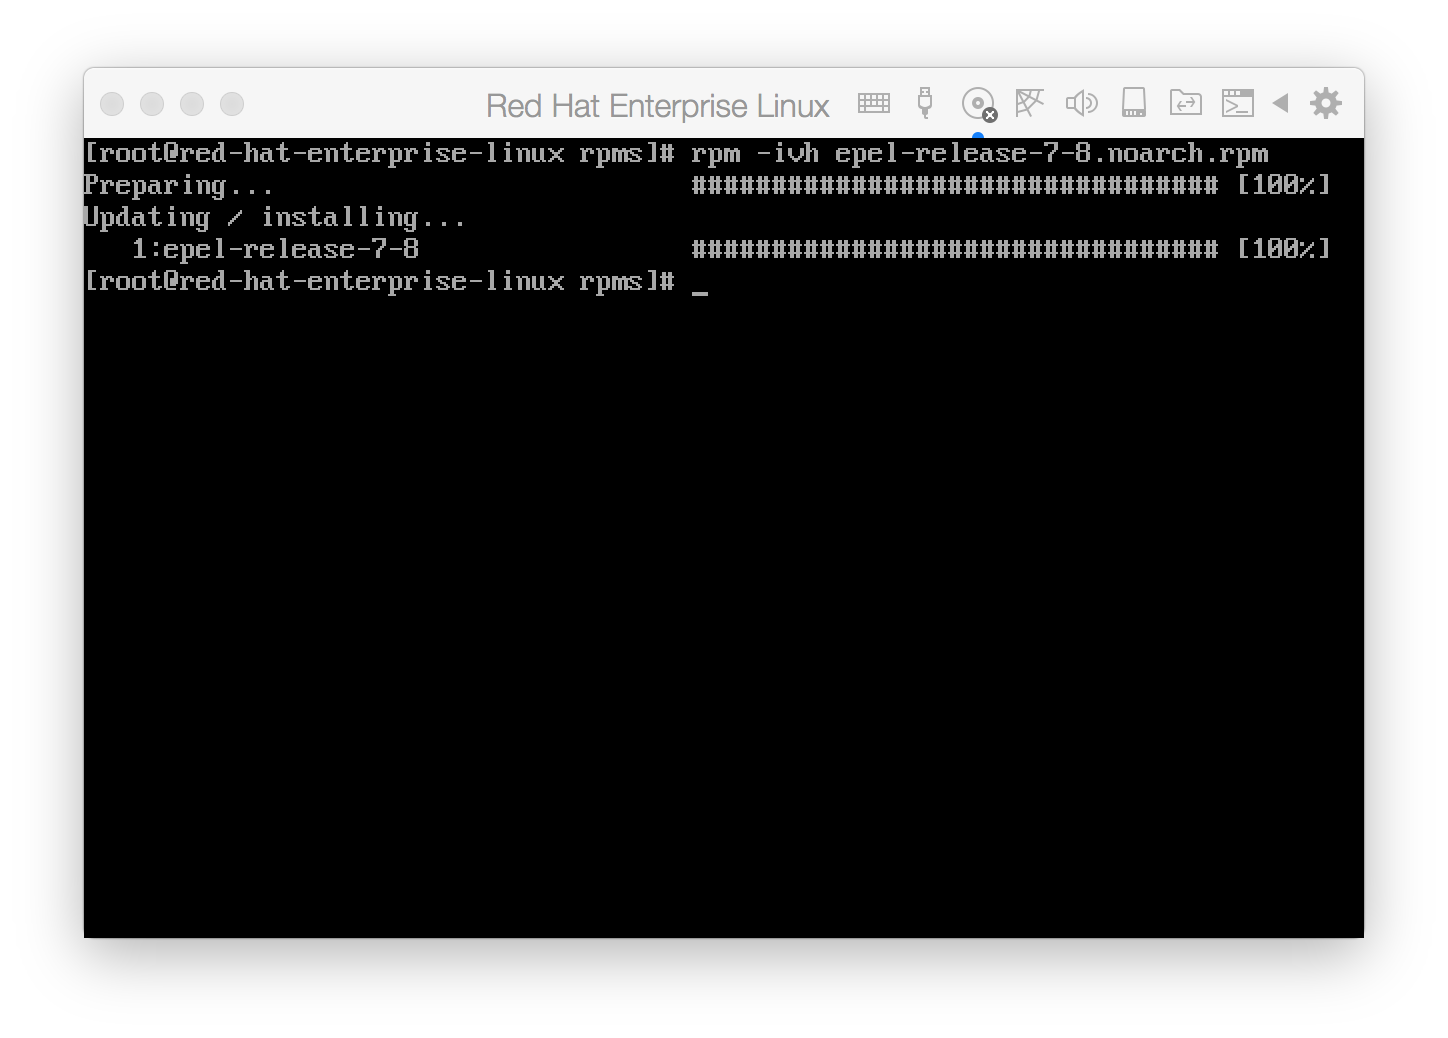
Once the EPEL repository is in place, simply do an update and install the dkms package using yum like so: yum update && yum install dkms
Note: During installation of the dkms package, you will be asked to accept a new GPG key.
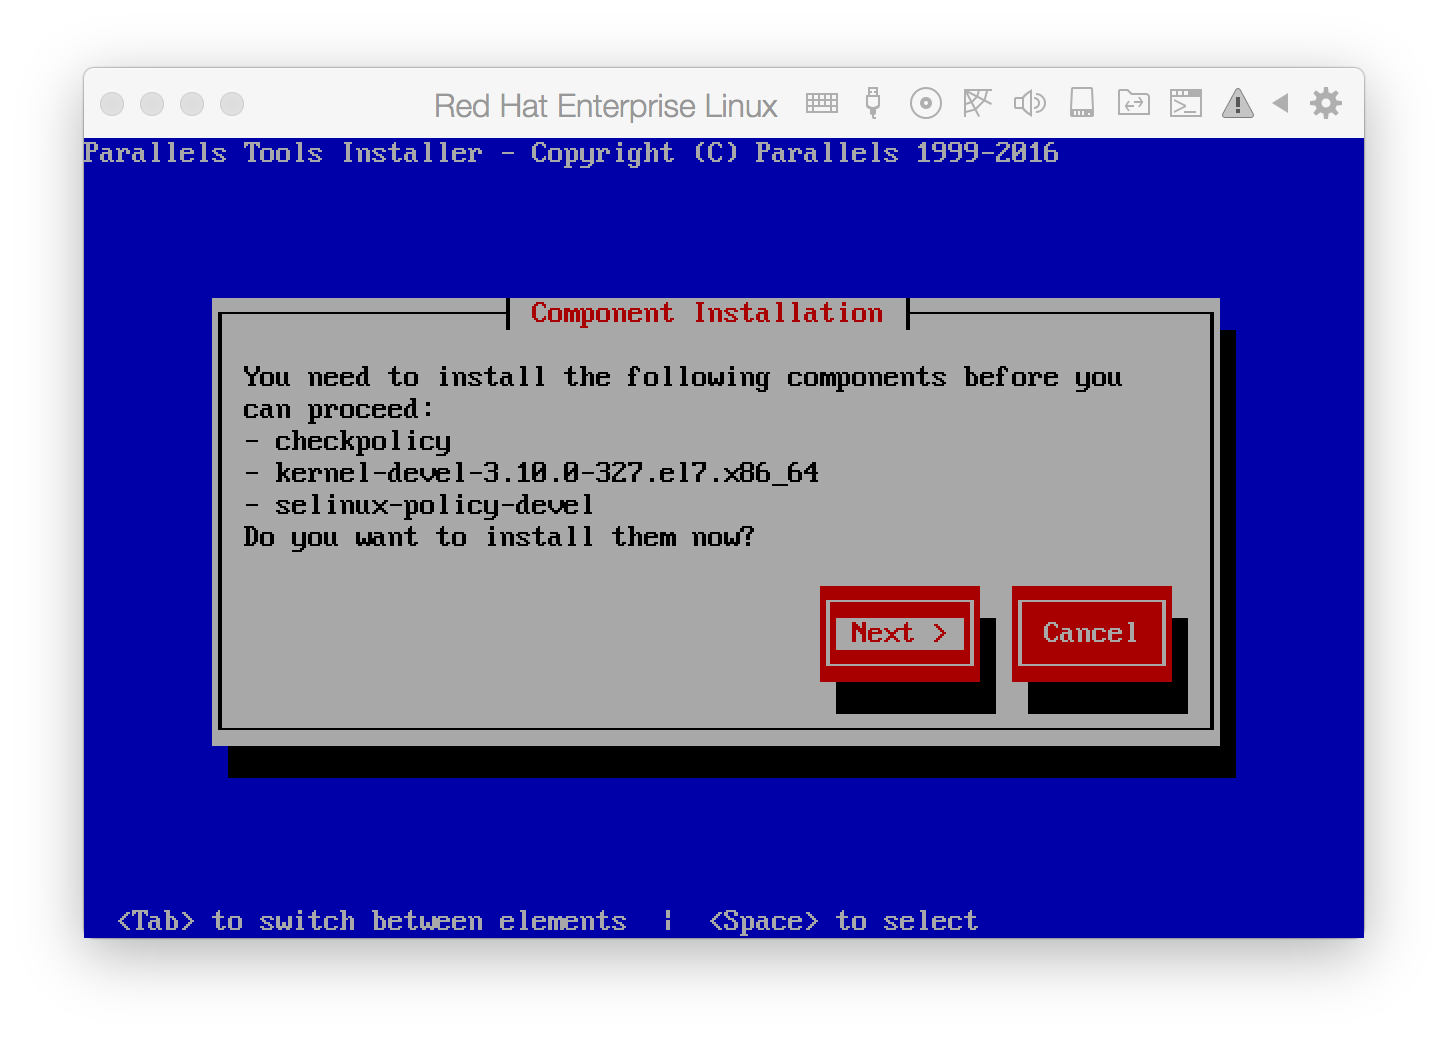
Parallels Tools installer
On the Parallels menu, click on "Install Parallels Tools". This will put the Parallels Tools installer on the cdrom device (this will prompt a warning, just click Continue). The next thing to do will be to mount the said device mount -o exec /dev/sr0 /media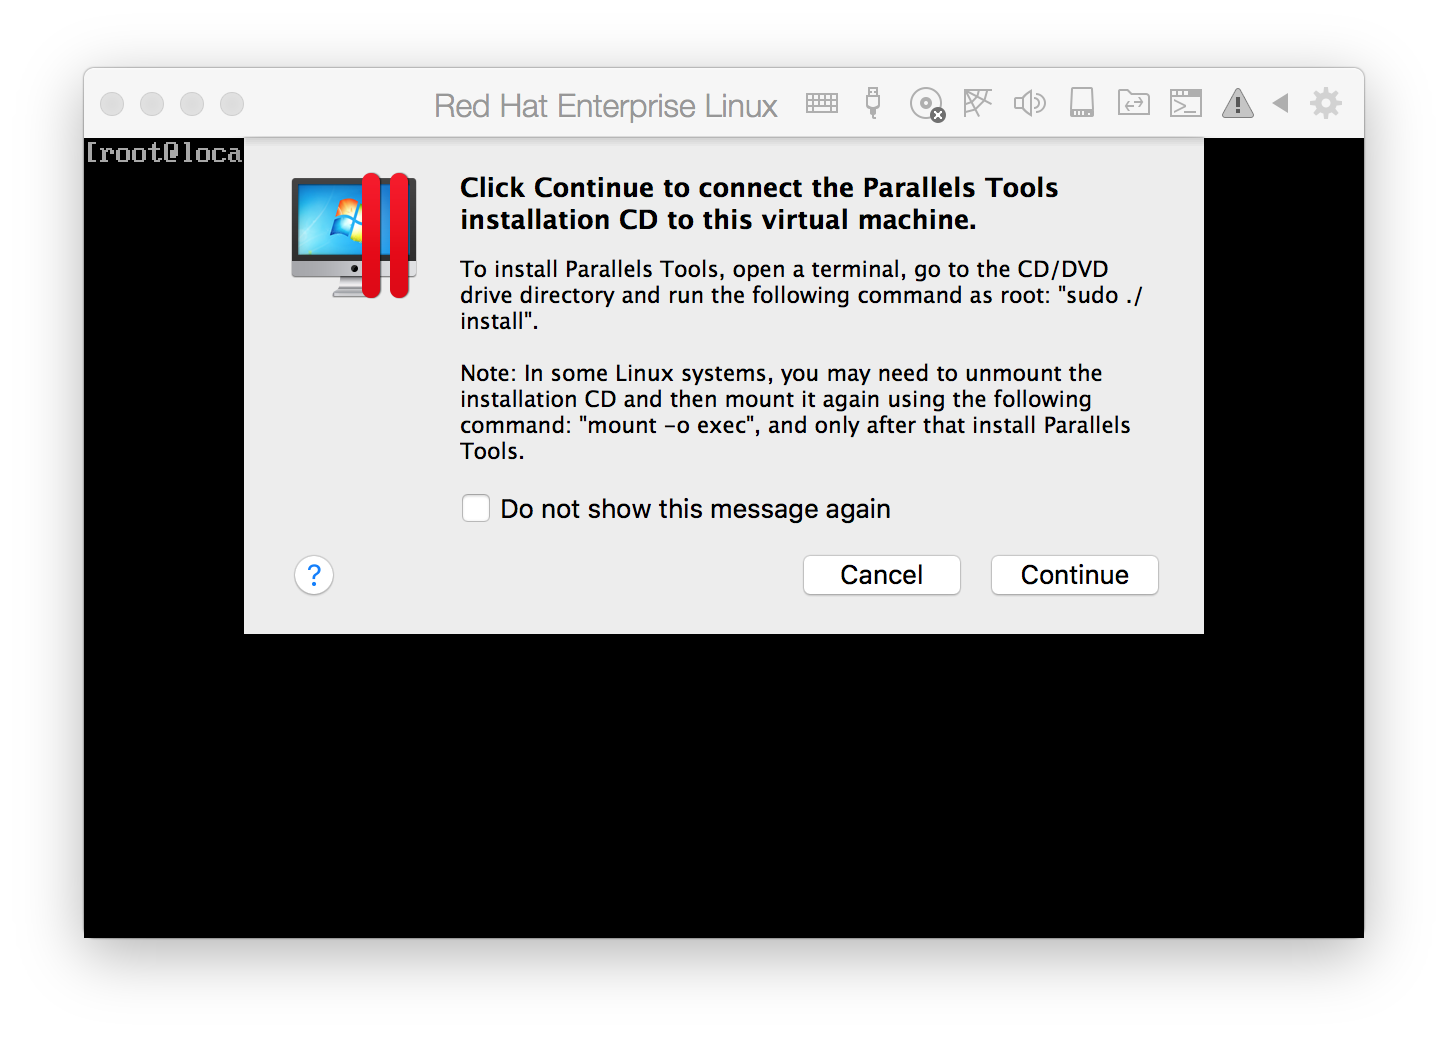
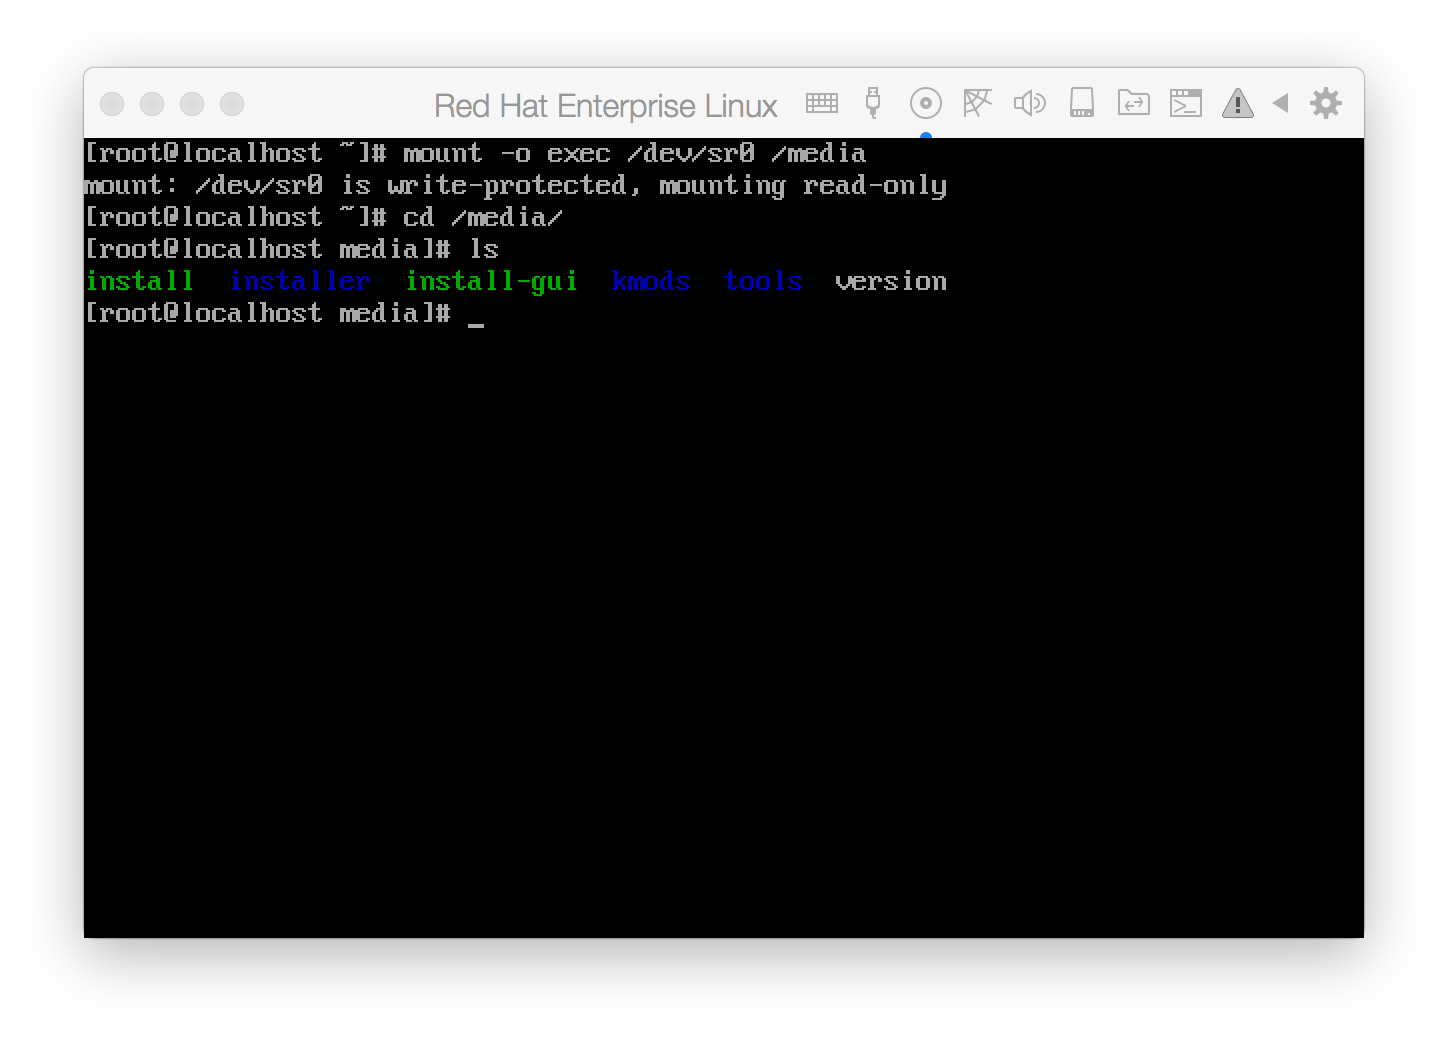
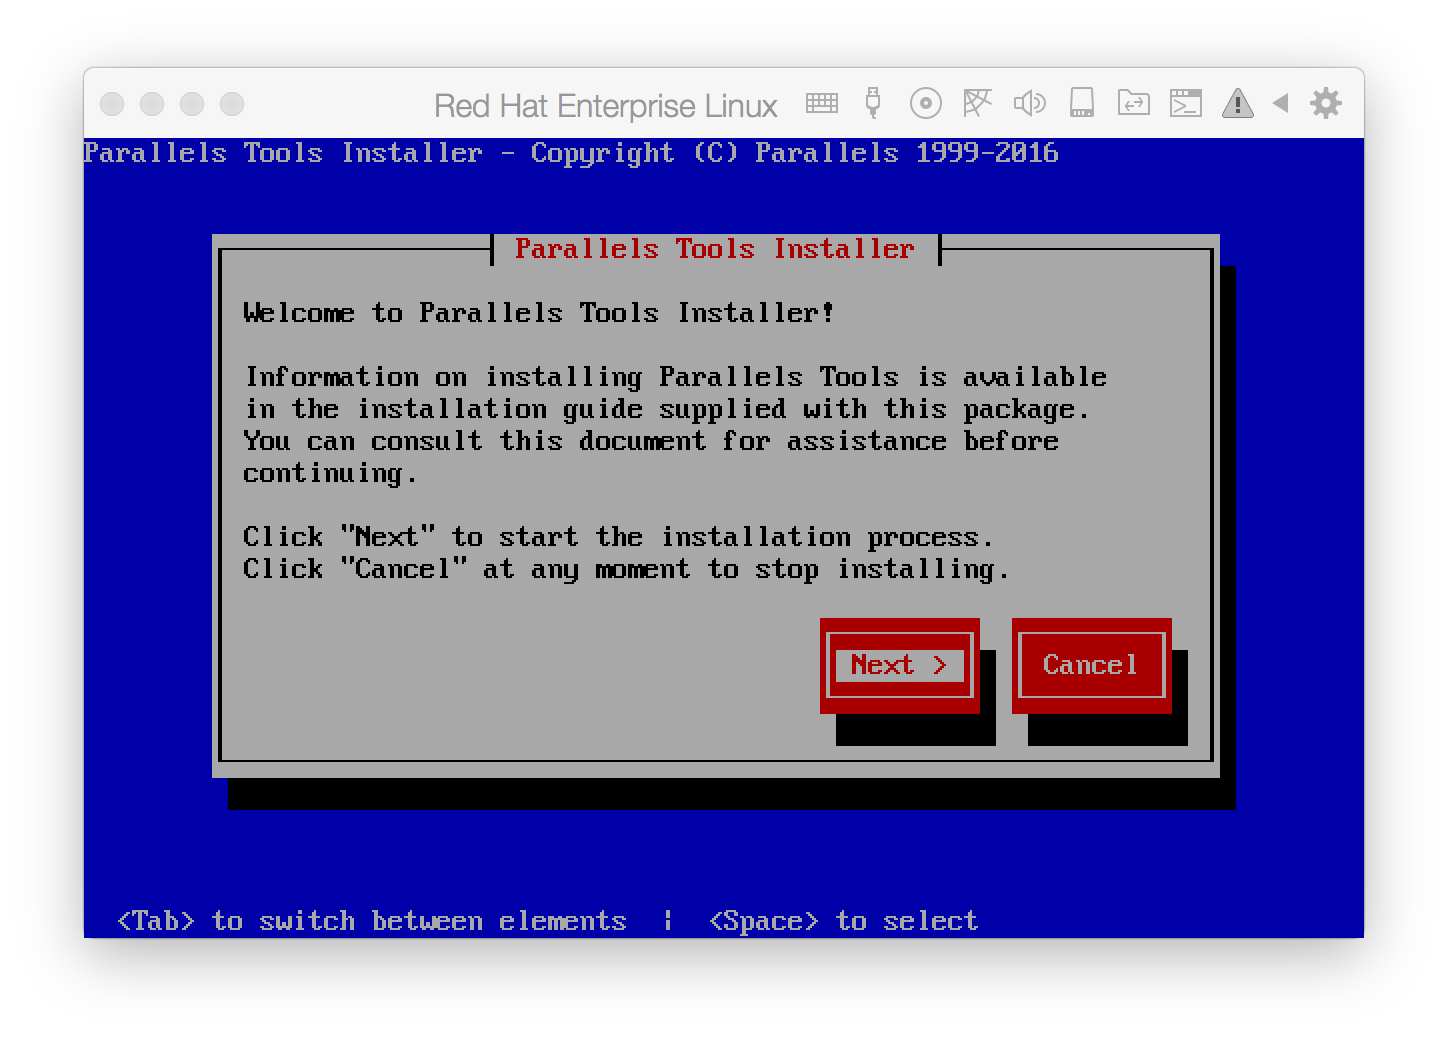
cd to the /media directory and run the install script. Then, follow the instructions on the screen and wait for the installation to finish.

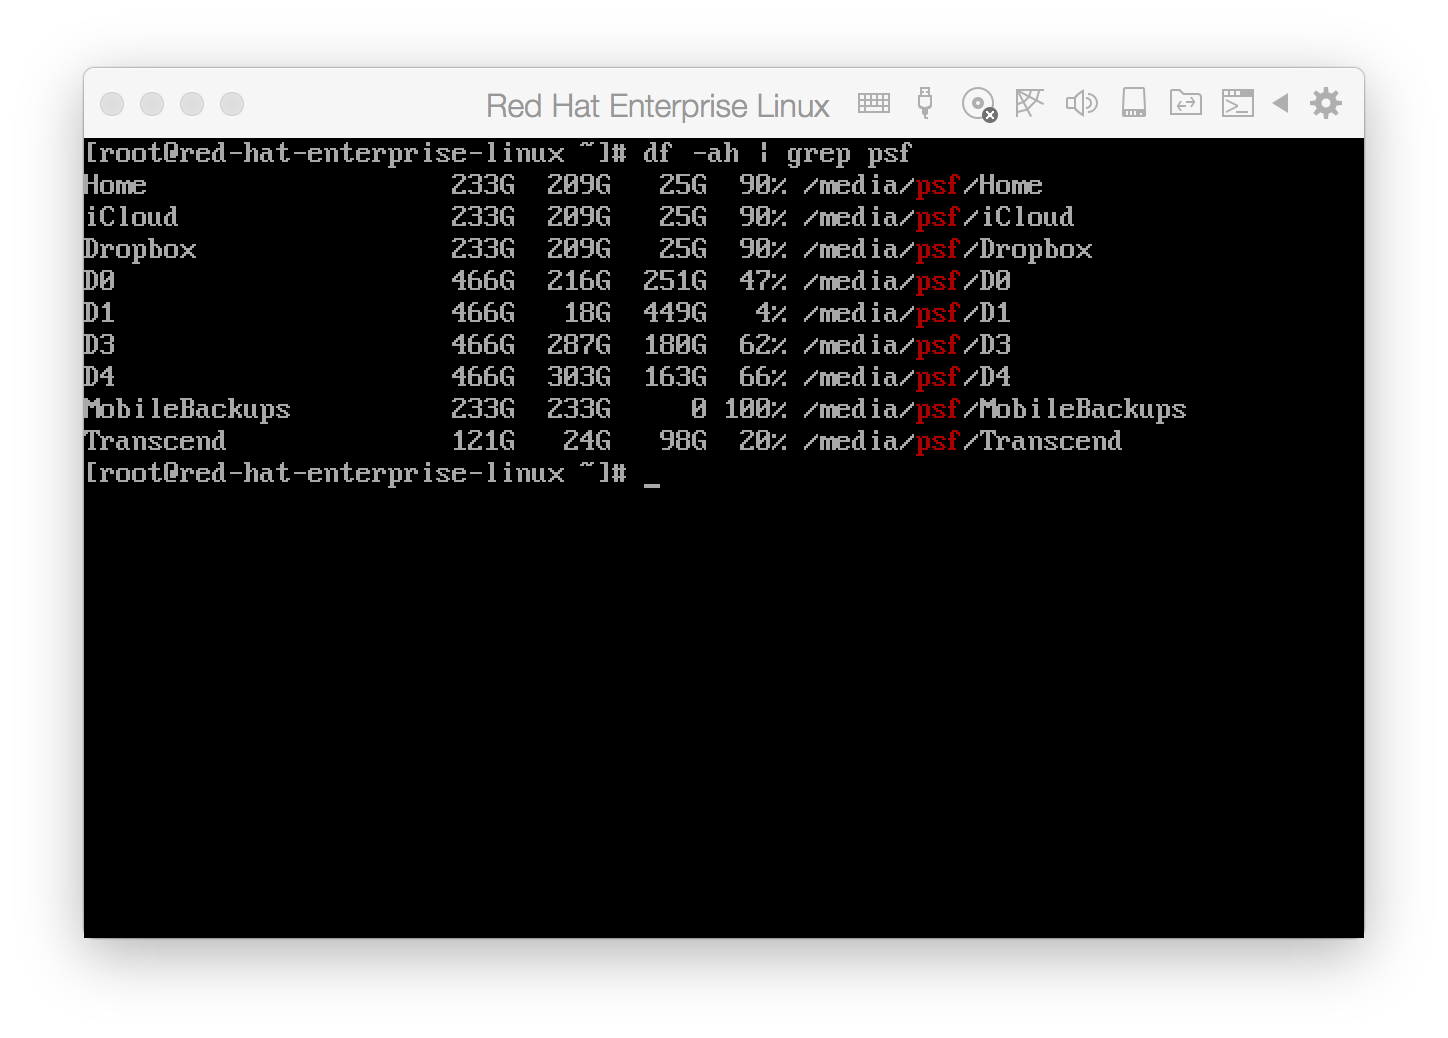
After installation, reboot the virtual machine for changes to take effect. After reboot, you should see local drives being mounted on your virtual machine under /media/psf.
Well, that's about it... a local, ready-to-use RHEL box that I can use to try stuff out.
Last updated: October 29, 2024