Welcome to the fifth installment of That App You Love, a blog series in which I show you how to you can make almost any app into a first-class cloud citizen. If you want to start from the beginning, jump back and check out Part 1: Making a Connection.
The previous posts of this series have focused on how to package ZNC in a way that exposes run-time configurability into the immutable world of containers. But forget about ZNC - we’re really talking about That App You Love, and what it takes to make that app a secure, stateful and robust cloud resident.
By introducing configurability to our app container image, we are priming the pump for security and statefulness. But what about robustness? Well, we really can’t go much further without a cloud to play around in, so...
It’s Time To Get Our Cluster On
For the rest of this blog series, we’re going to use the OpenShift Container Platform to go through the process of cloud-ifying our app. Why OpenShift? Well, I’m part of the OpenShift team, and it would be weird if I launched into directions on how to do this with cgroups, SSH, and Bash scripts. But also, I’m pretty sure OpenShift is the only full-lifecycle container platform that is a) built on the amazing power of Kubernetes orchestration and b) deployable with a single command.
So without further ado:
- If you don’t have docker installed, you’ll need that first. Shortcut for Fedora users:
sudo dnf install docker
- Even if you do have docker installed, you may need to change a line in the docker config file. OpenShift runs a docker registry internally on the 172.30.x.y subnet, and we need to let docker know that this registry is okay to use. Shortcut for Fedora users:
- Open /etc/sysconfig/docker with root permissions in an editor:
sudo gedit /etc/sysconfig/docker
- Uncomment the INSECURE_REGISTRY line and change it to:
INSECURE_REGISTRY='--insecure-registry 172.30.0.0/16'
- Save file; start or restart docker:
sudo systemctl restart docker
- Open /etc/sysconfig/docker with root permissions in an editor:
- Download the latest OpenShift client. (If you've already installed the Red Hat Container Development Kit (CDK), then you can skip this installation --- OpenShift is already installed in your VM.) As of the time I wrote this, I was using v1.3.0-alpha.3, but any release after that will work as well:
https://github.com/openshift/origin/releases/
(Click on a release title and scroll to the bottom of the page for binary downloads.) - Unpack and move the oc binary to somewhere into your $PATH
- Run the magic command as root (required because this does docker operations):
sudo <path_to>/oc cluster up
- In the output from the “cluster up” command, look for an IP address / port number combination ending in port 8443. This is your OpenShift server. As your regular non-root user, log in with the “oc” utility:
oc login -u developer -p developer --server=<server_IP>:8443
You will need to accept the server’s self-signed certificate, and then you are all set!
For a lot more detail on “oc cluster up”, check out these notes.
What Have We Here?
Assuming everything worked correctly, the following things are now true:
- Running `oc whoami` should reveal that you are the ‘developer’ user
- In a web browser, navigating to the URL listed in the output of “oc cluster up” (the one ending in port 8443) should put you face to face with the OpenShift web console (after you accept the self-signed SSL certificate)
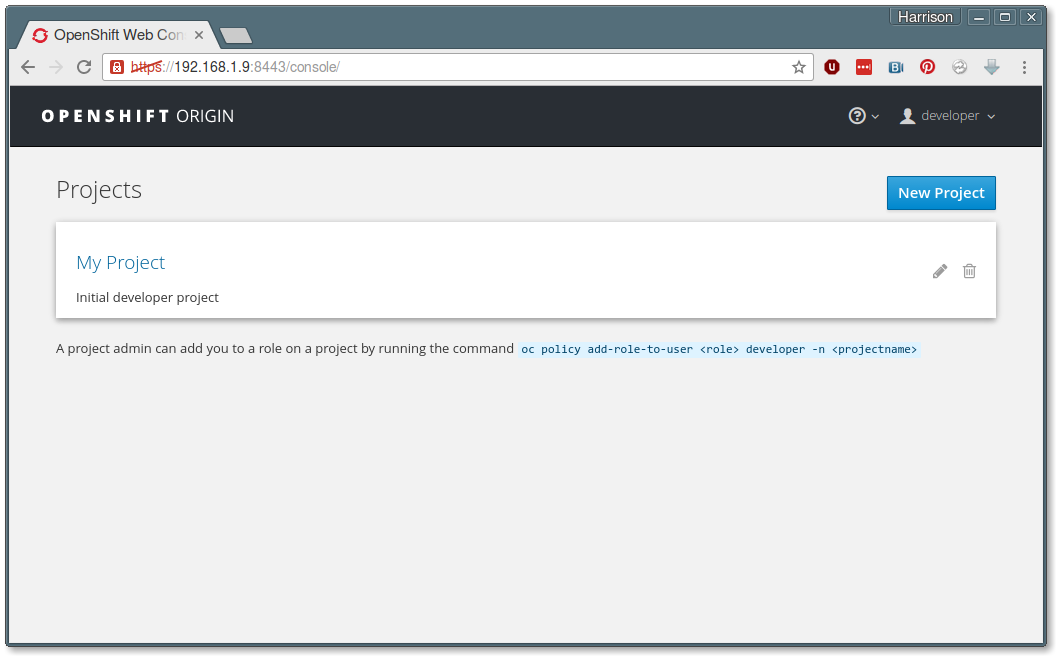
Let’s take a quick tour of the web console. After you log in with user: ‘developer’ and password ‘developer’, you should see a list of your “Projects”:
Projects are namespaces that can contain a number of related application components. When we deploy That App You Love, it will live in a Project along with all of the components that make it secure, stateful and robust.
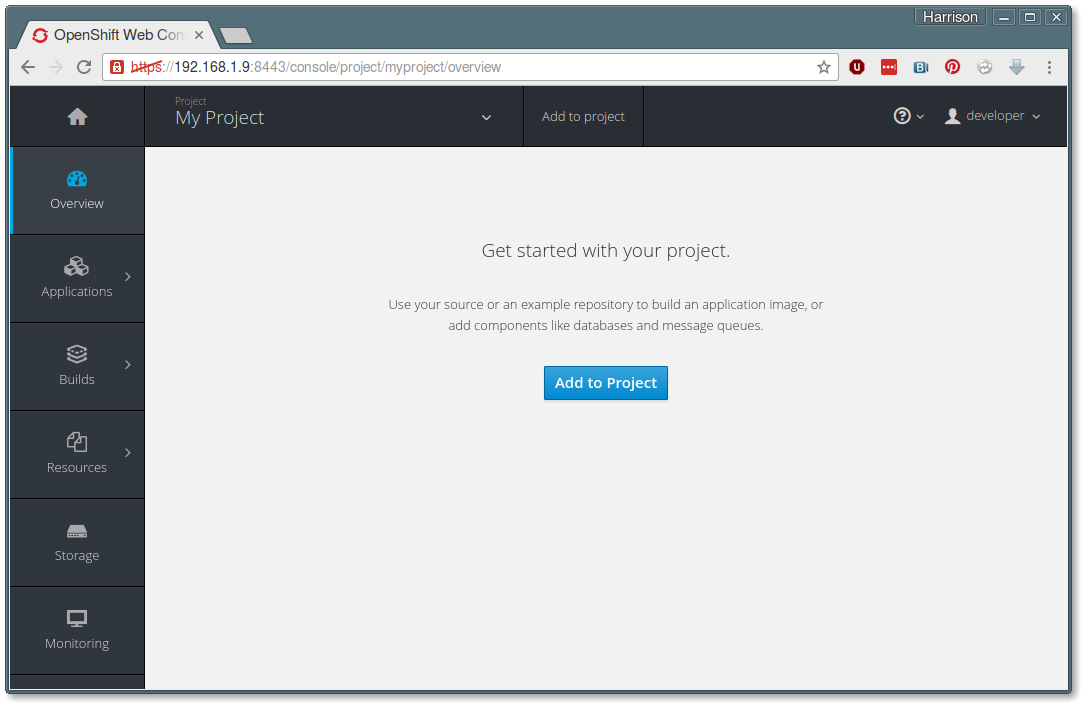
If you click into “My Project”, which is the project that the oc cluster up command creates for you, you’ll see that there isn’t much going on right now:
On the command line front, we can do a lot of the same things with the oc tool directly:
- oc get projects - Tells us what projects are available to our current user account
- oc status - Tells us what is going on in our currently selected project.
We’ll learn more oc commands and their web console companion actions in the next part of our blog series.
Leaving the Party
When you are done experimenting with your portable cloud, you can take it down very easily with:
sudo <path_to>/oc cluster down
Alas, once again, the spectre of statelessness looms large! Because this whole experimental cloud environment lives entirely in containers, any work that we do there will be lost when we shut it all down. But no matter! Anything that works for us on our portable cloud will work equally well in any full-scale production OpenShift system.
In the next post, we’ll get back to That App You Love, and learn about what we’ll need to get it up and running in our mini-cloud. See you in Part 6: Container, Meet Cloud!
This series will run every Tuesday and Thursday until we've accomplished our goals, so stay tuned in, subscribe, and thanks for reading!
About the Author
Hi there! My name is N. Harrison Ripps, and I am an engineer and people manager on the Containers team at Red Hat. Together with the greater open source community, our team has taken the combination of the docker container format and Google’s Kubernetes orchestration system, and then extended this framework with a number of administrator- and developer-friendly features that we call the OpenShift Container Platform.
Last updated: June 23, 2023

