There is increasing innovation occurring with generative AI (gen AI), as many exciting upstream projects, research papers, and more happen. Red Hat Enterprise Linux (RHEL) is a general-purpose platform for running a wide variety of workloads and use cases. Specifically, using Podman on RHEL provides a great platform to experience these exciting upstream technologies.
In this article, I’ll describe my experience using Podman on RHEL with the Microsoft TRELLIS project, which is a generative AI tool that transforms images into 3D assets.
The Microsoft TRELLIS project
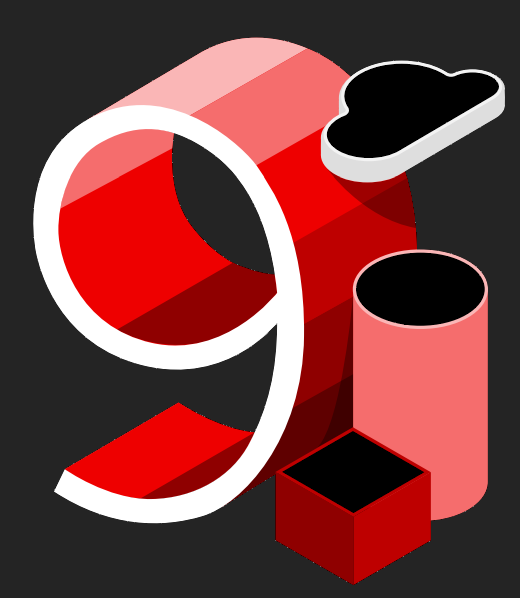
TRELLIS can take an image, like the RHEL 9 logo shown in Figure 1, and produce a 3D asset/model.
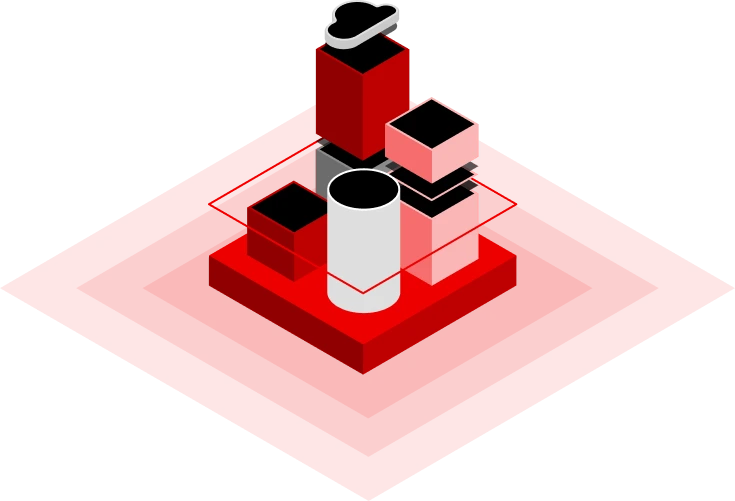
And from this single image, it can produce a 3D asset / model, shown in this video:
RamaLama vs Podman for gen AI workloads on RHEL
Depending on what type of AI workload you run, RamaLama can be a great option. It is available in the upstream Extra Packages for Enterprise Linux (EPEL) repository. RamaLama’s goal is to make working with AI boring by using OCI containers. TRELLIS has a set of complex dependencies that are not yet supported by RamaLama, so I am using Podman in this article.
As mentioned, the dependencies for AI workloads can be complex and vary greatly between different projects. For example, some projects might require specific versions of Python, PyTorch, and the NVIDIA CUDA Toolkit.
Working with generative AI workloads in Podman containers provides several benefits:
- It can make managing dependencies easier since these dependencies can be isolated within the container environment. For example, if your AI workload requires a specific version of Python, you can install that in the container environment rather than installing it within your host RHEL OS environment.
- There are a few security benefits for running workloads within containers because containers can provide a level of isolation between the workload running within the container and the host operating system.
- Containers allow you to easily reproduce a working environment. Once you have a working Containerfile and corresponding container image, you can use these resources to run the workload on other machines or share the container image with others in your organization.
- The self-contained nature of containers also increases reliability. It is easier for changes in the host RHEL OS environment to affect the AI workload when containers aren't used.
- Podman can run on Windows and MacOS. There is also an upstream Podman Desktop application which makes it even easier to work with Podman containers.
Another option for running AI workloads is image mode for RHEL. For more details, read the articles: How image mode for RHEL simplifies software appliances and Using image mode for RHEL to build, deploy, and manage operating systems.
Likewise, running workloads on RHEL offers many benefits. For more details, review the Red Hat Enterprise Linux page.
Accessing GPU accelerator hardware within Podman
Most generative AI workloads will require GPU acceleration. In my lab environment, I’m using an NVIDIA GPU, so the first step is installing and configuring the NVIDIA CUDA Toolkit and NVIDIA Container Toolkit on my RHEL 9 system. Installation documentation for these is provided by NVIDIA: NVIDIA CUDA Installation Guide for Linux and Installing the NVIDIA Container Toolkit
When running Podman rootless (not running Podman as root), SELinux prevents host devices from being usable within the container. To overcome this, you can enable the container_use_devices SELinux boolean with the following command:
sudo setsebool -P container_use_devices=trueOnce everything has been installed and configured, verify that Podman can access the GPU by running the nvidia-smi command within a UBI9 container:
$ podman run --rm --device nvidia.com/gpu=all registry.access.redhat.com/ubi9 nvidia-smi -L
GPU 0: NVIDIA GeForce RTX 3090 (UUID: ….)
I used the --device nvidia.com/gpu=all option to add all NVIDIA GPU devices to the container. In my environment, I only have a single GPU.
In this example, the container is able to successfully access the RTX 3090 GPU on my system.
Implementing a gen AI workload in a container
I recently read about the Microsoft TRELLIS project, a generative AI tool that transforms images into 3D assets. This looked very interesting to me, and I wanted to give it a try in my environment.
My goal is to create a Podman Containerfile capable of building a Red Hat UBI 9 container image that will successfully run TRELLIS.
The workflow I used to accomplish this is starting up a UBI9 container and manually installing it. During this process, I took notes about what steps I needed to complete to get TRELLIS up and running. Then I took the notes and created a Containerfile based on these steps.
Let's walk through the following Containerfile.
The first step is specifying the base container image I’d like to build upon. I am using the Red Hat UBI9 image. Note that I am running this container from a RHEL 9 system that provides the UBI container access to the full set of RHEL repository content, which will be needed:
FROM registry.access.redhat.com/ubi9Next, I’ll install the packages needed for later steps:
RUN dnf -y install git pip python3-develNext, I’ll install the CUDA Toolkit. The TRELLIS README.md file noted that they’ve tested TRELLIS with the 11.8 and 12.2 versions, so I decided to go with version 12.2:
#Install the cuda-toolkit
ADD https://developer.download.nvidia.com/compute/cuda/12.2.2/local_installers/cuda-repo-rhel9-12-2-local-12.2.2_535.104.05-1.x86_64.rpm /tmp
RUN rpm -i /tmp/cuda-repo-rhel9-12-2-local-12.2.2_535.104.05-1.x86_64.rpm
RUN dnf -y install cuda-toolkit
RUN rm -f /tmp/cuda-repo-rhel9-12-2-local-12.2.2_535.104.05-1.x86_64.rpm
In this section, I use Git to clone the TRELLIS GitHub repository, as follows:
#clone the Microsoft Trellis repository
WORKDIR /
RUN git clone --recurse-submodules https://github.com/microsoft/TRELLIS.git
WORKDIR /TRELLIS
In the following steps, wheel is installed using pip, and the PATH and LD_LIBRARY_PATH environment variables are set to include directories for CUDA:
RUN pip install wheel
ENV PATH="/usr/local/cuda-12.2/bin/:$PATH"
ENV LD_LIBRARY_PATH="/usr/local/lib/python3.9/site-packages/nvidia/cudnn/lib/:/usr/local/lib/python3.9/site-packages/nvidia/nccl/lib:$LD_LIBRARY_PATH"
I found that some of the later steps attempt to call /usr/bin/python, so I needed to have a symlink created for this as follows:
RUN ln -s /usr/bin/python3 /usr/bin/pythonThe following code block completes the remaining steps to install TRELLIS and its dependencies:
RUN pip install torch==2.5.0 torchvision==0.20.0 torchaudio==2.5.0 --index-url https://download.pytorch.org/whl/cu124
# NOTE: Next line is because setup.sh does not currently install kaolin for torch-2.5.0
RUN pip install kaolin -f https://nvidia-kaolin.s3.us-east-2.amazonaws.com/torch-2.5.0_cu121.html
RUN . ./setup.sh --basic --xformers --flash-attn --diffoctreerast --spconv --mipgaussian --kaolin --nvdiffrast
RUN . ./setup.sh --demo
When you run the TRELLIS app.py application, it will download the TRELLIS models if they aren’t present. However, I wanted to include these models in the container image so they didn’t have to be downloaded each time this container image is used in the future. I couldn’t include running the app.py in the Containerfile because app.py starts up a long-running process that doesn’t end.
As a result, I found the following Python call within app.py that initiates the download of the models and included that in the Containerfile:
# Download the models:
RUN echo -e 'from trellis.pipelines import TrellisImageTo3DPipeline \nTrellisImageTo3DPipeline.from_pretrained("JeffreyXiang/TRELLIS-image-large")' | python
The final step exposes port 7860 (this is the port that Gradio runs on) and specifies that python app.py is the command that should be run when the container starts.
EXPOSE 7860
CMD ["python", "app.py"]
The complete Containerfile looks like this:
FROM registry.access.redhat.com/ubi9

RUN dnf -y install git pip python3-devel

#Install the cuda-toolkit
ADD https://developer.download.nvidia.com/compute/cuda/12.2.2/local_installers/cuda-repo-rhel9-12-2-local-12.2.2_535.104.05-1.x86_64.rpm /tmp
RUN rpm -i /tmp/cuda-repo-rhel9-12-2-local-12.2.2_535.104.05-1.x86_64.rpm
RUN dnf -y install cuda-toolkit
RUN rm -f /tmp/cuda-repo-rhel9-12-2-local-12.2.2_535.104.05-1.x86_64.rpm

#clone the Microsoft Trellis repository
WORKDIR /
RUN git clone --recurse-submodules https://github.com/microsoft/TRELLIS.git
WORKDIR /TRELLIS

RUN pip install wheel
ENV PATH="/usr/local/cuda-12.2/bin/:$PATH"
ENV LD_LIBRARY_PATH="/usr/local/lib/python3.9/site-packages/nvidia/cudnn/lib/:/usr/local/lib/python3.9/site-packages/nvidia/nccl/lib:$LD_LIBRARY_PATH"
RUN ln -s /usr/bin/python3 /usr/bin/python
RUN pip install torch==2.5.0 torchvision==0.20.0 torchaudio==2.5.0 --index-url https://download.pytorch.org/whl/cu124
# NOTE: Next line is because setup.sh does not currently install kaolin for torch-2.5.0
RUN pip install kaolin -f https://nvidia-kaolin.s3.us-east-2.amazonaws.com/torch-2.5.0_cu121.html
RUN . ./setup.sh --basic --xformers --flash-attn --diffoctreerast --spconv --mipgaussian --kaolin --nvdiffrast
RUN . ./setup.sh --demo
# Download the models:
RUN echo -e 'from trellis.pipelines import TrellisImageTo3DPipeline \nTrellisImageTo3DPipeline.from_pretrained("JeffreyXiang/TRELLIS-image-large")' | python

EXPOSE 7860
CMD ["python", "app.py"]
Building the container image
The next step is to build a container image from the Containerfile. To do this, I created a directory to hold the Containerfile, and from within that directory, ran the following podman build command:
podman build --device nvidia.com/gpu=all . -t trellisThis command will build the container image and tag it with the name trellis. Note that there are a large number of dependencies downloaded during the container build that will take a significant amount of bandwidth to download. This results in a container image of 39.4 GB on my system.
Running the container image
Once we have created the container image, run it with the following command:
podman run --name trellis --device nvidia.com/gpu=all -p 7860:7860 trellisThis will start a new container named trellis and publish port 7860 from the container to port 7860 on the host for the Gradio web interface.
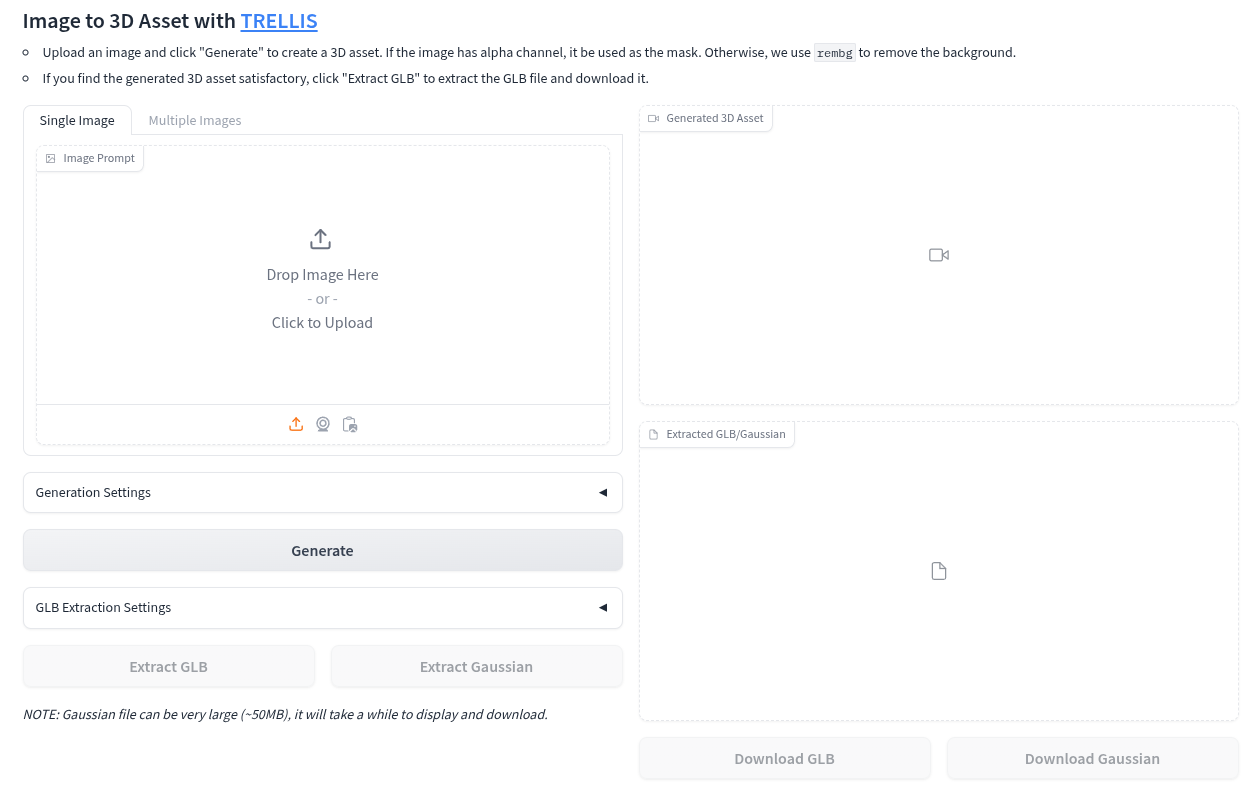
Once the container is running, I used a web browser on the host to browse to localhost:7860 to access the Gradio interface for TRELLIS, as shown in Figure 2.
I tried a couple of images from the Discover Red Hat Enterprise Linux page. Figure 3 shows the source image.
The following video shows the TRELLIS-generated 3D asset of the first image.
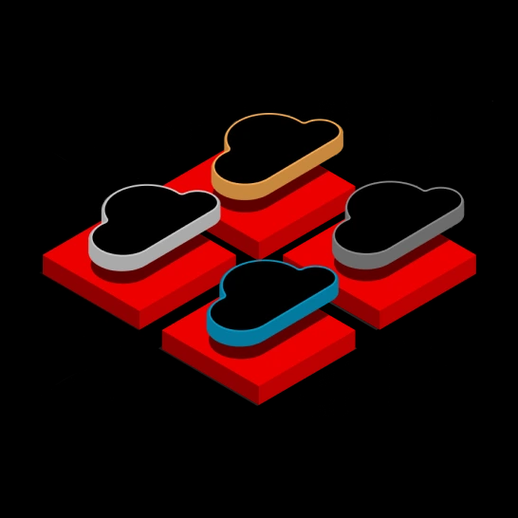
Likewise, Figure 4 shows the second source image.
The following video shows the TRELLIS-generated 3D asset for the second source image.
Summary
Here are the lessons I learned from experimenting with TRELLIS:
- TRELLIS will attempt to automatically remove the background from the source image. However, depending on what source image you are using, you might need to manually edit the image to remove the background. For example, I manually edited the previous cloud image to remove parts of the background that were not automatically removed.
- If you aren’t happy with the results of the generated 3D asset, you can keep trying multiple times until you get a better result. By default, TRELLIS will use a random seed. Once you have generated a good result, make a note of the seed number.
- Once you find a seed number that generates a good result, you can then uncheck the Randomize Seed option under Generation Settings and use the seed number that you found works well. Then you can start experimenting with the other settings to try to further improve the results.
- I found that setting the sampling steps for both stage 1 and stage 2 to 40 steps generally improved the quality of the results.
- In some cases reducing the guidance strength for stage 1, resulted in better results. For example, the RHEL 9 logo in Figure 1 was generated with a stage 1 guidance strength of 6.0.
The rate of innovation and change in the generative AI space is astounding. If you’d like to experiment with these new innovations, RHEL combined with Podman make a great platform. Head over to our Red Hat Enterprise Linux download page to learn more about RHEL or to gain access to a no-cost RHEL for developers subscription. As your AI journey evolves for production and scale, check out the Red Hat AI portfolio of products.