Application developers can define Amazon Web Services (AWS) resources directly from Kubernetes using AWS Controllers for Kubernetes (ACK). You can use the Service Binding Operator to easily connect applications to any AWS service provisioned through ACK.
This article explores the connection with an RDS database and demonstrates configuring ACK to create a service instance for the AWS Relational Database Service (RDS). You can also learn how to use Service Binding Operator annotations to bind a PostgreSQL service created using RDS and a REST API.
Benefits of the Service Binding Operator and AWS Controllers for Kubernetes
One benefit of the Service Binding Operator and ACK is that they streamline the formation of a connection. The Service Binding Operator implements the Service Binding specification for Kubernetes. This is a Kubernetes-wide specification for automating the process of service secrets communicating to workloads.
Another benefit of using the Service Binding Operator is that the only focus of applications with many microservices (maybe hundreds of them) is setting the correct label to receive binding data from the services specified by Service Binding Operator resources using the label selector.
The Service Binding Operator supports the following methods to obtain connection details from a service:
Currently, ACK does not support the Provisioned Service method. And no single secret contains all the connection details. In such a scenario, you can use the annotation support provided by the Service Binding Operator and add this annotation to a Custom Resource (CR) or Custom Resource Definition (CRD).
The following articles offer more information about ACK, including where the ACK project came from, why the Operator pattern is used, and how to configure and use ACK:
- How to use Operators with AWS Controllers for Kubernetes
- Create AWS resources with Kubernetes and Operators
Step 1: Prerequisites setup
The prerequisites for this demonstration are pretty simple. You must have an AWS account and a Red Hat OpenShift cluster with the Service Binding Operator installed.
AWS account permissions
Your AWS account must have the IAM role permissions for the Amazon Relational Database Service (RDS) ACK controller. The policy required for RDS is:
arn:aws:iam::aws:policy/AmazonRDSFullAccess
OpenShift cluster with the Service Binding Operator
You need administrator access to an OpenShift cluster. To install the Sevice Binding Operator, create a subscription similar to this example:
apiVersion: operators.coreos.com/v1alpha1
kind: Subscription
metadata:
  name: my-service-binding-operator
  namespace: openshift-operators
spec:
  channel: stable
  name: rh-service-binding-operator
  source: redhat-operators
  sourceNamespace: openshift-marketplace
For example, place this configuration in a file named subscription.yaml. Then use the following oc command to create the resource:
$ oc apply -f subscription.yaml
Alternatively, you can install the Service Binding Operator from OperatorHub using the OpenShift administrator console.
Step 2: Install the RDS Operator in an OpenShift cluster
These four steps use the ACK Operator to install the RDS database. The official documentation shows detailed information about configuring ACK in an OpenShift cluster.
1. Create a namespace
The following example uses a namespace called ack-system:
$ oc new-project ack-system
This is the output you should see:
Now using project "ack-system" on server "https://example.org:6443".
...
2. Create a config map
Create a config map with the following content in a config.txt file:
ACK_ENABLE_DEVELOPMENT_LOGGING=true
ACK_LOG_LEVEL=debug
ACK_WATCH_NAMESPACE=
AWS_REGION=us-west-2
AWS_ENDPOINT_URL=
ACK_RESOURCE_TAGS=hellofromocp
Use this config map in your OpenShift cluster as follows:
$ oc create configmap --namespace ack-system \
--from-env-file=config.txt ack-rds-user-config
3. Create a secret
Save the following authentication values in a file, such as secrets.txt:
AWS_ACCESS_KEY_ID=<access key id>
AWS_SECRET_ACCESS_KEY=<secret access key>
Use this secrets.txt file to create a secret in your OpenShift cluster as follows:
$ oc create secret generic \
--namespace ack-system \
--from-env-file=secrets.txt ack-rds-user-secrets
Note: Be sure to secure access to this resource and the namespace because you will keep sensitive information in this secret—your AWS Access Key ID and AWS Secret Access Key.
Alternatively, you can set up secure access using IAM Roles for Service Accounts (IRSA).
4. Install the relational database service
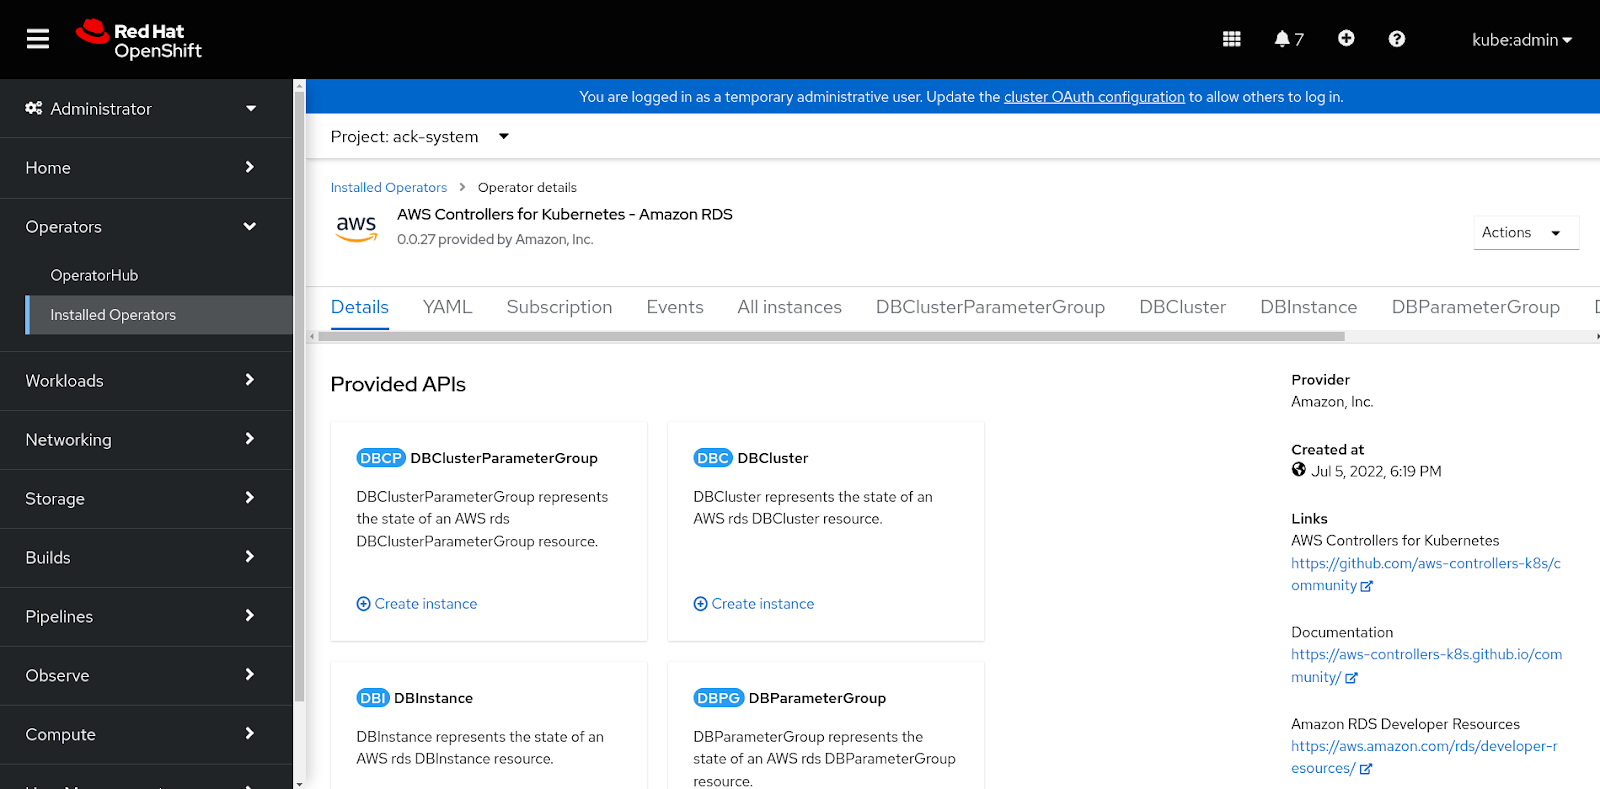
Refer to the article How to get Operators to use AWS Controllers for Kubernetes for ACK RDS controller installation instructions. After successful installation, this page (Figure 1) appears in the administrator console.
Step 3: The consumption of annotations and label selectors
To enable binding, the Service Binding Operator uses the following annotations that are part of the DBInstance resource in a Helm chart:
apiVersion: rds.services.k8s.aws/v1alpha1
kind: DBInstance
metadata:
  annotations:
    "service.binding/type": "path={.spec.engine}"
    "service.binding/provider": "aws"
    "service.binding/host": "path={.status.endpoint.address}"
    "service.binding/port": "path={.status.endpoint.port}"
    "service.binding/username": "path={.spec.masterUsername}"
    "service.binding/password": 'path={.spec.masterUserPassword.name},objectType=Secret,sourceKey=password'
    "service.binding/database": "path={.spec.engine}"
...
The DBInstance definition represents an AWS RDS resource.
To define the workload, the Service Binding Operator uses the following label selector (part of the ServiceBinding resource in the Helm chart):
apiVersion: binding.operators.coreos.com/v1alpha1
kind: ServiceBinding
metadata:
  name: servicebinding-rds-endpoint-demo
spec:
  bindAsFiles: true
  services:
    - group: rds.services.k8s.aws
      version: v1alpha1
      kind: DBInstance
      name: {{ .Values.dbinstance.name }}
  application:
    labelSelector:
      matchLabels:
        psql.provider: aws (*)
    version: v1
    group: apps
    resource: deployments
(*) This line specifies the label that the Service Binding Operator uses to identify the workload.
The Helm charts are available in the app-services-samples repository.
We have not deployed the application yet. Typically, the ServiceBinding controller waits for a workload resource with a matching psql.provider: aws label. As soon as a workload resource is available with the matching label, the Operator uses the ServiceBinding controller to project the binding values to the workload.
The binding values projects into the /bindings directory inside the container of the workload resource. The following directory structure stores the values:
/bindings
└── servicebinding-rds-endpoint-demo
    ├── type
    ├── database
    ├── host
    ├── username
    └── password
The REST API application uses a suitable and compliant library to consume the projected binding values.
Step 4: Create a database instance
After you clone the app-services-samples repository described in the previous section, change to the openshift-app-services-demos/samples/sbo/ack-rds-blog directory to perform these two steps:
1. Run Helm on the rds-postgre-chart-demo chart:
$ helm install rds-postgre-chart-demo -n ack-system rds-postgre-chart-demo
This is the output you should see:
NAME: rds-postgre-chart-demo
LAST DEPLOYED: Thu Aug  4 09:29:26 2022
NAMESPACE: ack-system
STATUS: deployed
REVISION: 1
TEST SUITE: None
2. Run the following command to validate the database instance:
$ kubectl get dbinstance rds-test-demo -n ack-system -o=jsonpath='{.status.dbInstanceStatus}'
Output:
available
Now the database is ready to use.
Step 5: Deploy the REST API application
In this demo, we use the Software Security Module (SSM), a Go-based REST API application. For convenience, deploy the application using the Helm chart in the app-services-samples repository. After you clone the repository, perform the following steps from the openshift-app-services-demos/samples/sbo/ack-rds-blog directory.
1. Run Helm on the ssm-chart chart:
$ helm install ssm-chart -n ack-system ssm-chart
Output:
NAME: ssm-chart
LAST DEPLOYED: Thu Aug  4 04:22:24 2022
NAMESPACE: ack-system
STATUS: deployed
REVISION: 1
TEST SUITE: None
2. Verify that the deployment of the REST API application is successful by running:
$ kubectl get deployment -n ack-system
Output:
NAME                 READY   UP-TO-DATE   AVAILABLE   AGE
ack-rds-controller   1/1     1            1           28m
The deployment is defined as follows in the Helm chart:
apiVersion: apps/v1
kind: Deployment
metadata:
  name: {{ .Values.k8Name }}
  annotations:
      app.kubernetes.io/part-of: ssm
  labels:
      psql.provider: aws (*)
...
(*) This line specifies the required matching label that the ServiceBinding controller uses to identify the workload and project the bindings.
The ServiceBinding controller watches for a deployment matching the label. After the deployment is ready, the Operator uses the ServiceBinding controller to project the binding values to the workload.
Step 6: Access and validate the REST API application
The ssm-chart Helm chart also creates an ssm service resource for convenient access to the application. The ssm service resource points to the REST API application. Before connecting to this application, make sure you have the DBInstance resource created and ready with an RDS instance provisioned in the AWS.
Switch to another terminal to run the commands in the following steps.
1. Access the REST API application by forwarding the port of the service
An oc command on OpenShift is useful for port forwarding:
$ oc port-forward --address 0.0.0.0 svc/ssm 8080:8080 -n ack-system
2. Validate the application
Validate that the application works as follows:
Generate a based64-encoded string
Start by creating a string from random input:
$ openssl rand 32 | base64
This output contains the string you will use as input in the next step.:
rgeR0ENzlxG+Erss6tw0gBkBWdLOPrQhEFQpH8O5t/Y=
Call the wrap API
Call the application's wrap API to create a cipher from the string by using the based64-encoded string from the previous step as input when calling the wrap API:
$ curl http://localhost:8080/wrap -d '{"key": "rgeR0ENzlxG+Erss6tw0gBkBWdLOPrQhEFQpH8O5t/Y="}'
This output contains the cipher string you will use as input in the next step:
{"cipher":"D/S6wDJPH ... "}
Call the unwrap API
Now call the application's unwrap API to restore the original based64 -encoded string by submitting the JSON from the output in the previous section to the unwrap API:
$ curl http://localhost:8080/unwrap -d '{"cipher":"D/S6wDJPH ... "}'
The output returns the original based64-encoded string:
{"key":"rgeR0ENzlxG+Erss6tw0gBkBWdLOPrQhEFQpH8O5t/Y="}
The Service Binding Operator simplifies installation and deployment
With the annotation support of the Service Binding Operator, you can easily bind ACK services without making any changes to the code. You can use the same label to bind any number of workloads. The REST API application consumes the projected binding values by using one of the libraries compliant with the Service Binding specification for Kubernetes. You can use the REST API application to connect to the AWS RDS service without any specific change.
Last updated: November 8, 2023