Page
Prerequisites and step-by-step process
Prerequisites:
To get full benefit from taking this learning exercise, you need to:
- Register with a no-cost Red Hat Developer subscription. Register if you do not already have a subscription.
- Install Podman Desktop on your laptop. Download Podman Desktop from here.
Step-by-step process:
1. Add Red Hat extension pack and get Red Hat SSO extension for Podman Desktop
Red Hat SSO extension in Podman Desktop allows you to register with a no-cost developer subscription and access the Red Hat registry for image mode for RHEL binary.
Get Red Hat extension pack for Podman Desktop to access all the Red Hat extensions. The Red Hat extension pack consists of - Red Hat OpenShift local, Red Hat SSO, AI Lab, Red Hat OpenShift Sandbox and bootc extension.
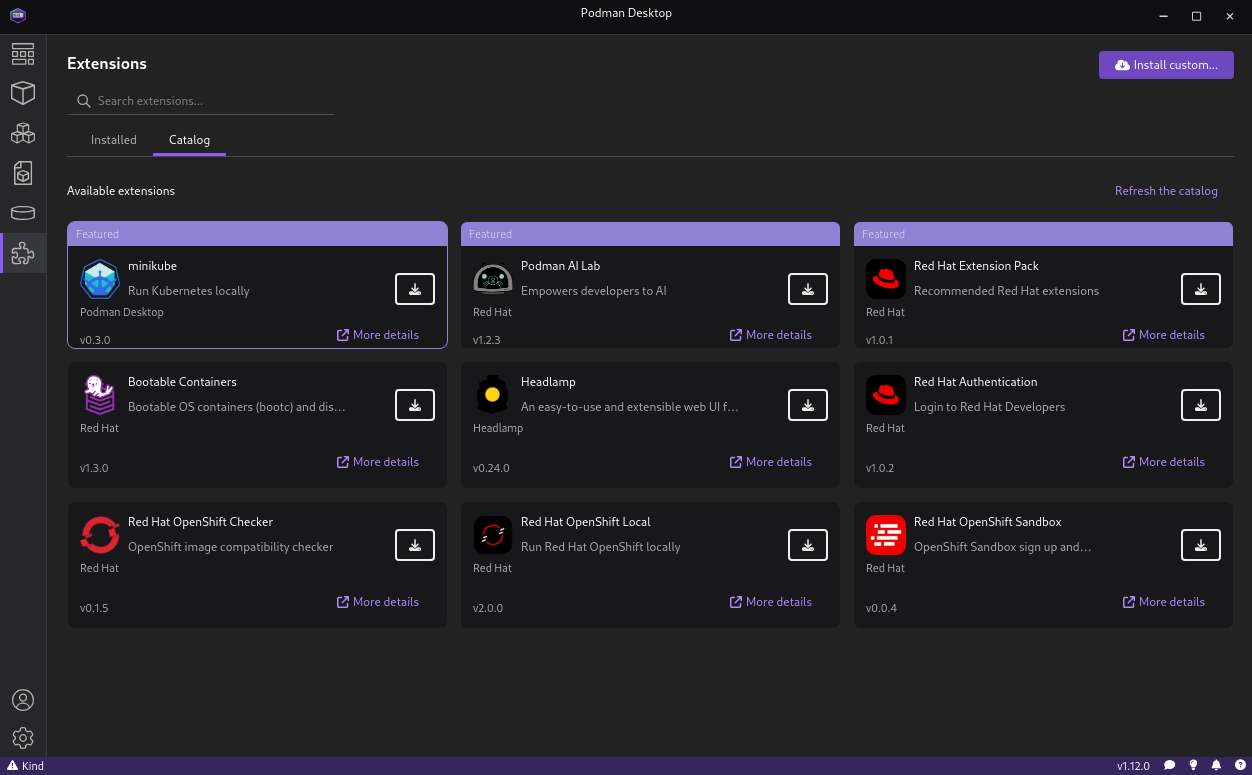
Open Podman Desktop on your laptop and navigate to the Extensions -> Catalog - you will see the Red Hat Extension pack. Install the Red Hat extension pack.
In this learning exercise, we will use Red Hat SSO and bootc extension to create and build a bootable container.
Open Podman Desktop and navigate to Settings -> Extensions :

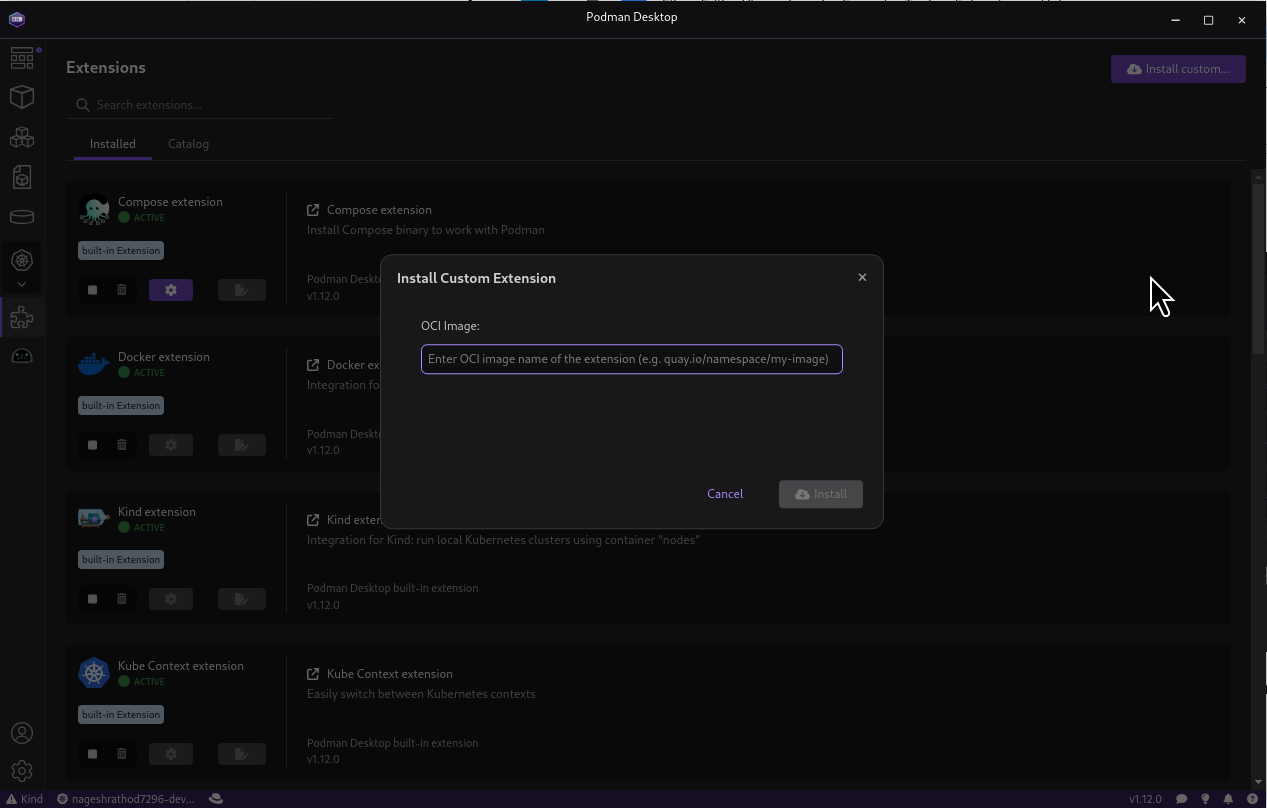
Figure 1: Extensions section in Podman Desktop. You can also use the registry path below to install the Red Hat extension pack in the “Install a new extension from OCI Image” parameter, add the mentioned registry path -
ghcr.io/redhat-developer/podman-desktop-redhat-pack-ext:0.2.0Click on "Install extension from the OCI image". The extension will be installed in Podman Desktop. Once installed, access the "Authentication" section under "Extensions". To sign into your Red Hat account, open the Authentication menu and click on the "Sign in" button Under setting click on the authentication. You will receive the listed Red Hat authentication details.

Figure 2: Red Hat SSO extension after addition. You will see a login prompt once you click to sign in. If you are an existing user, provide your credentials to log in. You will be prompted to register and create a developer account if you are a new user. This will give you access to the Red Hat registry to get image mode for RHEL.
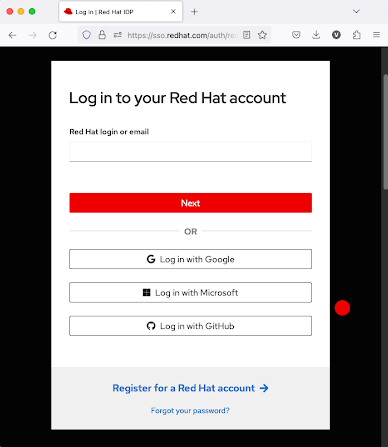
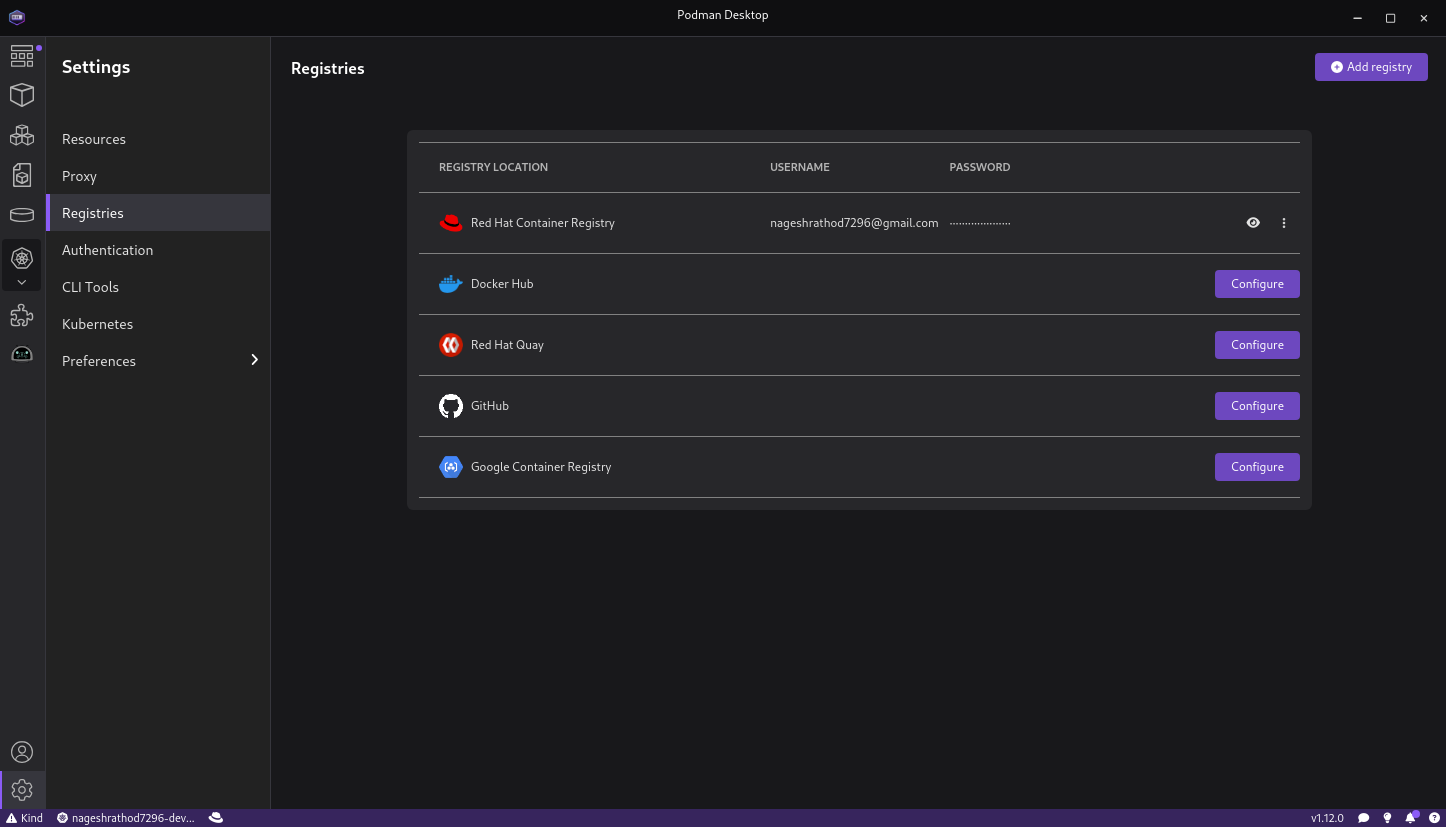
Figure 3: SSO Login form for user. Once you log in, you can access the Red Hat Container Registry.
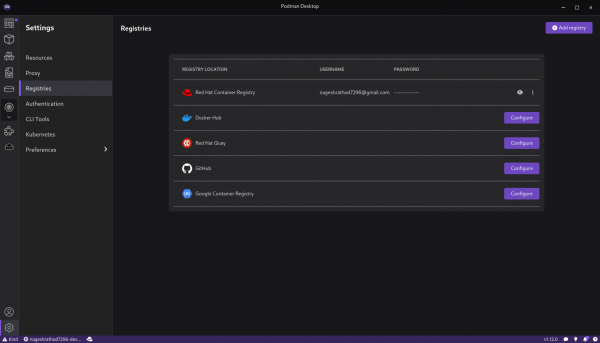
Figure 4: Registry access once SSO login is successfully done.


2. Create and run container image using Podman Desktop
Add podman-desktop-extension-bootc in Podman Desktop.
- The bootable container (bootc) extension utilizes bootc-image-builder to create bootable container disk images. With the installation of Red Hat extension pack the bootc extension will also be installed as part of the pack.
- To install the podman-desktop-extension-bootc extension separately in Podman Desktop, use the below github link and click "Install the extension from the OCI image".
URL - https://github.com/containers/podman-desktop-extension-bootc
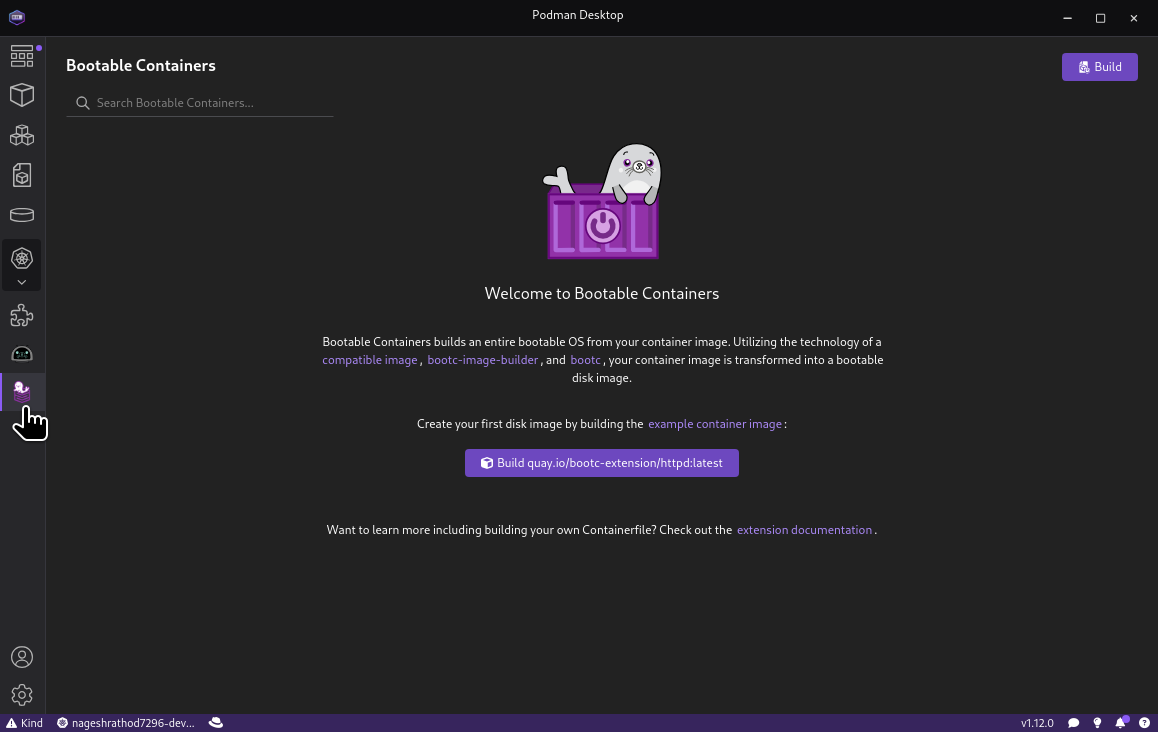
Once installation is complete, you can see the bootable container landing page.

Figure 6: Bootable container Welcome page. 
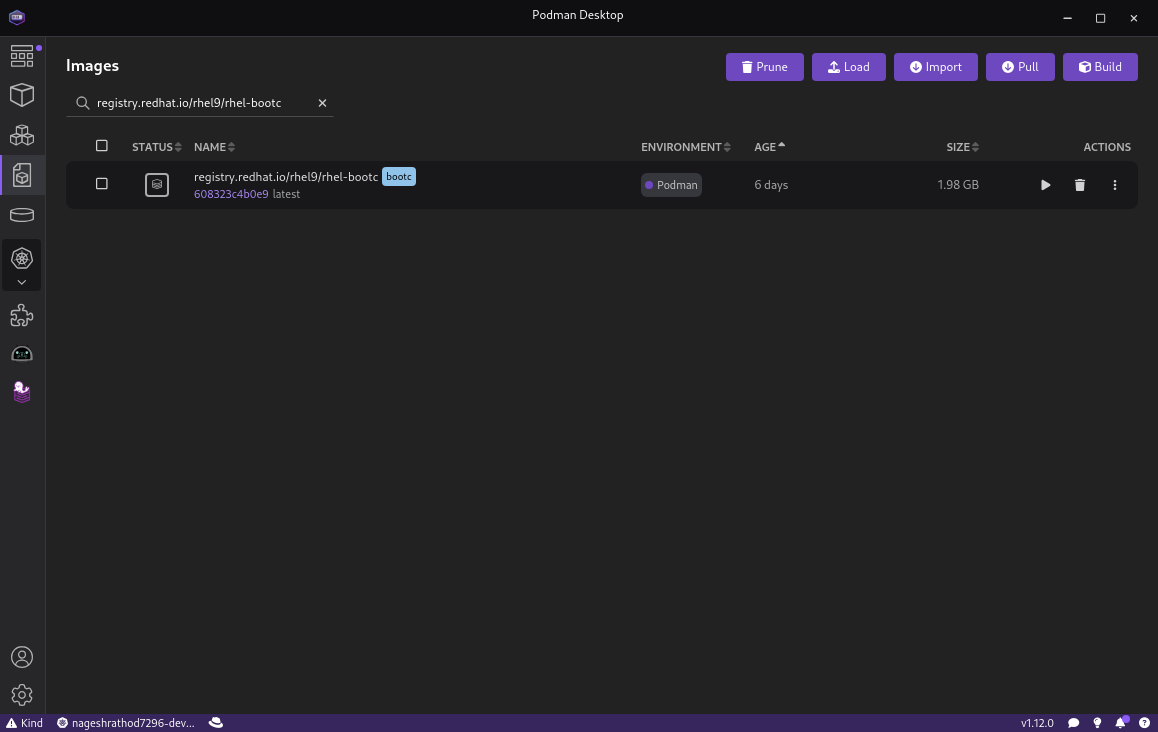
Figure 7: Bootc image listing.
Create, build and run a container image on Podman Desktop
Here is the sample container file that you can use for this learning exercise. Create this file and store it in a document. The file can be uploaded to Podman Desktop to build image mode for RHEL-based bootable containers.
# Pull RHEL9 bootc image
FROM registry.redhat.io/rhel9/rhel-bootc:9.4

# Install LAMP components
RUN dnf module enable -y php:8.2 nginx:1.22 && \
    dnf install -y httpd mariadb mariadb-server php-fpm php-mysqlnd && \
    dnf clean all

# Enable services to start automatically
RUN systemctl enable httpd mariadb php-fpm

# Create a home page
RUN echo '<h1 style="text-align:center;">Welcome to RHEL image mode</h1> <?php phpinfo(); ?>' > /var/www/html/index.php

# Set the CMD to start httpd and mariadb
CMD ["/usr/sbin/init"]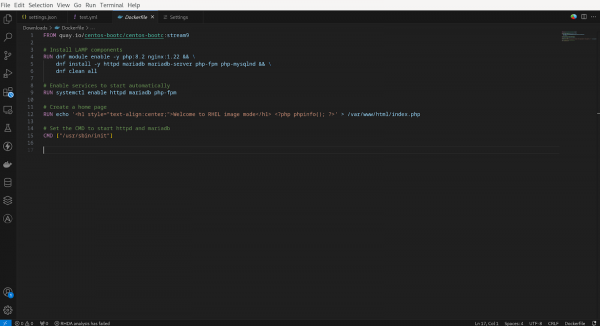
Figure 8: Sample container file. Open Podman Desktop on your laptop. Under "Containers", select the "Create" option at the top right of the screen. You can upload an existing ContainerFile or DockerFile.
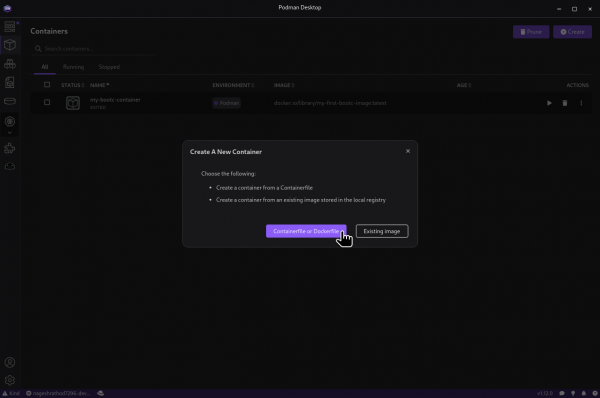
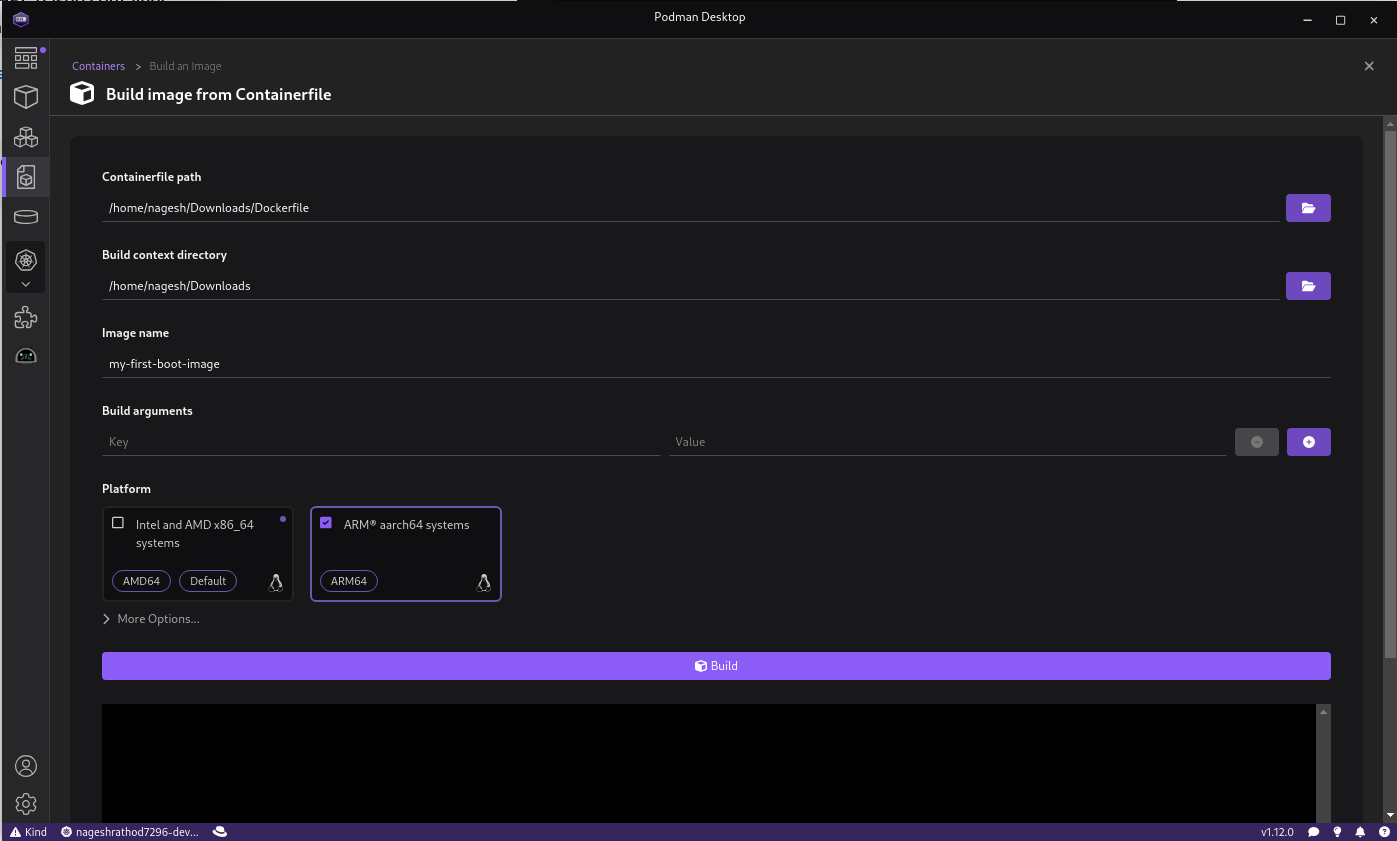
Figure 9: Uploading container file from local machine. - Provide the file path and select the appropriate hardware spec before selecting "Build". In this learning exercise, we have chosen the ARM 64 processor-compatible image option for our Mac environment.


Info alert: Note - Podman Desktop supports multiple platform options. Select the appropriate platform option while building the container image.
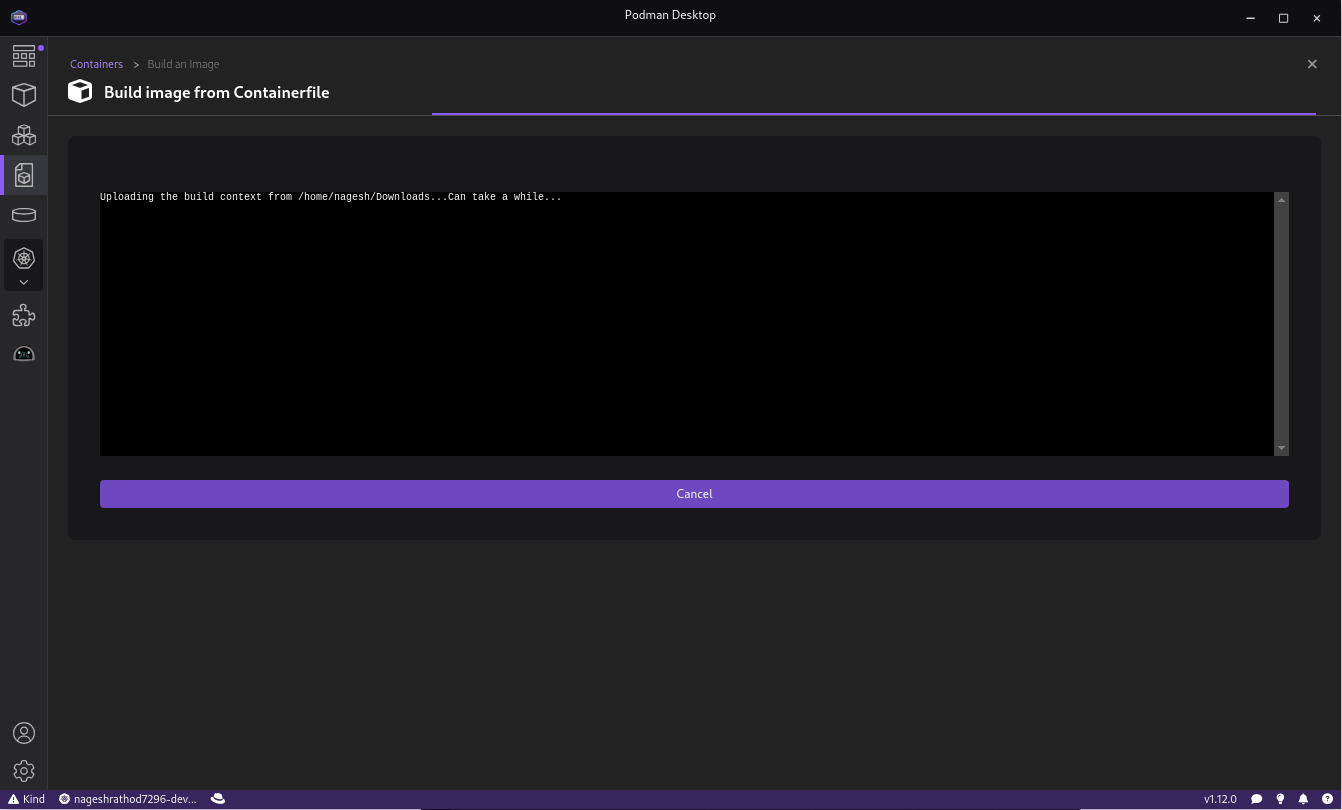
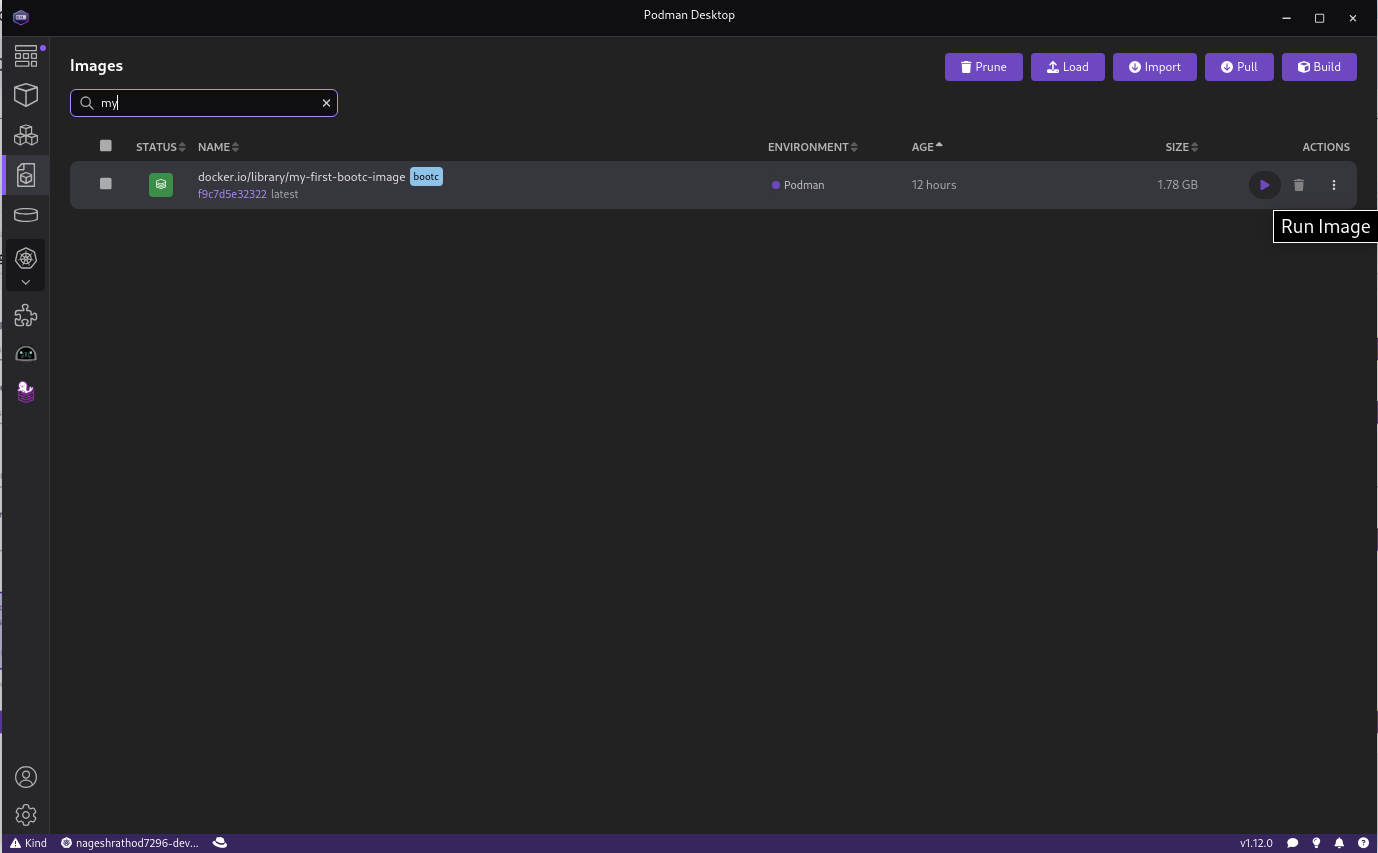
Observe if any issues or warnings are displayed while building a Container Image. Once the image is created successfully, it will be listed on the Image dashboard.
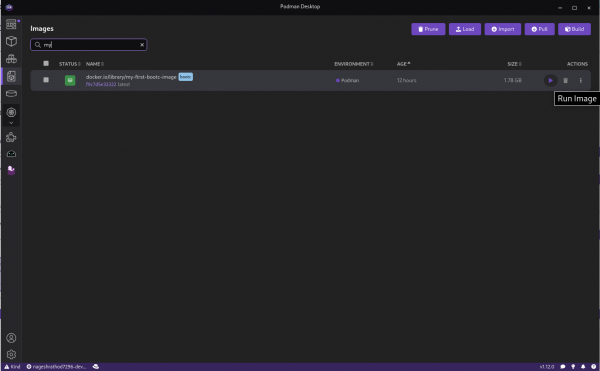
Figure 12: Container image listed in dashboard. It's time to verify if the image has been created correctly. Execute the image and start the first bootc container in Podman Desktop. Select the created image, click on it ► button under "ACTIONS", and you will be directed to the following screen. Next, assign a name to the container and click the "► Start Container" button to launch it.
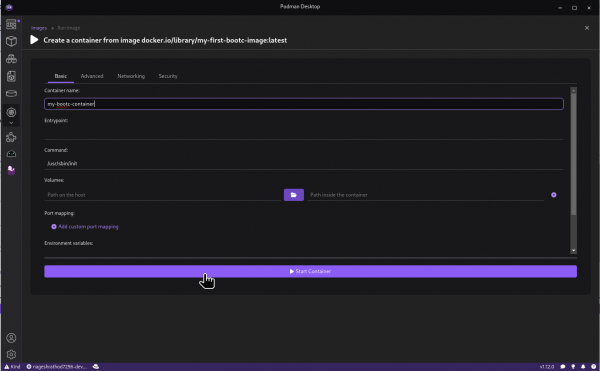
Figure 13: Starting the container. 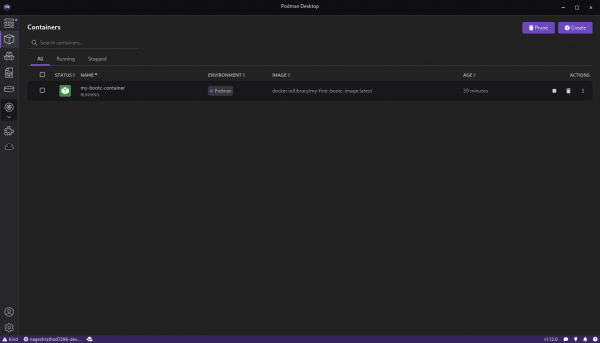
Figure 14: Under the "Containers" option, review the list of running containers. Once the container has started, you will be presented with various details, including multiple options such as: Summary, Logs, Inspect, Kube, Terminal, and Tty. Explore these options to review container details, inspect logs, and identify any error messages that may have occurred during the container build.
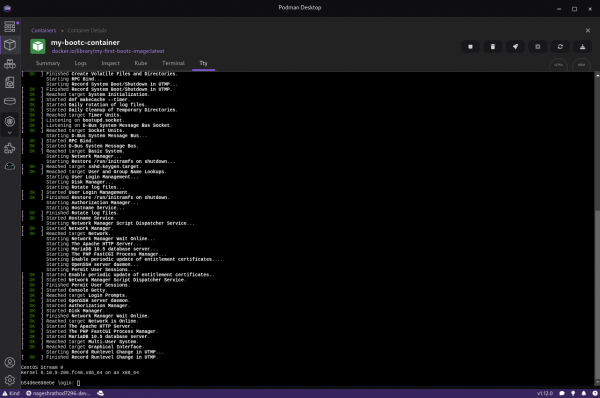
Figure 15: Logs and status during container build. To test the container application locally, select the "Terminal" option and execute the command-
# curl -L 127.0.0.1 | grep "Welcome"The application will be executed with this command, and results will be displayed on the terminal screen.
Figure 16: Running container locally in Podman Desktop.


Summary
We have walked you through a simplistic example showing how easy it is to add the Red Hat SSO extension to Podman Desktop and access the Red Hat registry to create a bootable container image with image mode for RHEL and run it locally on Podman Desktop. You can also deploy the same container image to any other server. The container file can be modified to create applications as per requirements.
