Page
Migrate your virtual application in 3 steps

Now that you understand the benefits and features of Red Hat OpenShift Virtualization, it’s time to migrate your virtual application.
In order to get full benefit from taking this lesson, you need:
- A Red Hat OpenShift Virtualization account.
- The migration toolkit for virtualization operator.
- An NFS server that will be hosting the OVA file.
- An OVA format file.
In this lesson, you will:
- Learn how to migrate OVA format VMs to Red Hat OpenShift Virtualization.
Migrate OVA files to OpenShift Virtualization
When it comes to leveraging OpenShift Virtualization for VM management, one benefit of using OpenShift Virtualization is the easy migration from multiple platforms to OpenShift Virtualization using the migration toolkit for virtualization. We’ll show you the ease with which you can migrate vSphere-compliant OVA files into OpenShift Virtualization in just a few steps.
Before we move ahead, ensure you’ve satisfied the prerequisites. Lesson 2 will walk you through the following steps:
- Set up the NFS Server to host OVA format files.
- Prepare for the migration by using the migration toolkit for a virtualization operator.
- Create a migration plan.
Step 1: Set up an NFS server to host OVA format files
If you have an NFS server that can be accessed by the migration toolkit for virtualization operator on the OpenShift cluster, you can skip this step and move ahead.
- Create a Fedora-based VM on OpenShift Virtualization to create a generic VM
Install NFS packages onto the VM. Once our VM is running, log in to the console and install the necessary packages to stand an NFS server:
sudo dnf install nfs-utils -yConfigure the NFS. Create a directory for the NFS share:
sudo mkdir -p /srv/nfs_share
sudo chmod -R 777 /srv/nfs_share
Edit the
/etc/exportsfile to export the directory:sudo vi /etc/exportsAdd the following line to the
/etc/exportsfile:/srv/nfs_share *(rw, -sync, -no_subtree_check, -no_root_squash, insecure)Once you have successfully completed the above steps, enable and check if the NFS server is up and running:
sudo systemctl enable ––––now nfs-server rpcbind
sudo systemctl restart nfs-server
Once the NFS server VM is ready, we will be copying the IP.
Next, copy over the OVA format file from a local server to an NFS server, in this example, using a pod:
cat << EOF | oc apply -f -
apiVersion: v1
kind: Pod
Metadata:
 name: nfs-pod
 namespace: openshift-mtv
Spec:
 Containers:
 - name: test-container
    image: alpine
    command: ["/bin/sh"]
    args: ["-c", "sleep infinity"]
    volumeMounts:
    - mountPath: /mnt
      name: nfs-share
 volumes:
  - name: nfs-share
    nfs:
      server: <NFS server IP>
      path: /srv/nfs_share
EOF
Copy the file from a local server to an NFS server:
oc cp <local-path-to-ova-file>
openshift-mtv/nfs-pod:/mnt/<ova-file>
Next, ensure that the file was copied over to the NFS storage:
oc exec -it nfs-pod –/bin/sh
ls /mnt
Exit
Once the OVA file transfer to the NFS server is confirmed, the pod can be safely removed.
Step 2: Prepare for migration using the migration toolkit for virtualization operator
To migrate OVA format files to OpenShift Virtualization, we need to have the migration toolkit for virtualization operator installed in the openshift-mtv namespace. Next, create an OVA provider on the migration toolkit for virtualization.
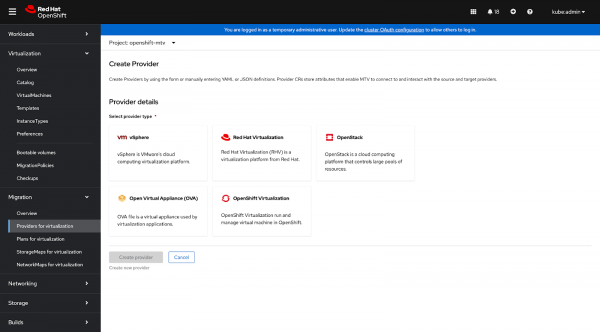
Add OVA provider to migration toolkit for virtualization operator. You can complete the following task through the administrator console on the Red Hat OpenShift Container Platform (as shown in Figure 1) or the command-line interface (CLI) by creating a Provider kind CR (Custom Resource). We will examine both methods below.

Figure 1: A view of Migration Toolkit for Virtualization Operator. Figure 1: A view of the migration toolkit for virtualization operator. Select OVA as the provider as shown in Figure 2.

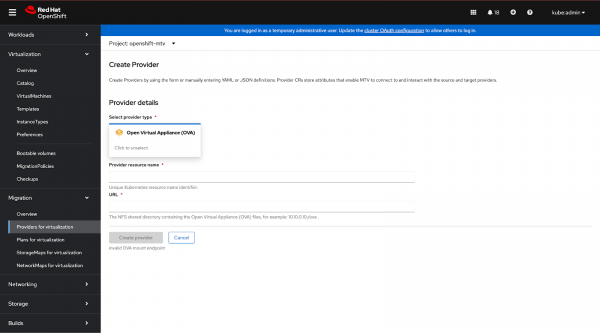
Figure 2: Setting OVA as a Migration Provider. Figure 2: Setting OVA as a migration provider. Apply the desired configuration here and add the URL to the NFS server where the OVA file resides. We will be using the NFS server we created above in this example.
To perform this via the CLI, we will create a kind Provider CR as follows:
$ cat << EOF | oc apply -f -
apiVersion: forklift.konveyor.io/v1beta1
kind: Provider
metadata:
  name: ova-provider
  namespace: openshift-mtv
spec:
  type: ova
  url:  <nfs_server>:/srv/nfs_share
EOF
Create a
networkMapandStorageMapmanifest to map source and destination VMs. To create anetworkMap, we will be using the below YAML template:$ cat << EOF | oc apply -f - apiVersion: forklift.konveyor.io/v1beta1 kind: NetworkMap Metadata: name: ova-network-map namespace: openshift-mtv Spec: map: provider: source: name: ova-provider namespace: openshift-mtv destination: name: host namespace: openshift-mtv EOFTo create a
storageMap, we will be using the below YAML template:$ cat << EOF | oc apply -f - apiVersion: forklift.konveyor.io/v1beta1 kind: StorageMap Metadata: name: ova-storage-map namespace: openshift-mtv Spec: map: provider: source: name: ova-provider namespace: openshift-mtv Destination: name: host namespace: openshift-mtv EOF
Step 3: Create a migration plan
With the OVA provider and mappings set up, you can now create a migration to handle the OVA migration and move the desired VM to OpenShift Virtualization (Figures 3-5):


Monitor the migration progress with:
oc get migration -n openshift-mtvOnce the migration is complete, you will see the desired VM migrated to OpenShift Virtualization.
If there are any issues like unmapped networks or storage, ensure that your NetworkMap and StorageMap are configured correctly.
Once the migration is completed, carry out the following post-migration tasks:
- Verify that the VM has been created within the target namespace.
- Start the VM and check its configuration.
- Troubleshoot any issues that may arise during the migration process.
Monitoring and maintenance
It is essential to have ongoing monitoring and maintenance to ensure the health and performance of your virtualized environment. The following practices can help with this:
- Red Hat OpenShift monitoring tools: Utilize the built-in Red Hat OpenShift monitoring stack to monitor virtual machines in your cluster.
- Regular updates and patches: Keep your OpenShift Virtualization account updated with the latest security patches and feature updates to VMs.
- Resource management: Always monitor and optimize the resource utilization of your virtual machines for maximum efficiency.
Backup and disaster recovery
You can ensure business continuity by implementing strategies for backup and disaster recovery, including:
- Backup configuration: Red Hat OpenShift provides storage provider integrations that enable and schedule periodic backups of your VMs.
- Disaster recovery planning: Red Hat OpenShift provides integration for disaster recovery planning, which should be implemented and allows for the restoration of VMs in case of failures or unexpected downtime.
Conclusion
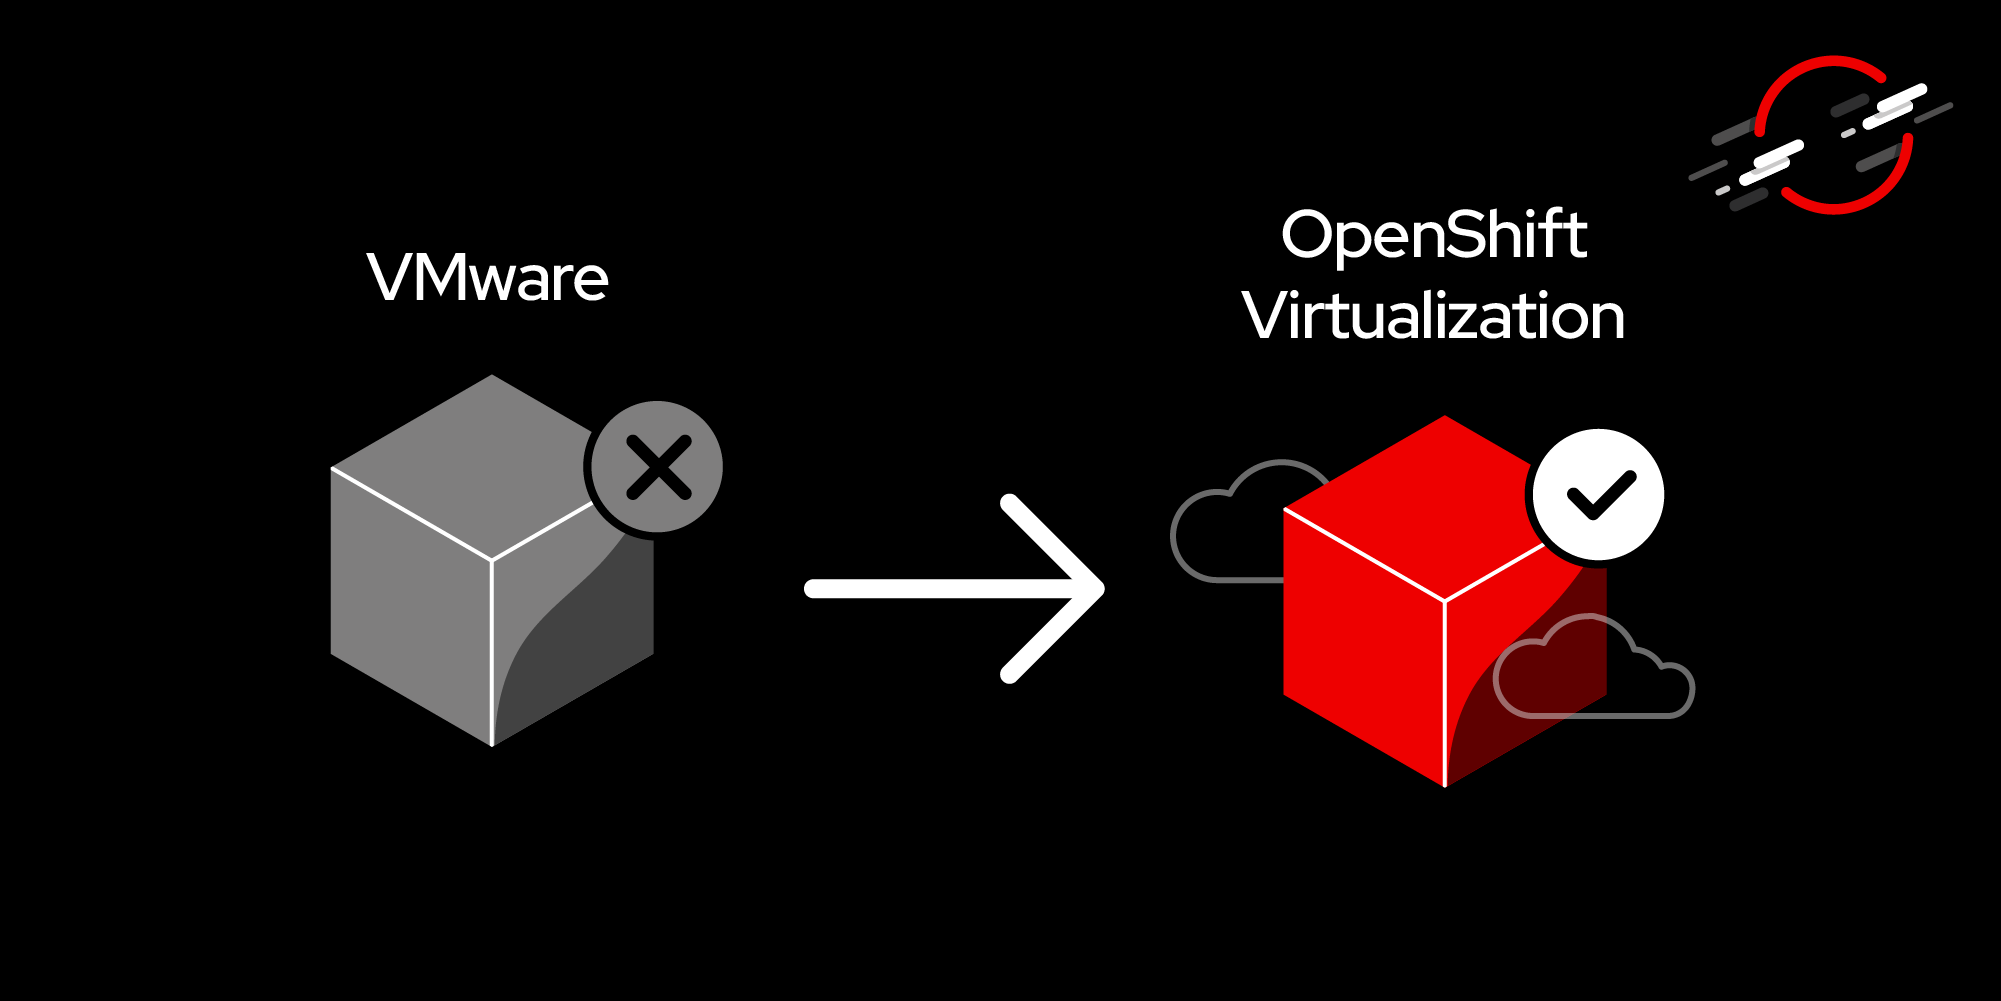
This migration of virtual machines from VMware to Red Hat OpenShift Virtualization consolidates workloads on a single platform and utilizes the scalability and flexibility of Kubernetes. With this step-by-step implementation guide, partners can migrate from VMware to OpenShift Virtualization seamlessly and take advantage of contemporary hybrid infrastructure.
Need help? We're here to assist you! If you're encountering issues or need further clarification on the topics covered in our posts, don’t hesitate to reach out. Partners should connect with the Partner Acceleration Desk who can route them to the right teams to assist with any issues or concerns.
If you have any questions on how to access the Partner Acceleration Desk, please refer to the quickstart guide.
