Page
Install the Karavan extension, then scaffold a new Camel project
In the first lesson, you successfully launched an empty workspace in OpenShift Dev Spaces and executed a command inside the pod. Now it's time to install Karavan and scaffold your project.
What you need
- A workspace in Red Hat OpenShift Dev Spaces
- A no-cost Developer Sandbox environment
What you will learn
- How to install Karavan
- How to use Quarkus to scaffold your project
Install the Karavan extension
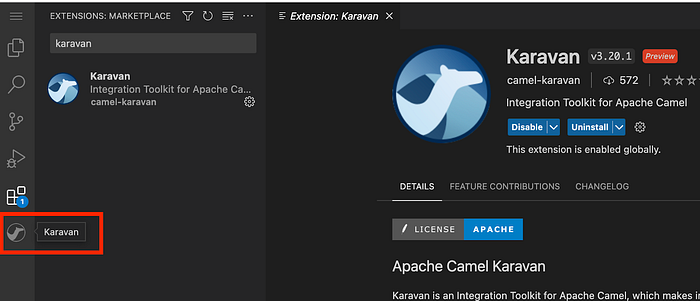
Choose Extensions from the menu, search for Karavan in the Extensions Marketplace, and select Install (Figure 8).
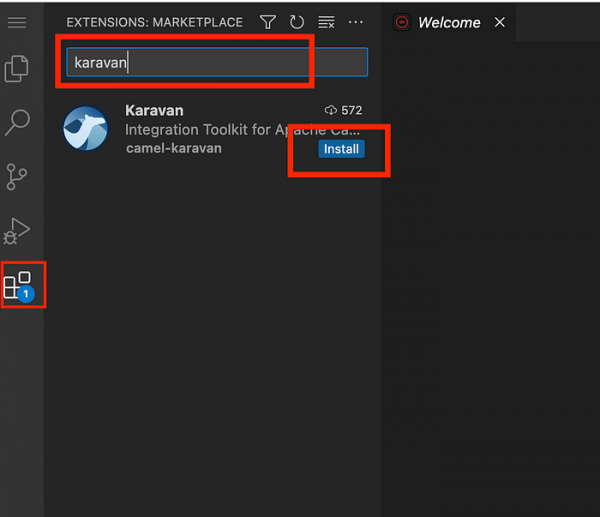
Figure 8: The Karavan extension in Extensions Marketplace. Check and confirm the Karavan extension is enabled (Figure 9).
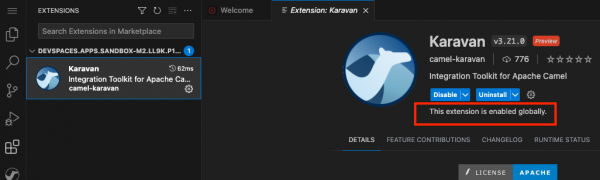
Figure 9: Karavan extension is Enabled. The Karavan icon should appear in the left menu bar if successfully enabled (Figure 10).
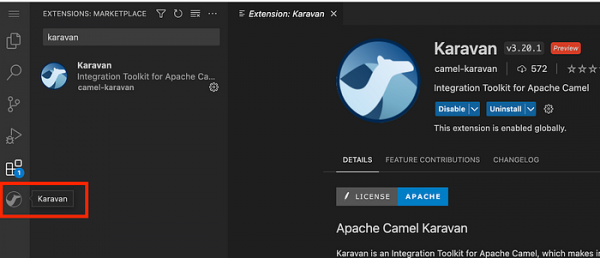
Figure 10: The Karavan extension now appears in the left-hand menu.


Congratulations! You have successfully configured and installed the Karavan extension.
Scaffold a new Camel project
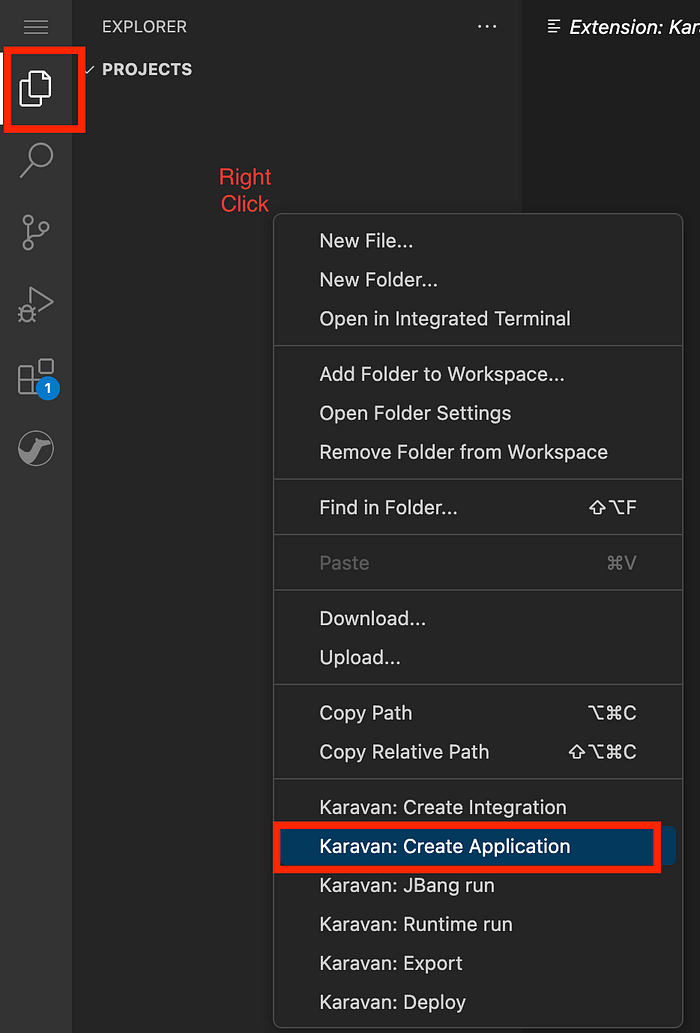
Right-click the Projects icon. Choose Karavan: Create Application (Figure 11).
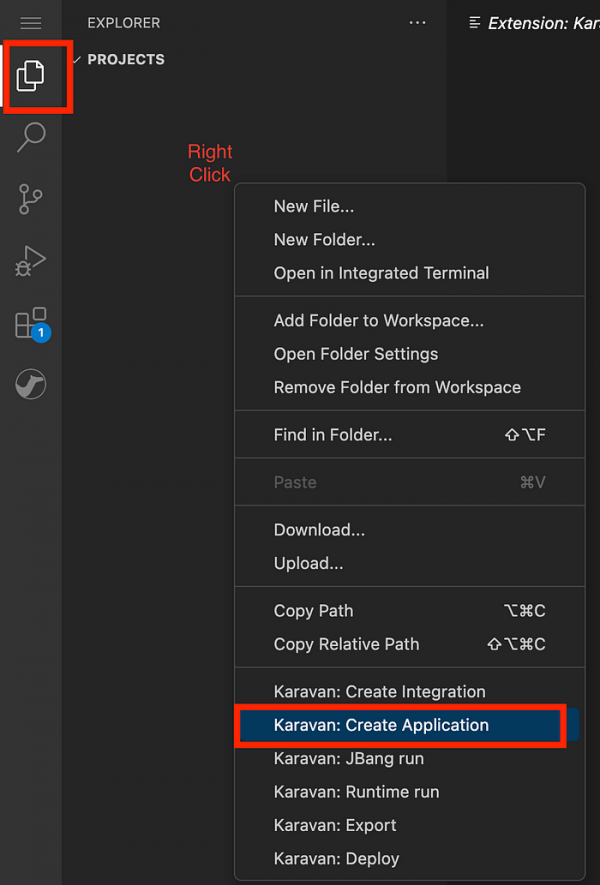
Figure 11: The Karavan: Create Application option from context menu. Select Quarkus for the runtime (Figure 12).

Figure 12: Choose Quarkus for your runtime. Choose OpenShift for the deploy target (Figure 13).
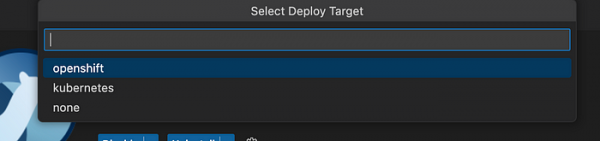
Figure 13: Choose OpenShift for your deploy target. You can enter the groupId, artifactId, and version, or just leave the default value (Figure 14).

Figure 14: Choose the Project groupId, artifactId, and version, or leave the default value. Once successful, you should see a new file,
application.properties, inside your project workspace (Figure 15).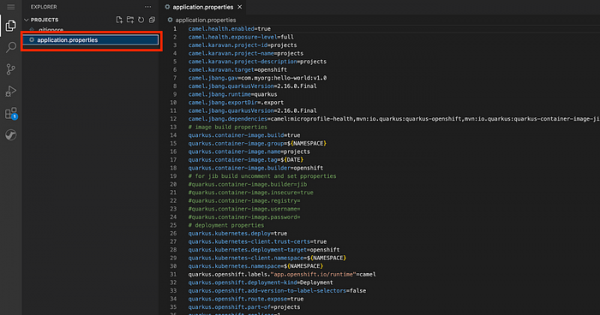
Figure 15: The content for the application.properties file.


Congratulations! You have successfully defined your first Camel project. Now let's create the Camel route.