Page
Create the Camel integration route and the REST API service
In the last lesson, you successfully defined your Camel project. Now let's create the Camel route.
What you need
- A workspace in Red Hat OpenShift Dev Spaces
- A no-cost Developer environment
What you will learn
- How to create an integration routeccess the Developer Sandbox
- How to create a REST API service
Create the Camel integration route
From the Projects menu icon, select Karavan: Create Integration from the context menu (Figure 16).
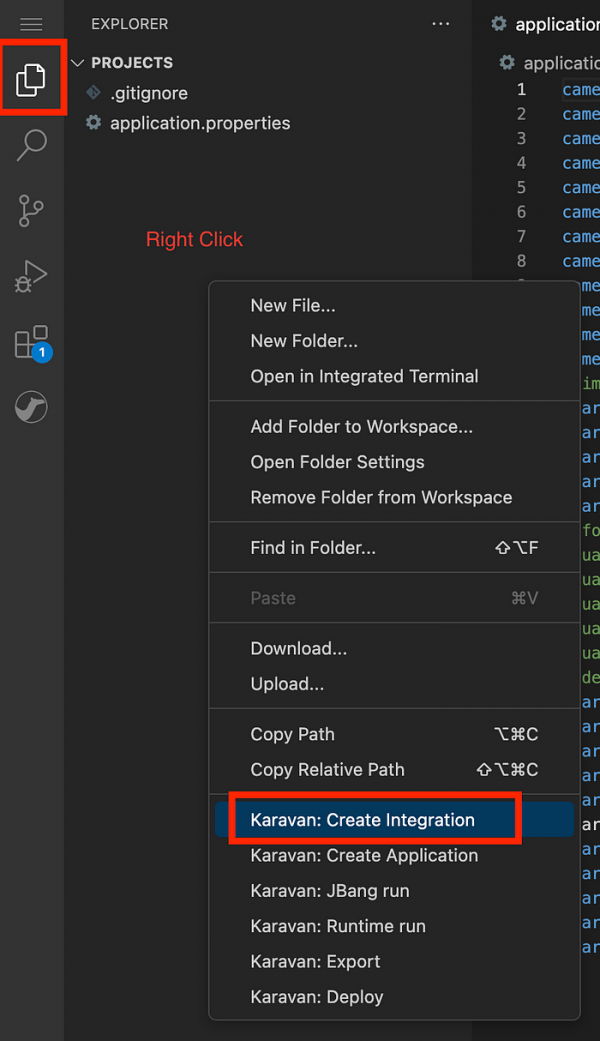
Figure 16: The context menu for Karavan: Create Integration. Enter
hello-worldas the integration name (Figure 17).
Figure 17: The integration name. A new file with the name
hello-world-camel.yamlhas now been created. Inside the hello-world camel project, select the Routes tab, then Create route (Figure 18).
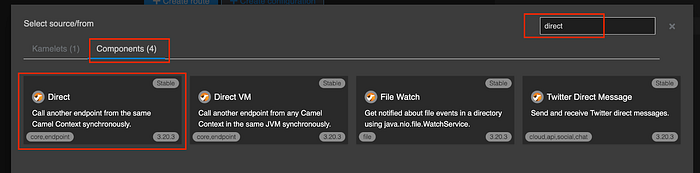
Figure 18: The Create route button. Under the Components tab, search for the word
direct(Figure 19).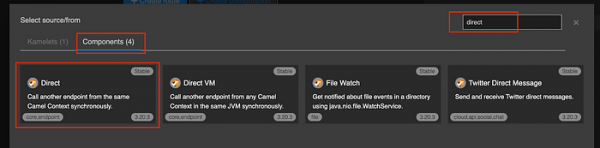
Figure 19: The Direct components under the Components Tab. Click on the Direct icon. Enter
my-internal-routeto the internal route field (Figure 20).
Figure 20: The Direct component created and the name parameter for Direct component. Add more steps to the route. Click the + icon under the Direct Route (Figure 21).
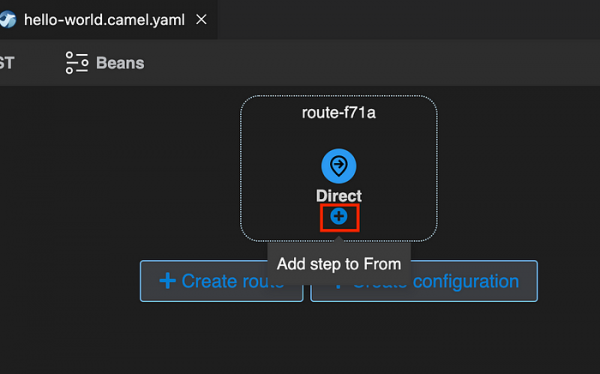
Figure 21: The + icon below Direct component. Choose the Routing tab, then search for the word
log(Figure 22).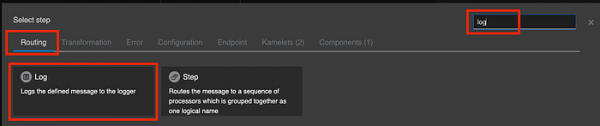
Figure 22: Choose the Routing tab, then search for “log”. Configure the Log to print message
${body}(Figure 23).
Figure 23: Configure the log.


Create a simple REST API
Click on the REST tab, then select Create service (Figure 24).

Figure 24: The +Create service button under the REST tab. Select Add method (Figure 25).
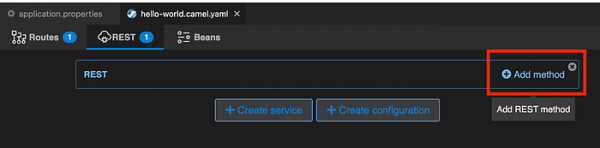
Figure 25: The +Add method button for REST. Choose the Post method (Figure 26).
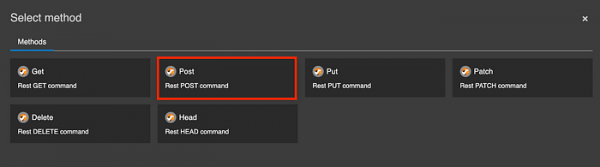
Figure 26: The Post method for HTTP method. Link the REST endpoints to the direct route. Inside the setting for the POST method, select To : direct:my-internal-route (Figure 27). This will route the incoming request to
my-internal-route.
Figure 27: The setting for POST method with direct:my-internal-route selected. You can inspect the content of the Camel YAML file by double-clicking the
hello-world.camel.yamlfile in the project explorer. In Figure 28, the IDs are randomly generated.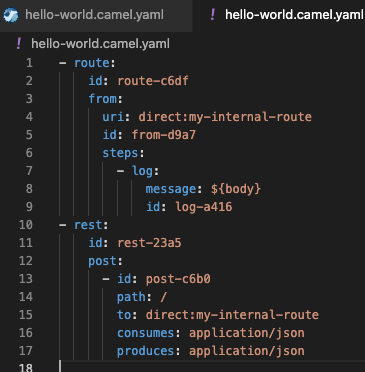
Figure 28: Inspect the content of the Camel yaml file.


Congratulations! You have successfully created a Camel route file. Now let's run and test it inside OpenShift.