Page
Build your application from source code
The very first step, if you haven't already done it, is to get over to the Developer Sandbox page and get a free OpenShift cluster. You'll also be joining the Red Hat Developer Program if you aren't already a member, which provides some incredible benefits.
In order to get full benefit from taking this lesson, you need to:
- Have an OpenShift cluster from the Developer Sandbox
In this lesson, you will:
- Set up your Developer Sandbox
- Set up a cluster
- Build the application from source code
Get that cluster
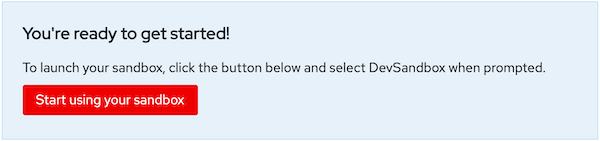
Once you've secured your own cluster, select Start using your sandbox to begin your future (Figure 1).
Build the application from source code
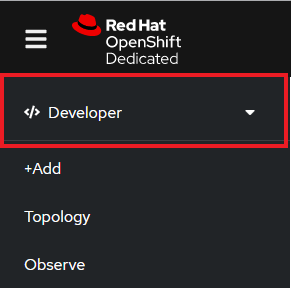
To build your application using source code from a GitHub repository (repo), start by switching to the Developer view in your OpenShift dashboard (Figure 2).
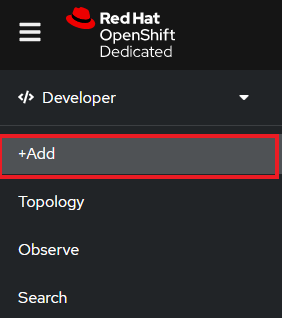
Next, select +Add to display the many options available for adding an application to your cluster (Figure 3).
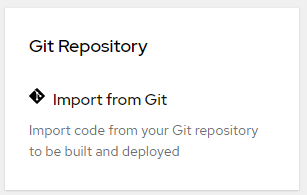
In our case, we are interested in the Git Repository/Import from Git option. Select Import from Git (Figure 4).
You will be prompted to enter a URL that points to a Git repo. This is where things get interesting. Red Hat OpenShift will copy the repo to an internal storage location, inspect it, and attempt to discern the import strategy to build it. OpenShift will choose one of the following methods to build the application:
- Option 1: Using the Builder image for the programming language used (i.e., the s2i option).
- Option 2: Using the Dockerfile that is found in the Git repo.
- Option 3: Using the DevFile that is found in the Git Repo.
Again, we’re focusing on Option 1 right now: Using the Builder image and the s2i technology. The Builder image is determined by inspecting the source code and may be .NET, JBoss, Perl, or one of several other options. Here are some URLs of sample code that you can use for their related languages:
- C# (.NET): https://github.com/redhat-developer-demos/csharp_mvc.git
- Go: https://github.com/redhat-developer-demos/sandbox-go.git
- Node.js: https://github.com/redhat-developer-demos/sandbox-nodejs.git
- PHP: https://github.com/redhat-developer-demos/sandbox-php.git
- Python: https://github.com/redhat-developer-demos/sandbox-python.git
- Ruby: https://github.com/redhat-developer-demos/sandbox-ruby.git
Test your application
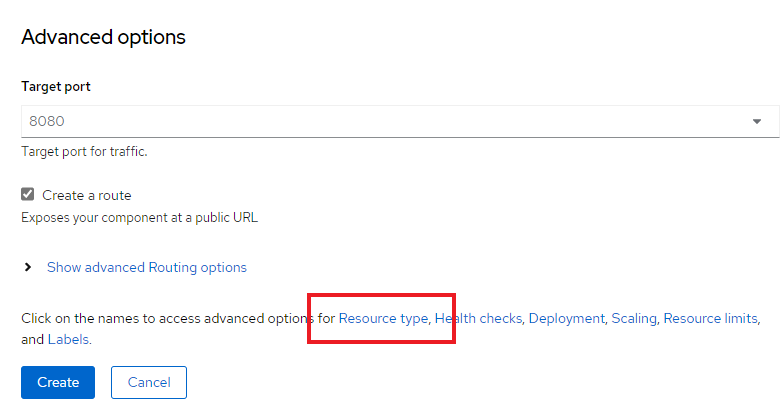
Supply the URL and move to the bottom of the page to select the Resource type (Figure 5).
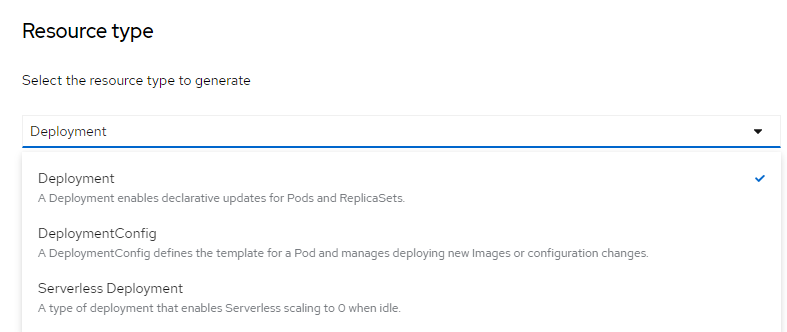
Select Deployment as the Resource type. Select Create (Figure 6).
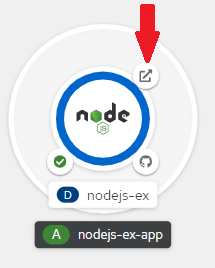
After a few minutes, the ring on your application's icon will switch from light blue to dark blue, which means it's ready to go. Select the external link image to see your application in a browser (Figure 7).
Congratulations. You've built an application from source code. Now it's time to build your application from a container image.
