Page
Export your application and move it to another cluster

In the previous lesson, you accessed the Developer Sandbox and created an application. Now it's time to export then import your application.
In order to get full benefit from taking this lesson, you need:
- The OpenShift dashboard
In this lesson, you will:
- Export your application
- Delete the non-application parts
- Import it into another cluster
Export from your sandbox
Returning to the OpenShift dashboard, make note of the application name.
This is what we wish to export from our sandbox and import into another cluster. It’s the title below the block that contains the containers we created. In this case, it is
QuoteOfTheDay(Figure 5).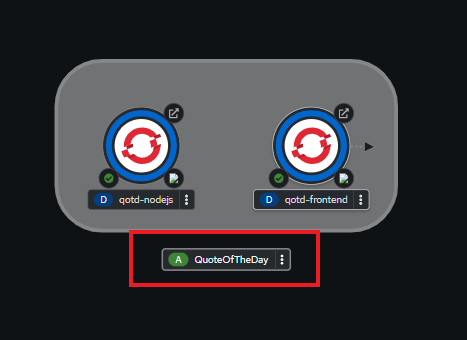
Figure 5: Application group. In the upper right corner of the dashboard, select Export application (Figure 6).

Figure 6: Click here to begin export. You will be asked to verify that you wish to export the application (Figure 7).
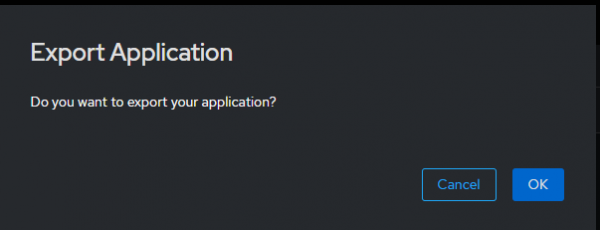
Figure 7: Verify export. Click OK to export your application.You will immediately be notified that the export process has begun (Figure 8). The OpenShift
gitops-primeroperator will start then create a YAML file for each object in your cluster.
Figure 8: Export has completed. After a few minutes, you will be notified that the export process has finished (Figure 9).
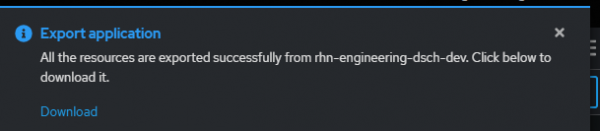
Figure 9: Download exported objects. - Select the Download link and save the
ZIPfile on your local machine. When this step is finished, unzip the file. - Now, move to the command line and navigate to the directory where the un-zipped files are located. You will find several files. In my particular case, I have 99 files listed.


This is where it gets interesting.
Delete the non-application parts
When you exported, ran, and created the YAML files, it selected every object in the cluster. This is much more than we need. We only need the objects related to the QuoteOfTheDay application.
- The way to determine which objects are part of the
QuoteOfTheDayapplication is to look for the label“app.kubernetes.io/part-of: QuoteOfTheDay”in the YAML. - Every file that contains that string is part of the application, and every file that does not contain that string needs to be deleted.
- This can be accomplished by one command in a terminal session. Navigate to the directory containing the downloaded files and run the following command:
(If using PowerShell)
Remove-Item (gci | Where-Object { !( $_ | Select-String "app.kubernetes.io/part-of: QuoteOfTheDay" -quiet) })
(If using Bash)grep -L "app.kubernetes.io/part-of: QuoteOfTheDay" * | xargs rm
- You’ll be left with a directory of YAML files that reflect only the application.
Import into another cluster
At this point, the application can be imported into another OpenShift cluster. Log into a cluster and run the following command at the directory where your YAML files reside:
oc apply -f .Move it, remove it, improve it
Move
Moving your application is what this activity is all about. To complete the cycle, use Red Hat OpenShift Service on AWS (ROSA) to get a complete, production-ready cluster.
ROSA is not a free offering. It is a production environment.
Remove
Want to undo the application? Simply run this command:
oc delete -f .Improve
Put the resulting files in a Git repository and adopt the GitOps Pattern.
Summary
That's it. You've created an application, exported it using the Developer Sandbox, then imported it into another cluster.
Ready to try another Red Hat OpenShift Service on AWS learning path?
