Page
Start the two running containers
Whether you build an image from source code on your machine, or it is supplied by someone else (e.g., Redis), you can—and most likely will—use multiple images to create a complete application. In this lesson, the image that you previously built (podify-demo-frontend:v1) which resides on your local machine, is used along with another image, podify-demo-backend:v1 (which has already been built and is stored at quay.io,) to create an application that runs in Podman on your machine.
Prerequisites:
- Terminal session on your computer.
- Podman CLI installed on your computer (Podman).
In this lesson, you will:
- Run a script that will create two containers resulting in a complete containerized application.
Step 1: Use a script to create a solution
In the directory that you created in the previous lesson, you will find two scripts: one for Bash and one for PowerShell. They are preload.sh and preload.ps1.
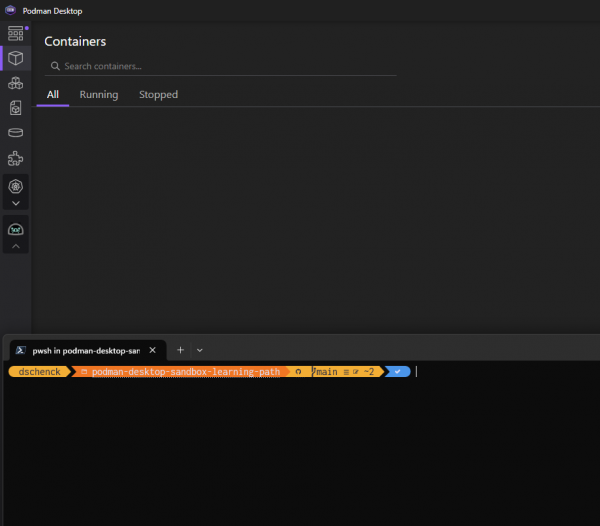
This next step is optional but recommended: before running the scripts, position a terminal session in front of the Containers section of Podman Desktop. This will allow you to watch the containers appear as they are deployed by the script (Figure 1).
Position things so you can watch the deployment unfold.
Before executing the script, let’s take a look at it:
#!/bin/bash

if ! podman network exists podify; then
  podman network create podify
fi

if podman container exists redis; then
  podman rm -f redis
fi
podman run -d -p 6379:6379 --net podify --name redis quay.io/podman-desktop-demo/podify-demo-backend:v1

if podman container exists python-frontend; then
  podman rm -f python-frontend
fi

podman run -d -p 8088:5000 --net podify --name python-frontend $1
The script uses one input parameter: the name of your front-end image (e.g.: quay.io/foo/podify-demo-frontend:v1).
The script has three main parts:
- Create a virtual network named "podify" using
podman networkwhich sets up an exclusive communication channel for our application via a private network. - Start a container running a Redis cache using
podman runwhich launches a self-contained container environment running a Redis database. - Start a container running the frontend image you specify using
podman run, that being the Python application you have just created.
Execute the script that is appropriate for your operating system using the name of the image you created in the previous lesson.
- For PowerShell:
./preload.ps1 {image-name-here} - For Bash:
./preload.sh {image-name-here}
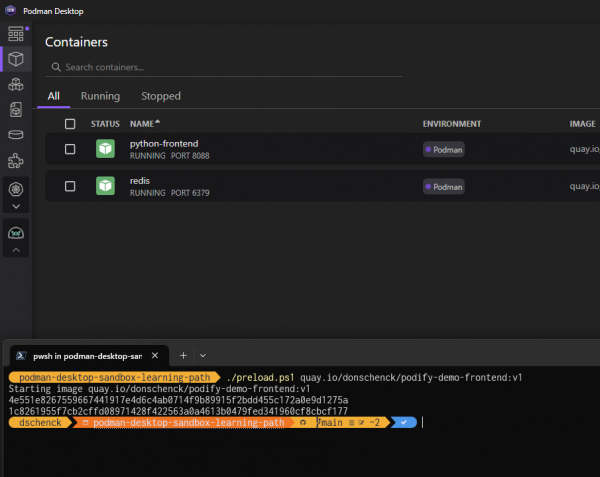
As it runs, you can observe two containers being deployed in Podman Desktop (Figure 2).
Using the image name from Step 3, run the following command in the working directory:
- If using Bash:
./preload.sh {image-name-goes-here} - If using PowerShell:
./preload.ps1 {image-name-goes-here}
Step 2: View results in browser
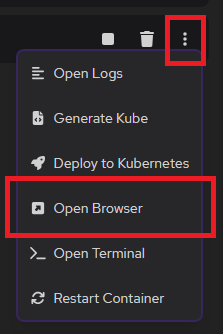
On the far right side of the row for the python-frontend container, you will see three vertical dots—known as a "kebab menu". Click the menu and select the Open Browser option to view the front-end website in your browser (Figure 3).
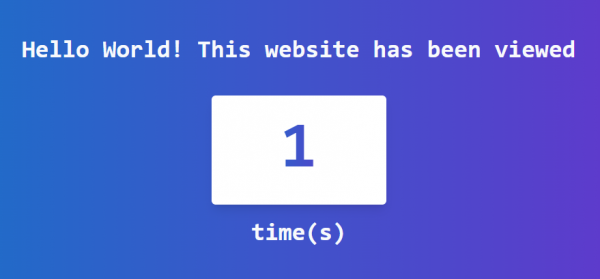
When the website is displayed, refresh your browser multiple times to see the count increment (Figure 4).
Now that your containers are running, let’s use Podman Desktop to create a pod housing both of them.
