Run the Canary Deployment pattern on Kubernetes
In this activity, you will use basic Kubernetes skills to understand and implement the Canary Deployment.

One of the benefits of using containers to develop applications is the ease and speed with which you can deploy new versions. A rolling update can be performed in seconds, after which your new version will be available.
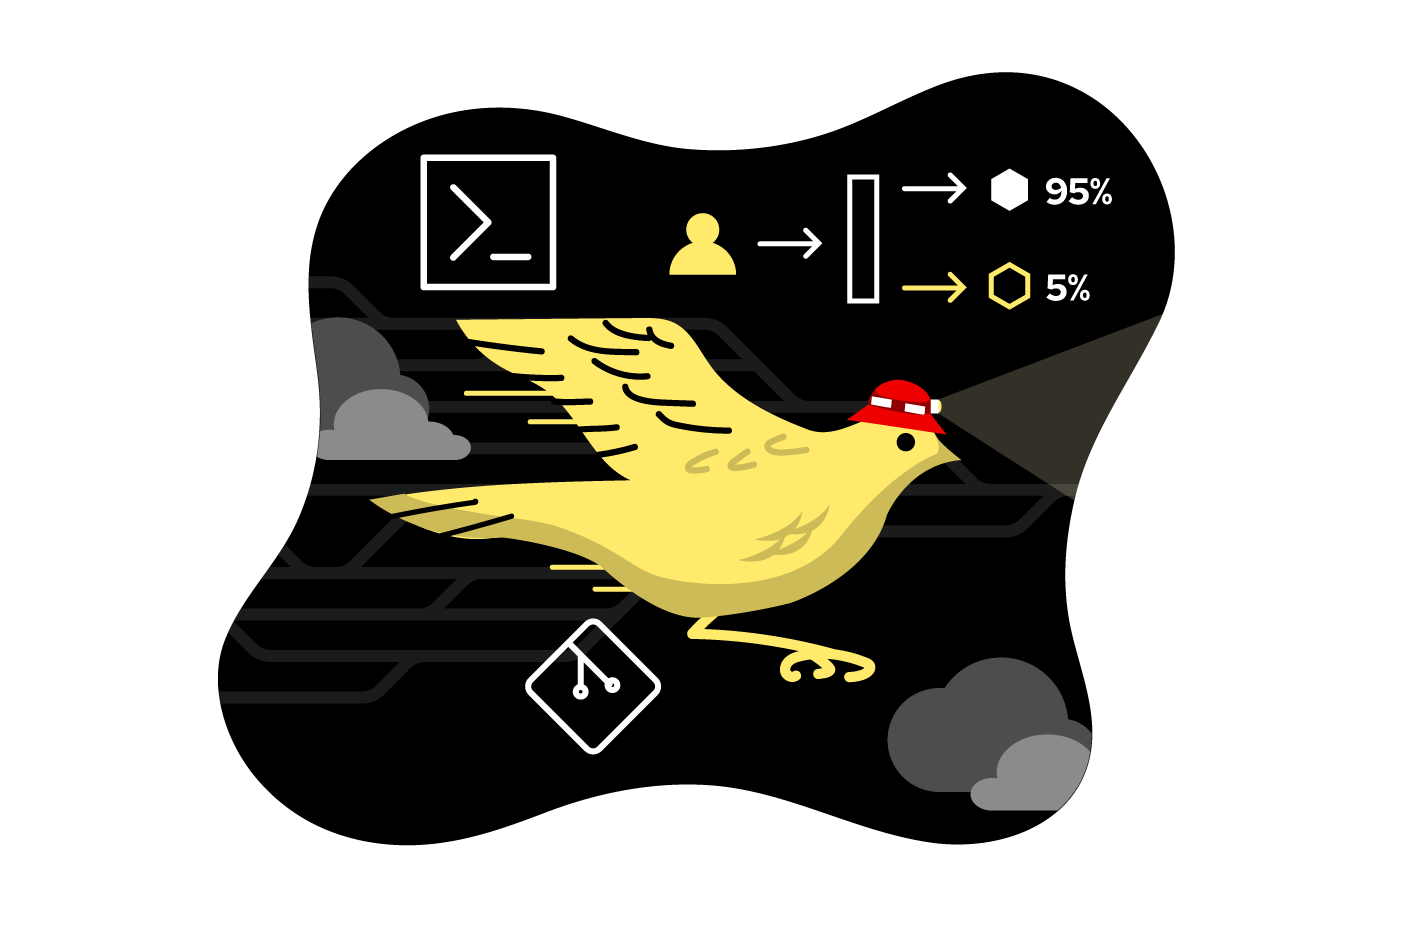
The downside is that it’s quite easy to quickly introduce a buggy version of your application. This double-edged sword can be threatening, but there are deployment methodologies that can help mitigate the danger. One such deployment pattern is called the Canary Deployment.
In this activity, you will use basic Kubernetes skills to understand and implement the Canary Deployment.
Remember: If you have questions regarding this or any other OpenShift Sandbox activity, you can email us at devsandbox@redhat.com.
Expected time to completion: 30 minutes
What is the Canary Deployment?
Here’s an explanation of the Canary Deployment from Red Hat’s Cloud Native Compass:
A deployment pattern where a new version is eased into production by making it available to an increasingly-larger subset of users, until it either reaches 100 percent of the audience or is deemed not ready and is abandoned (and the audience percentage is set to zero).
By using intelligent routing, such as that provided by istio, it is possible to direct web requests to a service based on user-defined criteria, such as geographical location, user ID, etc. With that functionality, it becomes possible to split traffic to an existing version and a new, Canary version.
The term Canary in this context refers to the old idea of carrying a canary in a cage into a coal mine, using it as a snapshot of the mine’s conditions. If, for example, the canary died, it meant there was a buildup of dangerous gases such as carbon monoxide. This signaled to the miners that conditions were life-threatening and it was time to exit the mine.
In software, a Canary Deployment allows you to monitor the success of a new version — performance, correctness, robustness, etc. — with a small audience. Based on success or failure of the application, the user base is then either slowly expanded until 100 percent of the users are using the new version, or scaled back to zero and the application terminated.
Here are two diagrams to help visualize the Canary Deployment activity. As you can see in Figure 1, the majority of requests are being sent to Version 1 of our microservice, while a few requests trickle to Version 2.
After we are satisfied with the viability of Version 2, we shift the burden to Version 2, as shown in Figure 2.
After this, we can delete Version 1 and continue normal operations.
This activity’s example of a Canary Deployment
This activity will use two components:
- An OpenShift-based service that returns the name of the host. In this case, the host name will be the pod ID.
- A command-line client. You’ll use a curl command that runs in a loop and accesses the service.
The OpenShift-based component is written in Java, using Quarkus.
Prerequisites
- An OpenShift Sandbox account
- The OpenShift command-line interface (CLI) installed on your local PC
Working environment for this activity
- This activity will require you to work at the command line, using either Bash or PowerShell.
- You will need access to a web browser in order to obtain your OpenShift login token.
What you'll be doing
0.Log in to your OpenShift Sandbox at the command line
- Spin up the host service, gethostname
- Run a curl command loop to view the application output
- Set pod count for Version 1
- Spin up Version 2 of gethostname
- Patch both Versions to use the same route
- Observe results in the curl command loop
- Change pod counts and observe results
Part 0: Log in to your OpenShift Sandbox at the command line
Step 0.1
Log in to your OpenShift Sandbox by following these instructions.
Part 1: Spin up the host service, gethostname
This activity uses a microservice that returns the name of the host where it is running. Because we are using OpenShift, the host name will be the pod ID—
gethostname-v1-2-w2qxw, for example.
Step 1.1
Run the following command to create our microservice, the gethostname-v1 application:
oc new-app quay.io/rhdevelopers/gethostname:v1 --name gethostname --as-deployment-config=true -l app=gethostname
Step 1.2
Run the following command to create an external route to the application:
oc expose service/gethostname --name gethostname-microservice
This allows anyone to reach it via an HTTP GET operation.
Part 2: Run a curl command loop to view the application output
To see the Canary Deployment in action, we’ll use a curl command loop to get a result from the application. To do that, we need the URI of the route.
Step 2.1
Run the following command to get the URI of the application:
oc get routes
Here’s an example output:
NAME HOST/PORT PATH SERVICES PORT TERMINATION WILDCARD
gethostname-microservice gethostname-microservice-rhn-engineering-username-dev.apps.sandbox.x8i5.p1.openshiftapps.com gethostname-v1 8080-tcp None
You’ll use thisinformation to start a curl loop at the command line.
Step 2.2
Run the appropriate command to start a curl loop:
If you are using Bash:
for ((i=1;i<=10000;i++)); do curl http://gethostname-microservice-rhn-engineering-username-dev.apps.sandbox.x8i5.p1.openshiftapps.com/hostname; echo -e; sleep .03; done;
If you are using PowerShell:
while ($true) { (curl gethostname-route-rhn-engineering-username-dev.apps.sandbox.x8i5.p1.openshiftapps.com/hostname).content;start-sleep -Milliseconds 30; }
You will see output similar to the following:
VERSION 1 - The name of the host is: gethostname-v1-2-w2qxw VERSION 1 - The name of the host is: gethostname-v1-2-w2qxw VERSION 1 - The name of the host is: gethostname-v1-2-w2qxw VERSION 1 - The name of the host is: gethostname-v1-2-w2qxw
VERSION 1 - The name of the host is: gethostname-v1-2-w2qxw
Part 3: Set pod count for Version 1
By creating nine pods for Version 1 of our microservice, we can ensure that this version will get the bulk of the requests. With five pods running Version 1, and one pod running Version 2 (as you’ll see in the next part of this activity), we can expect nine out of ten requests to go to Version 1. In this scenario, Version 2 is the “canary”.
Step 3.1
Run the following command to scale Version 1 up to nine pods:
oc scale --replicas=9 dc/gethostname
Part 4: Spin up Version 2 of gethostname
With Version 1 up and running in nine pods, it is time to get one pod running Version 2.
Step 4.1
Run the following command to get a pod running Version 2 of our microservice:
oc new-app quay.io/rhdevelopers/gethostname:v2 --name gethostname-v2 --as-deployment-config=true -l app=gethostname
Part 5: Patch both versions to use same route
Now it is time to see the Canary Deployment in action. The first two of the following commands will patch the deployment configuration objects for Version 1 and Version 2 so that they have the label svc:gethostname.
(For more information about labels, check out the Kubernetes documentation.)
The third command will change the route that was created in Step 1.2 to search for the label svc:gethostname-v1 regardless of the associated service. In other words, our route will access both microservices, gethostname-v1 and gethostname-v2.
Step 5.1
Run the commands now:
If you are using Bash
oc patch dc/gethostname-v1 -p '{"spec":{"template":{"metadata":{"labels":{"svc":"gethostname"}}}}}'
oc patch dc/gethostname-v2 -p '{"spec":{"template":{"metadata":{"labels":{"svc":"gethostname"}}}}}'
oc patch svc/gethostname -p '{"spec":{"selector":{"svc":"gethostname","app": null, "deploymentconfig": null}, "sessionAffinity":"ClientIP"}}'
If you are using PowerShell
oc patch dc/gethostname -p '{\"spec\":{\"template\":{\"metadata\":{\"labels\":{\"svc\":\"gethostname\"}}}}}'
oc patch dc/gethostname-v2 -p '{\"spec\":{\"template\":{\"metadata\":{\"labels\":{\"svc\":\"gethostname\"}}}}}'
oc patch svc/gethostname -p '{\"spec\":{\"selector\":{\"svc\":\"gethostname\",\"app\": null, \"deploymentconfig\": null}, \"sessionAffinity\":\"ClientIP\"}}'
FYI: The oc patch command allows you to change an existing OpenShift object.
Part 6: Observe results in the curl command loop
Step 6.1
After running the commands in Part 5, return to the curl command loop window to observe the results.
To fully appreciate the impact of the commands you are running, it is ideal if you run the curl command in one visible window while running the commands in Part 7 in another window. This allows you to see the results as you run the commands.
Part 7: Change pod counts and observe results
Step 7.1
Run the following two commands and observe the results:
oc scale --replicas=5 dc/gethostname-v2
oc scale --replicas=5 dc/gethostname
You will see the distribution become even between the two versions.
Step 7.2
Run the following command to shut down Version 1 and observe the results. All of the requests are now being serviced by Version 2:
oc scale --replicas=0 dc/gethostname
Conclusion
This activity demonstrates the principle of the Canary Deployment by scaling pods up and down in an OpenShift cluster. While the concept is the same, a better and more enterprise-ready solution is to use Istio Service Mesh. With Istio, you won’t need to scale the pod counts. Instead, you can set the percentage of traffic to each version specifically.
Read more about it: Red Hat Developer has a wealth of material related to Service Mesh.