Redhat Developers  Logo
  • Products

    Featured

    • Red Hat Enterprise Linux
      Red Hat Enterprise Linux Icon
    • Red Hat OpenShift AI
      Red Hat OpenShift AI
    • Red Hat Enterprise Linux AI
      Linux icon inside of a brain
    • Image mode for Red Hat Enterprise Linux
      RHEL image mode
    • Red Hat OpenShift
      Openshift icon
    • Red Hat Ansible Automation Platform
      Ansible icon
    • Red Hat Developer Hub
      Developer Hub
    • View All Red Hat Products
    • Linux

      • Red Hat Enterprise Linux
      • Image mode for Red Hat Enterprise Linux
      • Red Hat Universal Base Images (UBI)
    • Java runtimes & frameworks

      • JBoss Enterprise Application Platform
      • Red Hat build of OpenJDK
    • Kubernetes

      • Red Hat OpenShift
      • Microsoft Azure Red Hat OpenShift
      • Red Hat OpenShift Virtualization
      • Red Hat OpenShift Lightspeed
    • Integration & App Connectivity

      • Red Hat Build of Apache Camel
      • Red Hat Service Interconnect
      • Red Hat Connectivity Link
    • AI/ML

      • Red Hat OpenShift AI
      • Red Hat Enterprise Linux AI
    • Automation

      • Red Hat Ansible Automation Platform
      • Red Hat Ansible Lightspeed
    • Developer tools

      • Red Hat Trusted Software Supply Chain
      • Podman Desktop
      • Red Hat OpenShift Dev Spaces
    • Developer Sandbox

      Developer Sandbox
      Try Red Hat products and technologies without setup or configuration fees for 30 days with this shared Openshift and Kubernetes cluster.
    • Try at no cost
  • Technologies

    Featured

    • AI/ML
      AI/ML Icon
    • Linux
      Linux Icon
    • Kubernetes
      Cloud icon
    • Automation
      Automation Icon showing arrows moving in a circle around a gear
    • View All Technologies
    • Programming Languages & Frameworks

      • Java
      • Python
      • JavaScript
    • System Design & Architecture

      • Red Hat architecture and design patterns
      • Microservices
      • Event-Driven Architecture
      • Databases
    • Developer Productivity

      • Developer productivity
      • Developer Tools
      • GitOps
    • Secure Development & Architectures

      • Security
      • Secure coding
    • Platform Engineering

      • DevOps
      • DevSecOps
      • Ansible automation for applications and services
    • Automated Data Processing

      • AI/ML
      • Data Science
      • Apache Kafka on Kubernetes
      • View All Technologies
    • Start exploring in the Developer Sandbox for free

      sandbox graphic
      Try Red Hat's products and technologies without setup or configuration.
    • Try at no cost
  • Learn

    Featured

    • Kubernetes & Cloud Native
      Openshift icon
    • Linux
      Rhel icon
    • Automation
      Ansible cloud icon
    • Java
      Java icon
    • AI/ML
      AI/ML Icon
    • View All Learning Resources

    E-Books

    • GitOps Cookbook
    • Podman in Action
    • Kubernetes Operators
    • The Path to GitOps
    • View All E-books

    Cheat Sheets

    • Linux Commands
    • Bash Commands
    • Git
    • systemd Commands
    • View All Cheat Sheets

    Documentation

    • API Catalog
    • Product Documentation
    • Legacy Documentation
    • Red Hat Learning

      Learning image
      Boost your technical skills to expert-level with the help of interactive lessons offered by various Red Hat Learning programs.
    • Explore Red Hat Learning
  • Developer Sandbox

    Developer Sandbox

    • Access Red Hat’s products and technologies without setup or configuration, and start developing quicker than ever before with our new, no-cost sandbox environments.
    • Explore Developer Sandbox

    Featured Developer Sandbox activities

    • Get started with your Developer Sandbox
    • OpenShift virtualization and application modernization using the Developer Sandbox
    • Explore all Developer Sandbox activities

    Ready to start developing apps?

    • Try at no cost
  • Blog
  • Events
  • Videos

What Red Hat OpenShift Connector for JetBrains products offers developers

March 29, 2019
Jeff Maury
Related topics:
KubernetesSpring Boot
Related products:
Red Hat OpenShift

Share:

    We are extremely pleased to announce that the preview release of the Red Hat OpenShift Connector for JetBrains products (IntelliJ IDEA, WebStorm, etc.) is now available in Preview Mode and supports Java and Node.js components. You can download the OpenShift Connector plugin from the JetBrains marketplace or install it directly from the plugins gallery in JetBrains products.

    In this article, we'll look at features and benefits of the plugin and installation details, and show a demo of how using the plugin improves the end-to-end experience of developing and deploying Spring Boot applications to your OpenShift cluster.

    Red Hat OpenShift is a container application platform that brings the power of Kubernetes and containers to the enterprise. Regardless of the applications architecture, OpenShift lets you easily and quickly build, develop, and deploy in nearly any infrastructure, public or private.

    Therefore, whether it’s on-premise, in a public cloud, or hosted, you have an award-winning platform to get your next big idea to market ahead of your competition.

    Using OpenShift Connector, you can interact with any Red Hat OpenShift, including a local instance of OpenShift clusters such as minishift/Red Hat Container Development Kit. Leveraging the OpenShift Application Explorer view, you can improve the end-to-end experience of developing applications.

    The plugin enables you to perform all this directly using JetBrains products (IntelliJ IDEA, WebStorm, etc.) on Windows, Linux, and macOS platforms and removes the complexity of memorizing some fairly complicated CLI commands.

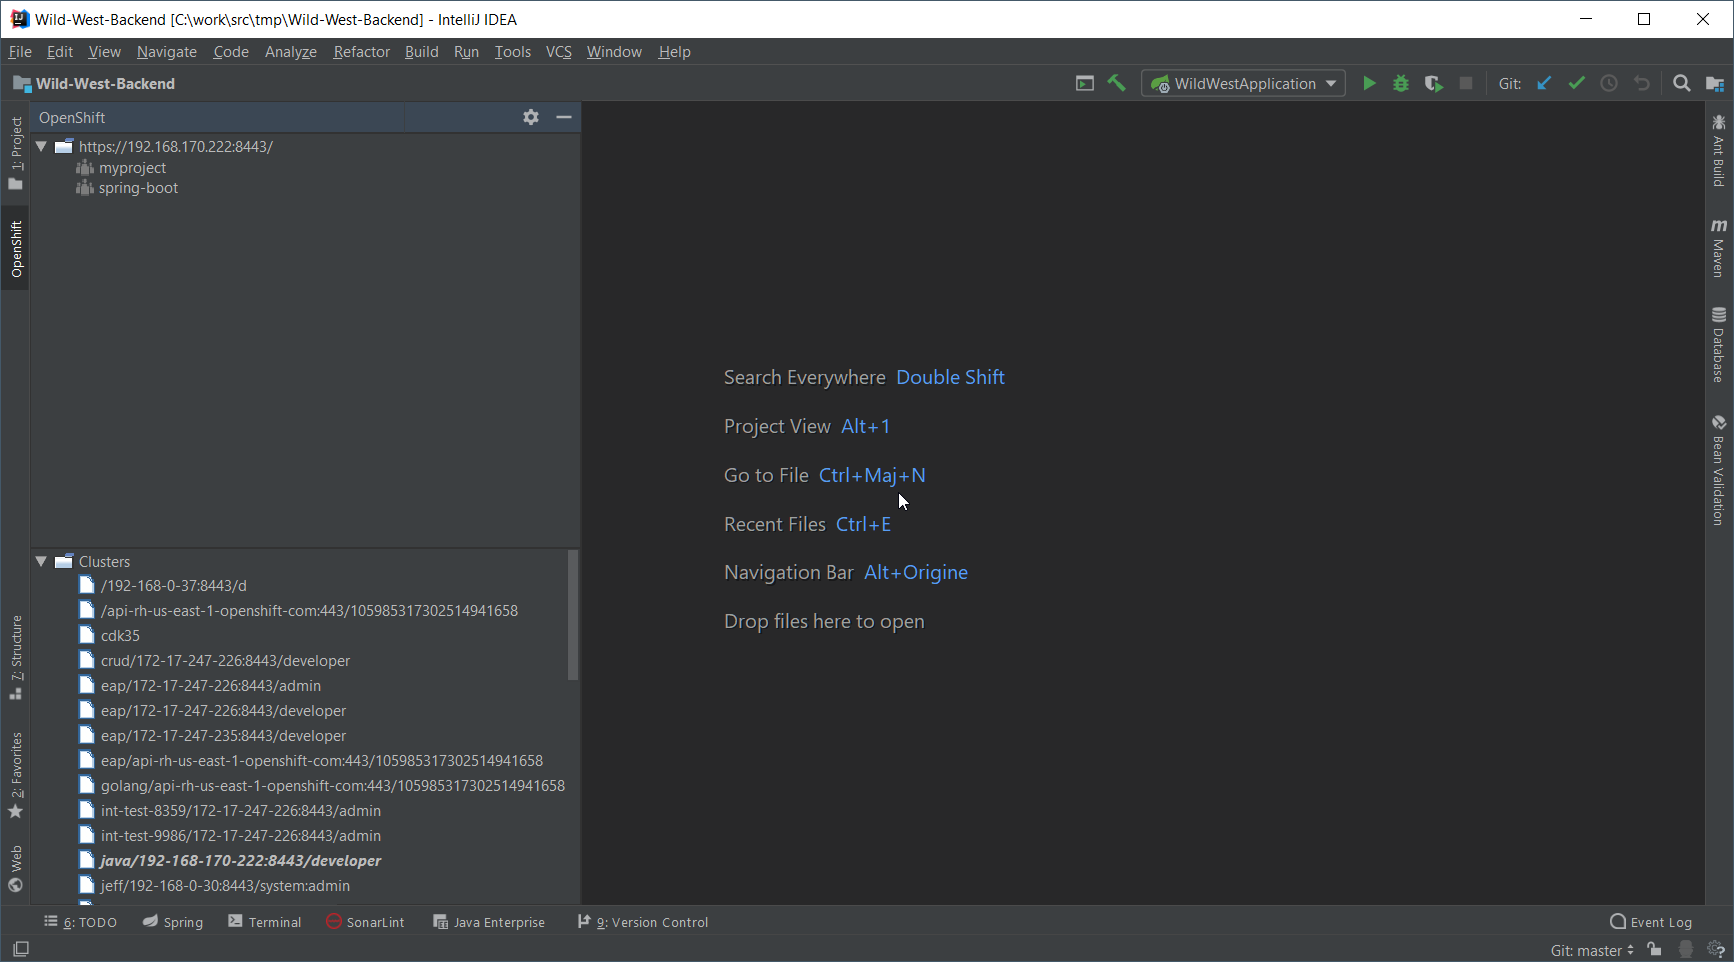
    Once the OpenShift Connector is installed, a new panel, the OpenShift view, is enabled in the Explorer panel. Then, you can access the view and connect to a running OpenShift cluster to perform the required operations.

    Demo

    You can see a live demo of the OpenShift Connector plugin on YouTube. Below are the steps to run the demonstration yourself.

    First, you will need to install any JetBrains products (IntelliJ IDEA, WebStorm, etc.) 2018.1 or later.

    To install the plugin, bring up the plugins configuration dialog: File → Settings → Plugins:

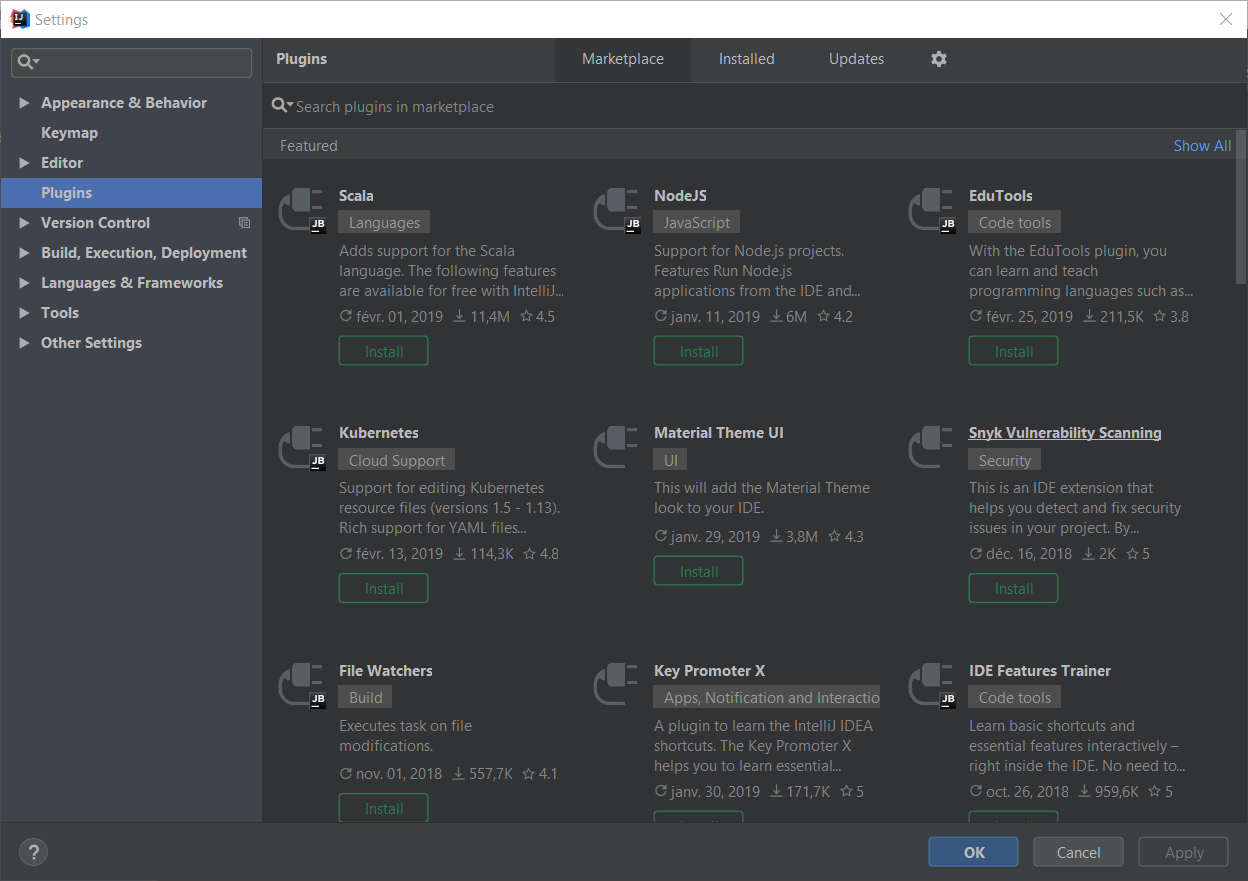
    In the search bar, enter OpenShift and click on the OpenShift Connector by Red Hat item:

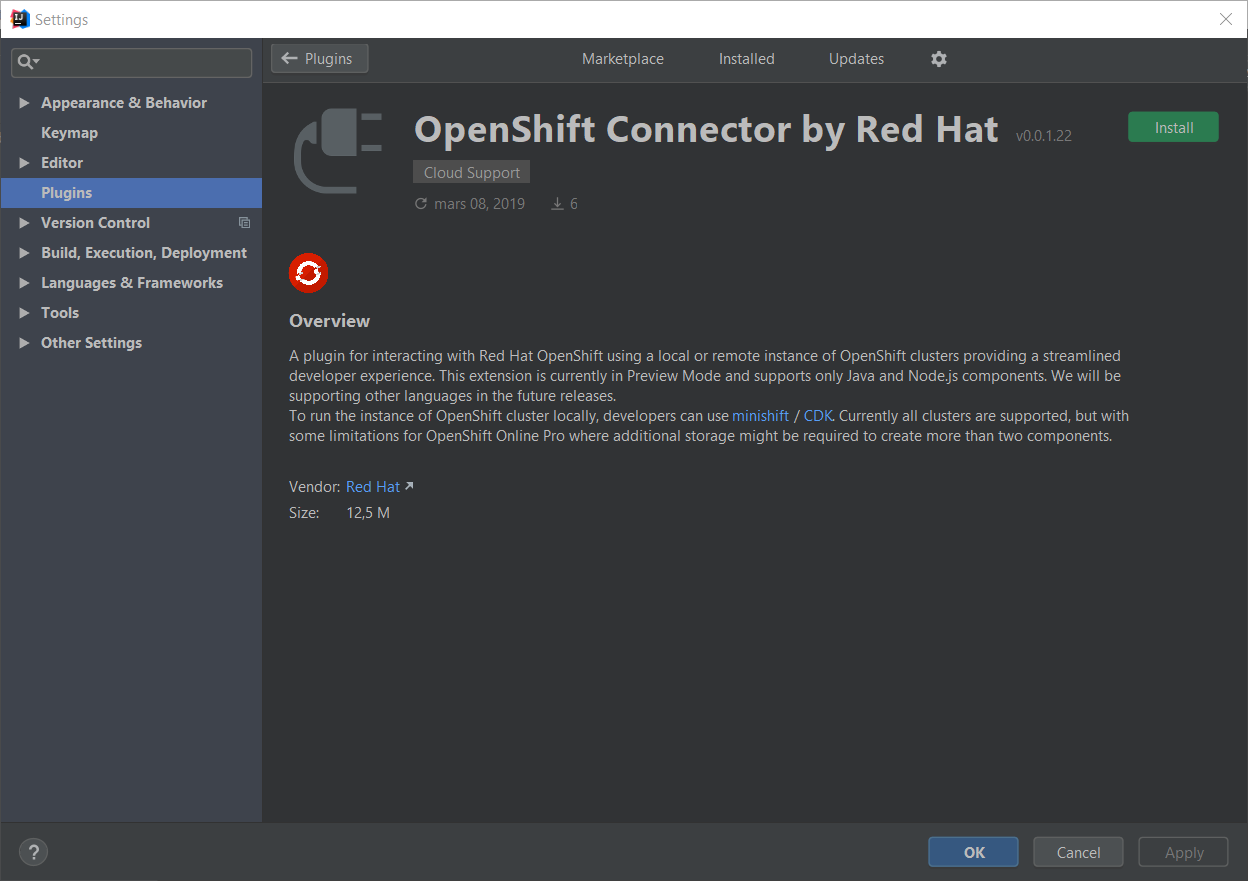
    Click the Install button:

    Once the plugin has been downloaded, click the Restart IDE button.

    Once the IDE has been restarted, mouse over the Views icon in the bottom left area:

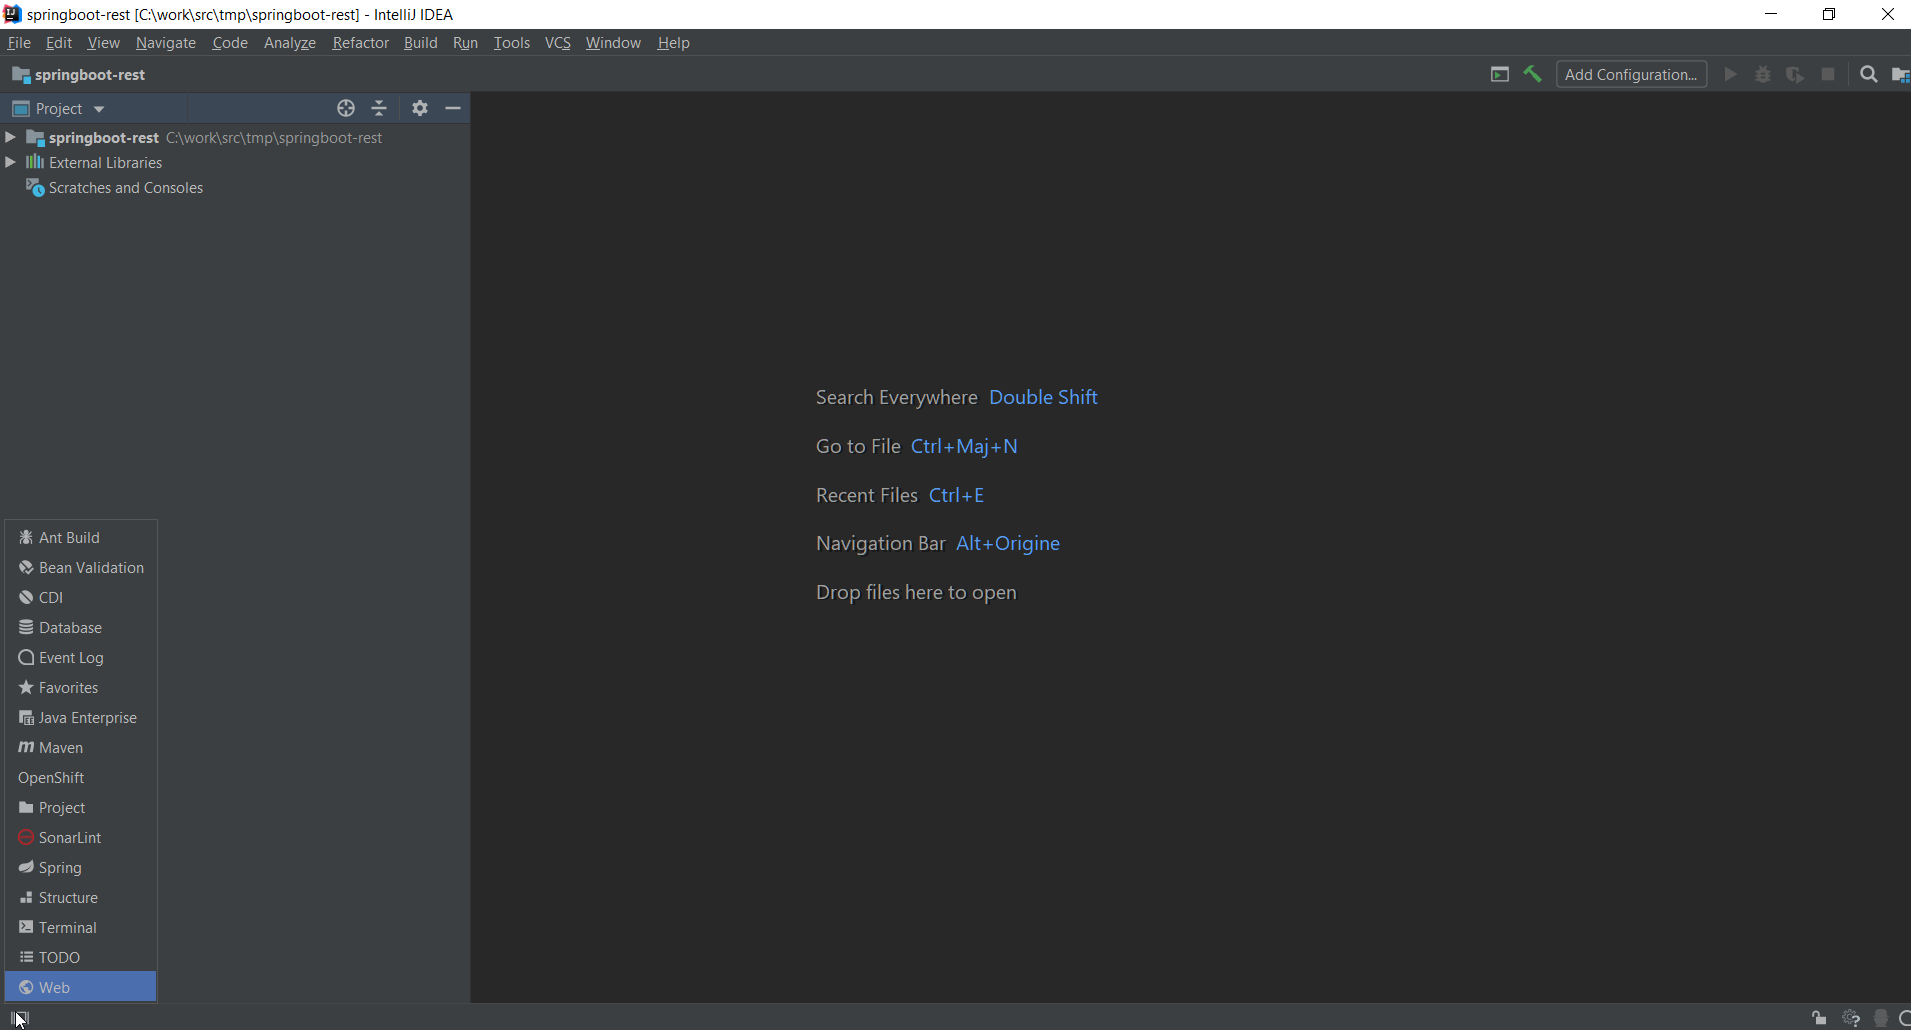
    Select the OpenShift item:

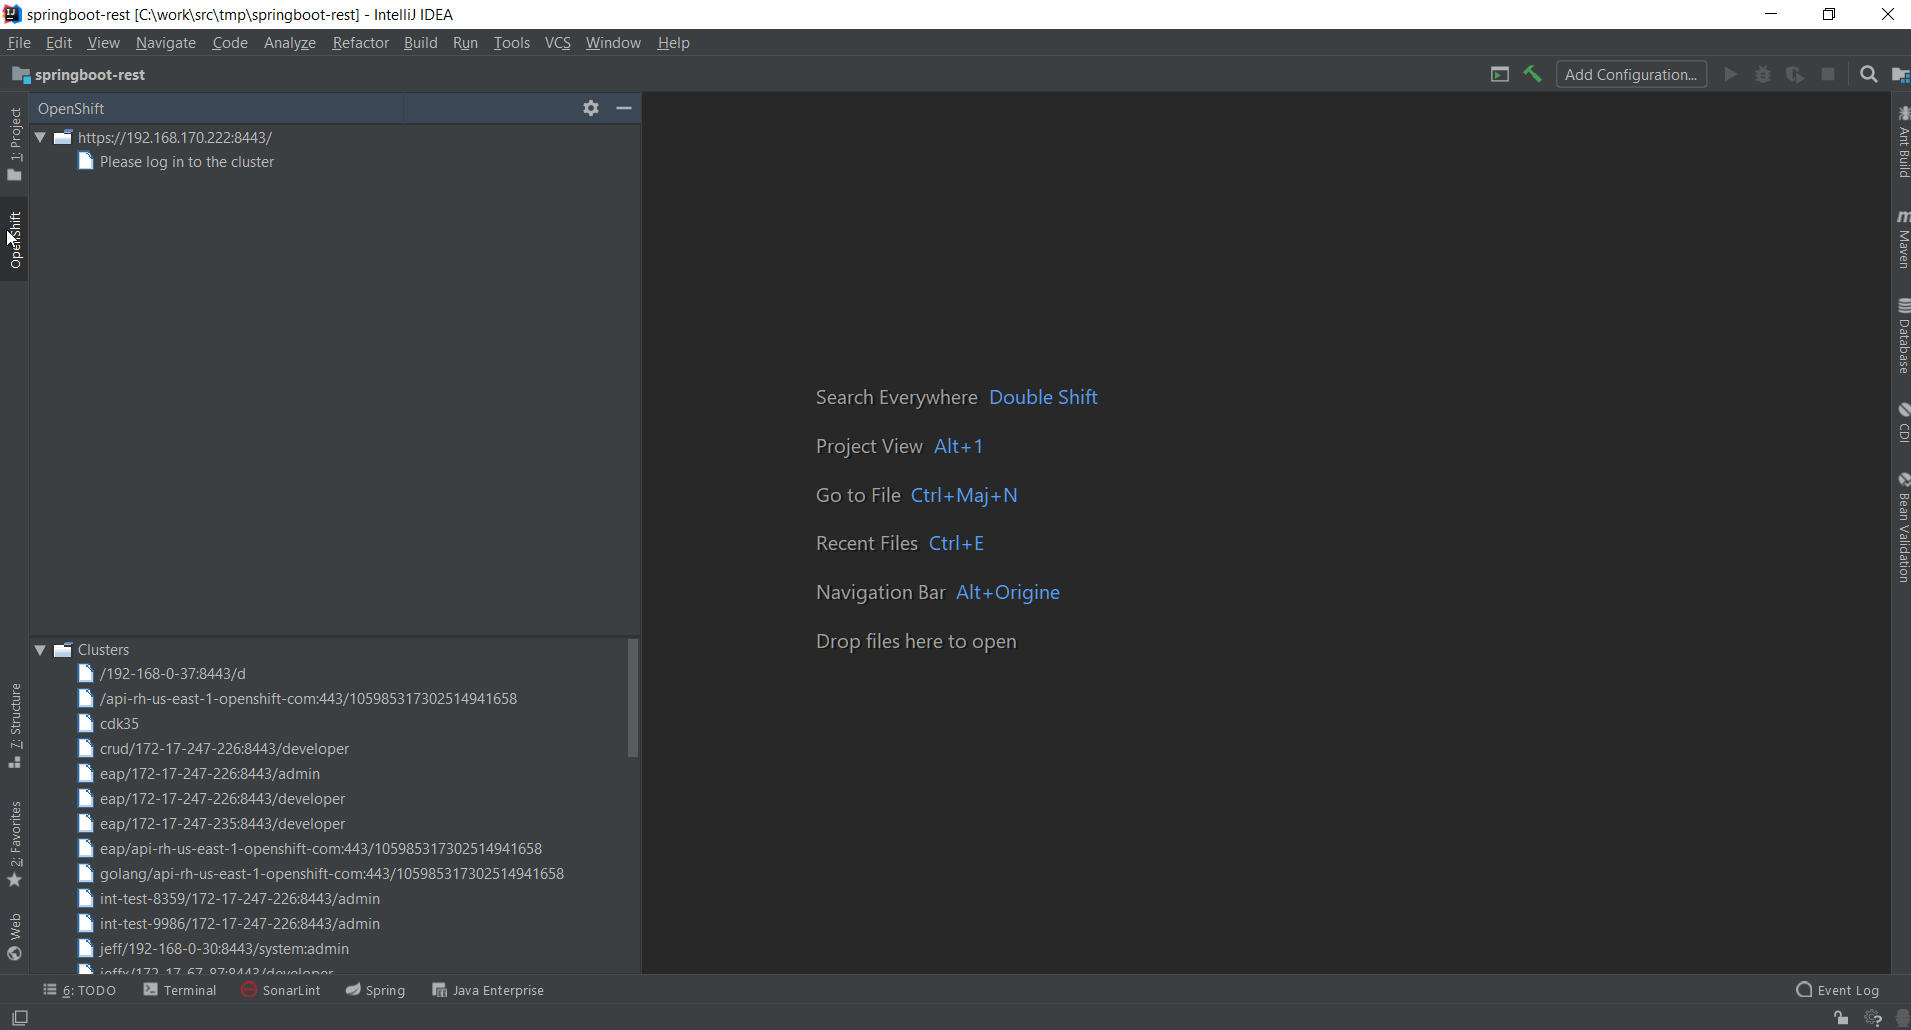
    The plugin in action

    Connecting to your OpenShift instance

    1. If you’re working locally, start the local OpenShift instance using minishift/Red Hat Container Development Kit
    2. You then need to log in to the running OpenShift cluster: right-click on the cluster URL tree node and select Log in to cluster.

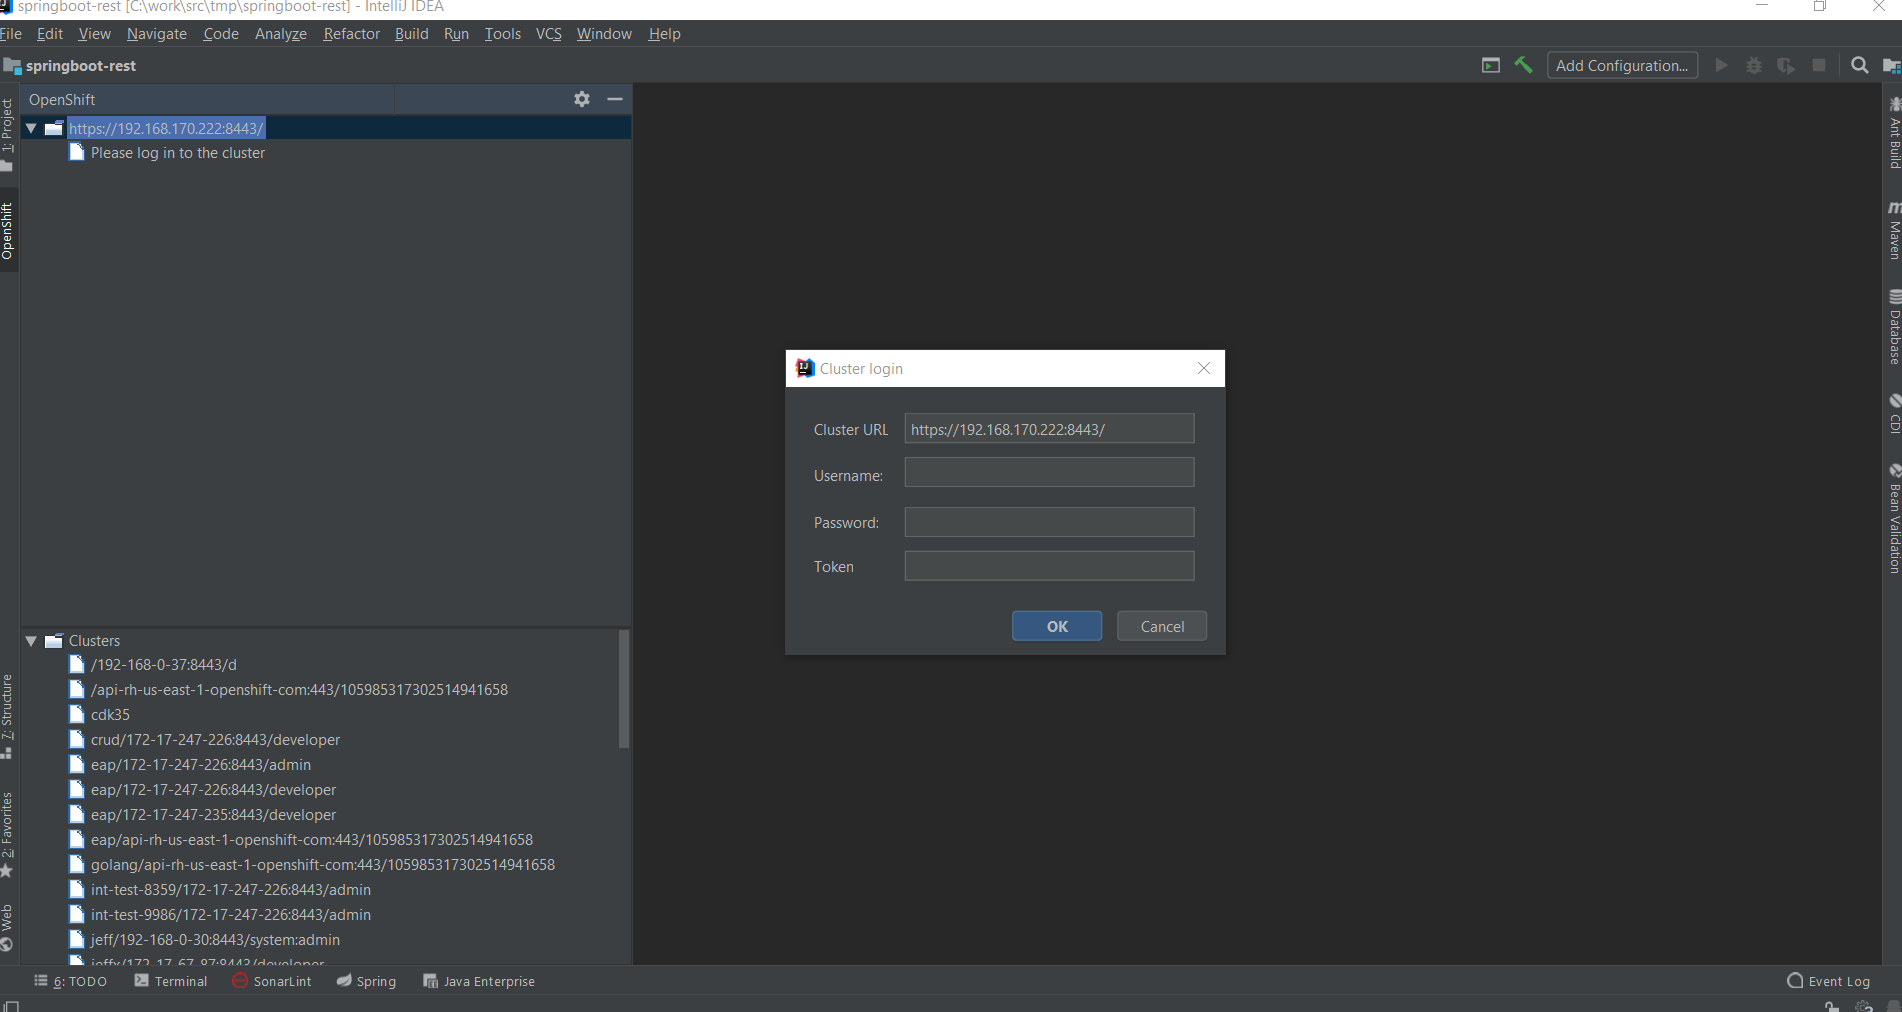
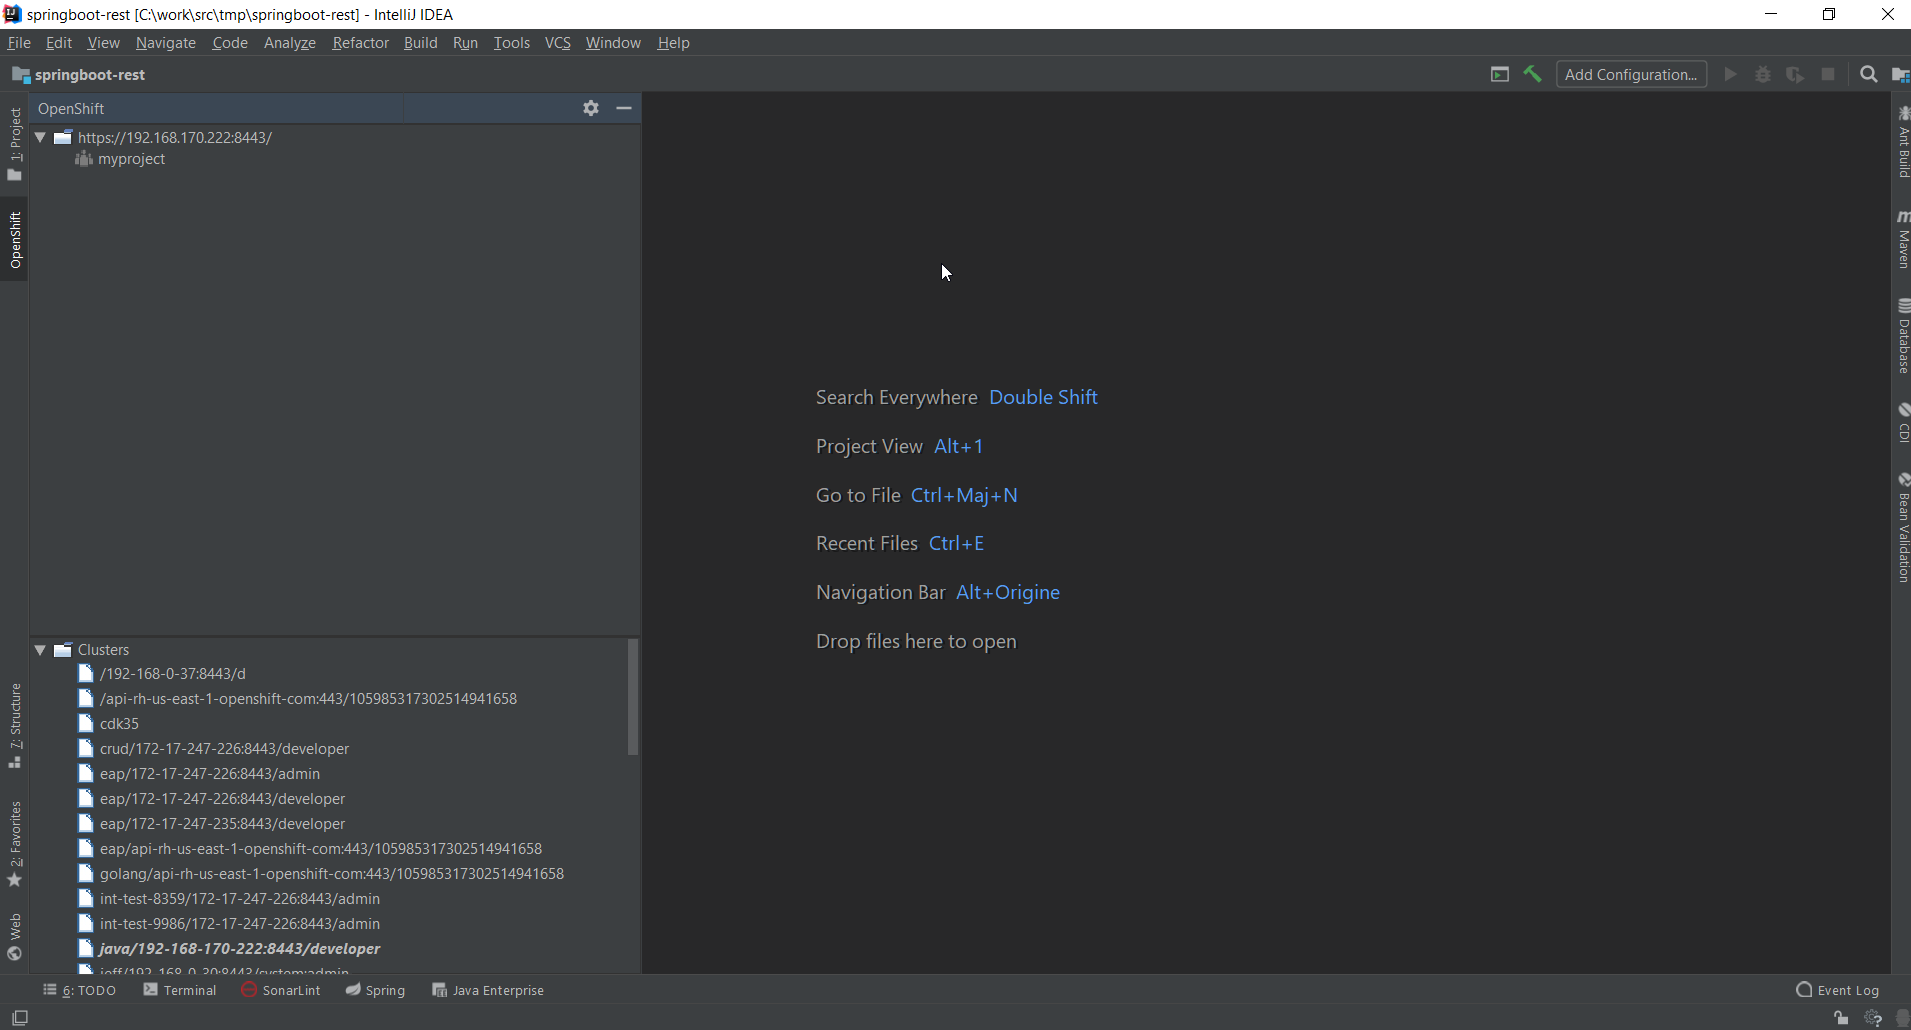
    Enter developer in the Username field and any value in the Password field and press the OK button:

    Import the project to be deployed

    Before we work with our local cluster, first import our application source code. We will use a simple Spring Boot application whose source code is located at https://github.com/openshift-evangelists/Wild-West-Backend.

    To import the application, use the File → New → Project from Version Control → Git:

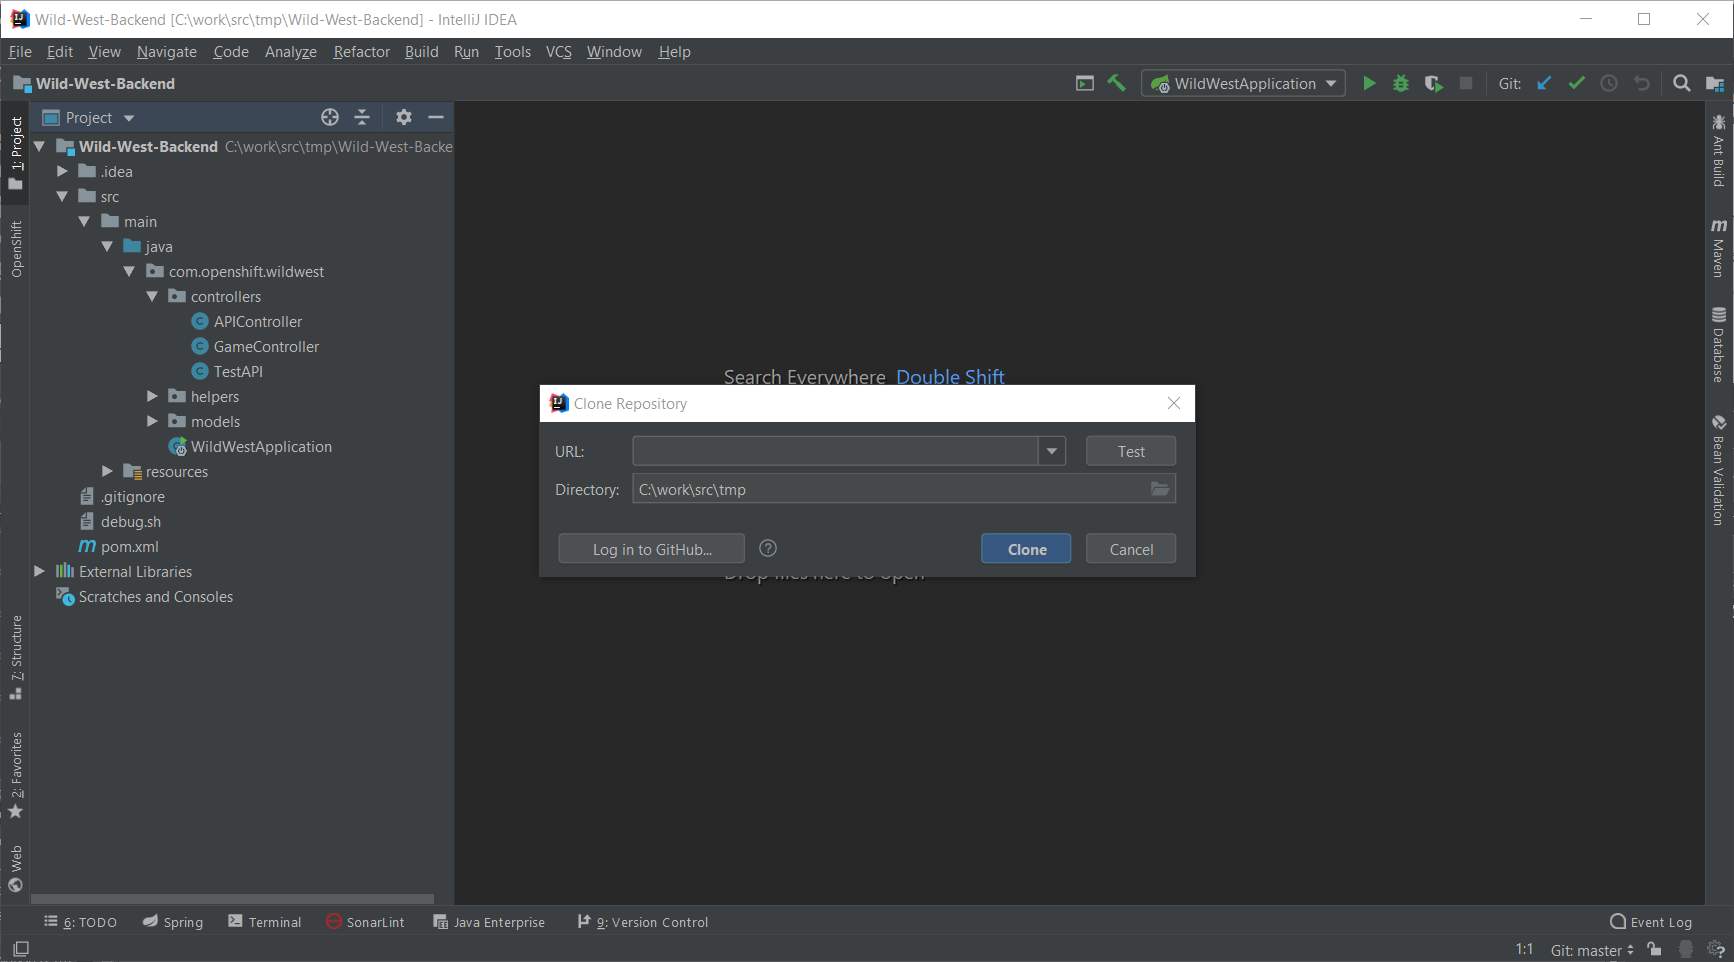
    Enter https://github.com/openshift-evangelists/Wild-West-Backend in the URL field and press the Clone button.

    Create a project for the application

    The application will be hosted in an OpenShift project (similar to Kubernetes namespaces). For more information about OpenShift projects, see the official documentation

    In the OpenShift view, right-click on the cluster node (the one with the URL) and select New Project:

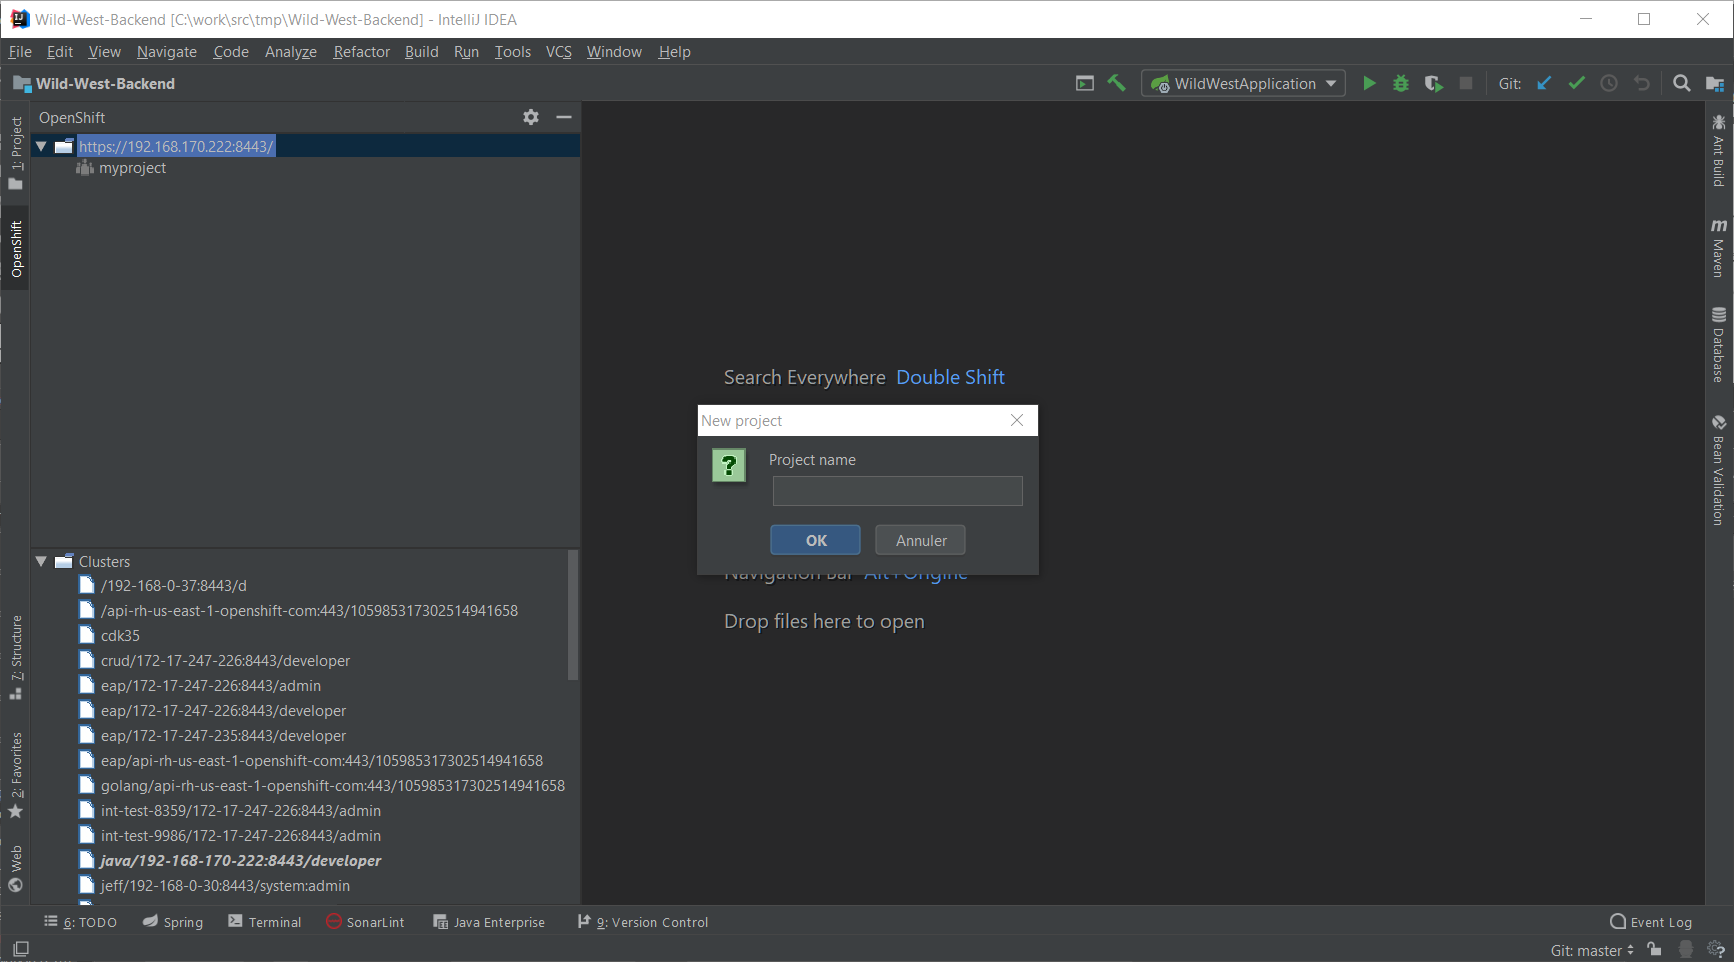
    Enter spring-boot in the Project name and press the OK button:

    Create the application

    In the spring-boot node, right-click and select New Application:

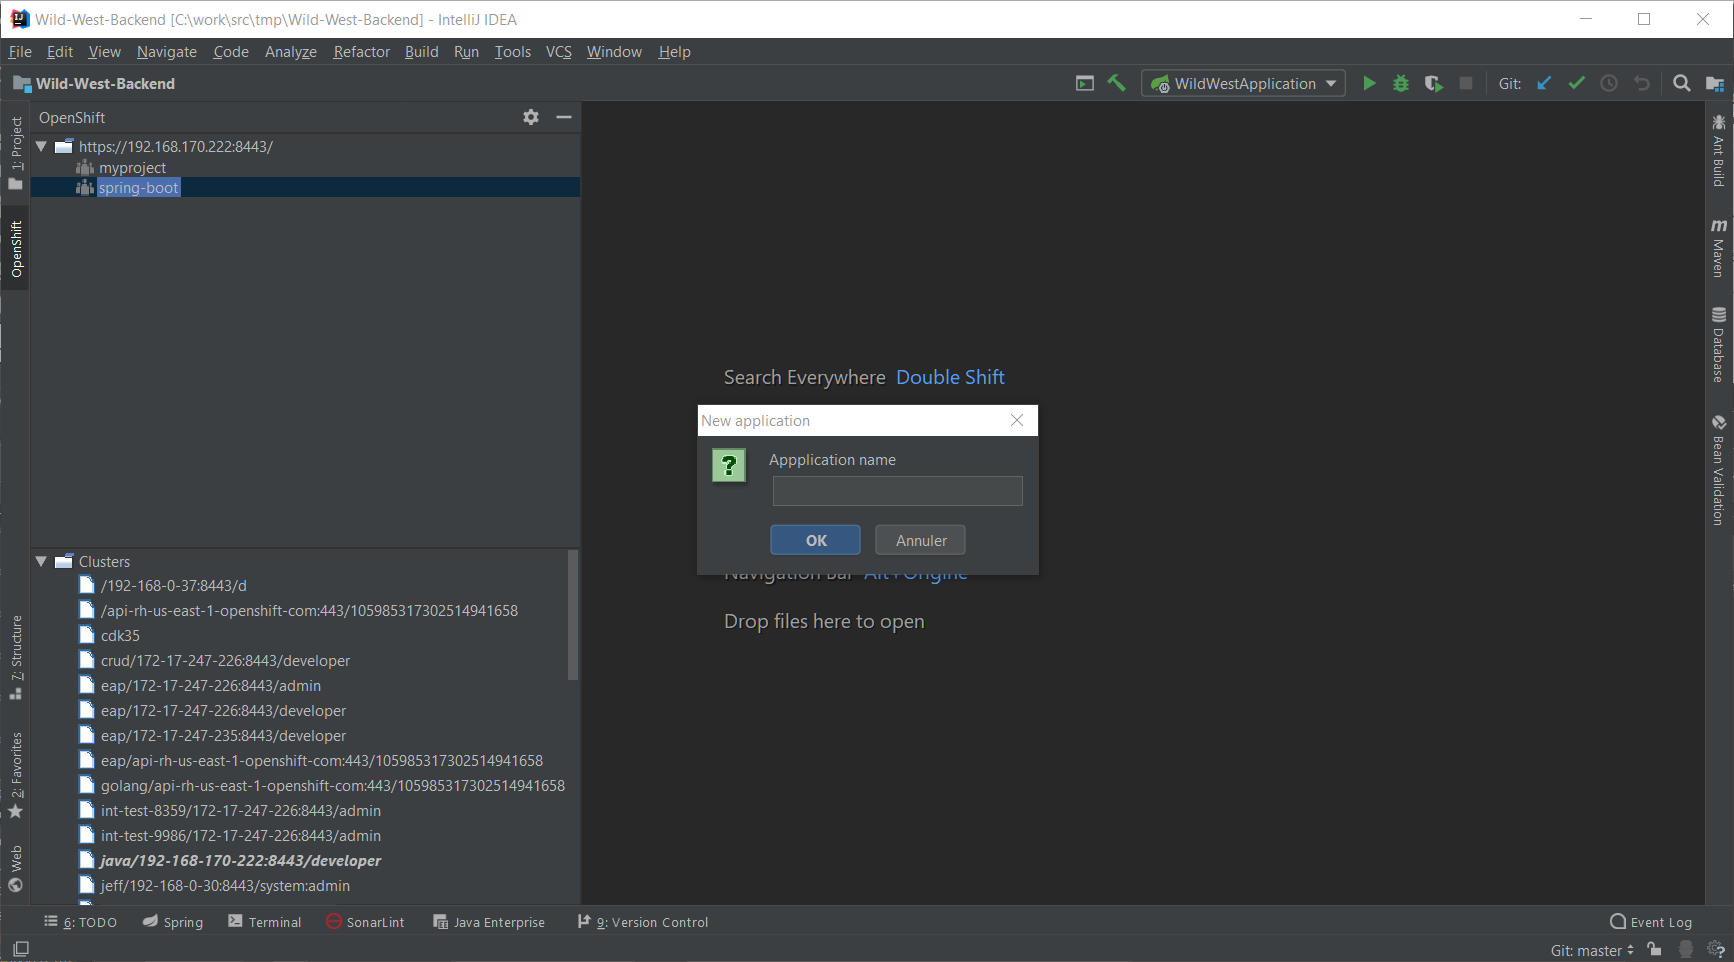
    Enter springbootapp in the Application name field and press the OK button:

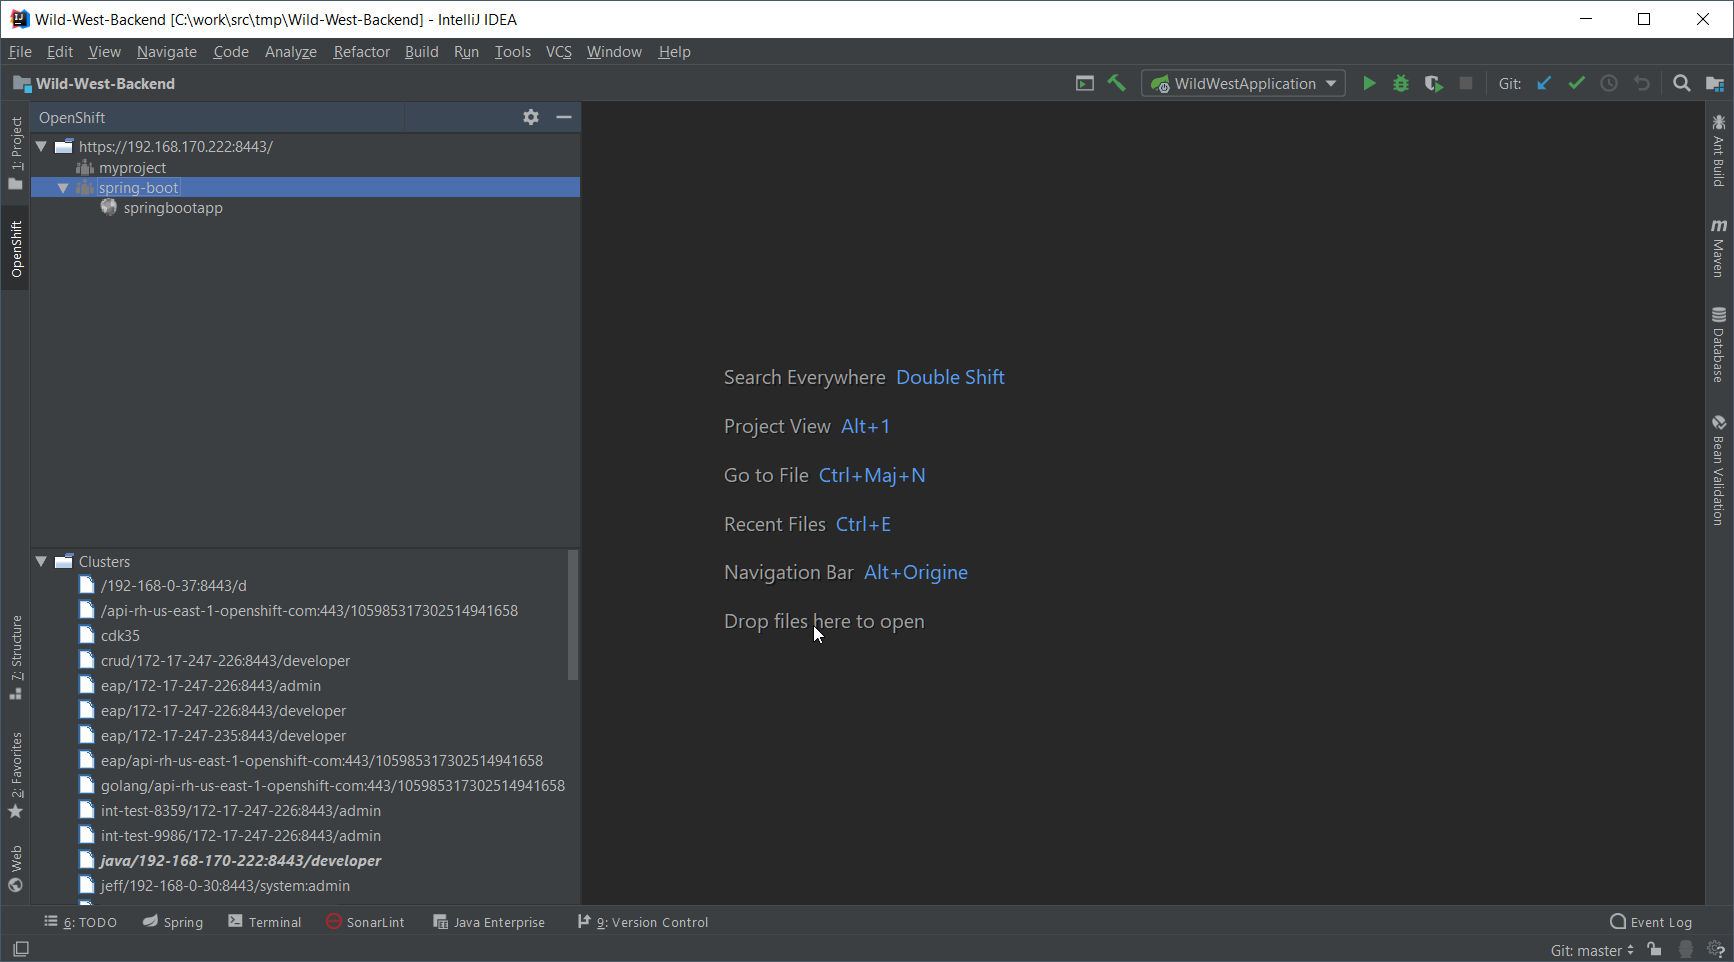
    Deploy the component

    In the springbootapp node, right-click and select New Component:

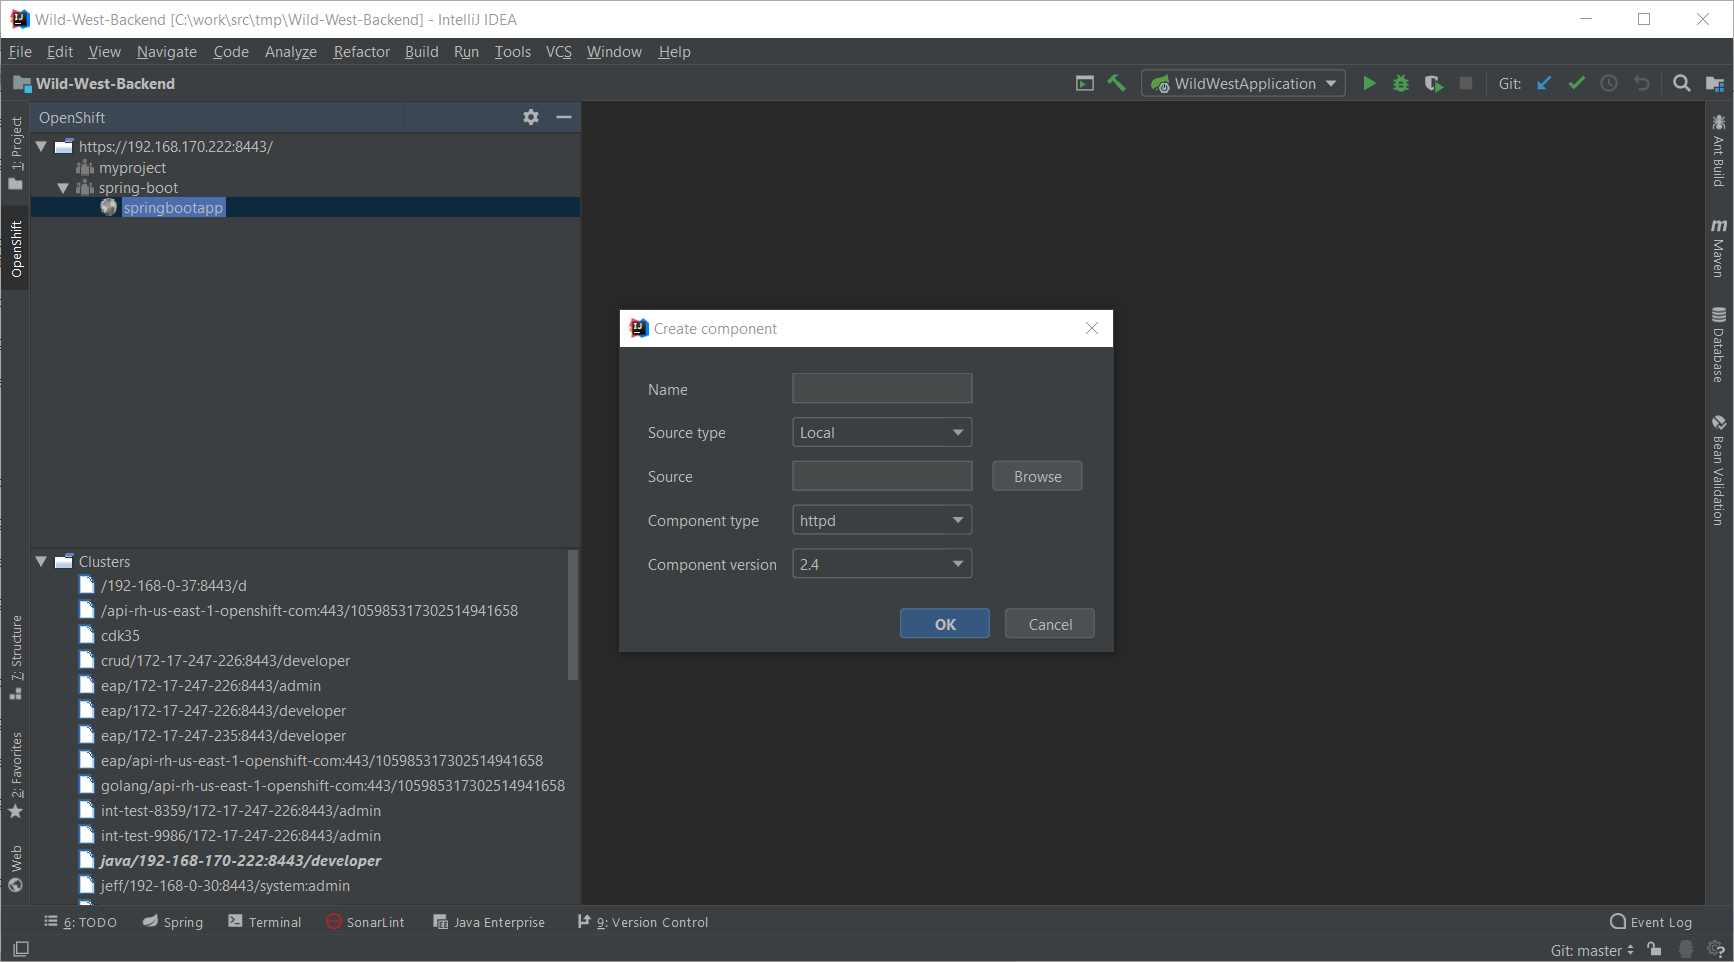
    Enter backend in the Name field:

    Press the Browse button:

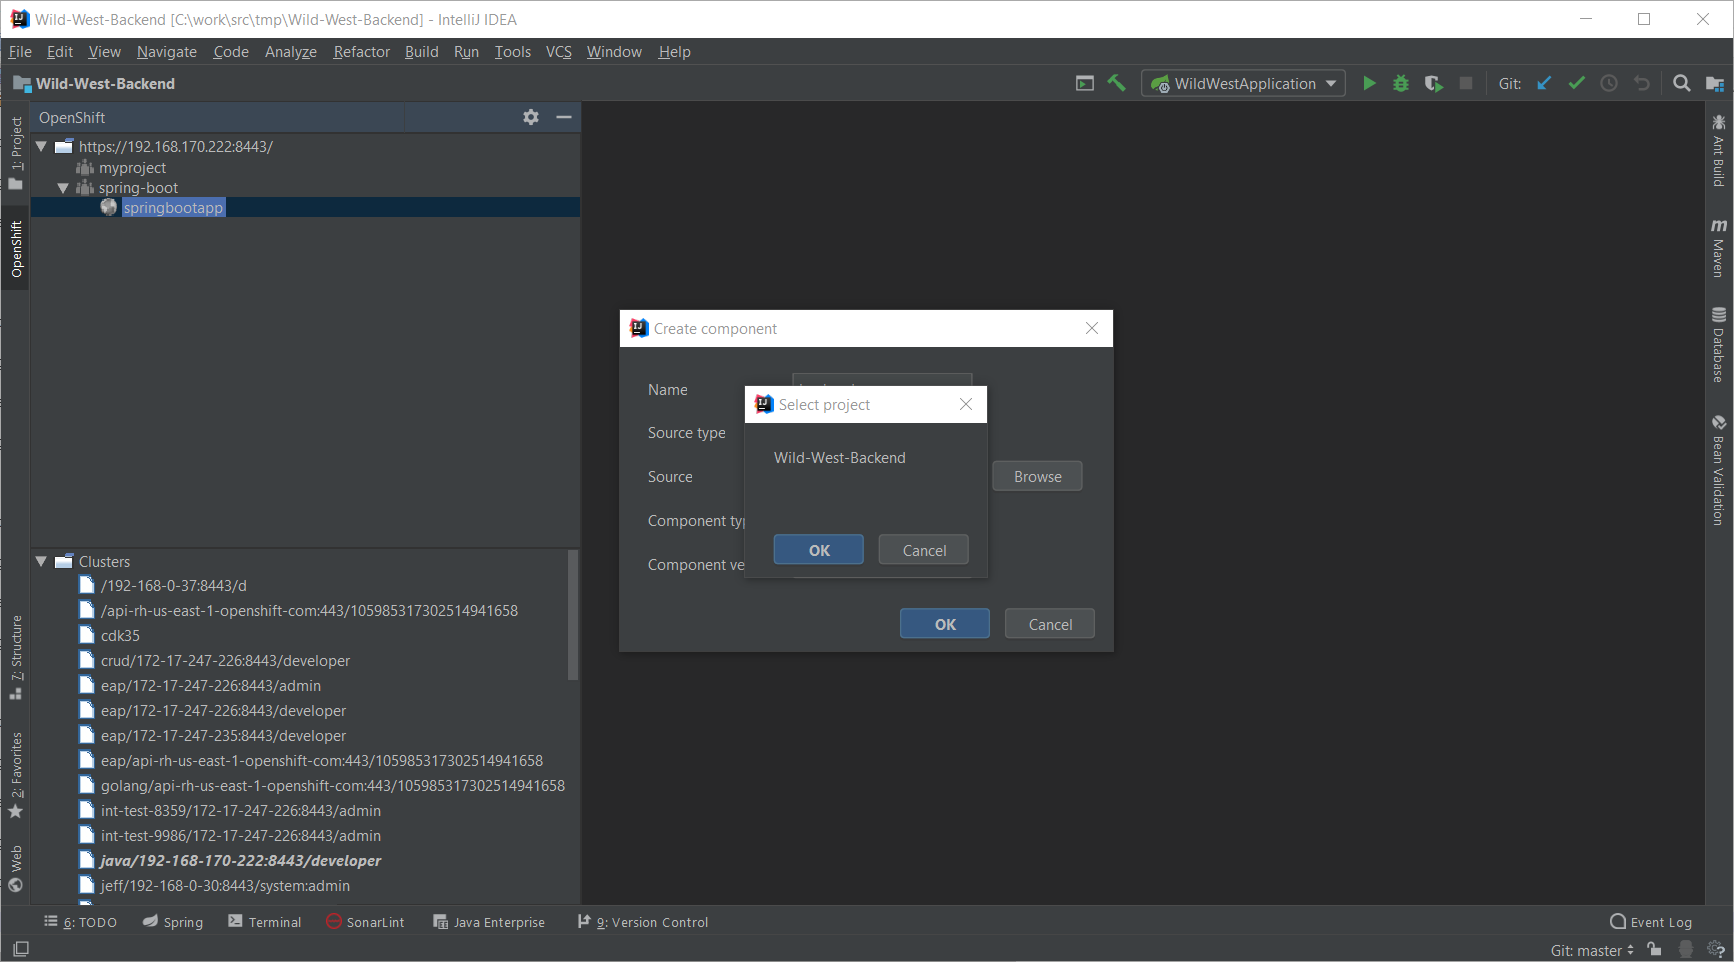
    Select the Wild-West-Backend project and press the OK button:

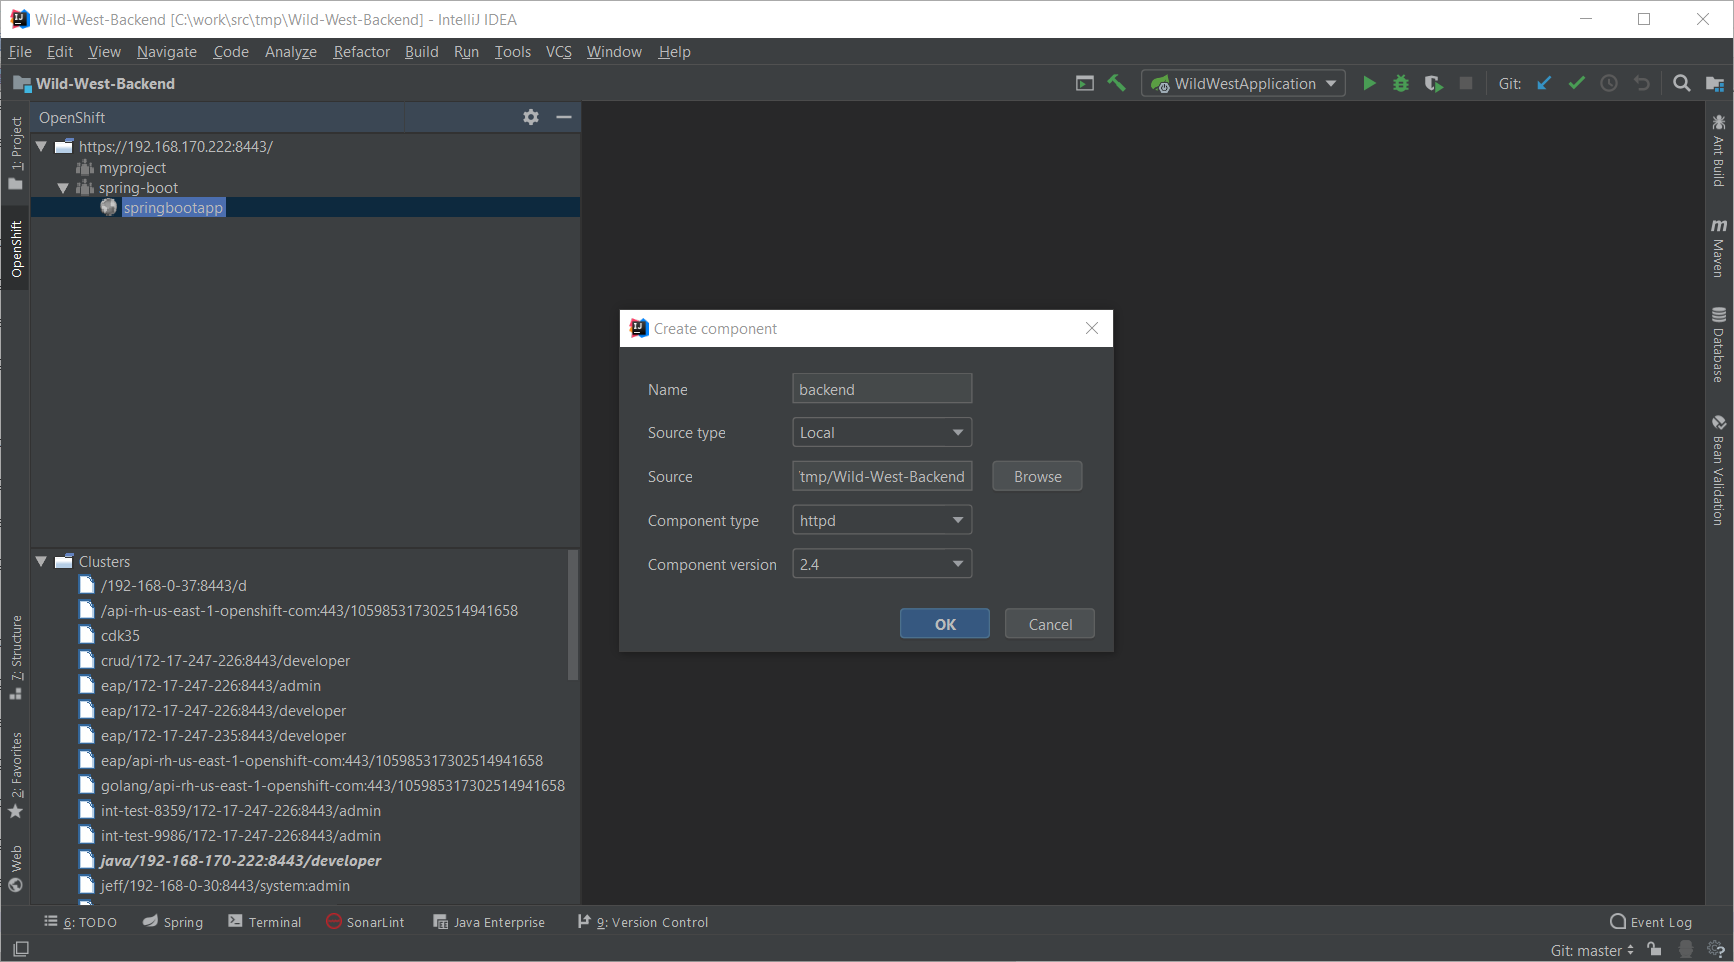
    In the Component type field, select the java item:

    Press the OK button. A new terminal window will be displayed and the component will be deployed to your local cluster.

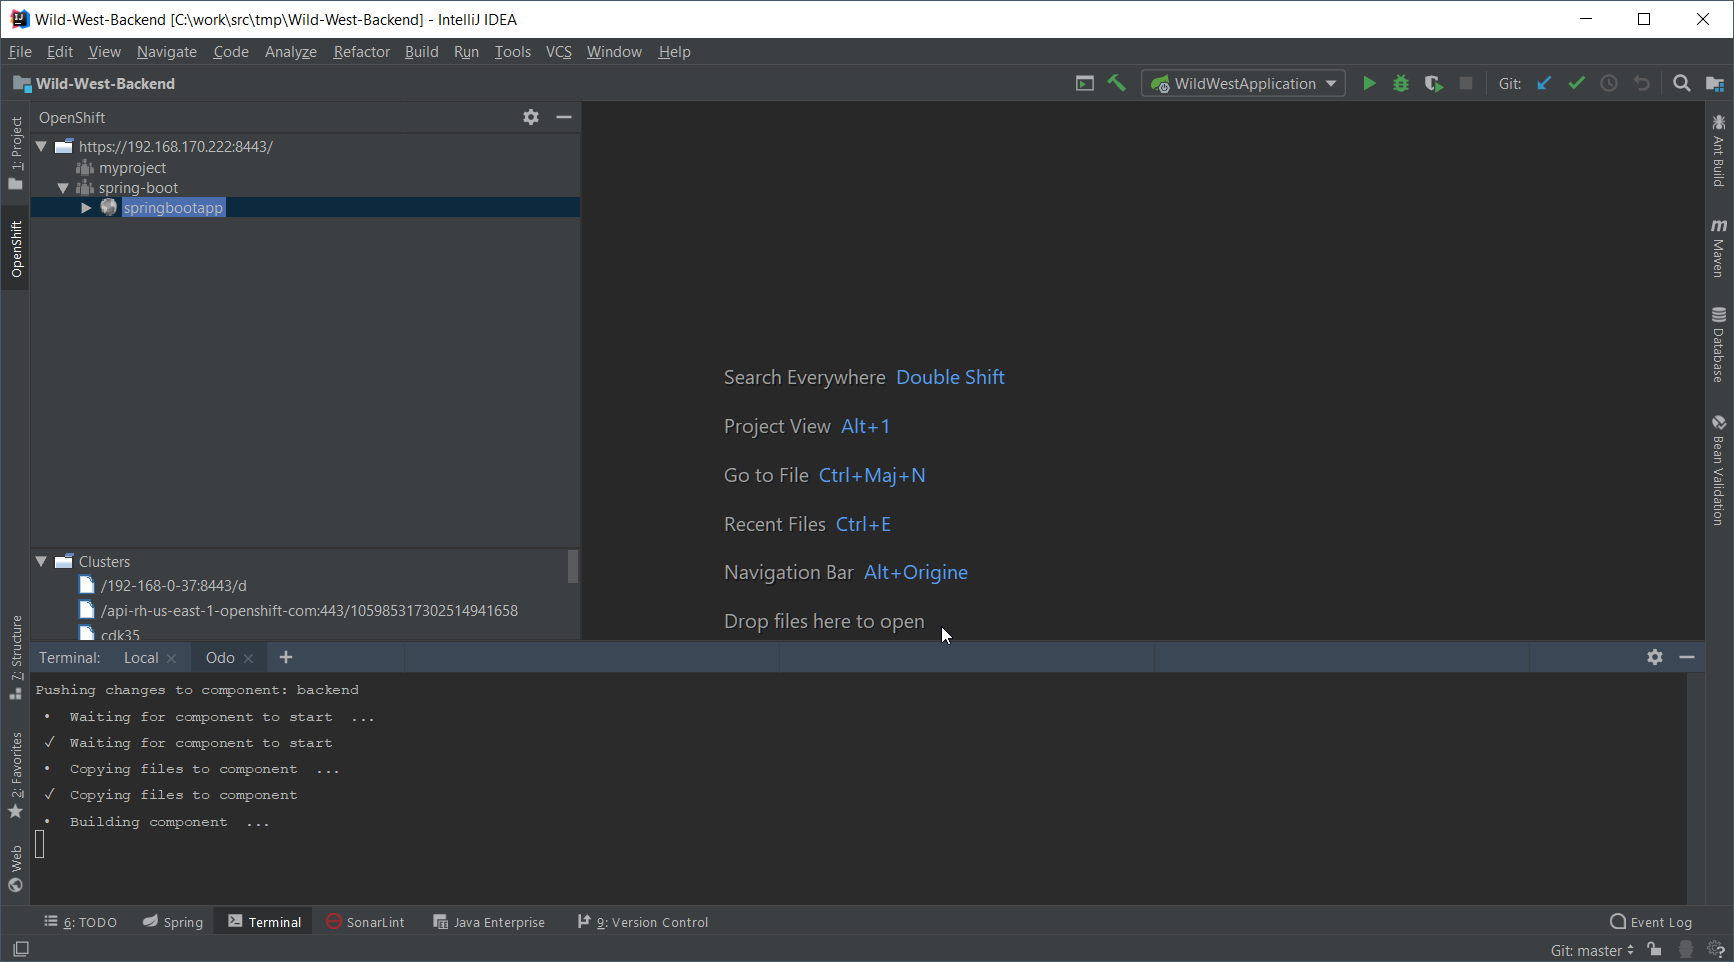
    On IntelliJ IDEA 2018.3 or 2018.3 based JetBrains products, the terminal window will automatically be closed when the underlying command process is terminated. We are working on a workaround but we recommend using previous versions until the plugin will be updated. See the issue for more information.

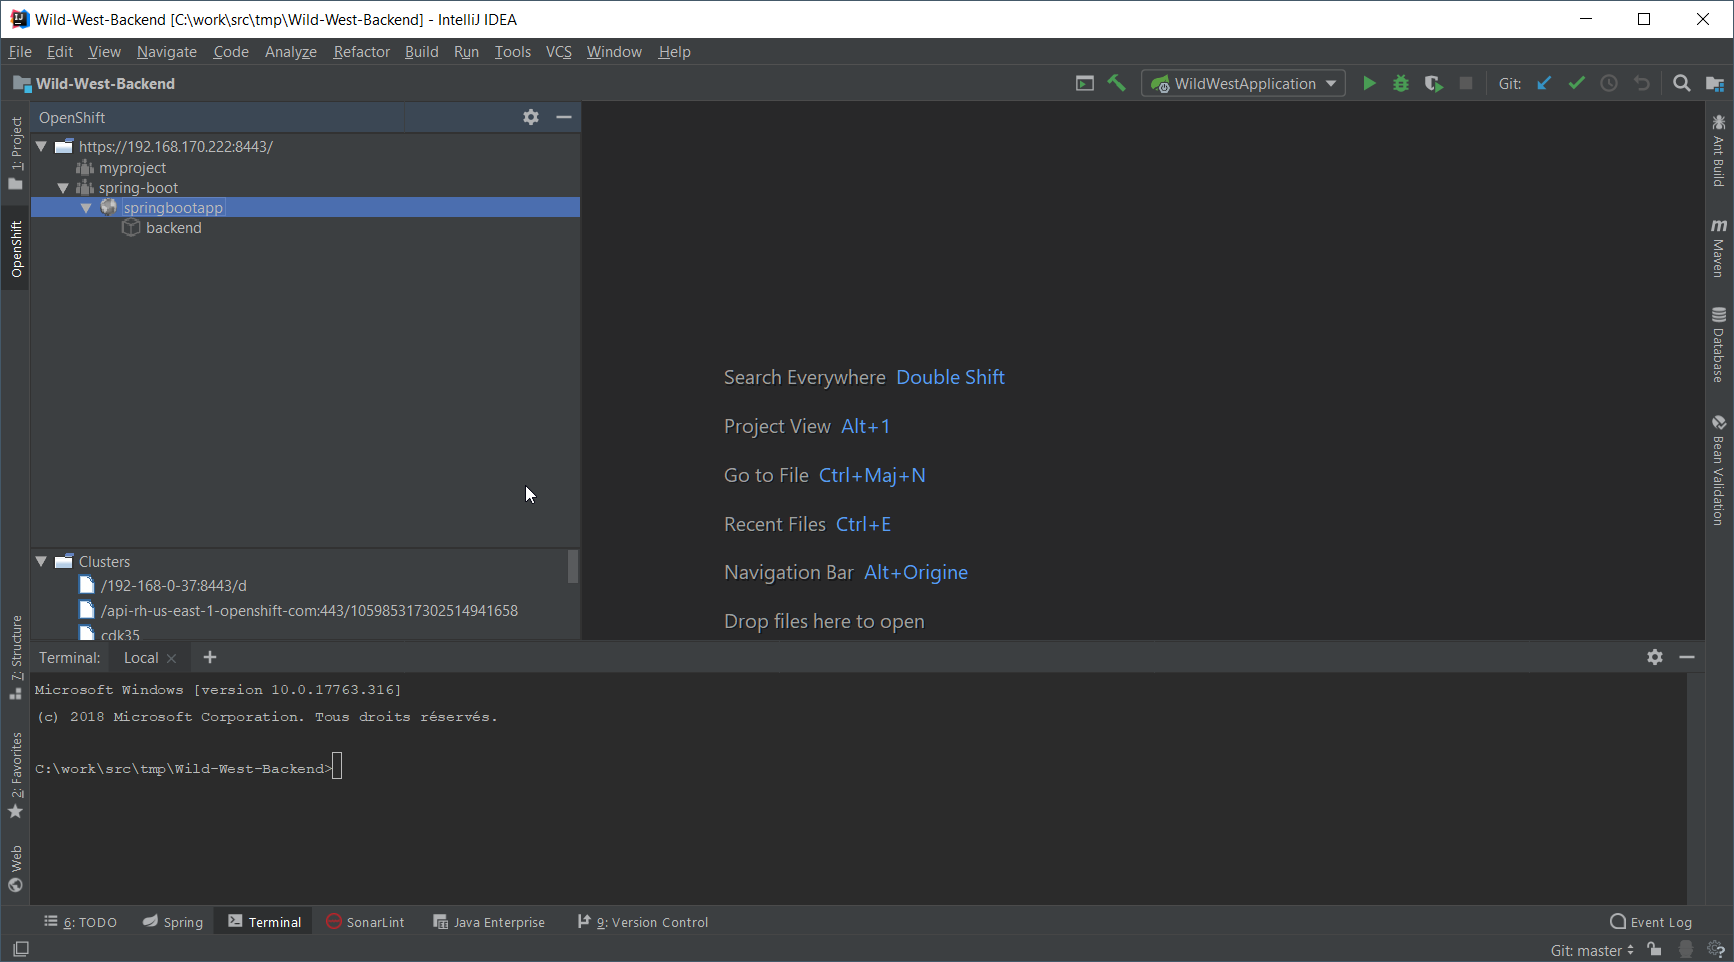
    Once deployed, the component will appear in the OpenShift view:

    Testing the component

    Let’s try to test the deployed application in a browser. In the OpenShift view, right-click the backend node and select Open in Browser:

    As no URL has been set up for our component (to allow external access to our application), press the OK button:

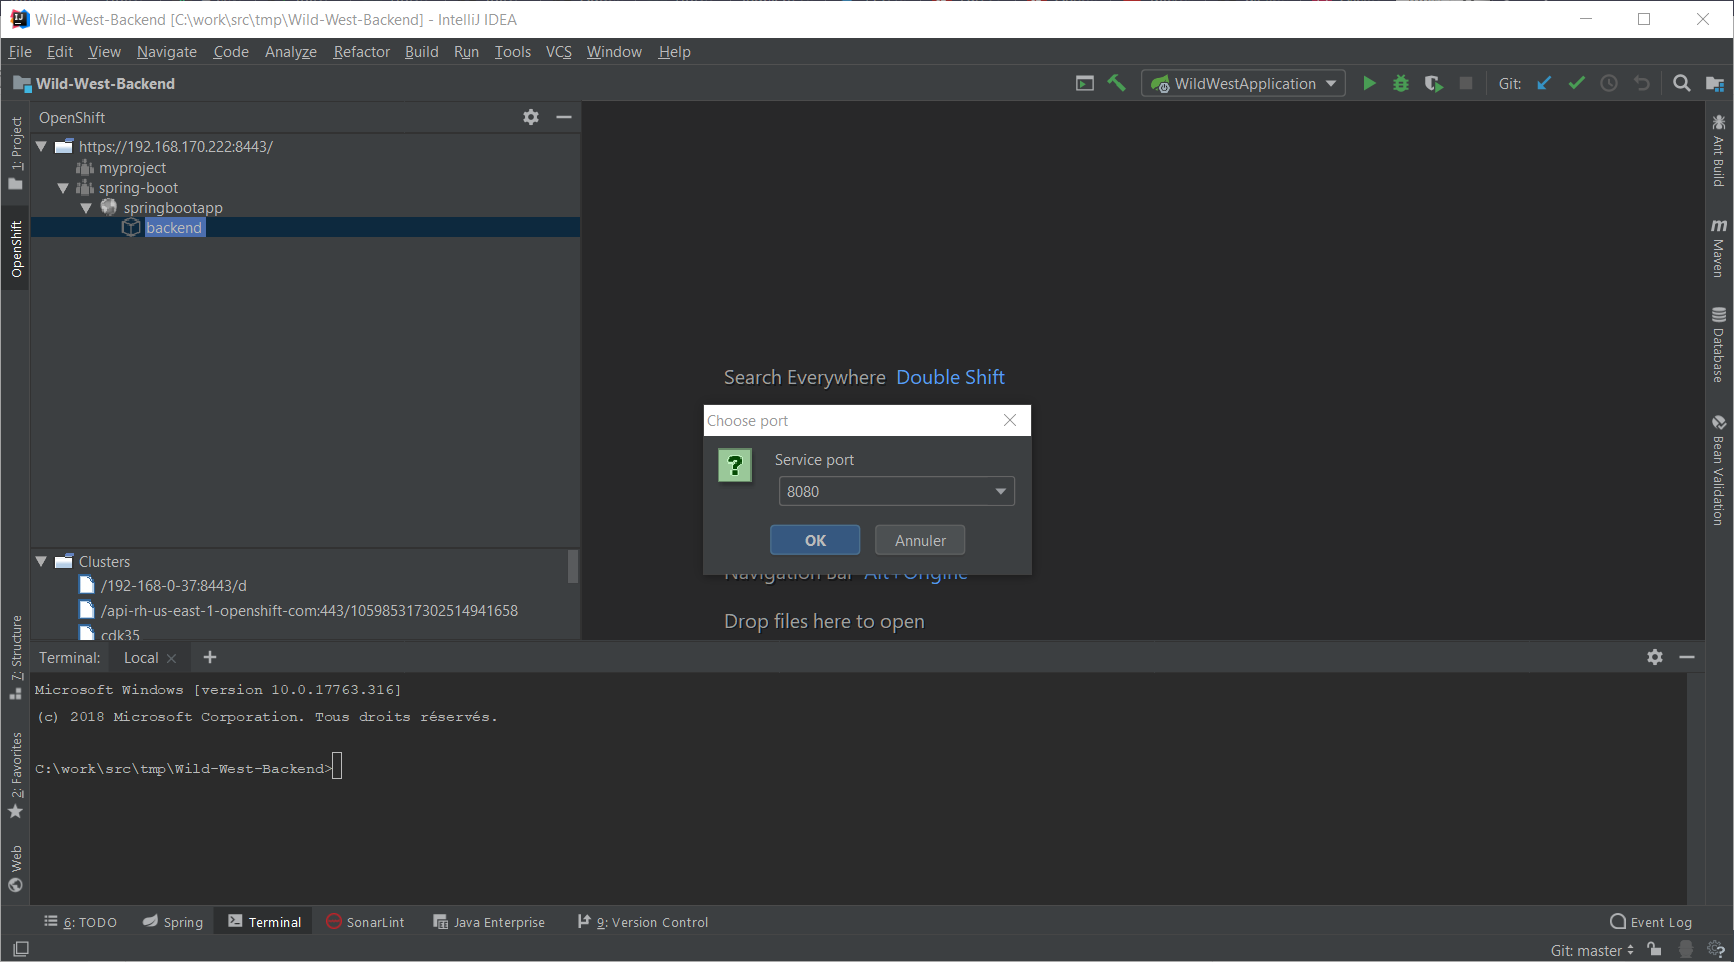
    As our application is exposing several ports, we need to select one: choose 8080 and press the OK button. The following browser window should be displayed:

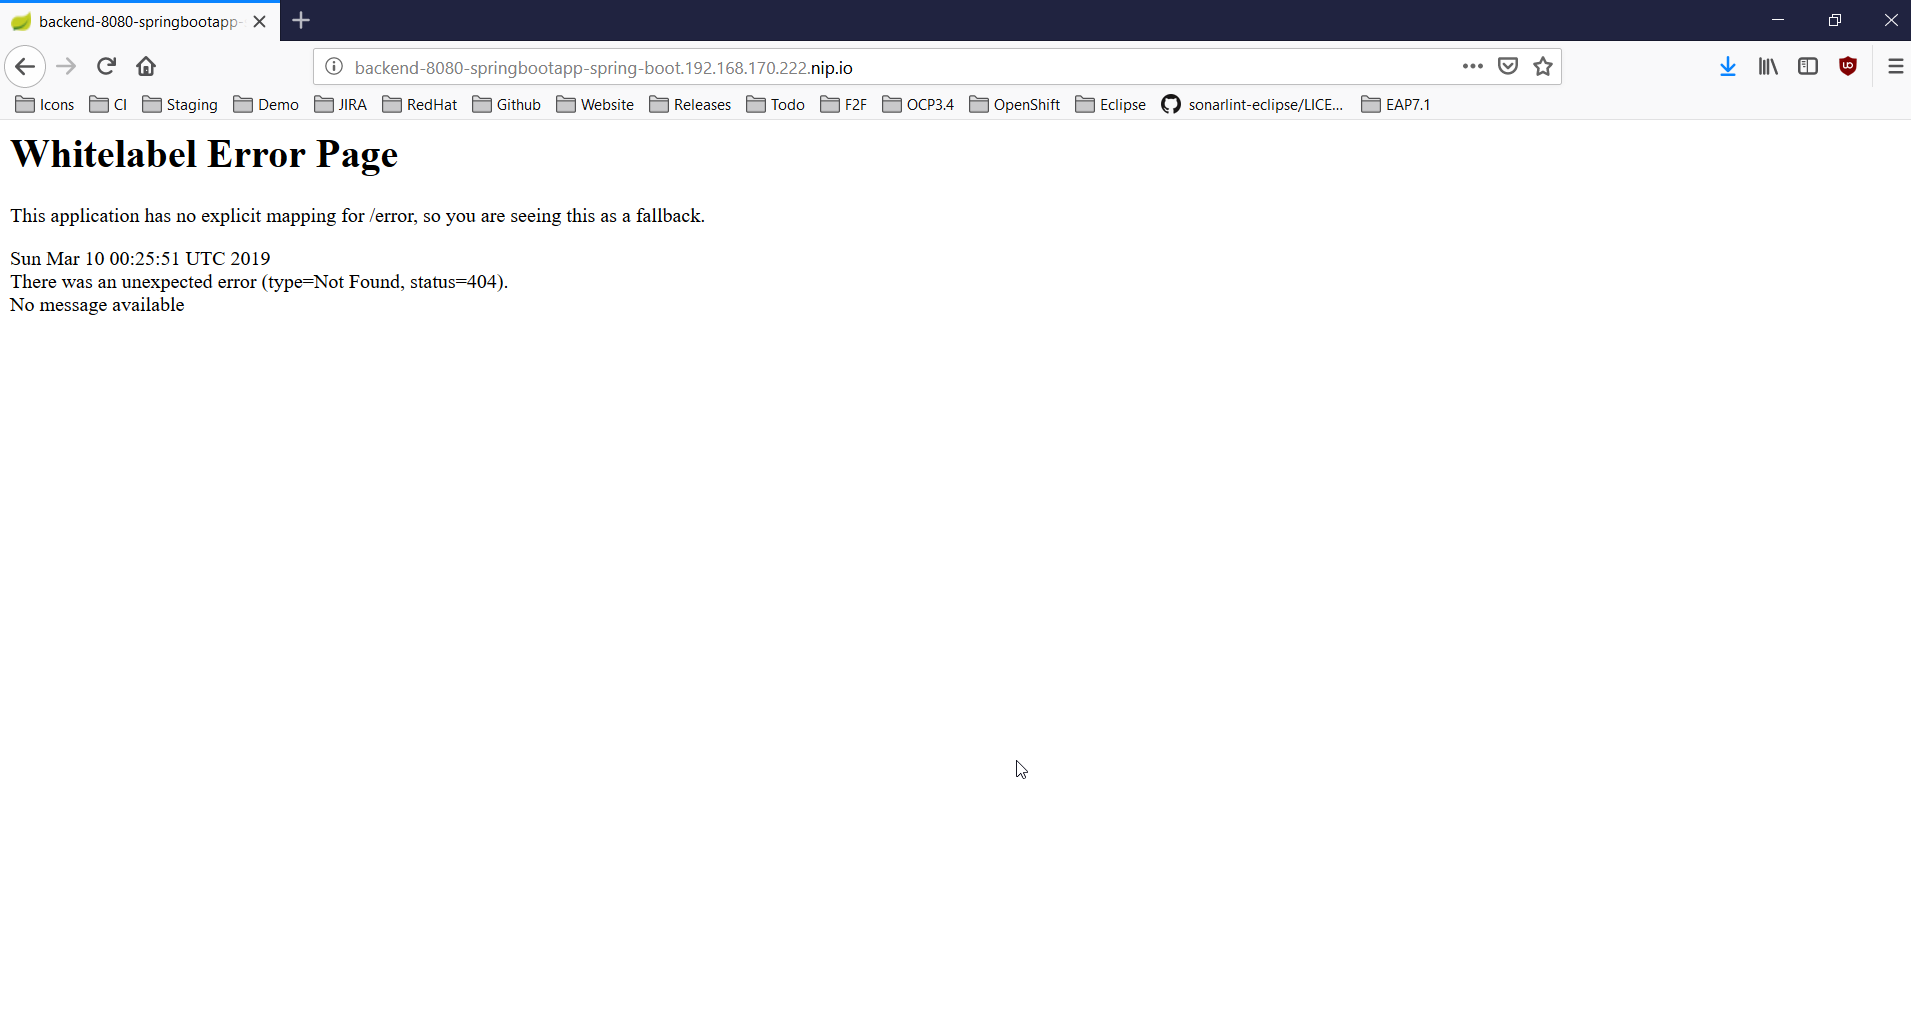
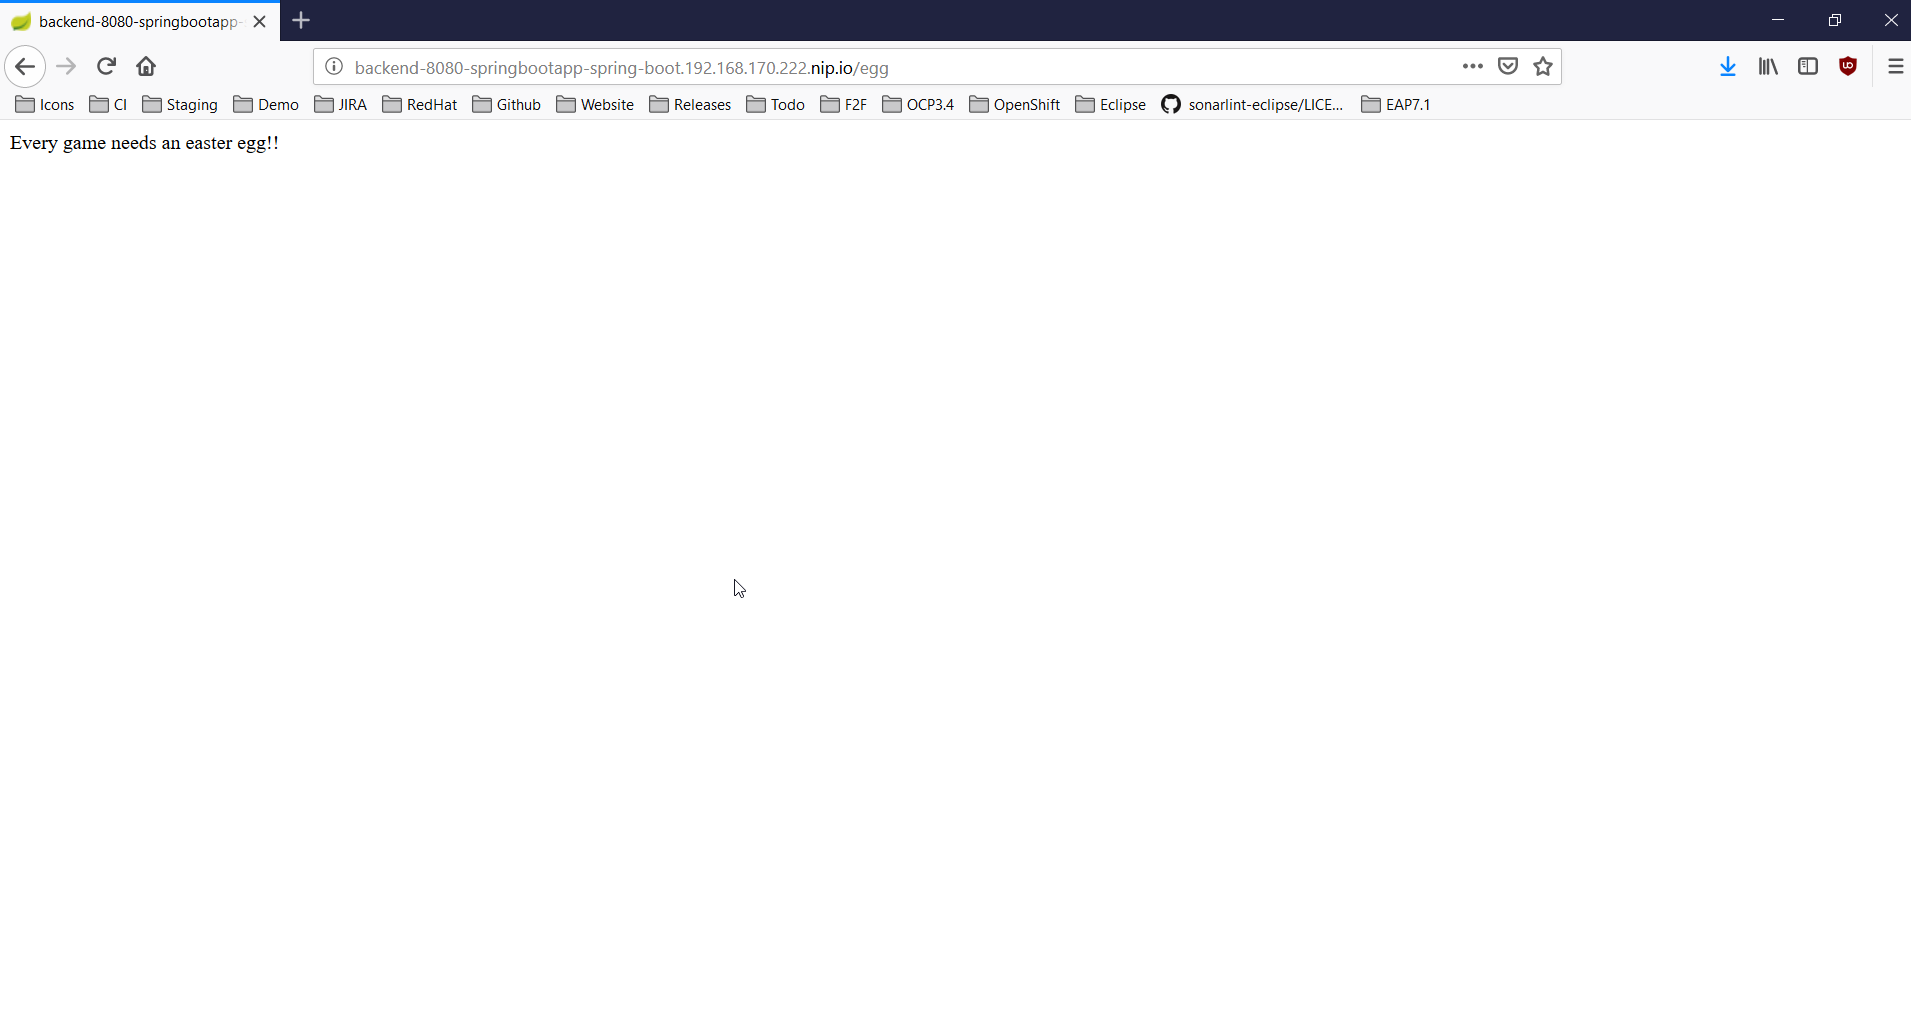
    Don’t worry, the error message is displayed because our application has no mapping for the root. Append /egg in the URL bar in the browser window and press ENTER:

    Inner loop

    In the following scenario, we will modify locally the application source code and verify that the modification is broadcasted immediately to the cluster. Let’s switch our application in watch mode so that every local modification is sent to the cluster:

    In the OpenShift view, right-click the backend node and select Watch:

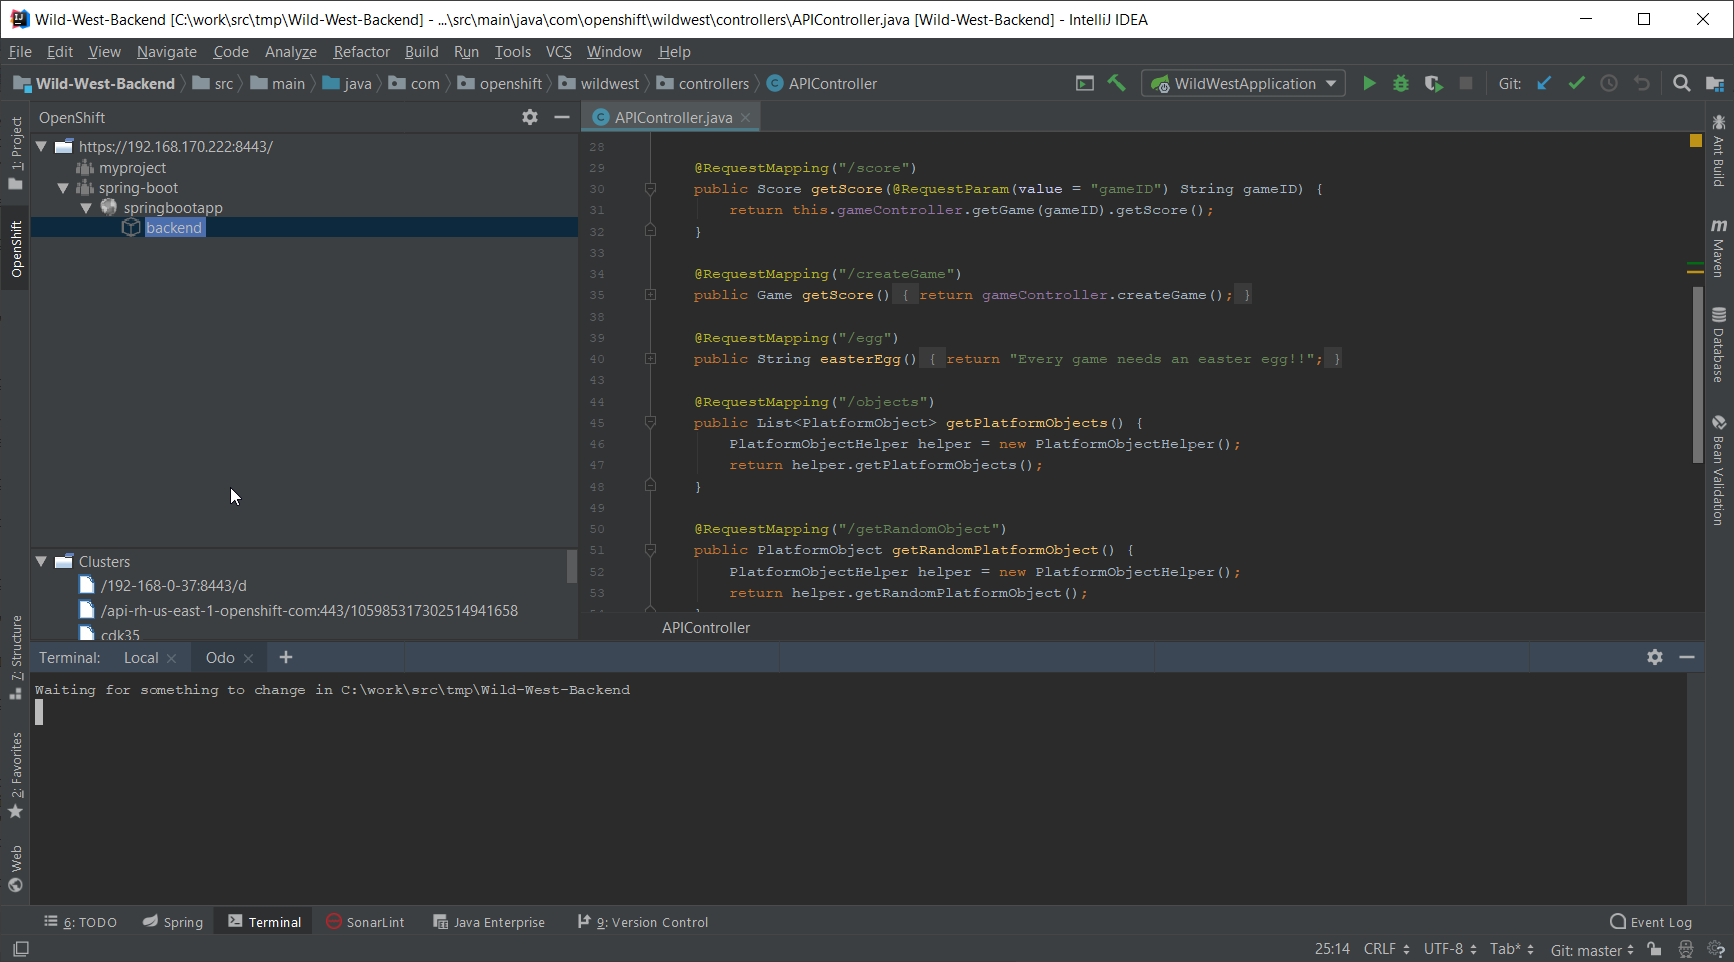
    Now, in the Project view, open the src/main/java/com/openshift/wildwest/APIController.java file:

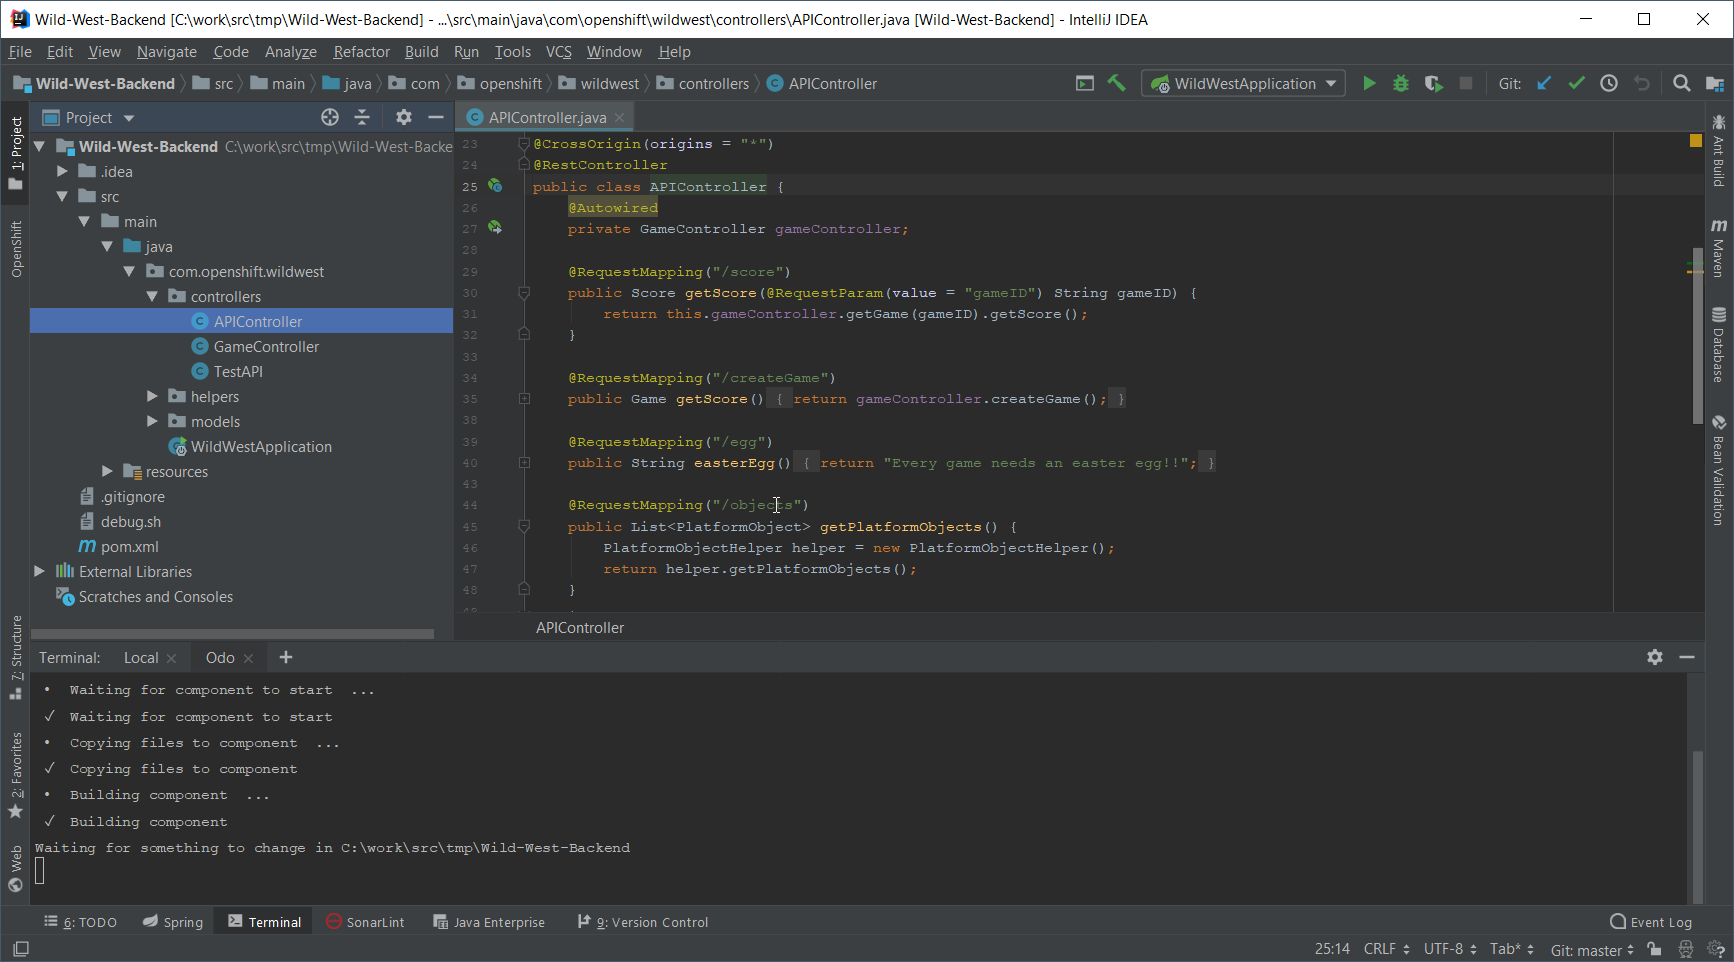
    Modify the egg method:

    	@RequestMapping("/egg")
    	public String easterEgg() {
    		return "Every game needs an easter egg!!";
    	}

    with the following content:

    	@RequestMapping("/egg")
    	public String easterEgg() {
    		return "A change from inside my ide";
    	}

    Refresh the browser window and you should see the following output:

    Keep an eye on the plugin site for updates.

    Last updated: April 8, 2021

    Recent Posts

    • Meet the Red Hat Node.js team at PowerUP 2025

    • How to use pipelines for AI/ML automation at the edge

    • What's new in network observability 1.8

    • LLM Compressor: Optimize LLMs for low-latency deployments

    • How to set up NVIDIA NIM on Red Hat OpenShift AI

    Red Hat Developers logo LinkedIn YouTube Twitter Facebook

    Products

    • Red Hat Enterprise Linux
    • Red Hat OpenShift
    • Red Hat Ansible Automation Platform

    Build

    • Developer Sandbox
    • Developer Tools
    • Interactive Tutorials
    • API Catalog

    Quicklinks

    • Learning Resources
    • E-books
    • Cheat Sheets
    • Blog
    • Events
    • Newsletter

    Communicate

    • About us
    • Contact sales
    • Find a partner
    • Report a website issue
    • Site Status Dashboard
    • Report a security problem

    RED HAT DEVELOPER

    Build here. Go anywhere.

    We serve the builders. The problem solvers who create careers with code.

    Join us if you’re a developer, software engineer, web designer, front-end designer, UX designer, computer scientist, architect, tester, product manager, project manager or team lead.

    Sign me up

    Red Hat legal and privacy links

    • About Red Hat
    • Jobs
    • Events
    • Locations
    • Contact Red Hat
    • Red Hat Blog
    • Inclusion at Red Hat
    • Cool Stuff Store
    • Red Hat Summit

    Red Hat legal and privacy links

    • Privacy statement
    • Terms of use
    • All policies and guidelines
    • Digital accessibility

    Report a website issue