This is part one of my two-article series that demonstrates how to implement contract-first API design using Apicurio and Red Hat Fuse. It covers how to create an OpenAPI standard document as the contract between API providers and consumers using Apicurio Studio. It also shows how to quickly create mock tests using Red Hat Fuse which is based on Camel.
There are two common approaches when it comes to creating APIs:
- Code first (top-down)
- Contract first (bottom-up)
Code-First Approach
To ESB developers, these two approaches aren't new. Before, it was the WSDL that defined the contract of the service. We were doing a lot more coding first, because it's easy to write a couple of Java classes and generate the WSDL for the consumers. This is the code-first approach, which has been the most common in the past.
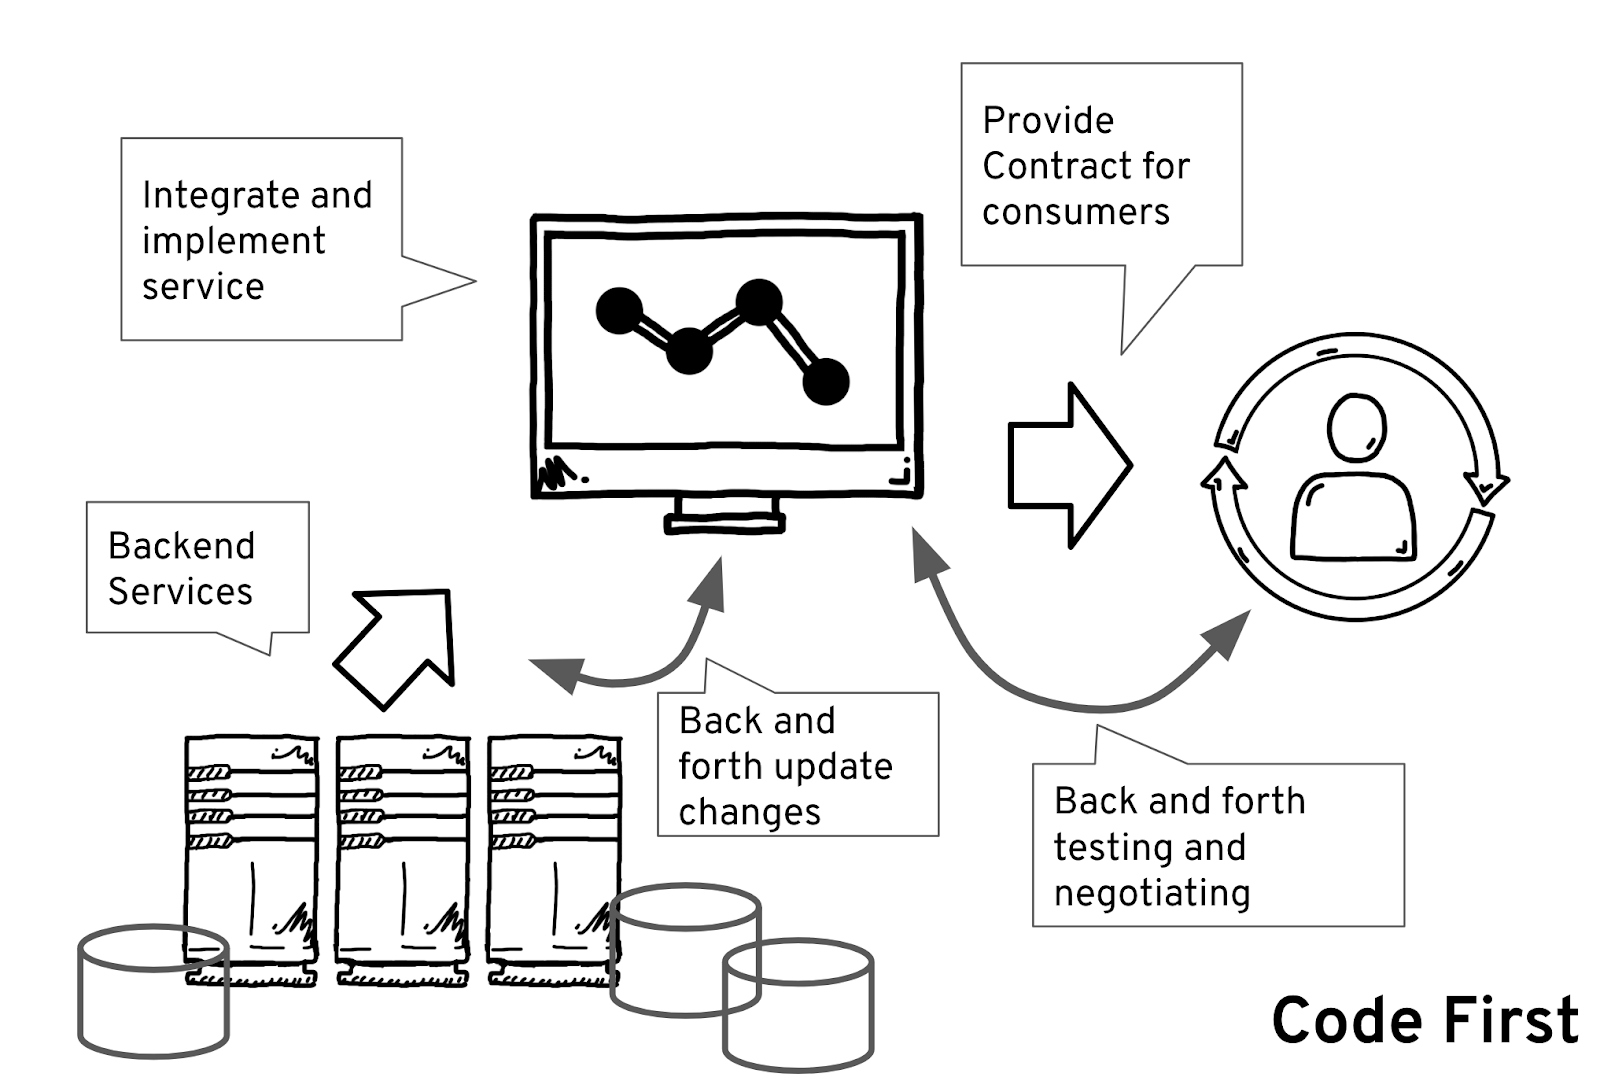
Code-first development can be pretty straightforward if the consumer of your application has decided how they want the service to work. There is always a preliminary discussion between the developer and consumer about the data to be exchanged. It is likely that there is some notion of the "contract" for the service, but often it is implicit. With this approach small changes are inevitable, and it takes a toll on the developer to grind through the long process of making all these updates and getting everything right. Since the contract isn't explicitly spelled out, these changes might actually break things because the developer and the consumer each have different understanding of the service's intended operation.
.
Contract-First Approach
Business users and citizen users/developers can use the new OpenAPI specification to negotiate and perhaps perform a couple of pre-tests with the consumer before the design gets handed over to the developer. This design approach is called contract first. It has become more and more popular because it prevents the developer from wasting time while negotiating how the service should be provided.
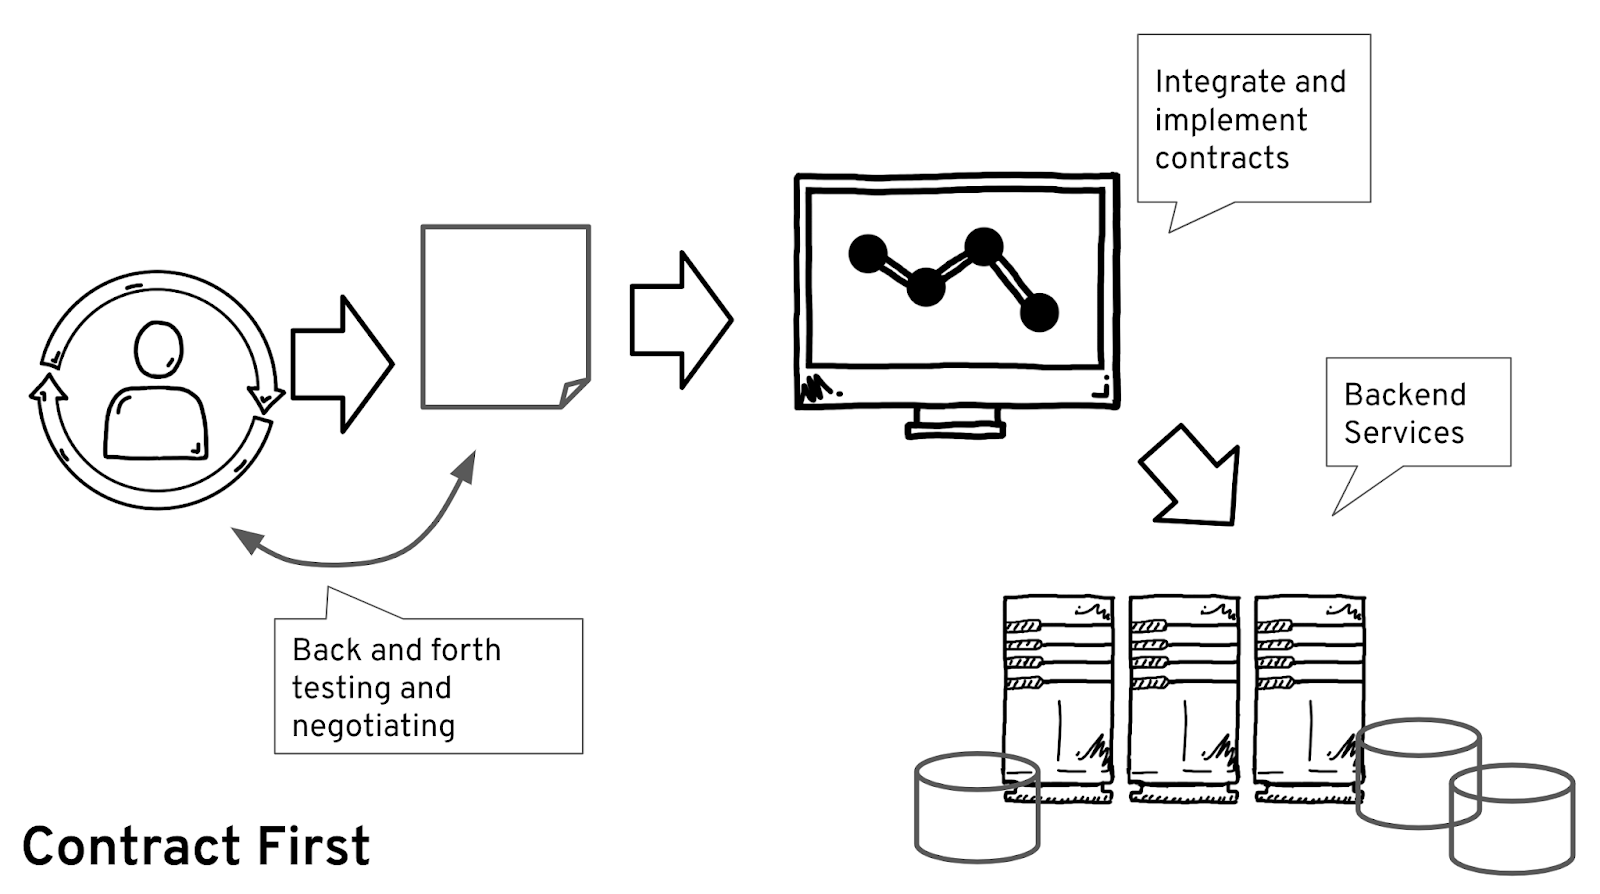
Obviously, there are many ways to implement a contract-first API. I am going to demonstrate how it can be done using Apicurio and Red Hat Fuse. I will be using Apicurio to define APIs and automatically generate the Red Hat Fuse project for the purpose of quick testing.
Creating a Customer Service API
In this example demo, we will be providing customer info to our consumer as a service. For the sake of this demo, we will start by retrieving and creating a customer service.

Defining the Application with the OpenAPI Specification in Apicurio
Apicurio is a web-based open source tool for designing APIs that are based on the OpenAPI specification.
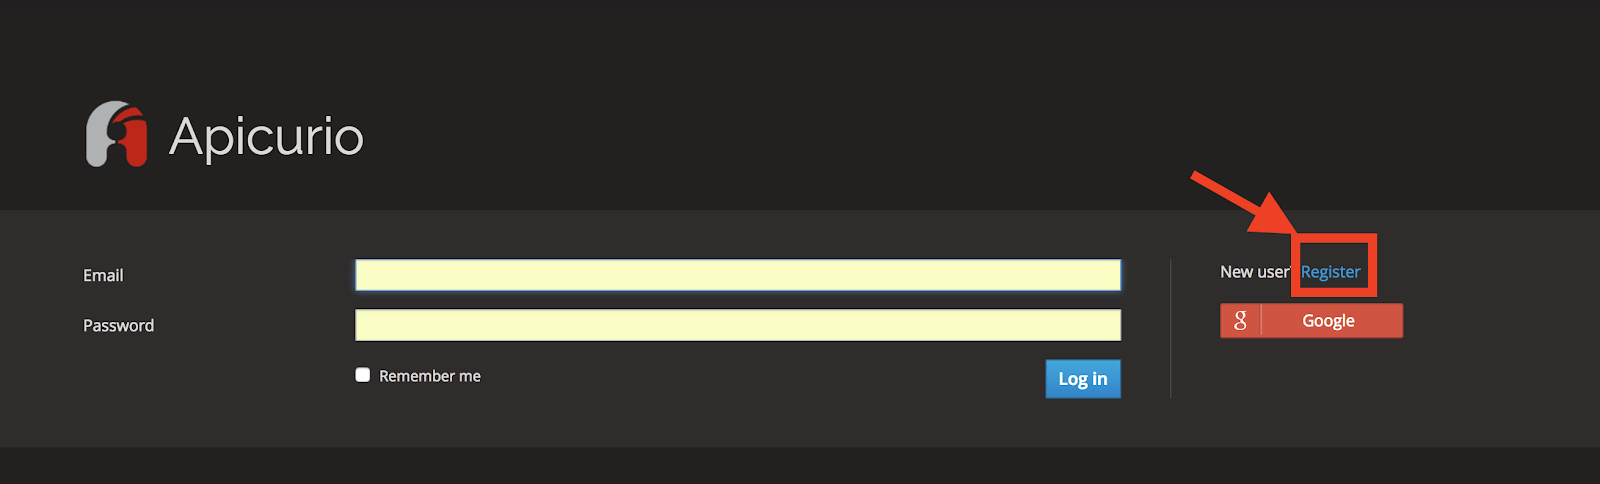
If you don't already have an Apicurio account, you need to first register for one.
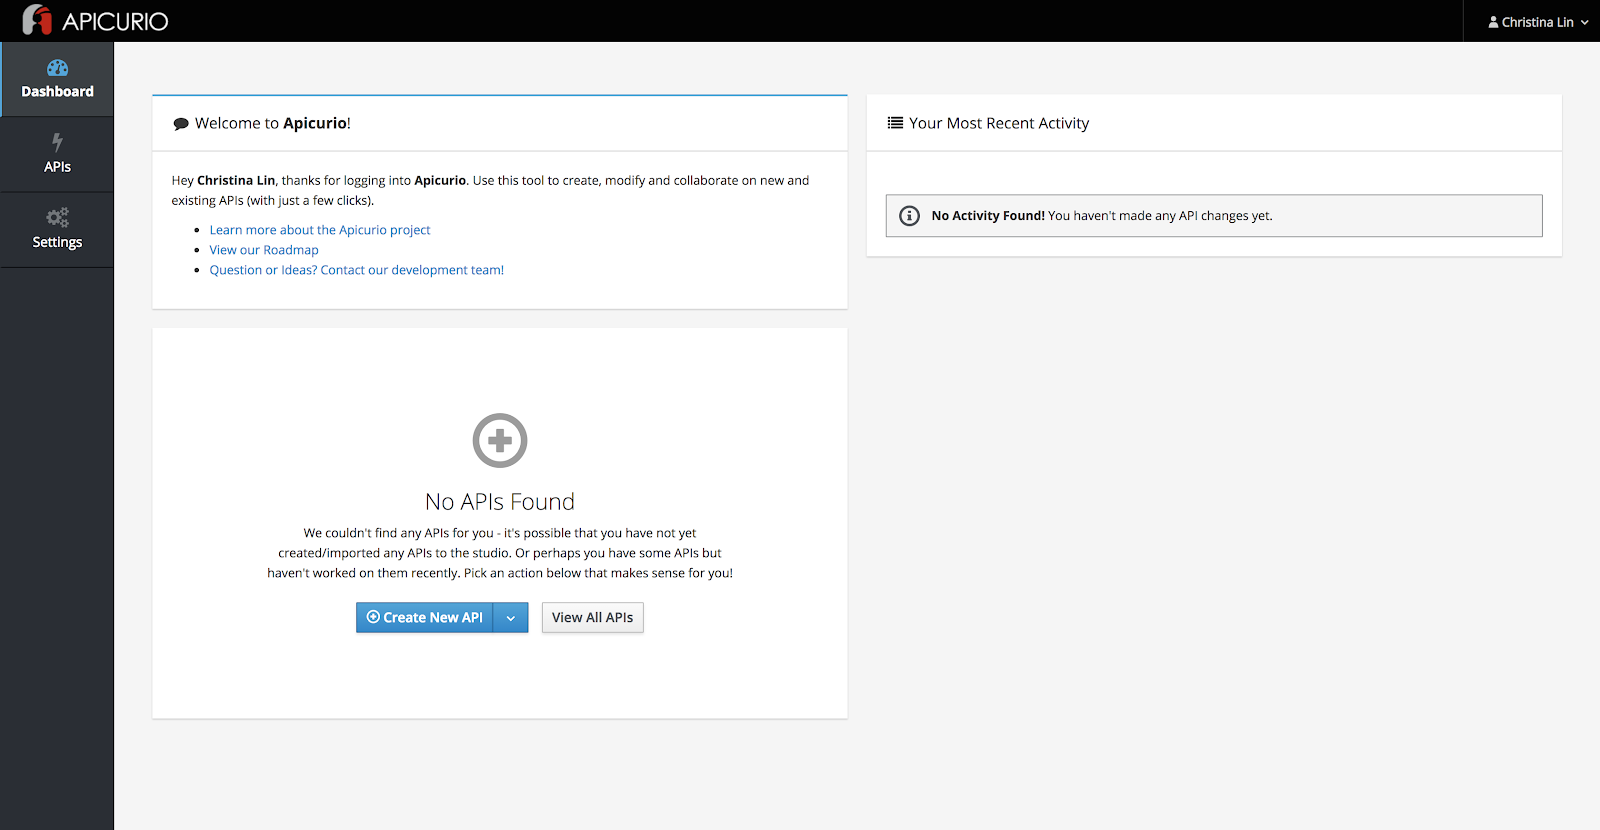
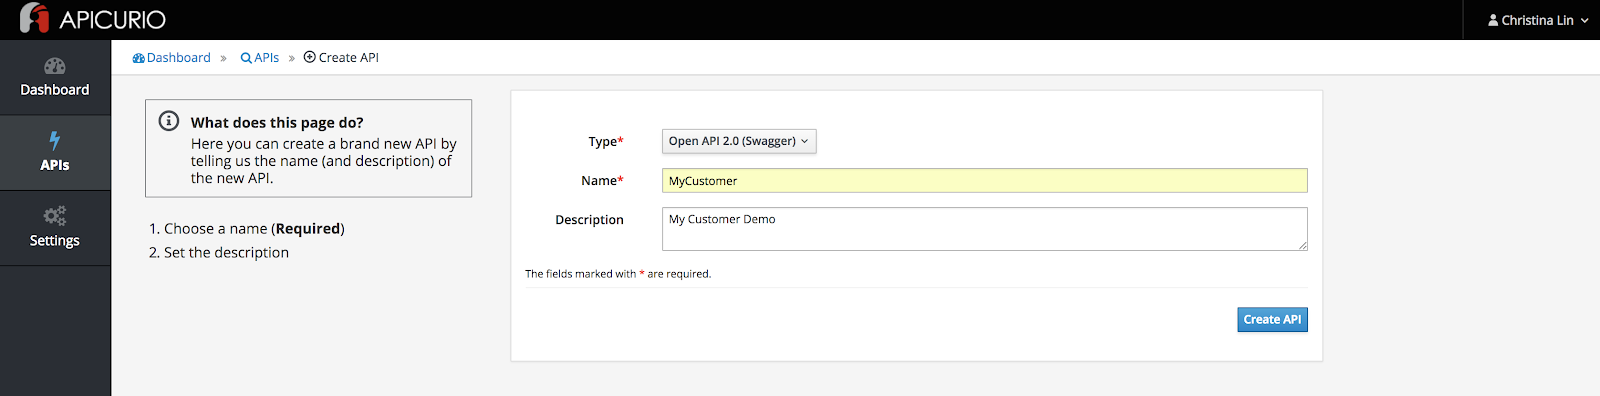
After registering, you will be redirected to the main screen of Apicurio. Then, after discussing with the consumer what they wish to have for the customer service, you can start creating the contract by clicking Create New API.
What you need to do next is pretty simple:
- Create the API (service).
- Create the data definitions (if any are required).
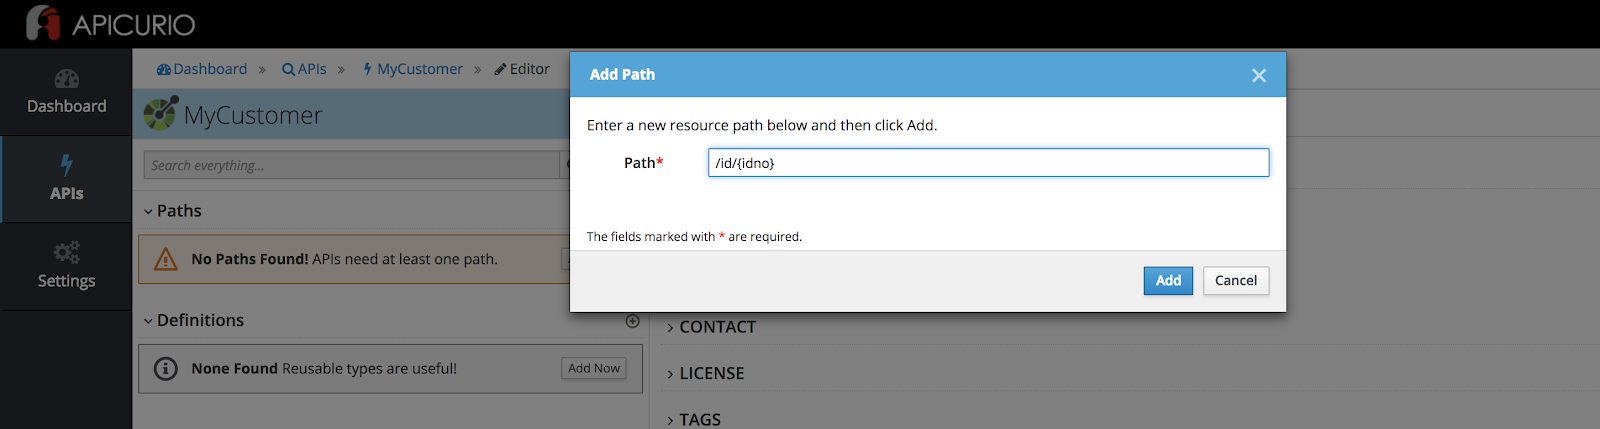
- Add paths; define parameters and operations; and return responses to the paths.
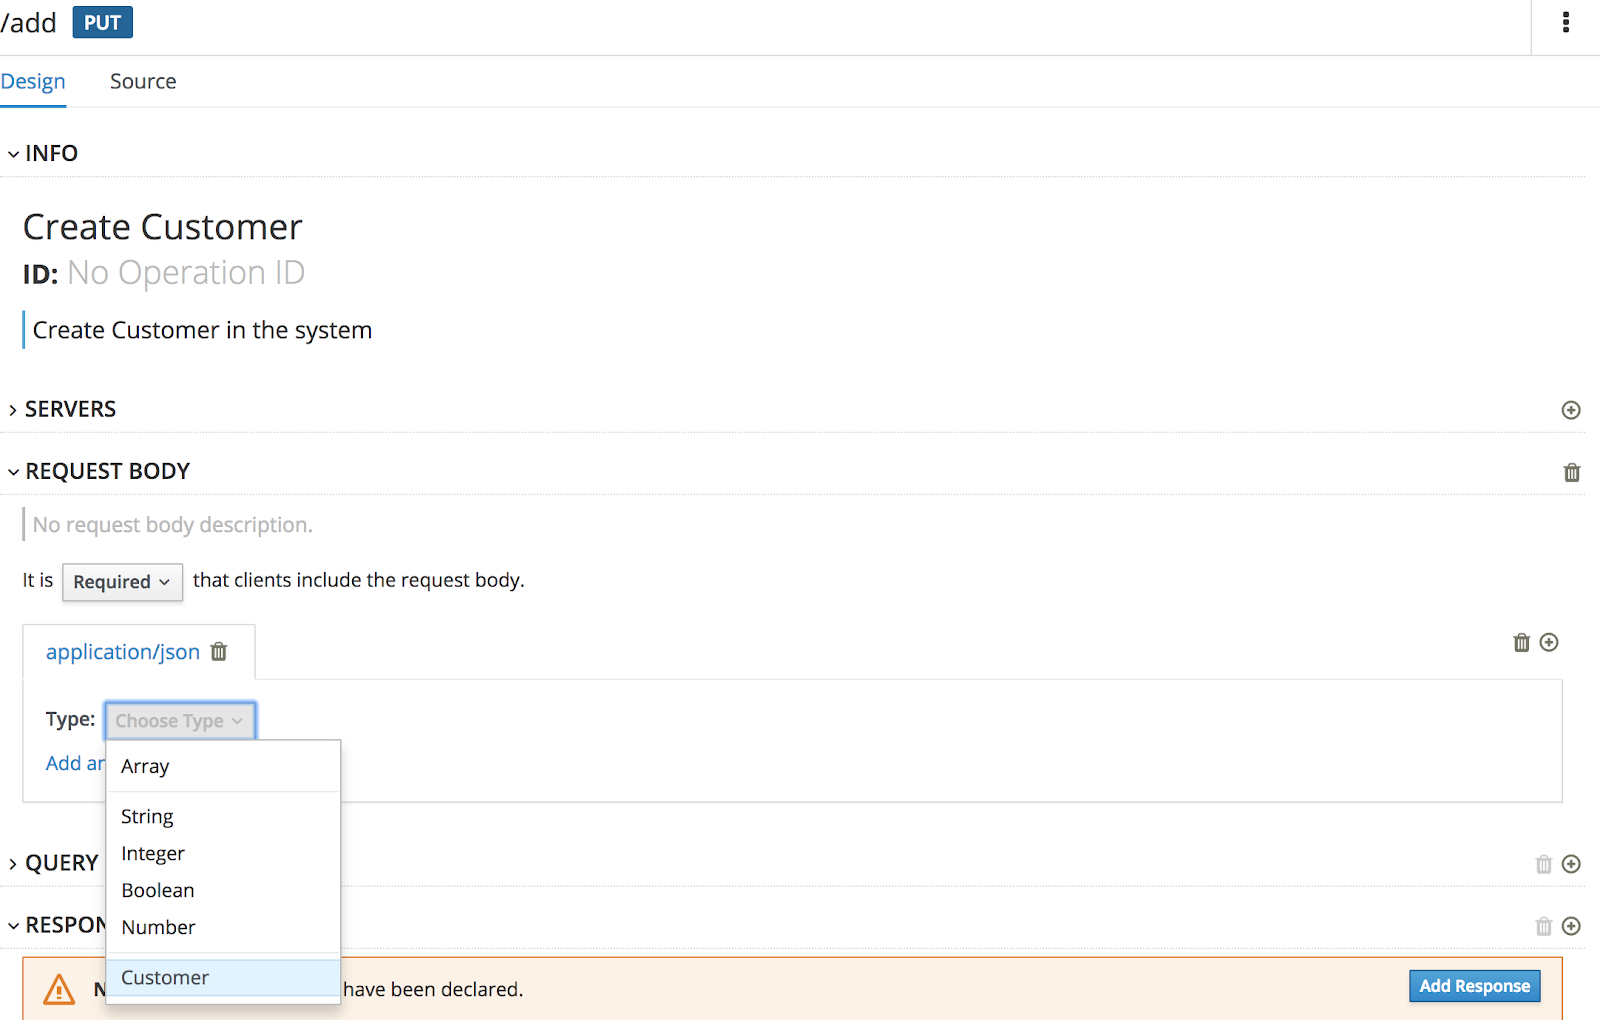
Enter the name of the service, and it would be nice to add a description for the service so it's easier for people to understand what every path means.

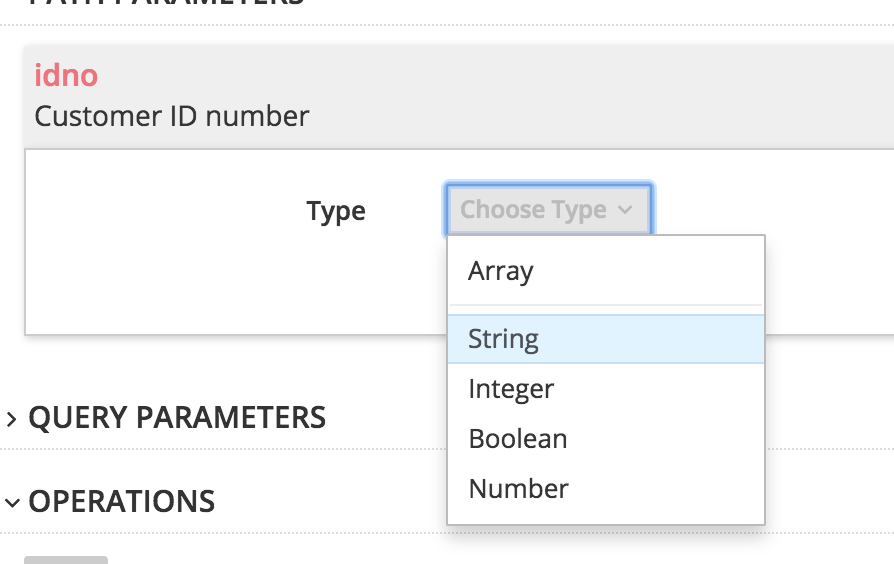
Add and define the properties and their data type.


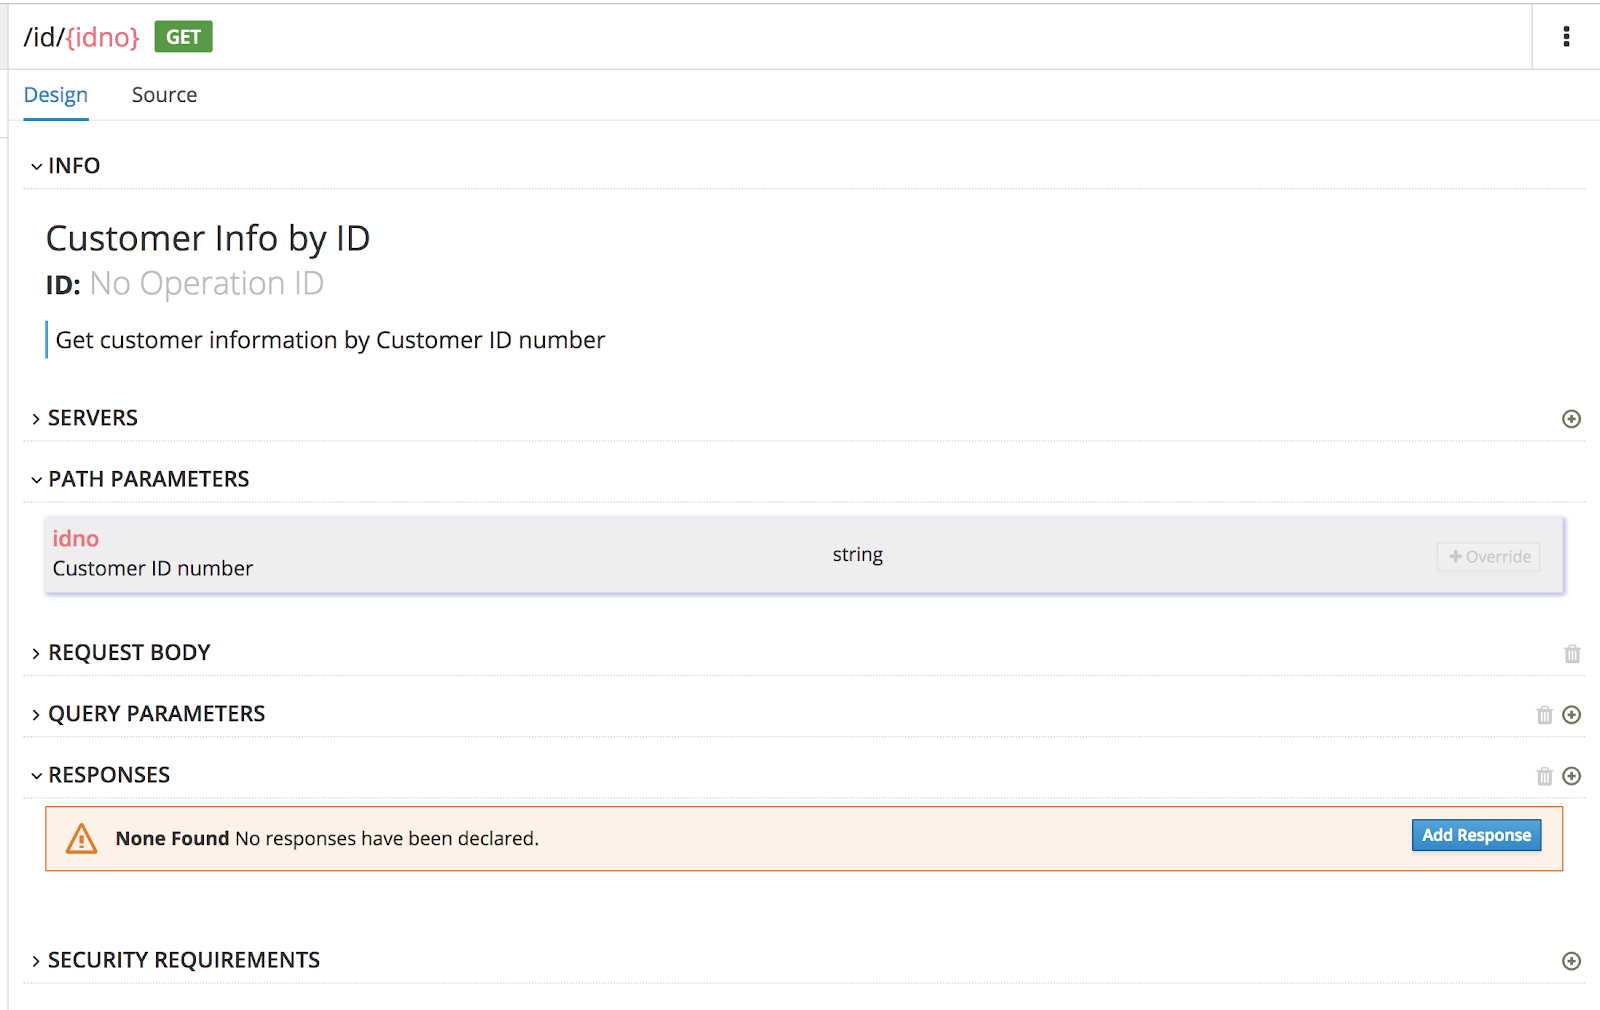
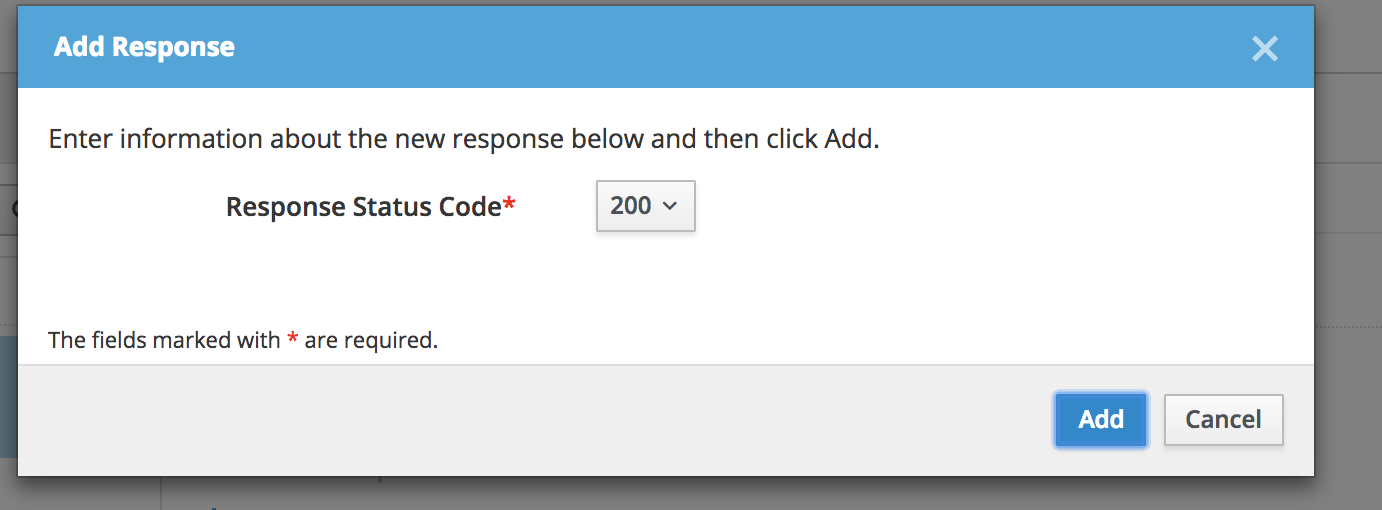
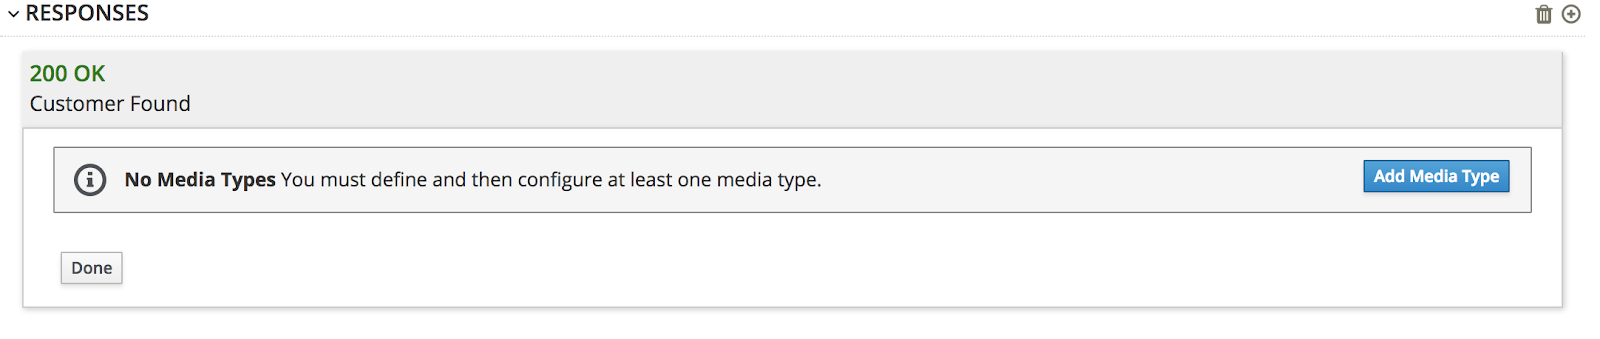
Add responses, too (if your path needs them).
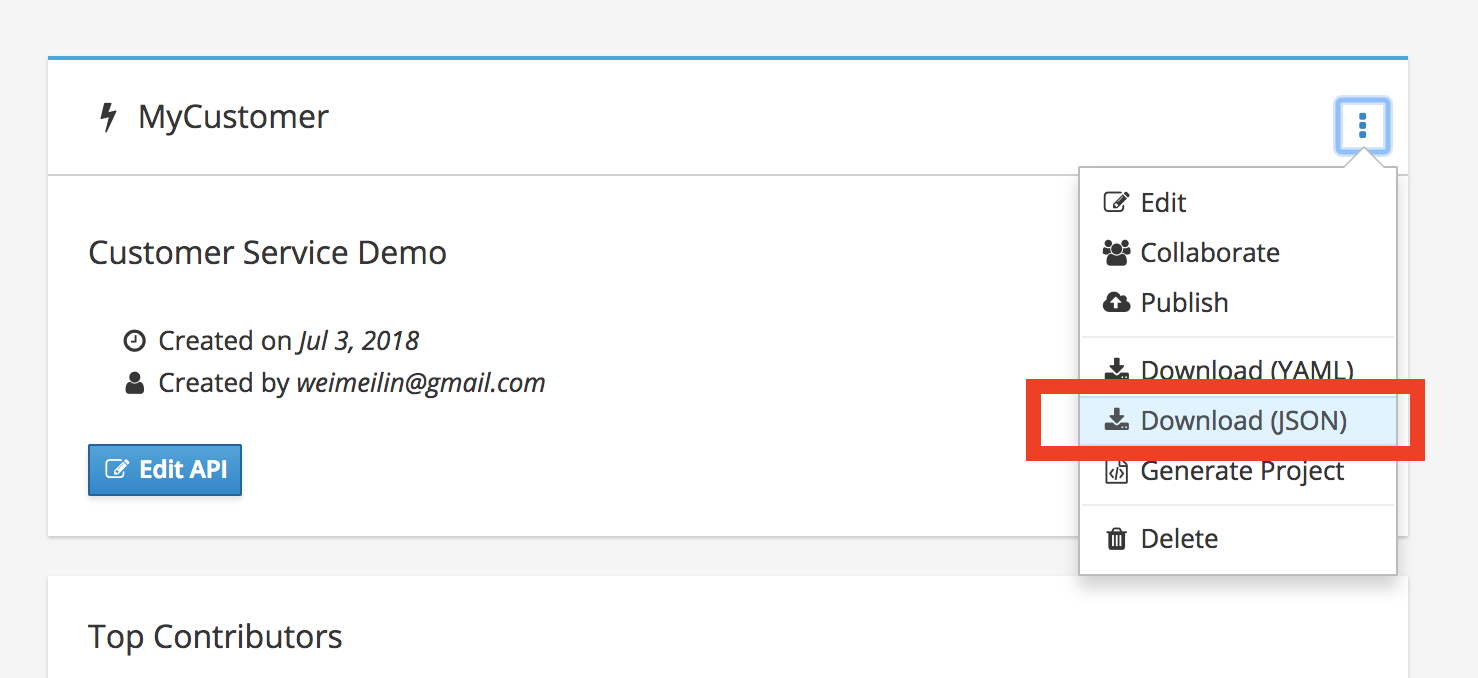
Once you are done, it's time to export the API standard document.
Generating the Red Hat Fuse Project from the Standard API Document
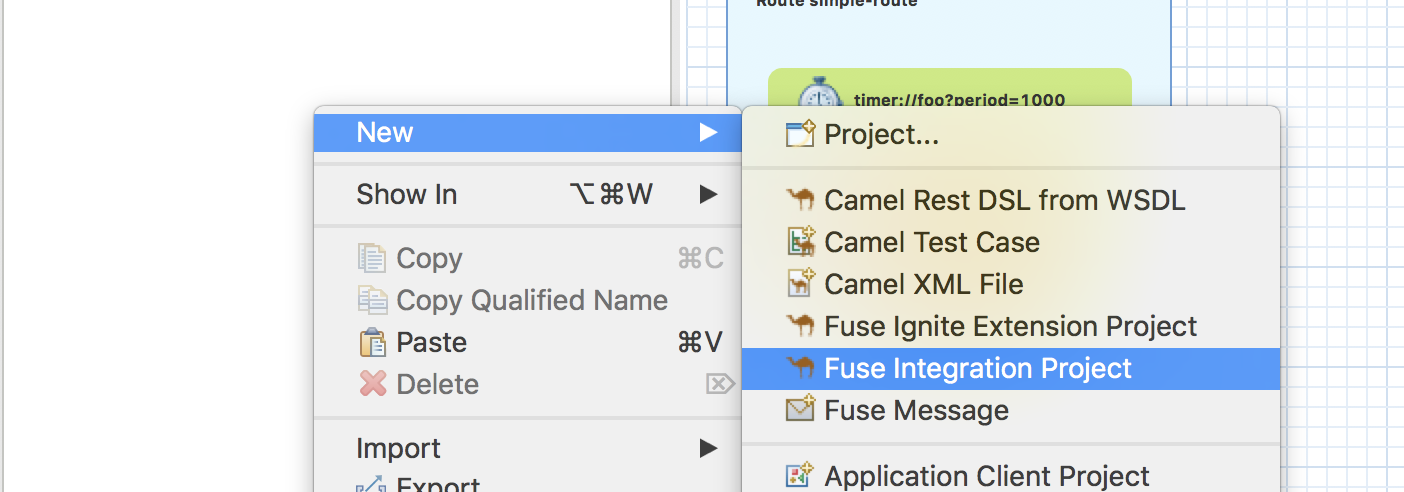
Go to Red Hat Developer Studio and create a new Red Hat Fuse project by right-clicking in the navigation panel and selecting New->Fuse Integration Project.
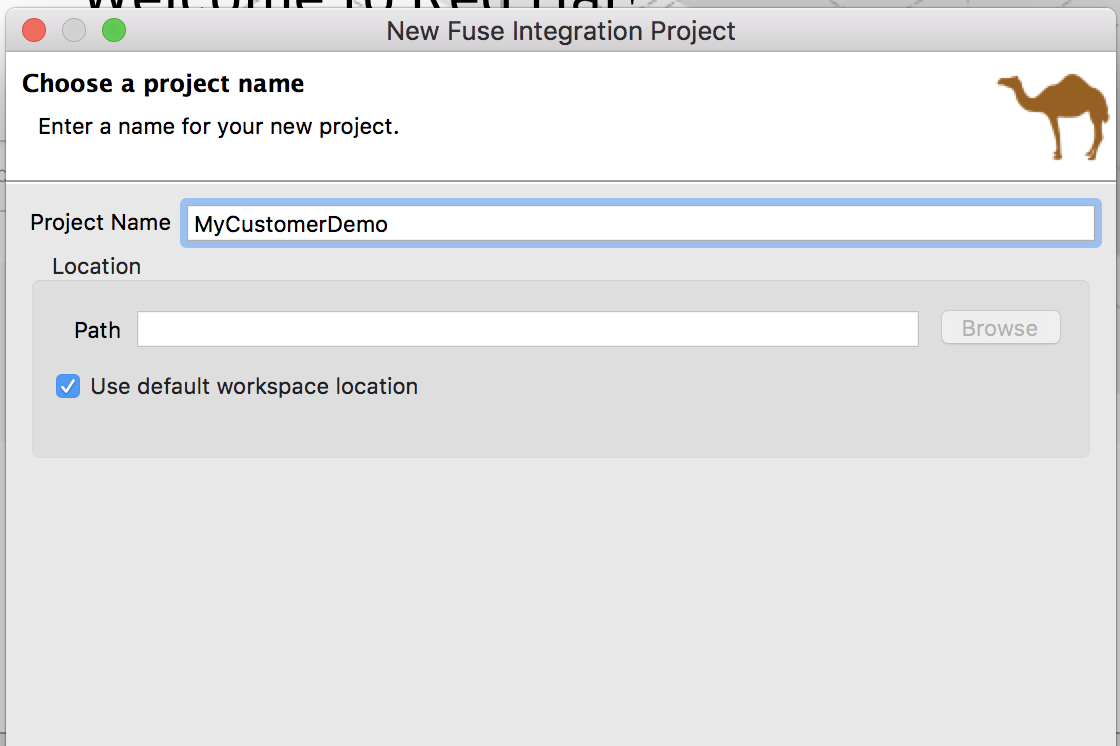
Provide a name for the project.
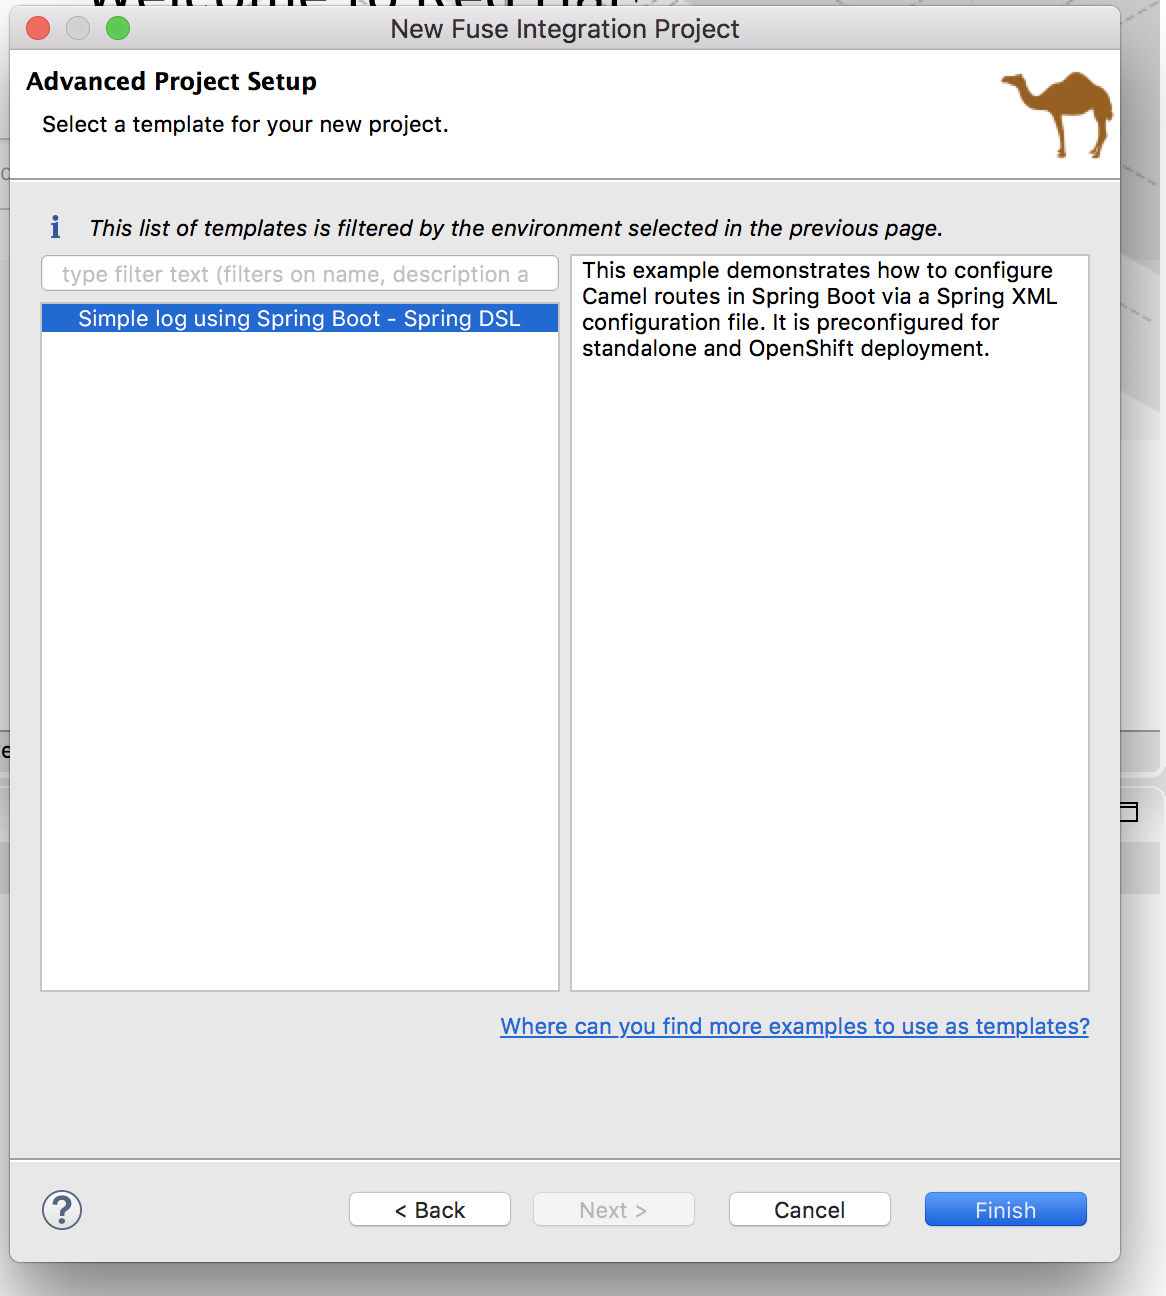
We are going to use a microservices approach, so select the most-popular runtime—Spring Boot. We will be running this on the Red Hat OpenShift cloud platform.

Select the Spring DSL template.
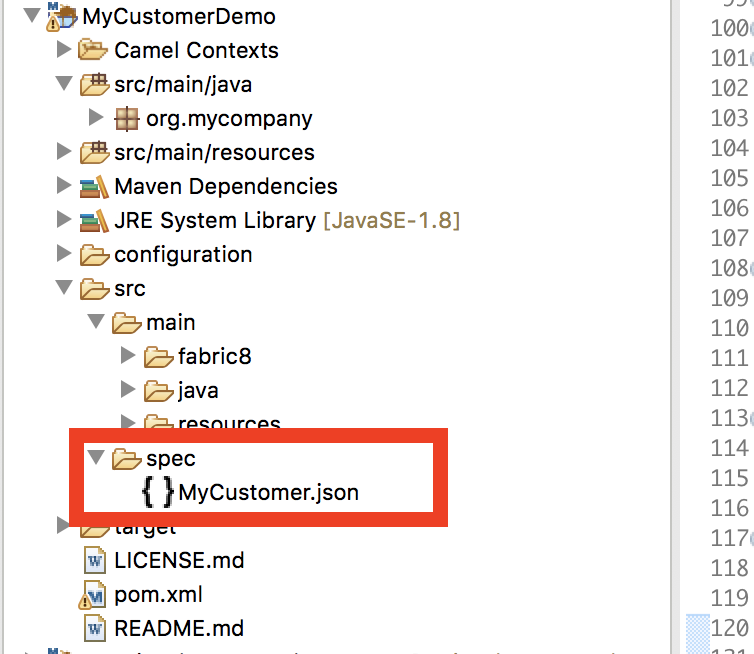
You will then have a sample Red Hat Fuse project:

Add the generated API specification document to the directory src/spec/.
Edit the pom.xml file, and add the following to it:
<plugins>
....
<plugin>
  <groupId>org.apache.camel</groupId>
  <artifactId>camel-restdsl-swagger-plugin</artifactId>
  <version>2.21.0</version>
  <configuration>
    <specificationUri>src/spec/MyCustomer.json</specificationUri>
    <fileName>camel-rest.xml</fileName>
    <outputDirectory>src/main/resources/spring</outputDirectory>
  </configuration>
</plugin>
....
</plugin>
Generate the XML by running the following in the command-line tool:
mvn camel-restdsl-swagger:generate-xml
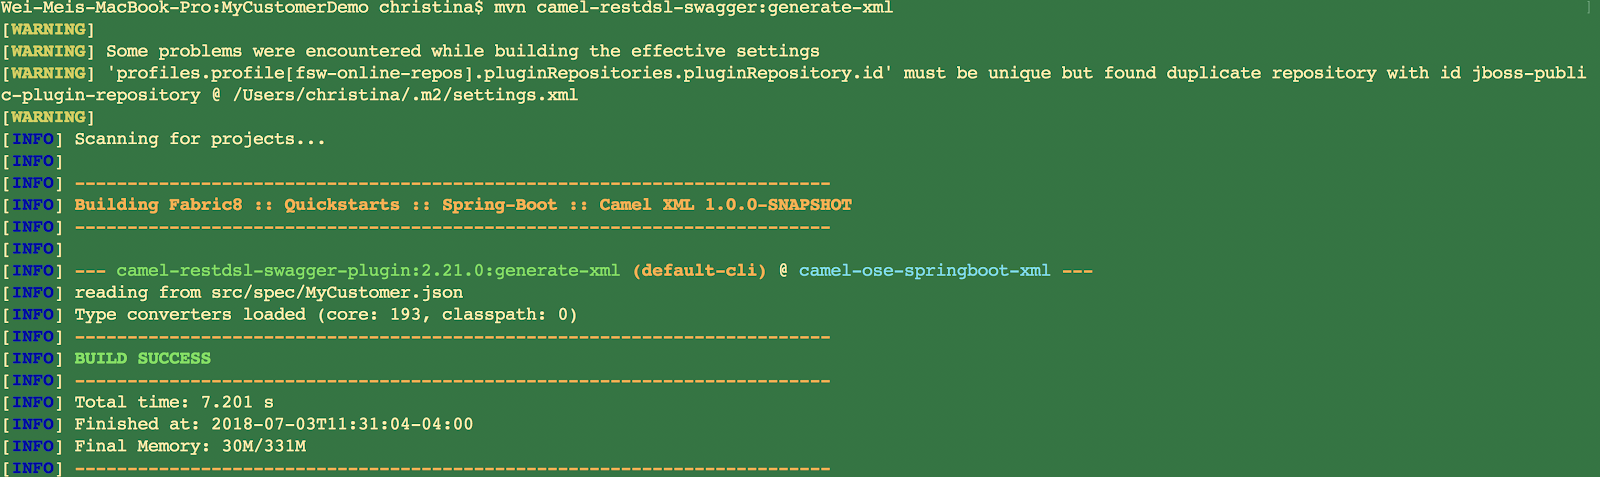
You will then find a newly generated Camel context named camel-rest.xml, which has all the path implementations in Camel.
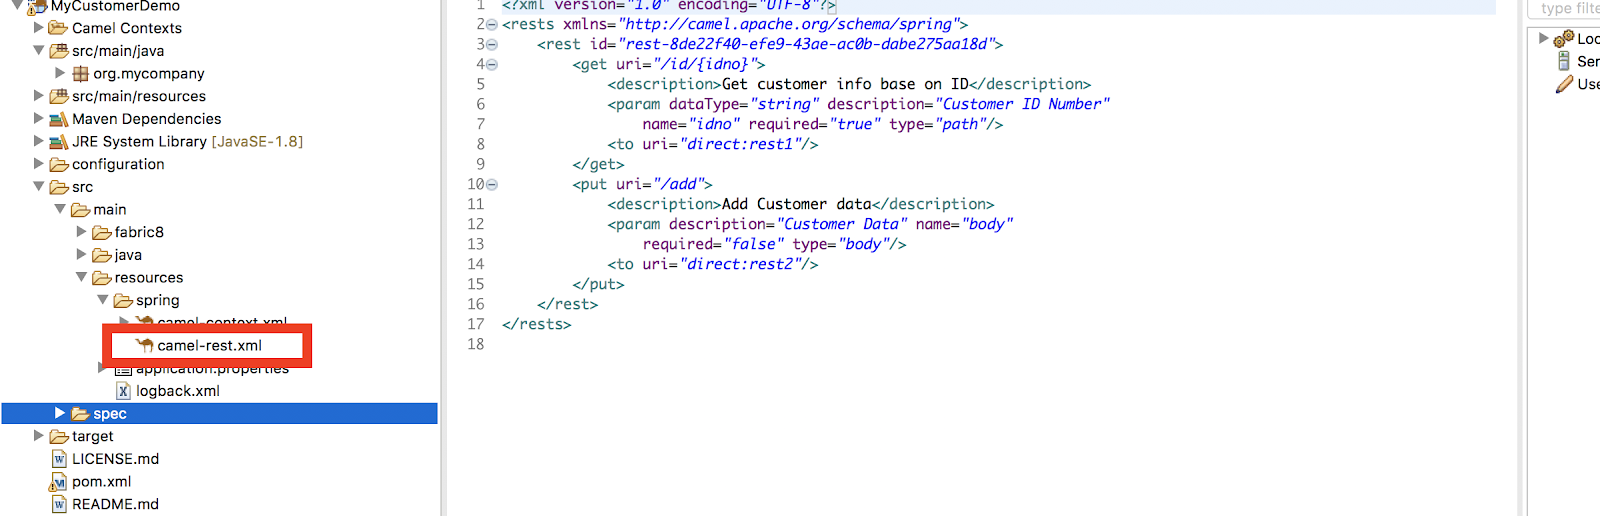
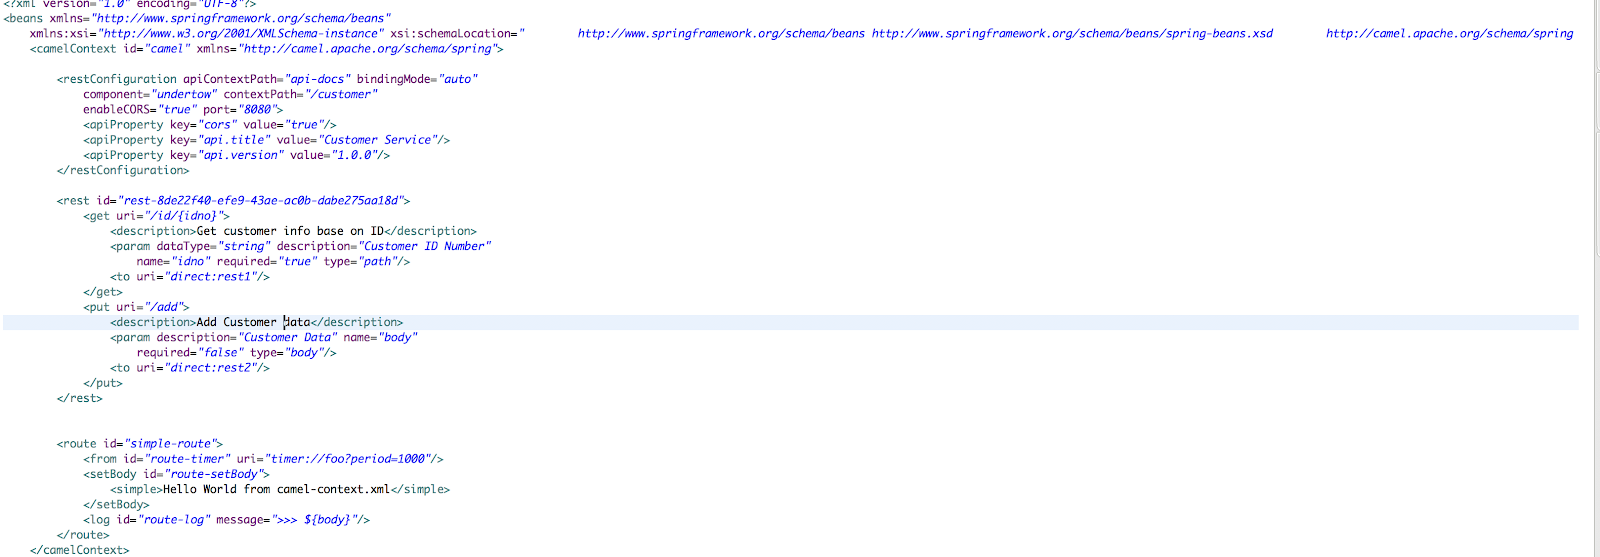
From that file, copy everything inside the <rests> tags and paste it into the original camel-context.xml file inside camelContext. Add the following rest configuration on top of the rest block.
<restConfiguration apiContextPath="api-docs" bindingMode="auto"
            component="undertow" contextPath="/customer"
            enableCORS="true" port="8080">
   <apiProperty key="cors" value="true"/>
   <apiProperty key="api.title" value="Customer Service"/>
   <apiProperty key="api.version" value="1.0.0"/>
</restConfiguration>
camel-rest.xml file.Mocking the APIs with Apache Camel
We will mock the returned result by adding a constant, defined bean in the Camel context.
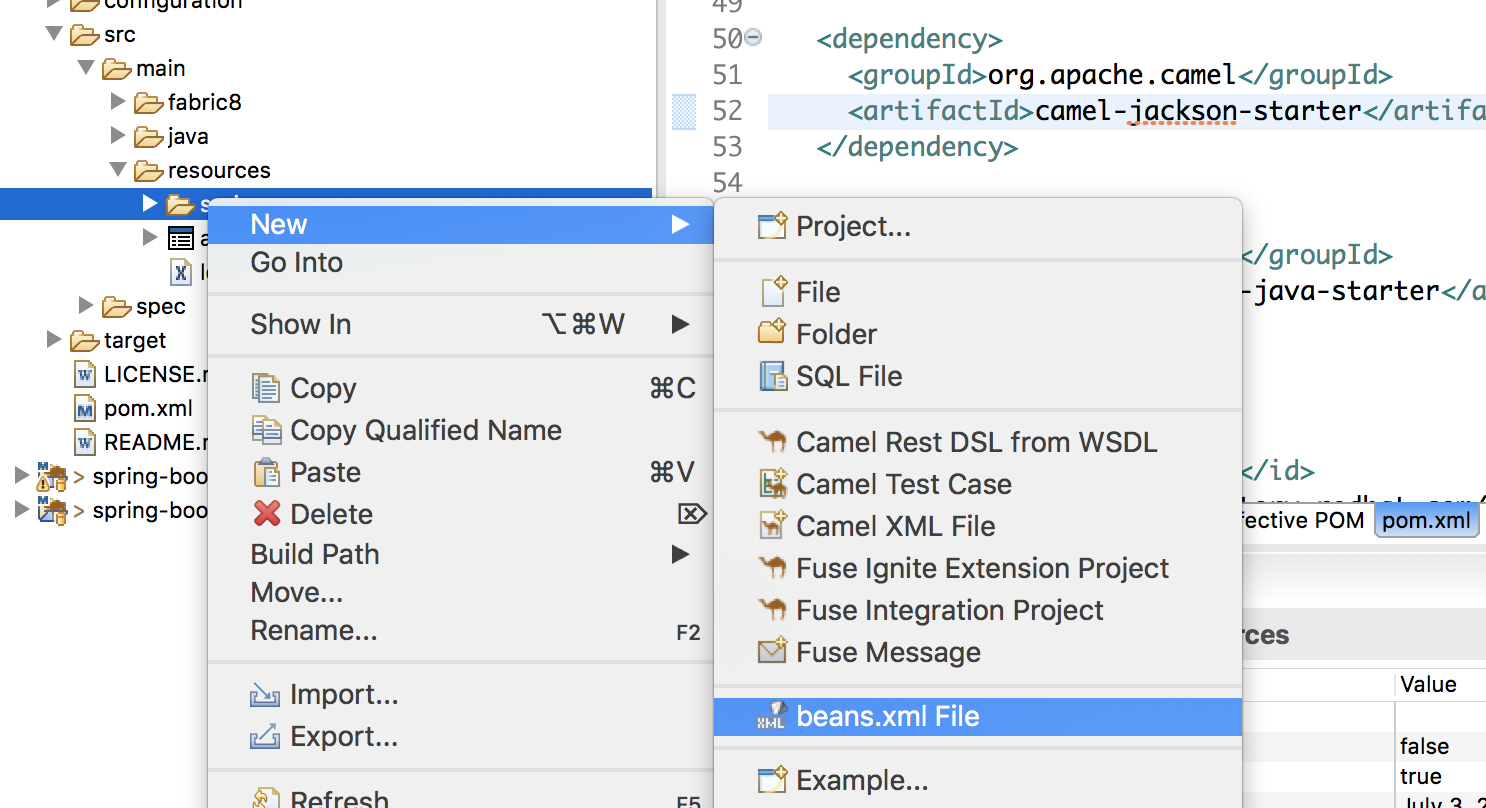
To do that, in the src/main.resource/spring folder, add a beans.xml file by right-clicking the folder and selecting New->beans.xml File.
Insert the following code snippet to the beans.xml file:
<util:list id="CustomerList" list-class="java.util.ArrayList">
   <ref bean="Customer"/>
</util:list>
<util:map id="Customer" map-class="java.util.HashMap">
   <entry key="name" value="Christina"/>
   <entry key="age" value="28"/>
   <entry key="contact" value="765483921"/>
</util:map>
Add the Camel routes to the camel-context.xml file. The first one returns mock customer data, and the second one takes customer info as input.
<route id="rest1-route">
 <from id="restone" uri="direct:rest1"/>
  <setBody id="route-setBody1">
    <simple>bean:CustomerList?method=get(0)</simple>
  </setBody>
</route>
<route id="rest2-route">
  <from id="resttwo" uri="direct:rest2"/>
  <log id="input-log" message=">>> ${body}"/>
    <setBody id="route-setBody2">
      <simple>Customer created</simple>
    </setBody>
</route>
Now, it's time to set up the dependency libraries in the pom.xml file:
<dependency>
  <groupId>org.springframework.boot</groupId>
  <artifactId>spring-boot-starter-undertow</artifactId>
</dependency>
<dependency>
  <groupId>org.apache.camel</groupId>
  <artifactId>camel-undertow-starter</artifactId>
</dependency>
<dependency>
  <groupId>org.apache.camel</groupId>
  <artifactId>camel-jackson-starter</artifactId>
</dependency>
<dependency>
  <groupId>org.apache.camel</groupId>
  <artifactId>camel-swagger-java-starter</artifactId>
</dependency>
mvn sprint-boot:run
Two endpoints will be exposed for testing:
Christina Laptop$ curl http://YOURIP:8080/customer/id/123

{"name":"Christina","age":"28","contact":"765483921"}

Christina Laptop$ curl --header "Content-Type: application/json"   --request PUT   --data '{"name":"Christina","age":28,"contact":"765483921"}'   http://YOURIP:8080/customer/add

"Customer created"
You are now ready for the consumer to start testing the APIs.
In the next article in this series, I will take you through how to actually implement the API, expose it in the cloud, and manage it.
For more information see these Red Hat Developer resources:
- [DevNation Live] - Camel Riders in the Cloud - Watch the recording of Claus Ibsen, author of the Camel in Action books.
- Download the free ebook - Selections from Camel in Action, 2nd edition.
- Learn more about Red Hat Fuse - a distributed, cloud-native integration solution that is based on Camel
- Read An API Journey: From idea to deployment the Agile Way - Part 1
