Introduction
In this post, I will provide a walk through of how to set up Identity Brokering on an RH-SSO server.
Red Hat Single Sign-On (RH-SSO) provides Web single sign-on and identity federation based on SAML 2.0, OpenID Connect and OAuth 2.0 specifications.
For this tutorial, you will need:
- An RH-SSO Instance.
- A Web/Mobile Application with an OpenID Connect adapter.
- An OpenID Connect Provider Server (Such as Keycloak) to be used as the 3rd Party Identity Provider.
Identity Brokering
To understand the concept of identity brokering, we must first grasp the idea of an identity provider. An Identity Provider can be seen as a user authentication provider that also maintains user identities. On the other hand, Identity Brokering is a mechanism in which a user can authenticate from a different trust realm based on a certain trust element. One of the main benefits is that an application can be built by one organization and shared with a number of other organizations to reduce duplication of work. The following diagram describes how Identity Brokering works with RH-SSO. 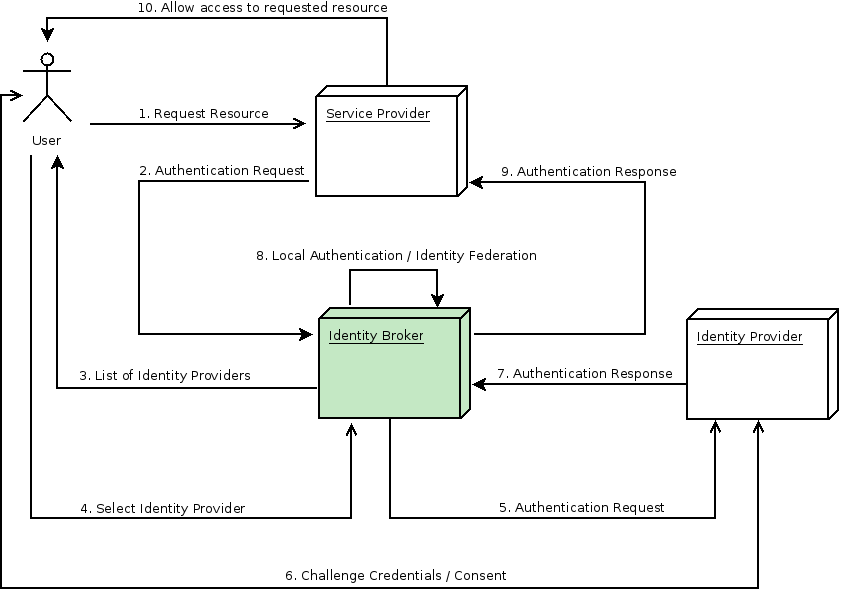
Key
- Service Provider - A Mobile/Web Application
- Identity Broker - RH-SSO
- Identity Provider - A 3rd Party Identity Provider
The next step is to walk through how RH-SSO can be configured as both an Identity Provider, as well as an Identity Broker.
Identity Broker Setup
1. Setting up the RH-SSO as an Identity Provider
The first thing we must do to set up an RH-SSO instance, as an Identity provider is to create a new realm. The name of this realm will be identity-broker-realm. 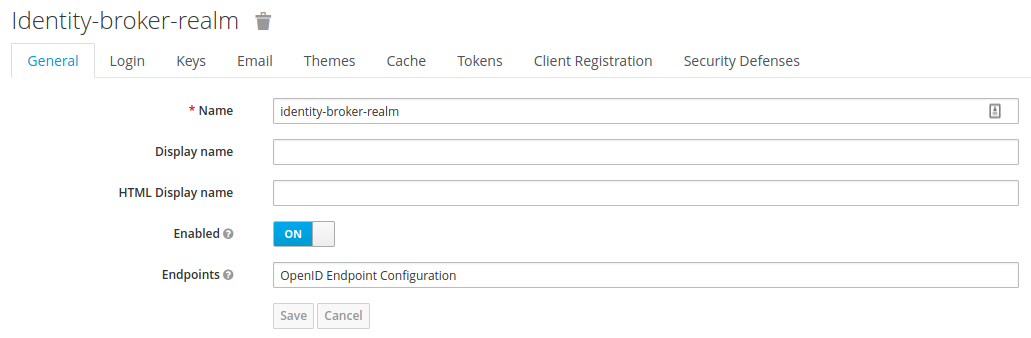 Once we have our realm setup, the next thing that needs to be created is a client for our Application to communicate with the RH-SSO server. This client will be used as the gateway so that our application can authenticate to RH-SSO. Here we create the identity-broker-client inside of our realm.
 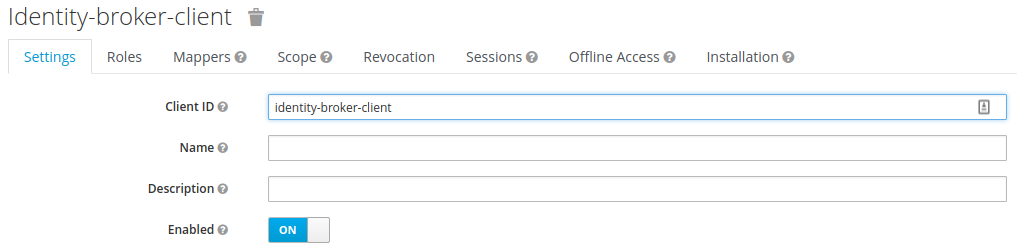 Once we have created our client, we must the setup an allowed origin, which will be our application running on http://localhost:8100. We must also set up a valid redirect URI so that the user can be redirected back to their application after the authentication phase has ended. Lastly, a sample user must be created for this realm so that we log in to our app.
  Now that our client and realm have been configured, we must now reference these in our application along with the URL of our RH-SSO instance.
 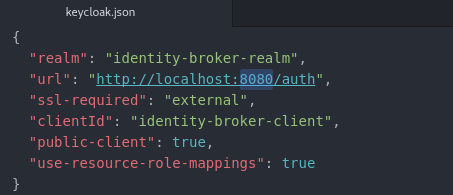 Once the OpenID Connect library in your application is configured with the RH-SSO realm and client information, the application can be started. Once the application has loaded up, a login screen will be presented to the user served by the RH-SSO server.
 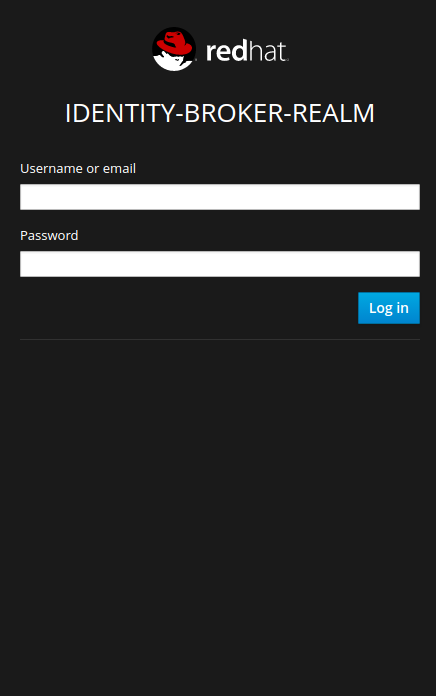 Once the user has authenticated with RH-SSO, the application serves up some simple information about this user.
 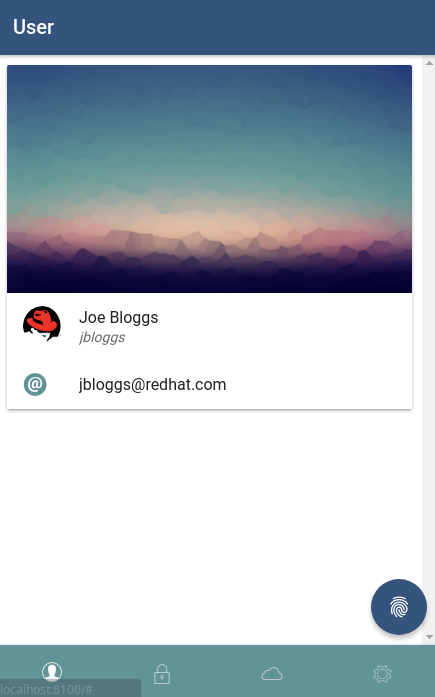 So far, a client and a realm have been created inside of RH-SSO that will allow RH-SSO to act as an Identity Provider. The next step is to configure the RH-SSO server so it will act as both an Identity Provider and an Identity Broker, which will allow logins from RH-SSO as well as a 3rd party OpenID Connect server.
2. Setting up the RH-SSO as an Identity Broker
The next step is to add a new OpenID Connect Identity Provider in RH-SSO. This 3rd party identity provider will be known as 3rd Party Idp and is running on http://localhost:9090.  The OpenID Connect Authorization and Token endpoints of the 3rd Party Identity will also need to be provided, along with the client ID and a client secret.
 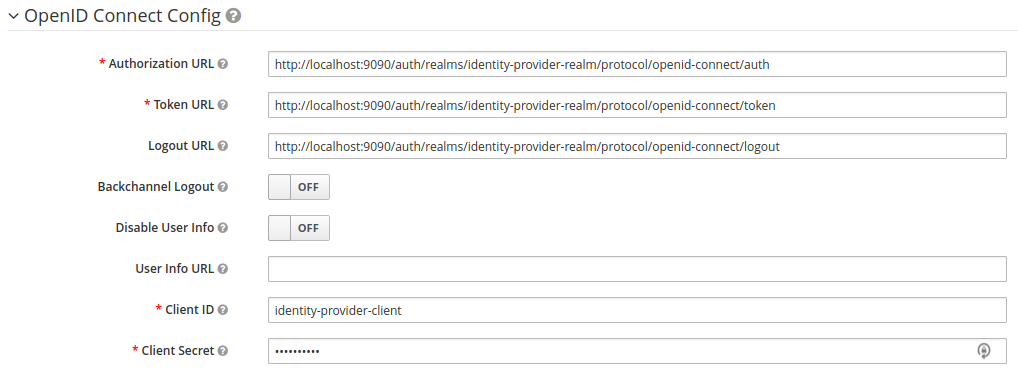 Now that we have created a new Identity Provider in RH-SSO, it will be visible on the login screen. However, it won't do anything yet as we will need to set up and configure the 3rd Party Identity Provider server.
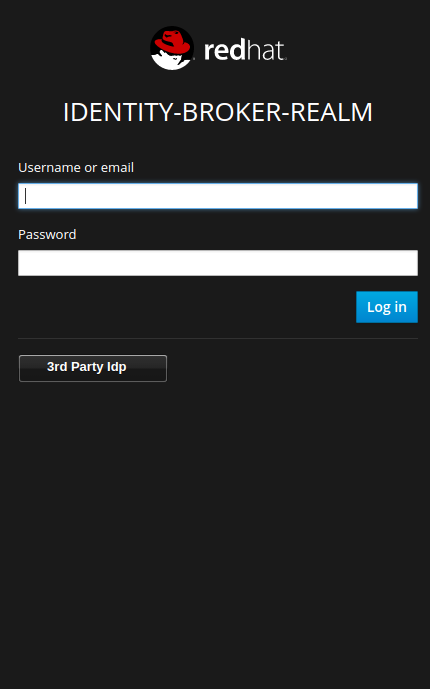
3rd Party Identity Provider Setup
Now that we have set up a reference to a 3rd party identity provider in RH-SSO, the next step is to configure this 3rd party identity provider on its server. We must set up the following configuration on our third-party identity provider:
- Realm Name: identity-provider-realm
- Client Name: identity-provider-client
- Redirect URI: http://localhost:8080/*
- Web Origin: http://localhost:8080
Where http://localhost:8080 is our RH-SSO instance. The last thing to do is set up a user in the realm to demonstrate a login from a 3rd party. Back in the mobile application, click the 3rd Party Idp button on the login screen. The user will be redirected to the login screen of the 3rd Party Identity Provider. 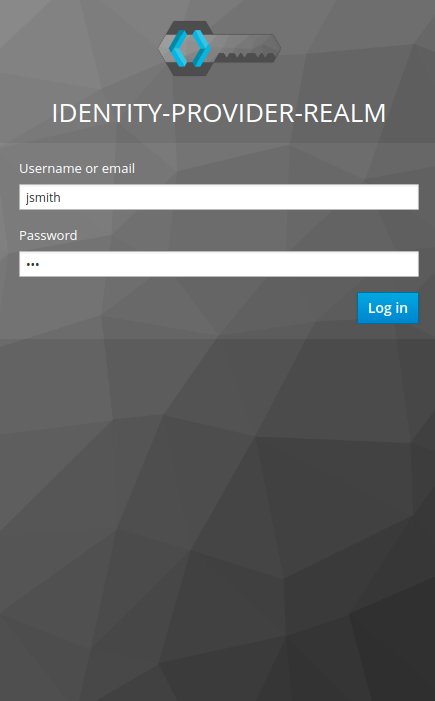 After authenticating, the user will be redirected back to the Identity Broker (RH-SSO) before in-turn, redirecting back to our application. A user from another identity provider can now successfully login to our application via RH-SSO.
 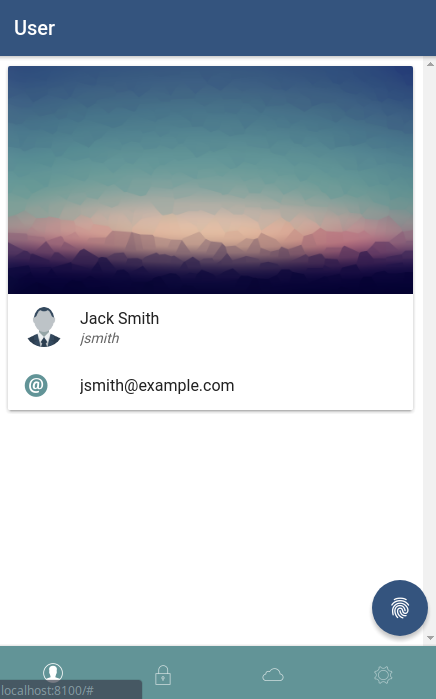 Under the account management page for the logged in user, the federated identity is visible.
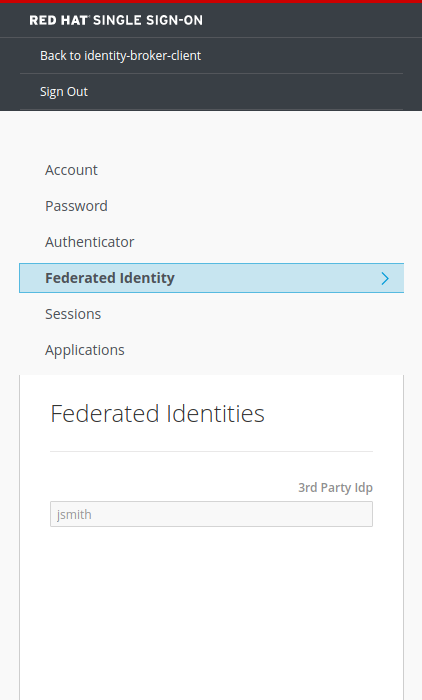
Conclusion
As seen above, it is very easy to set up identity brokering with Red Hat Single Sign-On once you are familiar with the basic OpenID Connect principles. This technique makes logging in with a social account or an already established work identity from another trust domain more simplified. More information about RH-SSO can be found on the Red Hat Products page.
Resource Links
- Keycloak (The 3rd Party Identity Provider used)
- Keyonic-v2 (The mobile app used for this walk-through)
- Keycloak JS (The Keycloak adapter for securing JavaScript applications)
Red Hat Mobile Application Platform is available for download, and you can read more at Red Hat Mobile Application Platform.
Last updated: February 6, 2024