podman is an open-source Linux tool for working with containers. That includes containers in registries such as docker.io and quay.io. In this article, I'll show you how to use podman to build a container image and create a container from it. Next, I'll show you how to upload the image to a registry, and finally, I'll show you how to use docker to create a container on a non-Linux system using the fully-compatible image I created with podman.
Before we begin, a quick word about the name of the project and its logo. podman works with containers, as I'll show you, but it also works with pods, groups of containers that are deployed together on the same host. (If you know about Kubernetes pods, you're familiar with how podman pods work.) More importantly, a group of seals is called a pod, hence the awesome podman logo above. We won't talk about pods here (we'll cover them soon, I promise), but they're a great feature of the tool.
Enough background, let's move on.
The first step, of course, is to install podman. As usual a sensible first step is to run an update for good system hygiene:
[doug@fedora-server28 Documents]$ sudo dnf -y update
With your system up-to-date, go ahead and install podman:
[doug@fedora-server28 Documents]$ sudo dnf -y install podman
(Obviously use yum or apt-get or whatever your distro uses to install and manage software.)
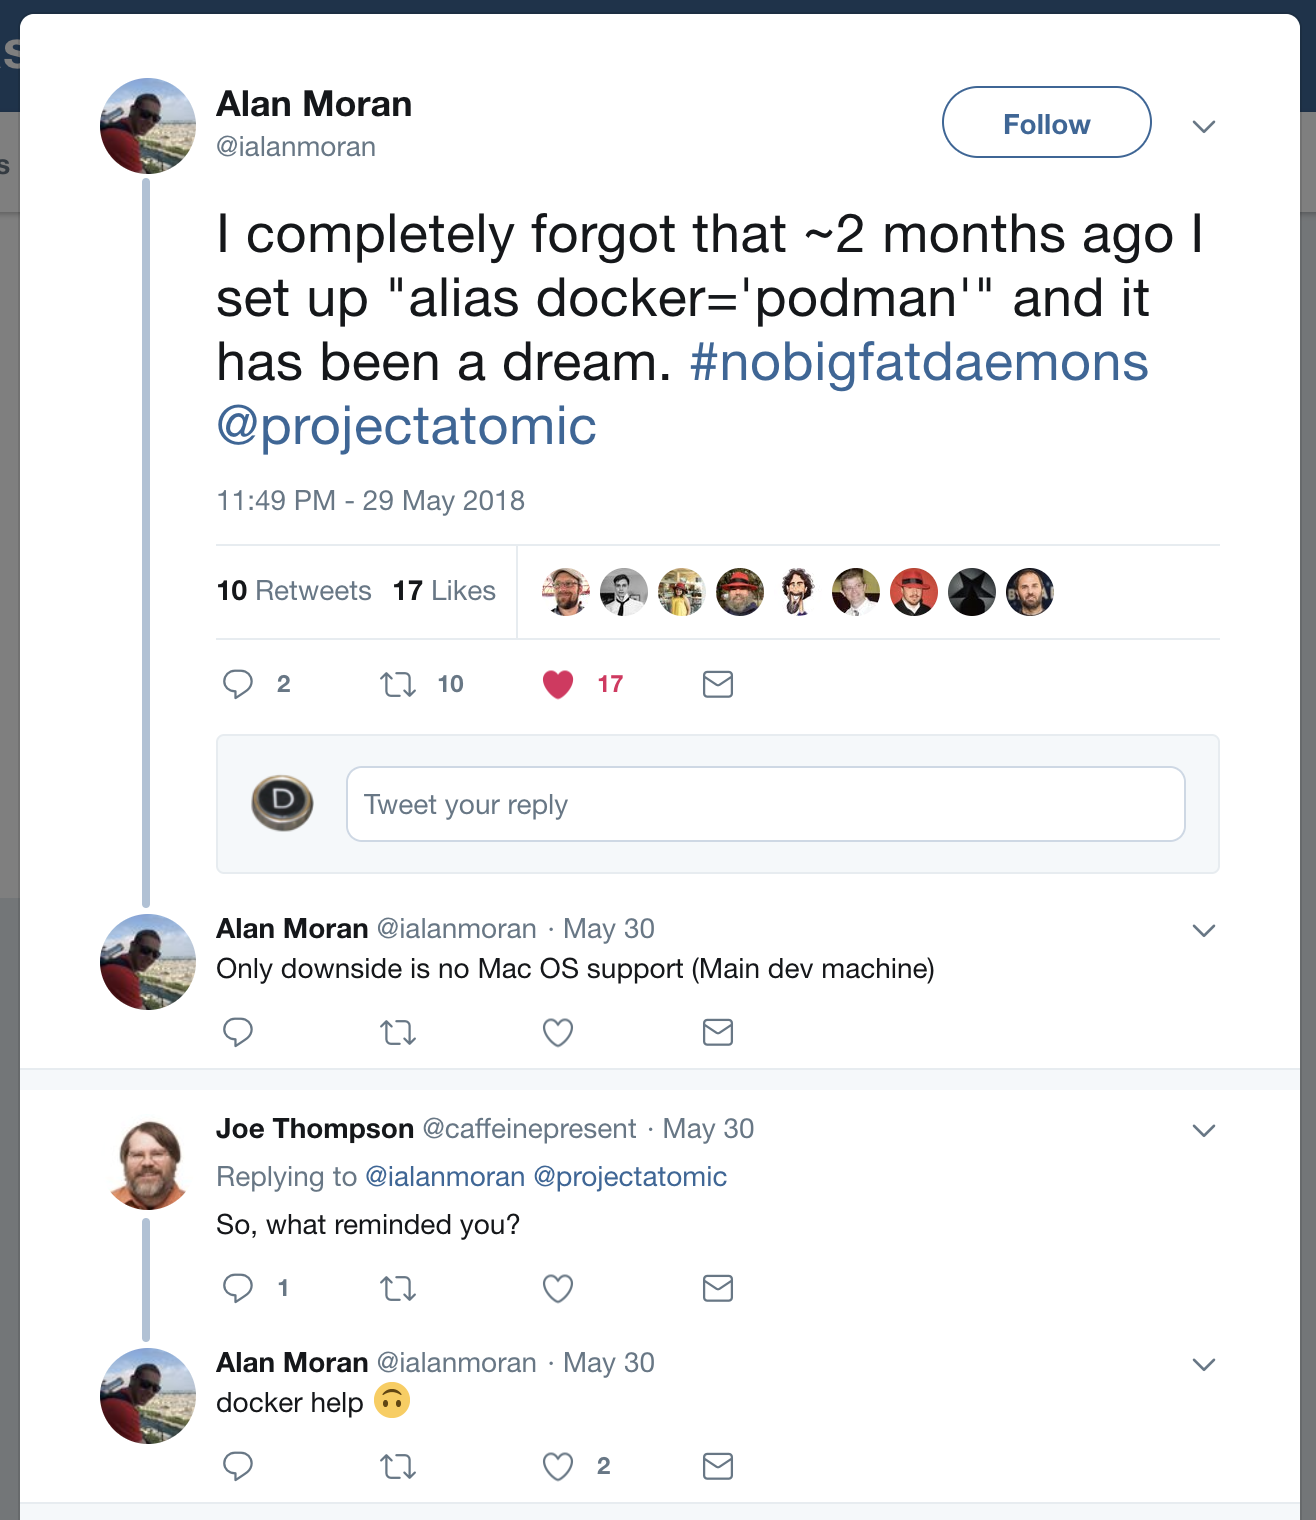
If you're ready to go all-in with podman, you can add alias docker=podman. That means that your Linux system will always invoke podman, even if you type docker out of habit. For research purposes, I run both docker and podman to show that they're compatible, so I haven't defined the alias. For what it's worth, Twitter user Alan Moran (not connected with yr. author in any way) defined the alias and had no problems whatsoever:
With the tool installed, start with sudo podman version to see the version you're using. I'm using version 0.9.3.1:
[doug@fedora-server28 Documents]$ sudo podman version
podman version 0.9.3.1
podman isn't at version 1.0 yet, so keep that in mind. Also, I'm running podman as root here, although that may not be necessary with the version of podman you have. The goal for podman version 1.0 is that the command should never require root access. We'll talk more about root access shortly.
Next, run podman info to get some information about the environment:
[doug@fedora-server28 Documents]$ sudo podman info
. . .
  registries:
  - docker.io
  - registry.fedoraproject.org
  - quay.io
  - registry.access.redhat.com
  - registry.centos.org
. . .
The only detail I'll point out here is the fact that there are five registries that podman uses on this system. If you're trying to load a container image, it first looks on the local machine, then it checks the other registries in the order they're listed here.
Now, let's dive in to the good stuff. We'll take the Dockerfile below and use podman to build an image with it. The file copies the source of the Colossal Cave Adventure game into the container image (the WORKDIR and COPY commands), installs some kernel updates for security reasons (the first six lines of the RUN command), along with the packages you need to build the code (the next five lines of RUN), and finally, builds the code (the last line of RUN):
FROM registry.centos.org/che-stacks/centos-stack-base

WORKDIR /usr/src/open-adventure

COPY ./open-adventure /usr/src/open-adventure

RUN sudo yum -y update && \
    sudo yum -y install kernel-headers && \
    sudo rpm --import https://www.elrepo.org/RPM-GPG-KEY-elrepo.org && \
    sudo rpm -Uvh http://elrepo.org/linux/kernel/el7/x86_64/RPMS/elrepo-release-7.0-3.el7.elrepo.noarch.rpm && \
    sudo yum --enablerepo=elrepo-kernel -y install kernel-ml && \
    sudo yum --enablerepo=elrepo-kernel -y swap kernel-headers -- kernel-ml-headers && \
    sudo yum -y install centos-release-scl && \
    sudo yum -y install gcc && \
    sudo yum -y install make && \
    sudo yum -y install libedit-devel && \
    sudo yum -y install python-yaml && \
    sudo make

CMD tail -f /dev/null
Building the container image is done with the command you'd expect:
[doug@fedora-server28 Documents]$ sudo podman build -t open-adventure:podman .
STEP 1: FROM registry.centos.org/che-stacks/centos-stack-base
Getting image source signatures
Copying blob sha256:f9ce27a295e879233c8fbbf9ab67944a10e1ce80da69a46f87c583082a1ff3bb

. . .

STEP 8: CMD tail -f /dev/null
--> 9e5d996316fac25084c5fa4d62ff4cbebad39dd8913ca4aff46c53653589ec7
STEP 9: COMMIT open-adventure:podman
(As always, don't forget the dot at the end of the build command.) It will take a few minutes to pull the base image as well as all of the requirements, especially the first time you build the container image. It's anecdotal data, but in my experience building an image with podman doesn't seem any faster or slower than docker.
As you would expect, running podman images shows the image I just built:
[doug@fedora-server28 Documents]$ sudo podman images
REPOSITORY                                         TAG                 IMAGE ID            CREATED              SIZE
localhost/open-adventure                           podman              a2b9a17504ac        About a minute ago   1.1GB
registry.centos.org/che-stacks/centos-stack-base   latest              6e397c56690f        2 weeks ago          510MB
Notice that localhost/ has been added to the name of the image. This tells podman that the image is in the image cache on the local machine.
Next I'll create a container from the image. podman run --rm -it [the name of the image I just created] /bin/bash. This runs a bash shell when the container starts.
[doug@fedora-server28 Documents]$ podman run --rm -it open-adventure:podman /bin/bash
ssh-keygen: generating new host keys: RSA1 RSA DSA ECDSA ED25519
[user@d767729eca88 open-adventure]$
This also works if you add localhost/ to the start of the image name, but I left that out to make a point. (The point being that I'm lazy.)
Now I'm at a bash prompt inside the container that has Colossal Cave Adventure, as compiled when podman built the image. I can run ./advent and play the game. Go inside the building, get something to eat and drink, and quit the game. That sort of thing.
The point here is that I created an image that I can share with anybody who wants to play the game. You can, of course, build an image that contains useful software as well.
And speaking of sharing, I'll put the image in the public repo at quay.io. First I'll use podman to log into my account:
[doug@fedora-server28 Documents]$ sudo podman login quay.io -u dougtidwell -p [password]
Now I can push my image from localhost into the quay.io repository:
[doug@fedora-server28 Documents]$ sudo podman push open-adventure:podman quay.io/dougtidwell/open-adventure:podman
Notice that when I push the image to quay.io, I have to specify the quay.io repo and my username (dougtidwell) as part of the remote image name.
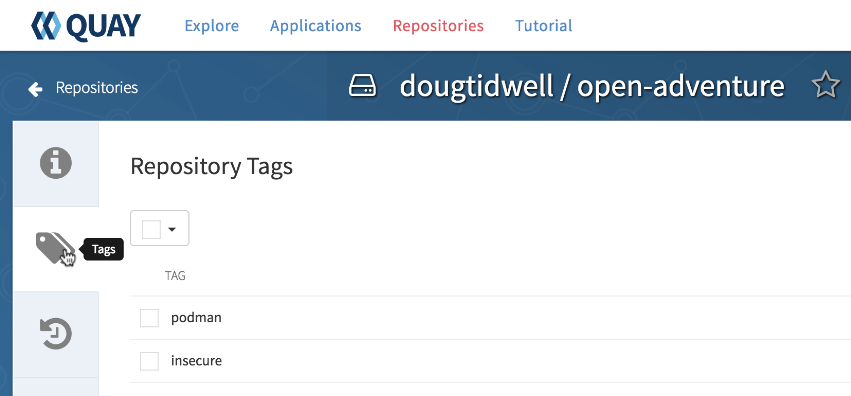
Now I'll go to the quay.io webpage for my container image:
Depending on the base operating system for your image, quay.io may run a scan for security vulnerabilities. I built the image tagged insecure with a modified Dockerfile that didn't install any kernel updates. That image has some vulnerabilities, and quay.io gave me the suggestions that helped me fix the problem. I left the old image around to make a point. (The point being that the security scan is pretty cool.)
Finally, to wrap up the demo, let's go back to my Mac and use docker to pull the image from quay.io. Remember, podman is Linux only, so we have to use docker. With the same options I used on Linux just a minute ago, I can run that image and use it exactly as I did on Linux:
doug@dtidwell-mac:~/Developer/CLH/S2E1 $ docker run --rm -it open-adventure:podman /bin/bash
ssh-keygen: generating new host keys: RSA1 RSA DSA ECDSA ED25519
[user@79fb285b6576 open-adventure]$
The image is completely compatible. In fact, some of the libraries used by podman are also part of docker.
Before we go, a quick note about container architectures. docker runs as a daemon on Linux. That creates a certain amount of overhead, and it also requires anyone who wants to build a container image to have root access. That can create security risks, especially if your users know about the --privileged option of the docker run command.
The daemon approach also stifles innovation in the container community. If you want to change the way containers work, you need to change the docker daemon and push those changes upstream. Without a daemon, the container infrastructure is more modular and it's easier to make changes. podman's daemon-less architecture is much more flexible and secure.
So that's a quick overview of podman. As you would expect, it's completely open source, Take a look at podman.io for documentation, presentations, and of course, the source code. We encourage you to install the tool on your Linux system and work with it. You can pull the container image I just built from my quay.io account and use it to play Colossal Cave Adventure, for example.
Enjoy working with the next generation of container tools!
Last updated: January 9, 2023


