Running Red Hat OpenShift Local (formerly Red Hat CodeReady Containers) is a good way to simulate a real OpenShift cluster for local development and testing. However, local setups often fall short for workloads that rely on AI, machine learning (ML), or GPU-acceleration, especially on machines with limited hardware.
This article explores how to share an NVIDIA GPU with an OpenShift Local instance. This process allows you to run containerized workloads that require GPU acceleration without needing a dedicated server. We will walk through the configuration process, explain how GPU sharing works under the hood, and show how to validate that your setup is functioning correctly.
Disclaimer
Because this testing machine is far away from any supported environment, this demo is for testing purposes only and does not represent any official Red Hat support procedure.
If you prefer to watch and follow along, the following video demonstrates the steps outlined in this article.
Environment
- Operating system: Fedora 42
- GPU: NVIDIA RTX 4060 Ti
- CPU: Intel Core i7-14700 × 28
- OpenShift Local 4.19
Prerequisites
You need to have installed Qemu/Libvirt and CRC in the environment $PATH. To make those configurations, just follow the steps described in the CRC documentation.
Once you've properly configured and installed the environment and CRC, you can proceed with the GPU sharing setup.
This process involves enabling GPU passthrough from the Fedora host to the OpenShift Local virtual machine. This ensures the NVIDIA drivers and runtime components are correctly detected inside the instance.
Prepare the host machine to share the NVIDIA GPU
By default, PCI devices—such as GPUs—cannot be shared with virtual machines because the system reserves direct hardware access for the host operating system.
To enable GPU sharing or passthrough, you must adjust certain configurations at both the BIOS and operating system levels. This process requires root access.
- Verify the host BIOS chipset to see if Intel VT-d/AMD Vi virtualization extension is enabled. The exact procedure might vary depending on your motherboard vendor. This demonstration uses an ASRock motherboard. To enable the feature, enter the BIOS during boot (usually by selecting F2 or Delete), navigate to Advanced → CPU Configuration, and enable Intel Virtualization Technology.
Identify the PCI device that is connected to the GPU:
# lspci -nnk | grep NVIDIA
06:00.0 VGA compatible controller [0300]: NVIDIA Corporation AD106 [GeForce RTX 4060 Ti] [10de:2803] (rev a1)
Edit GRUB to detach the GPU from the host. In the
GRUB_CMDLINE_LINUXsection, set the device ID invfio-pci.ids, with entries separated by commas:# vi /etc/default/grub- GRUB_CMDLINE_LINUX="rd.lvm.lv=fedora/root rhgb quiet rd.driver.blacklist=nouveau modprobe.blacklist=nouveau" + GRUB_CMDLINE_LINUX="rd.lvm.lv=fedora/root rhgb quiet rd.driver.blacklist=GPU_TYPE modprobe.blacklist=GPU_TYPE video=efifb:off intel_iommu=on rd.driver.pre=vfio-pci kvm.ignore_msrs=1 vfio-pci.ids=10de:2803"Add
dracutconfiguration to enable the IOMMU (Input-Output Memory Management Unit):# vi /etc/dracut.conf.d/local.conf+ add_drivers+=" vfio vfio_iommu_type1 vfio_pci "Update
GRUBanddracut:# grub2-mkconfig -o /etc/grub2.cfg# dracut -f --kver $(uname -r)Reboot the host to apply all changes:
# rebootOnce the machine starts, verify if the IOMMU is now enabled:
# dmesg | grep -i -e DMAR -e IOMMU
...
[    0.113297] DMAR: IOMMU enabled
...
Set up the local OpenShift instance
Once the
CRCexecutable is correctly located in the$PATH, you need to set up the local OpenShift instance:crc setupThen, use the
crc configcommand to configure the virtual machine (VM) resources. For this example, our configuration was as follows:- CPU: 18
- Memory: 32 GB
- Disk: 200 GB
crc config set cpus 18
crc config set memory 32000
crc config set disk-size 200
You can also check the configured resources at the end of the process using the
crc config viewcommand:crc config view - consent-telemetry : yes - cpus : 18 - disk-size : 200 - memory : 32000Start the OpenShift Local instance:
crc startAdd the PCI device to the CRC VM via
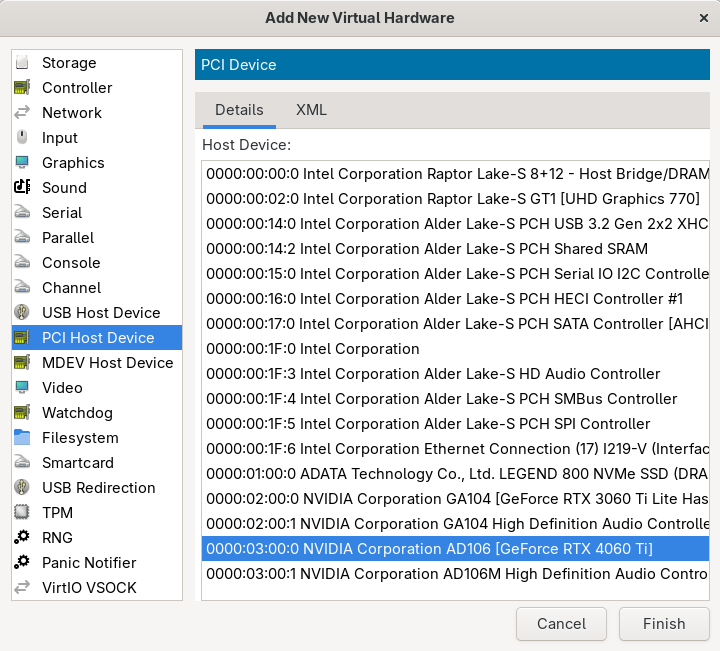
virt-manager:virt-managerGo to Edit → Virtual Machine Details → View → Details → Add Hardware → PCI Host Device. Then, select the NVIDIA GPU from the device list (Figure 1).
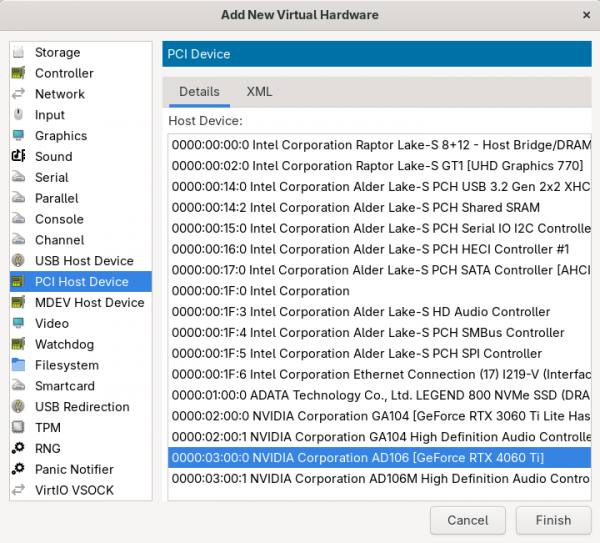
Figure 1: Adding the NVIDIA GPU to the CRC virtual machine. Log in to the OpenShift cluster and start a debug session on the node:
oc login -u kubeadmin https://api.crc.testing:6443oc debug node/crcVerify that the PCI device is assigned to the node:
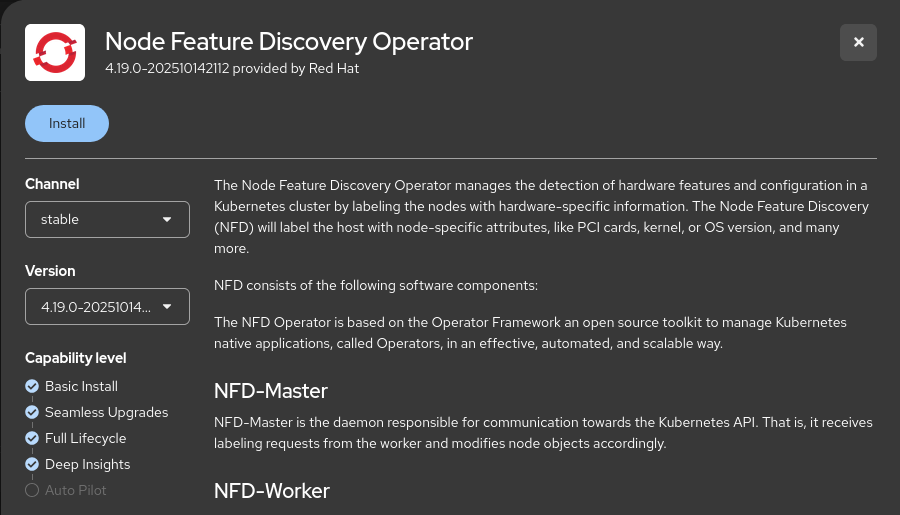
sh-5.1# lspci -nnk | grep NVIDIA
06:00.0 VGA compatible controller [0300]: NVIDIA Corporation AD106 [GeForce RTX 4060 Ti] [10de:2803] (rev a1)
Log in to the OpenShift web console and install the Node Feature Discovery Operator (Figure 2) and then create a NodeFeatureDiscovery instance.
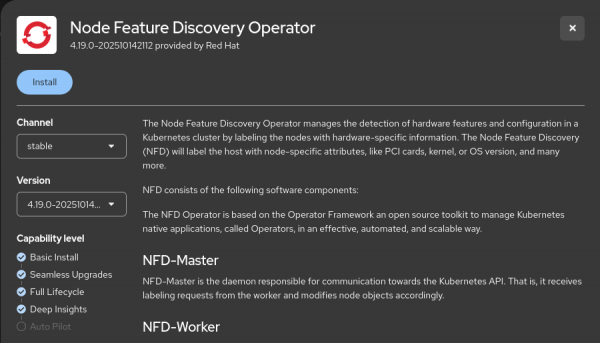
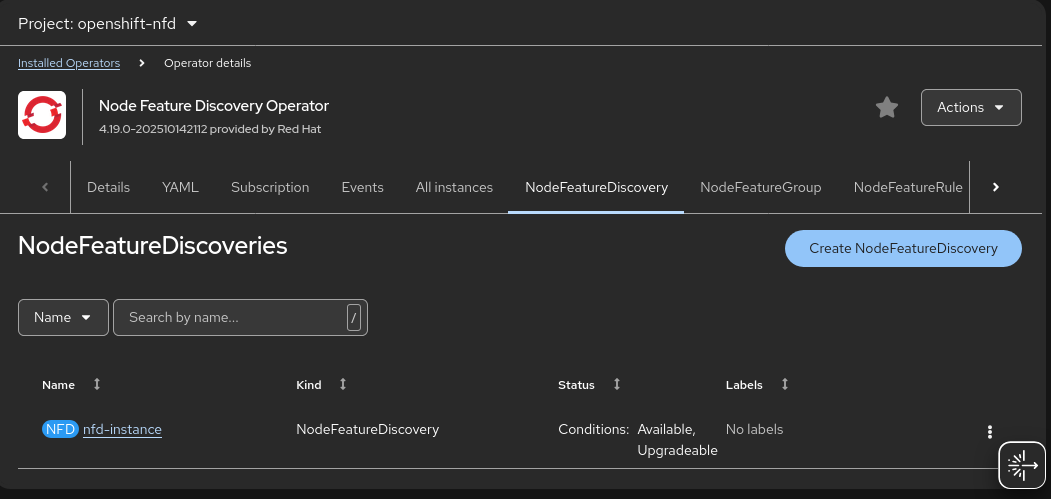
Figure 2: Installing Node Feature Discovery Operator Wait until the
nfd-instancestatus is updated to stable conditions, as shown in Figure 3.
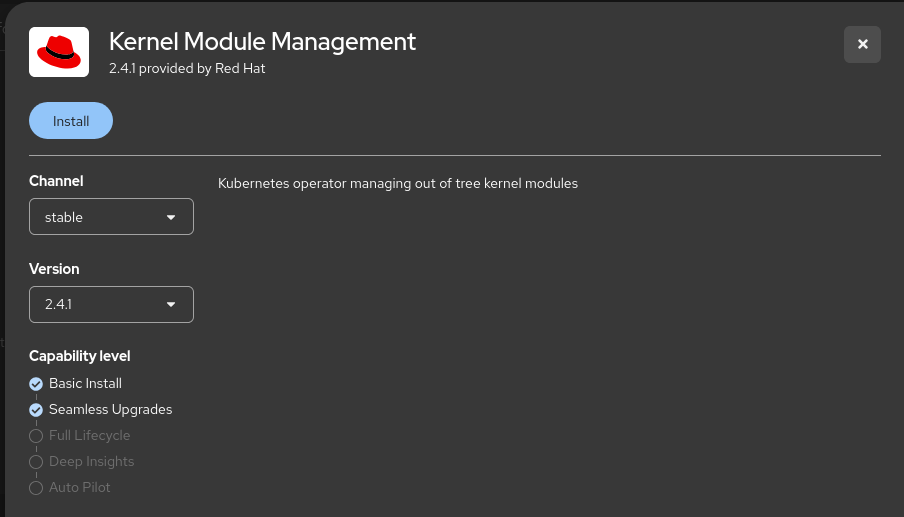
Figure 3: Creating a NodeFeatureDiscovery instance. Install the Kernel Module Management operator (Figure 4).

Figure 4: Installing Kernel Module Management Operator. No additional operands are required in this step. You only need to finish the Operator installation process (Figure 5).
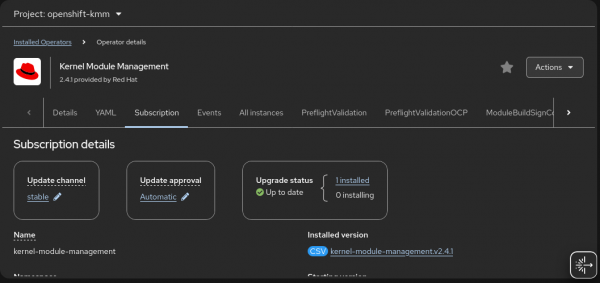
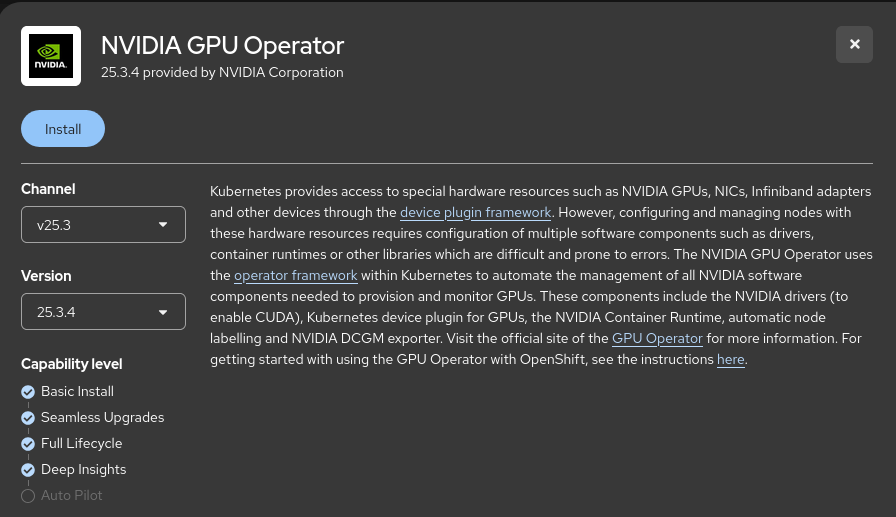
Figure 5: Validate Kernel Module Management installation. Install the NVIDIA GPU Operator (Figure 6) and create a ClusterPolicy.

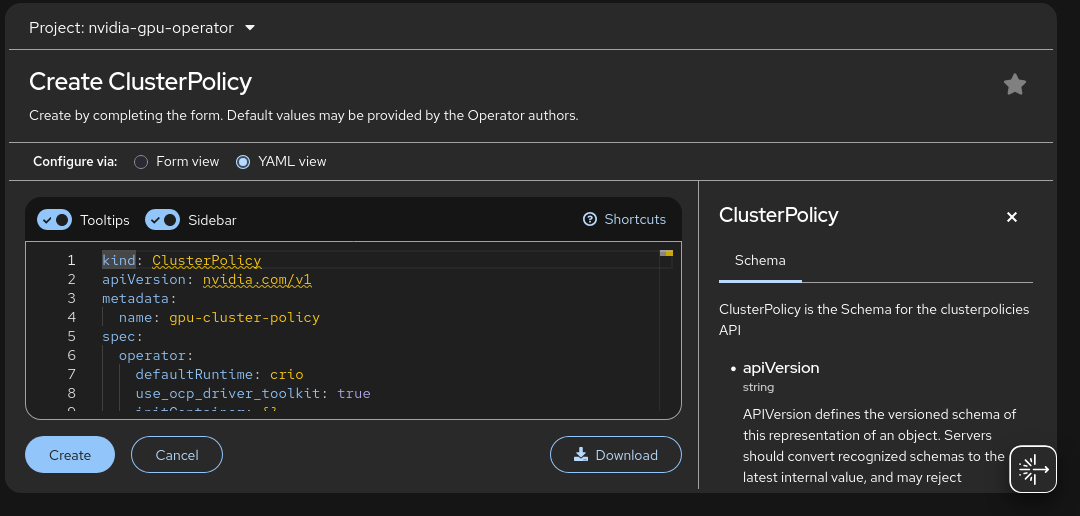
Figure 6: Installing NVIDIA GPU Operator. When creating the ClusterPolicy instance, you can configure the parameters according to your specific use case (Figure 7). This demo uses the default provided configuration.

Figure 7: Creating the ClusterPolicy instance. The ClusterPolicy instance creation process might take several minutes because it involves configuring multiple components required for GPU enablement. During this process, the necessary NVIDIA drivers, device plug-ins, and runtime configurations are deployed and aligned with the OpenShift environment:
oc get pods -n nvidia-gpu-operator
NAME                                           READY   STATUS            RESTARTS   AGE
gpu-feature-discovery-dhmx4                    0/1     Init:0/1          0          20s
gpu-operator-58465575fb-sdd6v                  1/1     Running           0          9m14s
nvidia-container-toolkit-daemonset-tkfmg       0/1     Init:0/1          0          20s
nvidia-dcgm-exporter-vwpch                     0/1     Init:0/2          0          20s
nvidia-dcgm-wwt4t                              0/1     Init:0/1          0          20s
nvidia-device-plugin-daemonset-d494w           0/1     Init:0/1          0          20s
nvidia-driver-daemonset-9.6.20250805-0-kwsvx   0/2     PodInitializing   0          67s
nvidia-node-status-exporter-zxsxx              1/1     Running           0          64s
nvidia-operator-validator-nskc8                0/1     Init:0/4          0          20s
Wait until all pods in
nvidia-gpu-operatornamespace update their status toRunning/Completed:oc get pods -n nvidia-gpu-operator NAME READY STATUS RESTARTS AGE gpu-feature-discovery-dhmx4 1/1 Running 0 4m7s gpu-operator-58465575fb-sdd6v 1/1 Running 0 13m nvidia-container-toolkit-daemonset-tkfmg 1/1 Running 0 4m7s nvidia-cuda-validator-x5jj4 0/1 Completed 0 75s nvidia-dcgm-exporter-vwpch 1/1 Running 2 (45s ago) 4m7s nvidia-dcgm-wwt4t 1/1 Running 0 4m7s nvidia-device-plugin-daemonset-d494w 1/1 Running 0 4m7s nvidia-driver-daemonset-9.6.20250805-0-kwsvx 2/2 Running 0 4m54s nvidia-node-status-exporter-zxsxx 1/1 Running 0 4m51s nvidia-operator-validator-nskc8 1/1 Running 0 4m7sAdditionally, the OpenShift Local node updates to recognize and expose the GPU resources, making them available for workloads that require hardware acceleration. Use the
oc describe node crccommand to explore the node details once theClusterPolicyfinishes the configuration process:oc describe node crc | grep -i nvidianvidia.com/cuda.driver-version.full=580.82.07 nvidia.com/cuda.driver-version.major=580 nvidia.com/cuda.driver-version.minor=82 nvidia.com/cuda.driver-version.revision=07 ... nvidia.com/gpu-driver-upgrade-enabled: true nvidia.com/gpu: 1 nvidia.com/gpu: 1 nvidia-gpu-operator gpu-feature-discovery-dhmx4 0 (0%) 0 (0%) 0 (0%) 0 (0%) 6m35s nvidia-gpu-operator gpu-operator-58465575fb-sdd6v 200m (1%) 500m (2%) 200Mi (0%) 1Gi (3%) 15m nvidia-gpu-operator nvidia-container-toolkit-daemonset-tkfmg 0 (0%) 0 (0%) 0 (0%) 0 (0%) 6m35s nvidia-gpu-operator nvidia-dcgm-exporter-vwpch 0 (0%) 0 (0%) 0 (0%) 0 (0%) 6m35s nvidia-gpu-operator nvidia-dcgm-wwt4t 0 (0%) 0 (0%) 0 (0%) 0 (0%) 6m35s nvidia-gpu-operator nvidia-device-plugin-daemonset-d494w 0 (0%) 0 (0%) 0 (0%) 0 (0%) 6m35s nvidia-gpu-operator nvidia-driver-daemonset-9.6.20250805-0-kwsvx 0 (0%) 0 (0%) 0 (0%) 0 (0%) 7m22s nvidia-gpu-operator nvidia-node-status-exporter-zxsxx 0 (0%) 0 (0%) 0 (0%) 0 (0%) 7m19s nvidia-gpu-operator nvidia-operator-validator-nskc8 0 (0%) 0 (0%) 0 (0%) 0 (0%) 6m35s nvidia.com/gpu 0 0 Normal GPUDriverUpgrade 7m6s nvidia-gpu-operator Successfully updated node state label to upgrade-done

Performing a basic test
After configuring the local OpenShift node, the shared GPU is now available for accelerated workloads.
A simple way to verify the setup is to create a Pod that runs the nvidia-smi command. If everything is configured correctly, the command output displays the GPU details in the Pod's logs.
Create a Pod YAML configuration file:
cat cuda-test-pod.yaml
apiVersion: v1
kind: Pod
metadata:
  name: cuda-test
spec:
  restartPolicy: OnFailure
  containers:
  - name: cuda-test
    image: nvidia/cuda:12.2.0-base-ubuntu22.04
    command: ["nvidia-smi"]
    resources:
      limits:
        nvidia.com/gpu: 1
Create the Pod in the OpenShift cluster:
oc create -f cuda-test-pod.yamlWait until the Pod's status changes to Completed:
oc get pods
NAME        READY   STATUS              RESTARTS   AGE
cuda-test   0/1     ContainerCreating   0          7s
$ oc get pods
NAME        READY   STATUS      RESTARTS   AGE
cuda-test   0/1     Completed   0          10s
Check the Pod log:
oc logs -f cuda-test
Wed Oct 22 21:16:27 2025
+-----------------------------------------------------------------------------------------+
| NVIDIA-SMI 580.82.07              Driver Version: 580.82.07      CUDA Version: 13.0     |
+-----------------------------------------+------------------------+----------------------+
| GPU  Name                 Persistence-M | Bus-Id          Disp.A | Volatile Uncorr. ECC |
| Fan  Temp   Perf          Pwr:Usage/Cap |           Memory-Usage | GPU-Util  Compute M. |
|                                         |                        |               MIG M. |
|=========================================+========================+======================|
|   0  NVIDIA GeForce RTX 4060 Ti     On  |   00000000:06:00.0 Off |                  N/A |
|  0%   39C    P8             11W /  165W |       1MiB /  16380MiB |      0%      Default |
|                                         |                        |                  N/A |
+-----------------------------------------+------------------------+----------------------+
+-----------------------------------------------------------------------------------------+
| Processes:                                                                              |
|  GPU   GI   CI              PID   Type   Process name                        GPU Memory |
|        ID   ID                                                               Usage      |
|=========================================================================================|
|  No running processes found                                                             |
+-----------------------------------------------------------------------------------------+
The successful output of the nvidia-smi command confirms that the GPU has been correctly detected and is fully operational within the OpenShift cluster. This indicates that the necessary drivers, device plug-ins, and configurations are properly in place, allowing the cluster to use GPU acceleration.
With this validation complete, the environment is now ready to run and test accelerated workloads such as AI model inference, data processing, or other compute-intensive applications that benefit from the GPU. For example, you can do this by installing and configuring Red Hat OpenShift AI.
Last updated: February 18, 2026