Installing components directly on a server or in a virtual machine’s (VM) operating system demands significant updates and maintenance to ensure compatibility. In contrast, a containerized service and its dependencies run as a self-contained unit. You can deploy these containers into a managed cloud system to concentrate on the service instead of maintaining an operating system.
Well-defined image files let modern applications scale in response to demand. Run Pods in a cloud environment when local servers are near capacity, or balance a workload across multiple regions or cloud providers for resilience. It doesn’t matter where each container runs as long as it can access resources.
Encapsulation ensures a high degree of consistency and reproducibility, facilitating debugging and troubleshooting. To revert to the service’s previous version, simply make containers from a good image.
Breaking monolithic services into containerized microservices minimizes the attack surface, too, particularly compared to VMs. Containers offer significant tenancy advantages over VMs due to their architecture. While VMs require separate copies of an entire operating system, containers share underlying layers of file differences, allowing multiple containers to use the same file space, thereby significantly increasing density and efficiency. Also, with containerization, you can identify security-affected image versions and then create and deploy new patched images.
A previous article illustrated dividing a monolithic Java application (an e-commerce bicycle app called Pedal) into various microservices. This article demonstrates how to containerize those microservices and host the images for swift deployment and scalability as your application expands.
Essentials of containerization
RHELRed Hat® Enterprise Linux® (RHEL) is a Linux distribution for enterprises valuing stability, robustness, and professional support. Typically installed on a server, RHEL comes with training, certification, and tooling. Red Hat Enterprise Linux CoreOS (RHCOS), a variant integrated into the Red Hat OpenShift Container Platform, is explicitly optimized for containerized environments, allowing centralized upgrades. | PodmanPods are container groups sharing resources and running together. Red Hat engineers developed Podman, an open source command-line tool for managing images and containers, and its graphical user interface (GUI) equivalent, Podman Desktop. Podman is similar to Docker but doesn’t need a daemon service, making it more secure and accessible. | QuayRed Hat® OpenShift® includes an integrated registry with pre-configured Red Hat Universal Base Images (UBIs), including certified container images. Red Hat OpenShift Platform Plus includes Red Hat Quay. It’s a private image registry that lets you create multiple image repositories while controlling their push and pull permissions. Red Hat Quay’s resilience, scalability, and security focus make it a suitable choice for multiple clusters or single-point security. | OpenShiftRed Hat OpenShift is the Kubernetes orchestration tool’s enterprise version. In this tutorial, you’ll use the Developer Sandbox for Red Hat® OpenShift® (and the OpenShift CLI) to containerize your microservices and host your images. The Developer Sandbox helps you explore Red Hat’s practical and time-saving developer tools tailored for containerization and more. |
Containerization and cloud-native journey
Setting up Podman Desktop
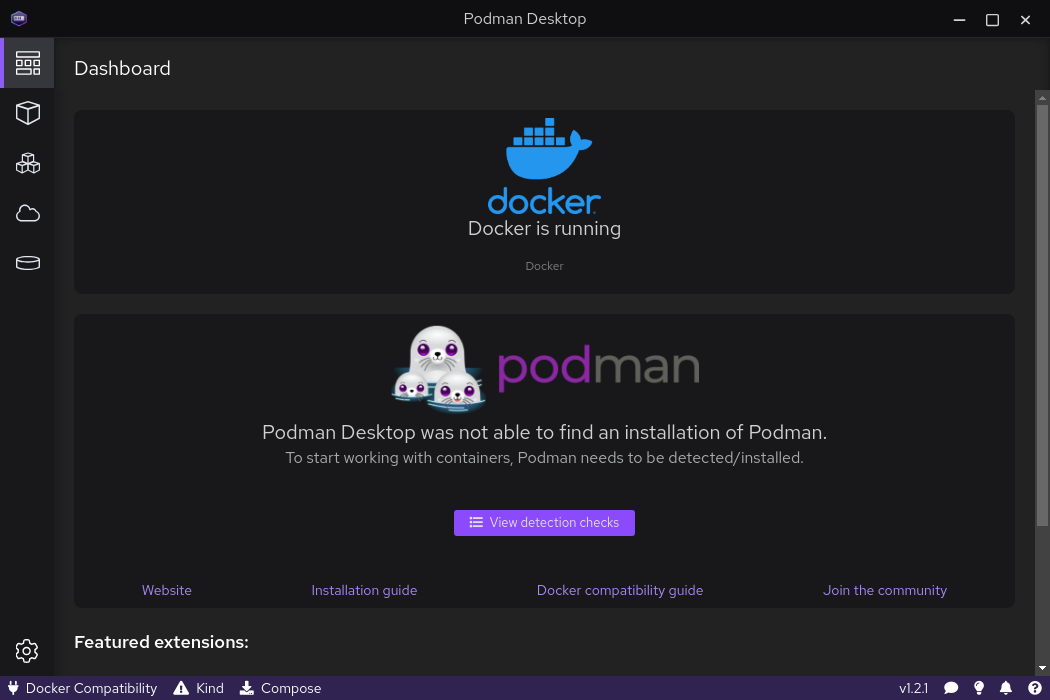
First, install Podman Desktop from the Developer Sandbox and set it up.
Setting up the example application
Now, you’ll deploy the Pedal sample application to the Developer Sandbox for Red Hat OpenShift to containerize the Bike Service.
First, clone the Red Hat Pedal repository from GitHub to edit it locally using the following command:
git clone https://github.com/redhat-developer-demos/pedal-user-service
Then, append the following line to the src/main/resources/application.properties file:
spring.thymeleaf.prefix=/WEB-INF/classes/templates/
Next, edit the pom.xml file as follows:
<properties>
    <java.version>17</java.version>
</properties>


The file should now look like this:

<description>Bike commerce application</description>
<packaging>war</packaging>
<properties>
    <java.version>17</java.version>
    <start-class>com.redhat.Bike.Service</start-class>
    <maven.compiler.source>8</maven.compiler.source>
    <maven.compiler.target>8</maven.compiler.target>
</properties>
Add the following code just before the end of the plugins section in pom.xml:
       <plugin>
             <artifactId>maven-war-plugin</artifactId>

             <configuration>

                 <attachClasses>true</attachClasses>

                 <webResources>

                     <resource>

                         <directory>src/main/resources</directory>

                         <filtering>true</filtering>

                     </resource>

                 </webResources>

             </configuration>

         </plugin>
In the cloned repository’s top level, create a ContainerFile file with the following contents:
FROM maven AS build

COPY src /home/default/src

COPY pom.xml /home/default/

WORKDIR /home/default/

RUN mvn install -Dmaven.test.skip

FROM registry.access.redhat.com/ubi9/openjdk-17-runtime

RUN mkdir -p /home/default/target

COPY --from=build /home/default/target/bike_commerce-0.0.1-SNAPSHOT.war /home/default/target/bike_commerce-0.0.1-SNAPSHOT.war

# CMD java -jar /home/default/target/bike_commerce-0.0.1-SNAPSHOT.war

CMD while true; do echo "heartbeat"; sleep 10; done
The code’s while true loop is a simple way to keep the container active and operational. Otherwise, the container stops functioning after running these commands. This approach is beneficial in environments where a container needs to continue running, even if the primary application isn't active or is being debugged. Additionally, the ContainerFile text above uses Red Hat UBI, which uses RHEL, letting you build an image that runs on RHEL.
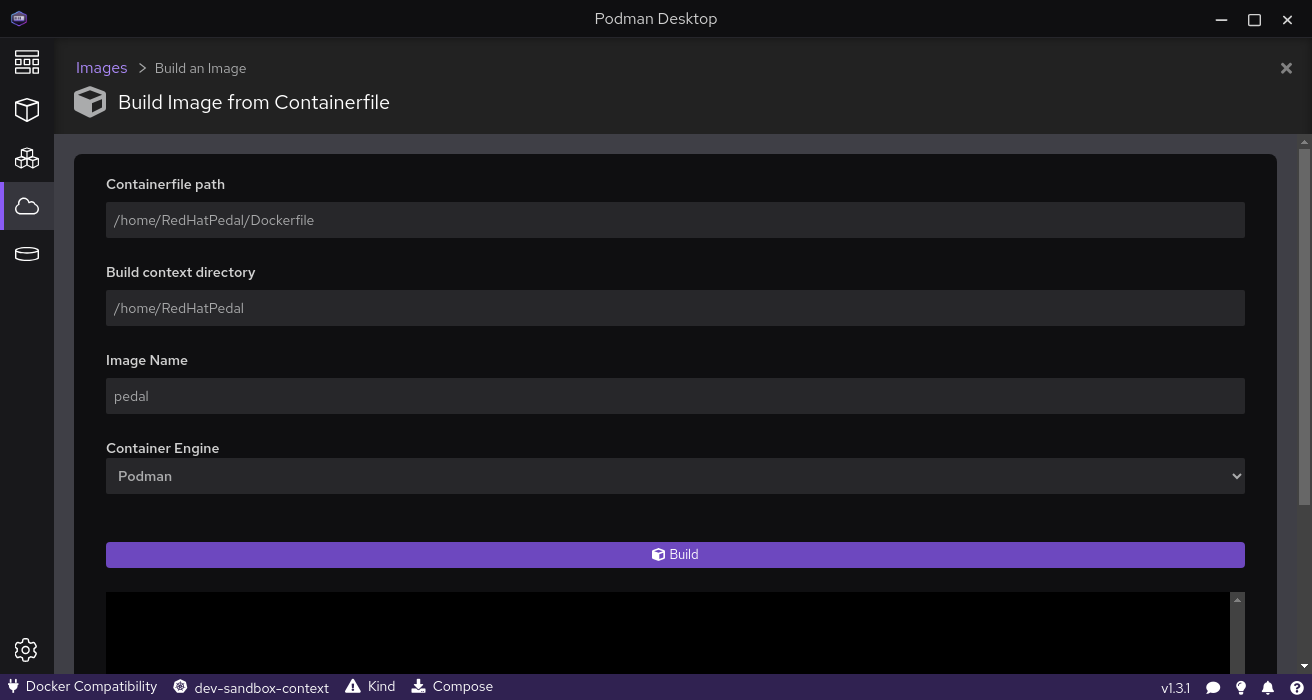
Next, in Podman Desktop, navigate to the Images section and click Build an image.
In the Containerfile path, select the new ContainerFile. In Image Name, type pedal. Set Container Engine to Podman and click Build:
You should get a notification message about the successful build. Click Done to go back to the Images list.
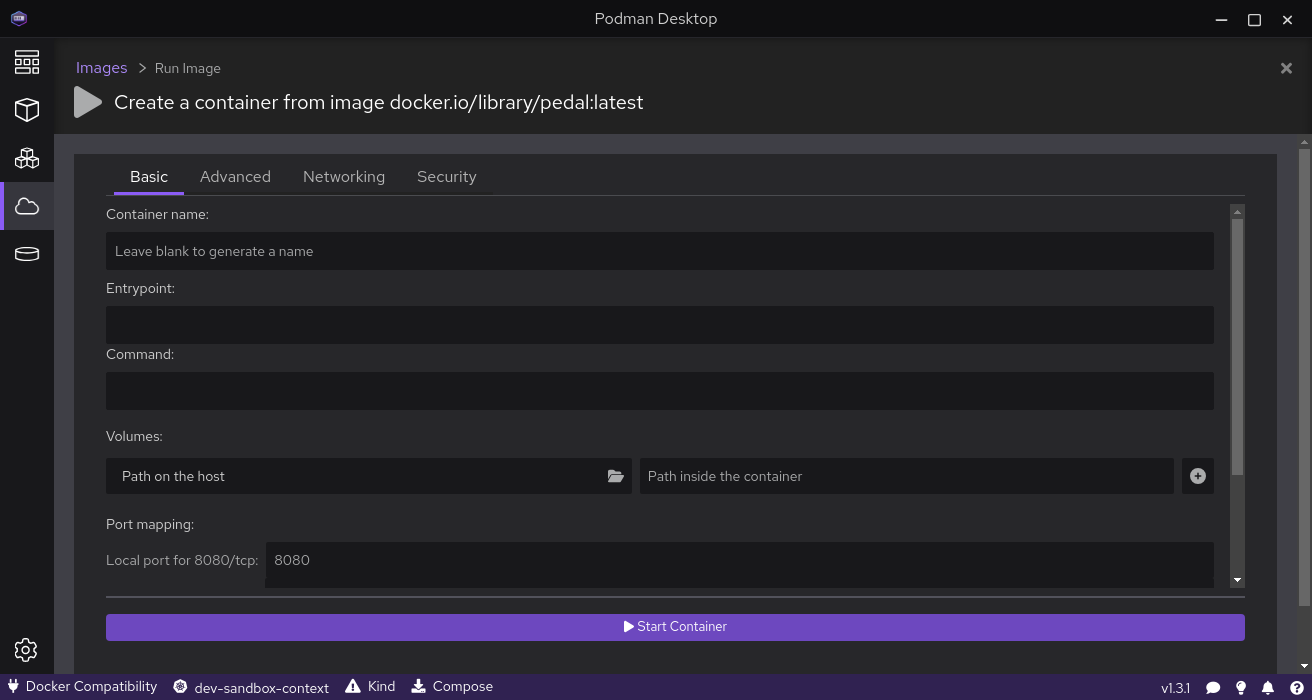
Next, click Run image next to your new image, then click Start Container.
You should now see a list of running containers, including your new one. Click it to view its logs. To stop the container, click the stop symbol.
Journey to OpenShift
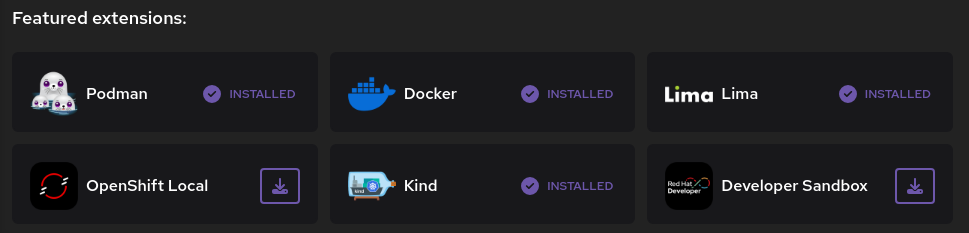
In Podman Desktop, navigate to the dashboard (the top menu item) and install the Developer Sandbox extension.
Note that the Red Hat OpenShift Developer Sandbox offers a unique default behavior compared to standard OpenShift production environments, particularly for registry access. In the Developer Sandbox, the registry address is exposed by default, letting you directly import images into your project namespace. This approach contrasts with the default behavior in a typical OpenShift production environment, where access to the registry is more restricted and isolated to enhance security and control in enterprise settings. This difference highlights the Developer Sandbox's focus on enabling ease of use and experimentation for developers instead of prioritizing security and controlled access for production environments.
Navigate to Settings, then Resources in Podman Desktop. Click Create new… to configure access to your existing Developer Sandbox:

Follow the on-screen instructions log in and obtain a login link. Paste the link in the Login command from Developer Console field. Click Create:
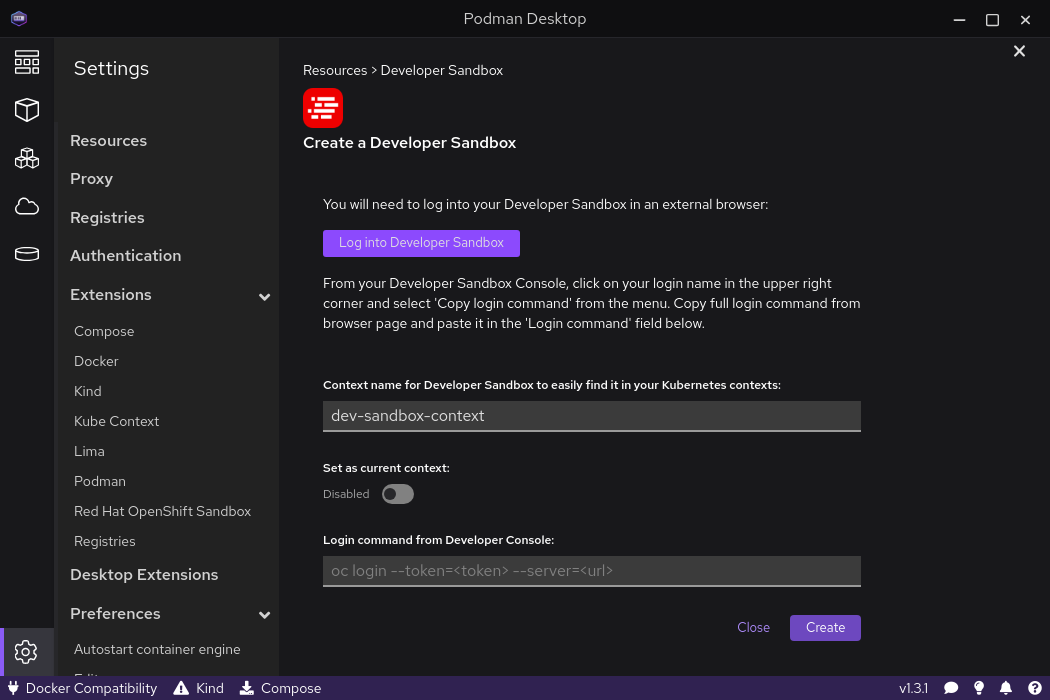
You should get a message confirming the operation was successful.
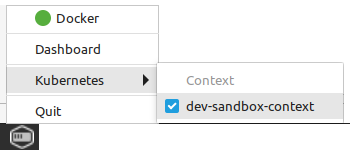
Now, right-click the Podman Desktop tray icon, select Kubernetes, and ensure you checkmark your sandbox context. If you don’t have the Kubernetes option yet, try closing and restarting Podman Desktop:
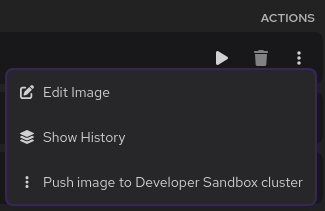
Switch to the Images tab and click the three vertical dots beside your custom image. Because you installed the Developer Sandbox extension, a menu option appears: Push image to Developer Sandbox cluster. Select it:
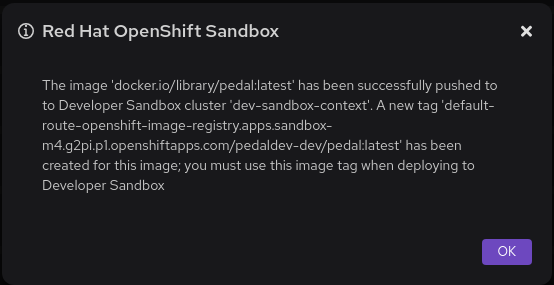
This action retags the image, creating a new entry in the image list. The image push may take a minute or two, depending on your network connection speed. Wait for a message confirming a successful push. Click OK.
Note: As mentioned above, the registry address in the Red Hat OpenShift Developer Sandbox is exposed by default, helping you effortlessly push images directly into your project namespaces. However, in a standard OpenShift cluster, the integrated registry isn’t exposed as a route by default. Exposing it requires additional configuration to set up the route, reflecting a more cautious approach to security and access control in production environments.
Run the newly tagged image to create a container, as you did with the original image. You’ll see a list of containers with the new container running.
Click the container. Then, press the rocket ship icon in the top right to deploy the container to Kubernetes:
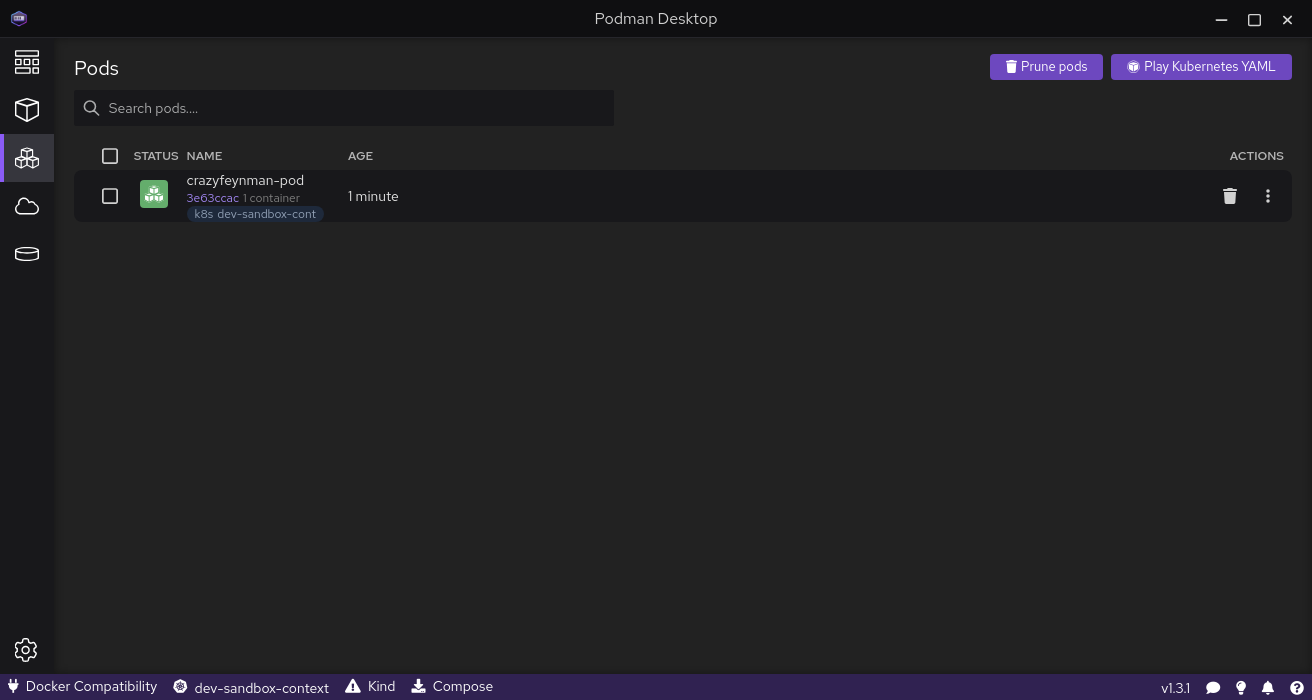
Leave the default options unchanged and click Deploy. Once complete, hit Done. Click the Pods section in Podman Desktop to view your pod running on your Developer Sandbox cloud:
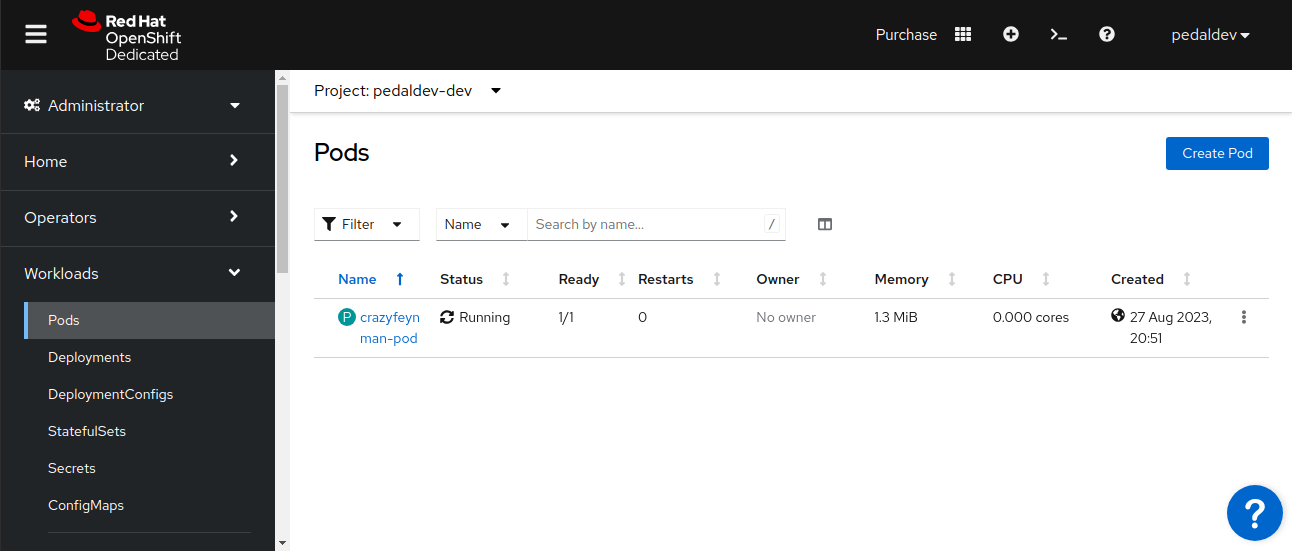
You can also use your browser to view the pod running in the Developer Sandbox. Just set the user to Administrator and navigate to Workload / Pods in the menu:
Note: The Pedal microservices require a PostgreSQL Database function. To run these services, use the PostgreSQL ContainerFile and the init.sql script to create a containerized database. Alter the service properties file to point to it.
Hosting images on an image registry
Pushing an image to Quay from Podman Desktop is straightforward. Sign in to Red Hat Quay with your Red Hat login, then click Create New Repository on the home screen:

Name the repository as desired. In Podman Desktop, click the image and click Push. Enter the repository’s details and click Push. Your image is now accessible from anywhere using Quay.
You can also use Podman CLI instead of Podman Desktop to push and pull images.
Next steps
You’ve learned how to use Podman and Red Hat Quay to build images and containers locally and then push them to Red Hat OpenShift. These Red Hat tools streamline the creation, deployment, security, and management of containers — a core component of modern software system design. Your DevOps team can deploy new features and fixes faster, freeing time for more innovation and collaboration across different environments.
Learn more about containerization in hybrid cloud application development:
- Deploy a container on the Developer Sandbox for Red Hat OpenShift.
- Use Red Hat Enterprise Linux (RHEL).
- Explore Podman Desktop.