Page
Create necessary tasks within a new workspace

In the first lesson, you cloned a repo and created a pipeline. In this lesson, you will create a workspace and complete its tasks.
In order to get full benefit from taking this lesson, you need to:
- A web browser.
In this lesson, you will:
- Create the workspace.
- Create its necessary tasks.
Prerequisites
The git-clone ClusterTask in our pipeline needs a workspace to place the source code. To build our Linux image, the Buildah ClusterTask will read the source from that same workspace. A Persistent Volume Claim (PVC) is what we use in Kubernetes.
Create the workspace
Run the following command to build the PVC to be used as our workspace:
oc create -f workspace.yamlPreparing for necessary tasks
When you look at the qotd-pipeline.yaml file, you will see three tasks referenced in the TaskRef dictionaries within the tasks dictionary: git-clone, buildah, and apply-manifests.
- The first two tasks,
git-clone and buildah, are known asClusterTasks, or tasks built into the OpenShift Pipeline Operator. You can see a list ofClusterTaskobjects by running the commandtkn clustertask list. This is entirely optional. - Further, you can inspect a
ClusterTaskby running thetkn clustertask describe<<taskname>>command, such astkn clustertask describe buildah. But, again, this is entirely optional. - However, the third and final task in our pipeline is
apply-manifests, which is not aClusterTask. In this case, we need to create this task object.
The contents of the apply_manifest_task.yaml file are as follows:
apiVersion: tekton.dev/v1beta1

kind: Task

metadata:

  name: apply-manifests

spec:

  workspaces:

  - name: source

  params:

  - name: manifest_dir

    description: The directory in source that contains yaml manifests

    type: string

    default: "k8s"

  steps:

    - name: apply

      image: quay.io/openshift/origin-cli:latest

      workingDir: /workspace/source

      command: ["/bin/bash", "-c"]

      args:

        - |-

          oc apply -f $(inputs.params.manifest_dir)
What does this do? How does it work? The apply-manifests task will look in the directory specified by the parameter manifest_dir — which has a default value of k8s” — and run the oc apply -f … command for every file found in that directory.
In the case of our source code, the k8s directory includes three files:
deploymentconfig.yamlroute.yamlService.yaml
Info alert: This is the source code as specified by the git-url parameter value supplied to the pipeline at runtime, and not the source code of the pipeline
You can view the contents of these files if you wish to see what they do. The important point is that this one pipeline task performs multiple operations based on the source code supplied. This yields a lot of power and flexibility.
Create necessary tasks
Run the following command to create the apply-manifests task:
oc create -f apply_manifest_task.yamlPrepare to run the pipeline
Now you have all the pieces in place: A pipeline, the workspace, a task, and the URL of the source code. Now It’s time to run the pipeline.

You will need the name of your OpenShift project to run the pipeline.
Before running the command, set up your command line and browser to view the activity as the pipeline runs. This is entirely optional.
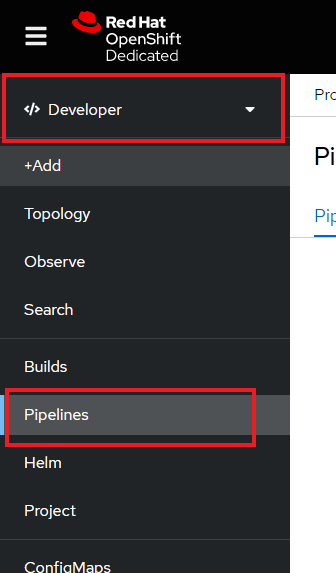
In the browser, select the Developer mode, then Pipelines. You will see your pipeline displayed (Figure 2).
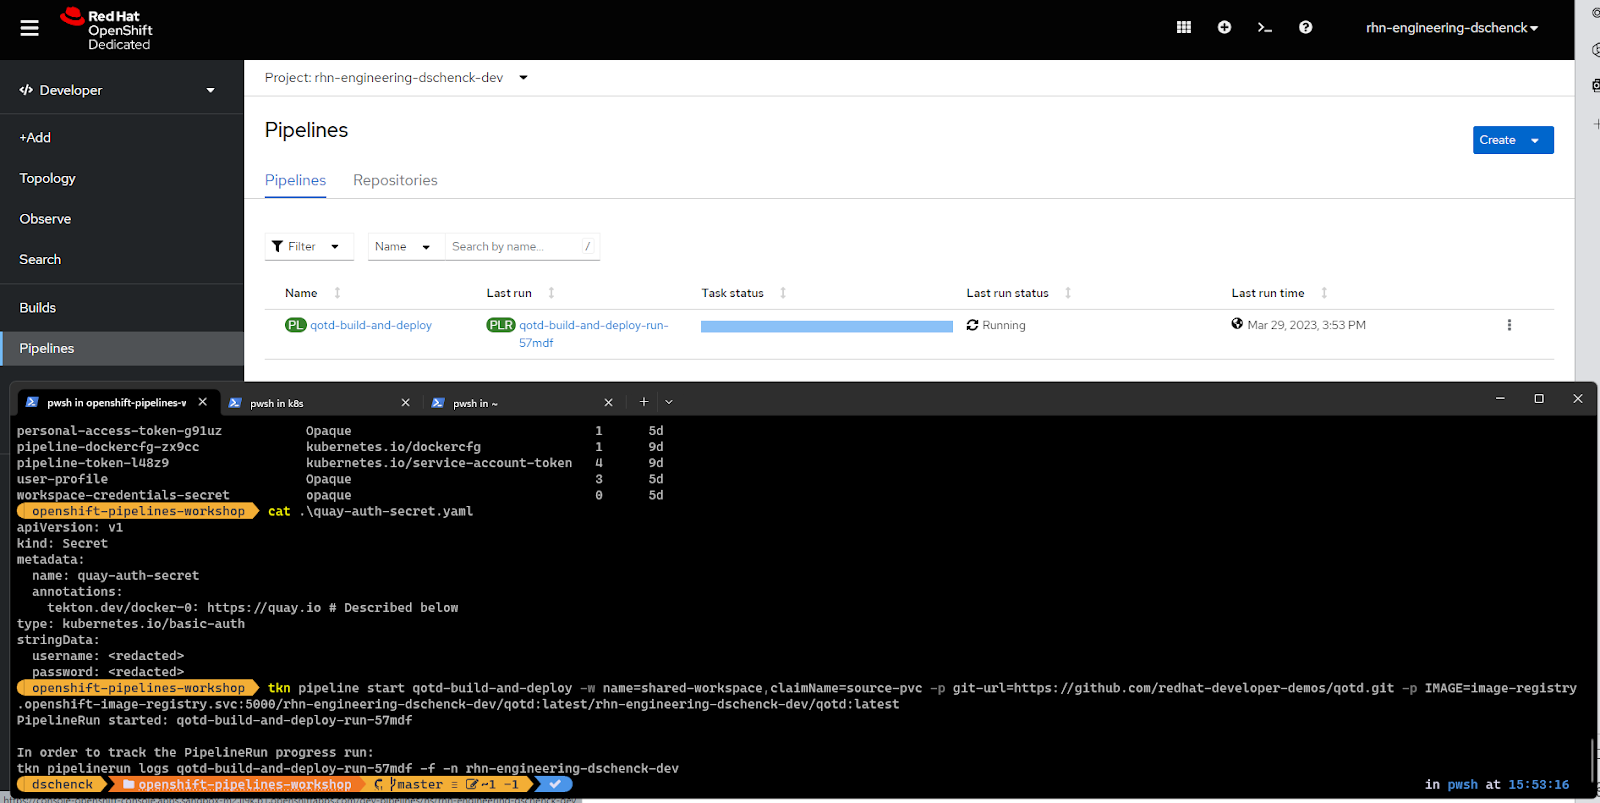
Next, position your command line such that you can see both the command line in the foreground and the pipeline in the background. When you run the pipeline, you can view the action in both contexts. Figure 3 is a screenshot of my setup.
Congratulations. You're ready to run your pipeline.
