Page
Connect the image using Podman and the Developer Sandbox
In order to get full benefit from taking this lesson, you need:
- Podman Desktop
- Access to the Developer Sandbox
In this lesson, you will:
- Build and test an image
- Access Developer Sandbox
- Use Podman Desktop
Build the image
For this step, you could use Podman at the command line, but we're going to use Podman Desktop to show how easy it is.
- Fire up the Podman Desktop application, go to the Images tab, and select Build Image. This will give you a simple wizard to enter the information needed to do the image build.
- We will use the scaffolded
Containerfileand the generated binary artifacts. Click Select Containerfile to build. - Follow the directory structure from your root directory where the
pom.xmlis and where you unzipped the source, down through thesrc/main/docker. Click theDockerfile.jvmfile.Info alert:
DockerfileandContainerfileare interchangeable terms; both refer to a file that lists the steps to take to build an image. - There's a little gotcha here: Because the
Containerfilewas in a subdirectory, we have to give the Podman application a different context directory to look for the components. - The
Containerfilemakes a direct reference to atargetsubdirectory, and because theContainerfilewas down in thesrc/xxxdirectory, it will set the context directory there by default. - Change the Build Context Directory to your root directory. In other words, remove the
/src/main/dockerbit. - Change the name to something simple and memorable, and add a tag that isn't
:latest. See Figure 2.Info alert: It's bad practice to use the
:latesttag, as any builds you do overwrite any previous image with the:latesttag.
Figure 2: Building the image wizard in Podman Desktop. - Now select Build. If all goes well, it will complete pretty quickly.
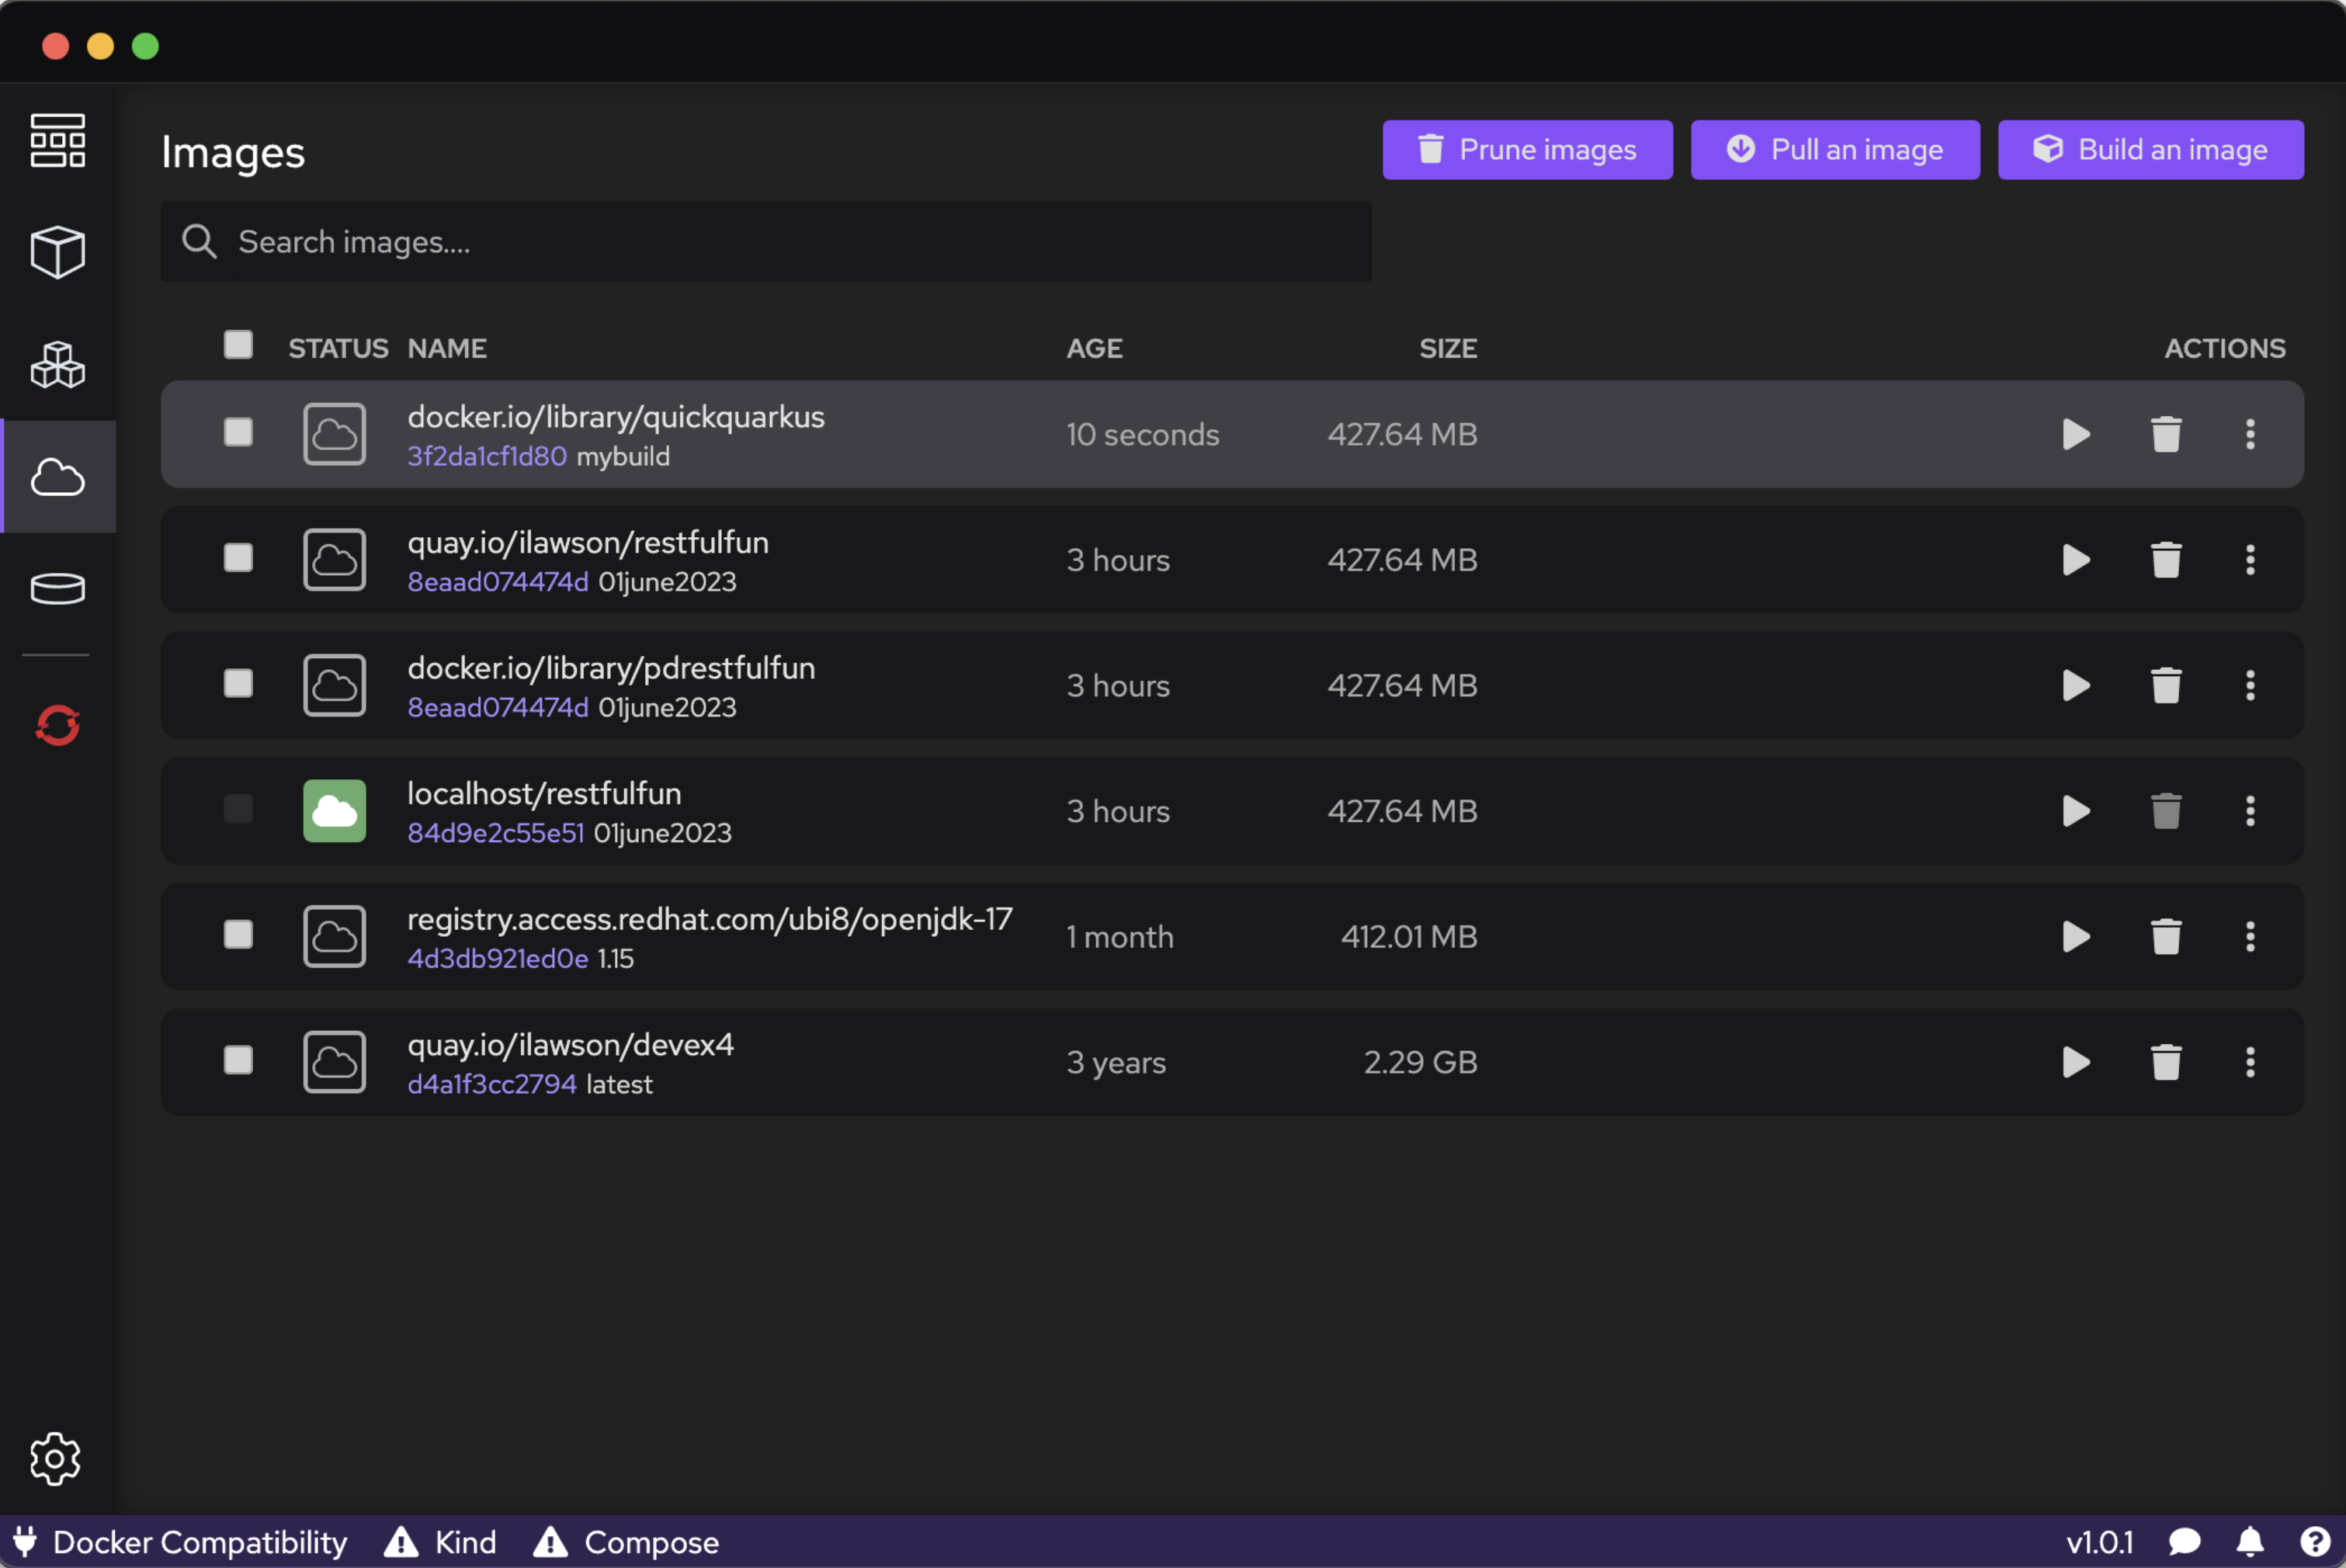
- If you then navigate to the Images tab, you should see a generated image (Figure 3).
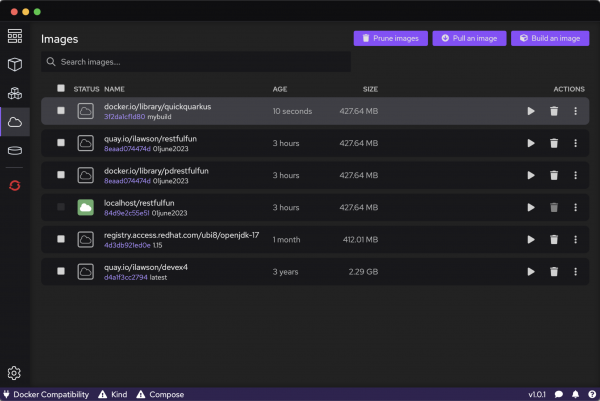
Figure 3: The image list in Podman Desktop.

Test the image
Here is how you can test your image.
- From the Images tab in Podman Desktop, locate the image you just created, and click the Run icon on the far right to start a container using that image.
- In the wizard, leave everything as default because we just want to test our endpoint quickly.
- Click Start Container. Podman Desktop should switch to the Containers tab, and you will see a container running (with an improbable name).
- Pop back to a terminal window and enter:
curl http://localhost:8080/hello/subdir - You should see the system time and the code change you made earlier reported as a response. The image works!
Set up the Developer Sandbox interaction
Now comes the fun stuff.
- To start, we need to log into the Developer Sandbox. When you log in, you will be presented with the Developer viewpoint and offered a tour. If you have time, take the tour—it's very much worth it.
- When you're ready to proceed, click the drop-down menu in the upper-right corner of the window where your username is displayed.
- Select Copy Login Command. This opens a new window where you are given the command to log onto the Developer Sandbox via the
ocCLI. - Click Display Token, then copy the
oclogin command so you can paste and execute it in your terminal window. This command uses theoctool, which was installed as part of the prerequisites, to log you onto the Developer Sandbox from your terminal. - You can now interact with your project (which will be
[username]-dev) directly, which is how we'll install and run the application we just created an image for.
Connect Podman to the Developer Sandbox
To install and run the application, we are going to log Podman onto the Developer Sandbox itself. This lets us use the Developer Sandbox integrated registry, which is how OpenShift controls and manages all images on the system directly.
A small caveat: The Developer Sandbox is actually a number of OpenShift clusters, and when you set up your account, you get assigned to one of them. In order to log Podman onto the appropriate cluster, you need to determine which cluster you're assigned to.
- At the terminal, type:
oc whoami --show-server=true - This command, which we will also use to get the token to log on to the registry, gives us information about who we are and where we are logged onto. The output of that command will look a little like this:
https://api.sandbox-m3.1530.p1.openshiftapps.com:6443 - This is the RESTful API endpoint for our cluster. Yours might look slightly different.
- We are now going to use a neat little part of the
oc whoamicommand to log us directly into the registry. This is the command we are going to use, but we need to change the target registry depending on the output of youroc whoami --show-server=true:podman login -u testuser -p $(oc whoami -t) default-route-openshift-image-registry.apps.sandbox-m3.1530.p1.openshiftapps.comInfo alert: Important: Replace the registry route with the output of your
oc whoami --show-server=truewithout the https and port number. - If it all works, Podman will return a Login Succeeded! message.
Congratulations. At this point, you can push images directly from your local system into the Developer Sandbox registry. Now it's time to run the application.