Page
Create a Kubernetes pod using two containers
Pods are a tidy way to package multiple containers into one package. Podman Desktop makes this easy with a point-and-click interface.
Prerequisites:
- Podman Desktop.
- Podman CLI installed on your computer (Podman).
In this lesson, you will:
- Select two containers and merge them into a single pod using a point-and-click interface.
Step 1: Create a pod (in Podman Desktop) using running containers
At this point, there are two containers running. The next step is to put those two containers into a single pod that can later be deployed to OpenShift—in this case, your Developer Sandbox instance.
In Podman Desktop, as highlighted in Figure 1, begin by selecting both containers and clicking the Create Pod image near the top of Podman Desktop.
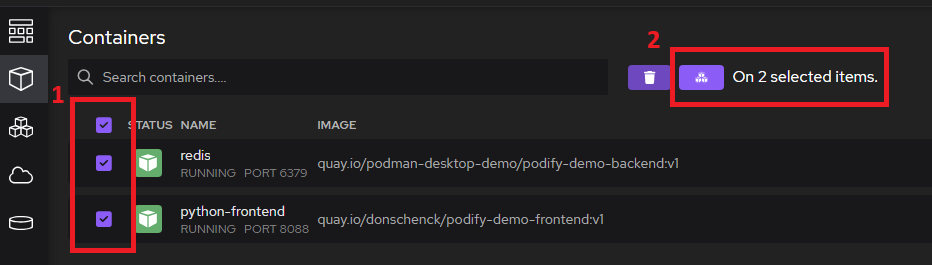
On the Copy containers to a pod panel, first un-select the Port 6379—there is no reason to expose the redis port outside of the pod. Then click the Create Pod button (Figure 2).

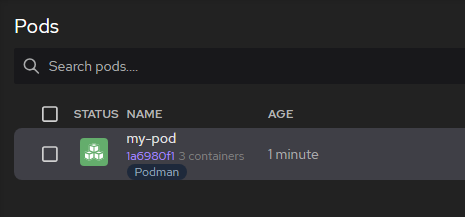
After a few moments, formerly running containers will be stopped and the newly created pod will be displayed in the Pods section, as well as the combined logs and a summary of the containers if clicked upon (Figure 3).
Step 2: Set up your Developer Sandbox in Podman Desktop
To connect your Podman Desktop to your sandbox instance, visit this Red Hat Developer Learning Path: Install Podman Desktop and connect it to your Developer Sandbox
