A Graphical User Interface, or GUI, is highly important for Apache Kafka administrators and developers. Having the ability to visualize and interact with topics or make changes quickly can save a significant amount of time. While Red Hat's AMQ streams Operator is often considered a lightweight GUI, more advanced and detailed information can only be obtained using command-line tools such as kafka-consumer-groups.sh, kafka-acls.sh, etc.
In most of the customer implementations of Kafka clusters I have encountered, the most common question is: "Where is the web console?"
The answer to this question is simple: AMQ streams does not have a built-in GUI. However, there are many free and paid third-party options available that are fully compatible with AMQ streams. Among dozens of tools, one particular tool caught my attention: AKHQ. In this article, I will demonstrate how to deploy AKHQ on Red Hat OpenShift 4 and connect it to AMQ streams.
The Kafka cluster
The example Kafka cluster that I will use for this article has the following characteristics:
- Authentication mechanism:
SCRAM-SHA-512 - Protocol:
SASL_SSL - Sasl.jaas.config:
org.apache.kafka.common.security.scram.ScramLoginModule required username="akhq" password="NmfwVqrNZKyy"; - Namespace:
amq-streams-lab - Kafka version: 3.3.1 with operator version v2.3.0-3
I will install AKHQ in the same namespace as AMQ streams because I want it to take over the GUI role solely for this Kafka installation. However, it would be fine to install it in a different namespace. One of the features of AKHQ is its support for configuring multiple clusters, making it a convenient central GUI for managing multiple Kafka clusters.
Prepare the AKHQ package
To begin, let's clone AKHQ from the following address: https://github.com/tchiotludo/akhq.git. The example shown in this article uses AKHQ version 0.24.0.
We'll perform the installation using Helm. Within the cloned project, there is a folder named helm/akhq containing everything necessary for deployment on OpenShift 4.
git clone https://github.com/tchiotludo/akhq.git
cd ./akhq/helm/akhq
Within the folder, you will find a file named values.yaml. Edit this file and fill in the Kafka cluster connection parameters. Locate the secrets {} property, remove the comments, and fill it out as shown in the example below:
secrets:
  akhq:
    connections:
       amqstreams-lab:
        properties:
          bootstrap.servers: "amqstreams-lab-kafka-bootstrap.amq-streams-lab.svc.cluster.local:9095"
          security.protocol: SASL_SSL
          sasl.mechanism: SCRAM-SHA-512
          sasl.jaas.config: org.apache.kafka.common.security.scram.ScramLoginModule required username="akhq" password="NmfwVqrNZKyy";
          ssl.truststore.location: /opt/kafka/cluster-ca-certs/ca.p12
          ssl.truststore.password: bnnZ0bY9L79i
While configuring the ssl.truststore.password and ssl.truststore.location properties, it's essential to remember that these values will be retrieved from the Kafka cluster's certificate secret. Further clarity on this will be provided during the configuration of extraVolumes and extraVolumeMount.
Another necessary change is to adjust the service port. Locate the service property and modify the value from 80 to 8080:
service:
  enabled: true
  type: ClusterIP
  port: 8080
  managementPort: 28081
  #httpNodePort: 32551
  labels: {}
  annotations:
    # cloud.google.com/load-balancer-type: "Internal"
I'm utilizing a Kafka cluster that requires a certificate for authentication. Since I'm deploying AKHQ in the same namespace as AMQ streams, I'll configure AKHQ to retrieve the cluster certificate from the secret associated with the cluster. Locate the extraVolumeMounts and extraVolumes properties and populate them as demonstrated below.
# Any extra volumes to define for the pod (like keystore/truststore)
extraVolumes:
  - name: cluster-ca-cert
    secret:
      secretName: amqstreams-lab-cluster-ca-cert
      defaultMode: 420

# Any extra volume mounts to define for the akhq container
extraVolumeMounts:
  - name: cluster-ca-cert
    mountPath: /opt/kafka/cluster-ca-certs/ca.p12
    subPath: ca.p12
The password required for the ssl.truststore.password property, mentioned earlier in this article, can be retrieved also from the secret named amqstreams-lab-cluster-ca-cert. In each Kafka cluster, there exists a secret containing both its certificate and password, and the naming convention for this secret follows the structure <CLUSTER NAME>.cluster-ca-cert.
The final essential configuration is to define the route for accessing AKHQ. In the values.yaml file, locate the ingress property, and populate it as shown below.
ingress:
  enabled: true
  ingressClassName: ""
  annotations: {}
    # kubernetes.io/ingress.class: nginx
    # kubernetes.io/tls-acme: "true"
  paths:
    - /
  hosts:
    - akhq-amq-streams-lab.apps-crc.testing
  tls: []
  #  - secretName: akhq-tls
  #    hosts:
  #      - akhq.demo.com
In this example, the host is composed of the following structure: akhq + <namespace name> + <Openshift host>. You have the flexibility to include annotations, certificates, or any valid domain.
Deploy and run
To deploy AKHQ, I will use the Helm install <name> command, as shown below. (Note: I used Helm version 3.11. Check the syntax of install in other versions.)
oc project amq-streams-lab
helm install akhq-amqstreams  .
The result of executing this command will be the following artifacts within the namespace:
- 1 pod has been created with a name similar to
akhq-amqstreams-XXXXX - 1 deployment created with the name
akhq-amqstreams - 1 secret created with the name
akhq-amqstreams-secrets - 1 ConfigMap created with the name
akhq-amqstreams - 1 replicaSet created with a name similar to
akhq-amqstreams-XXXXX - 1 service created with the name
akhq-amqstreams - 1 NetworkPolicy created with a name
akhq-amqstreams - 1 route created with a name similar to
akhq-amqstreams-XXXXX
To access AHKQ, use the route created during the installation. You will see a screen similar to the one shown in Figure 1.
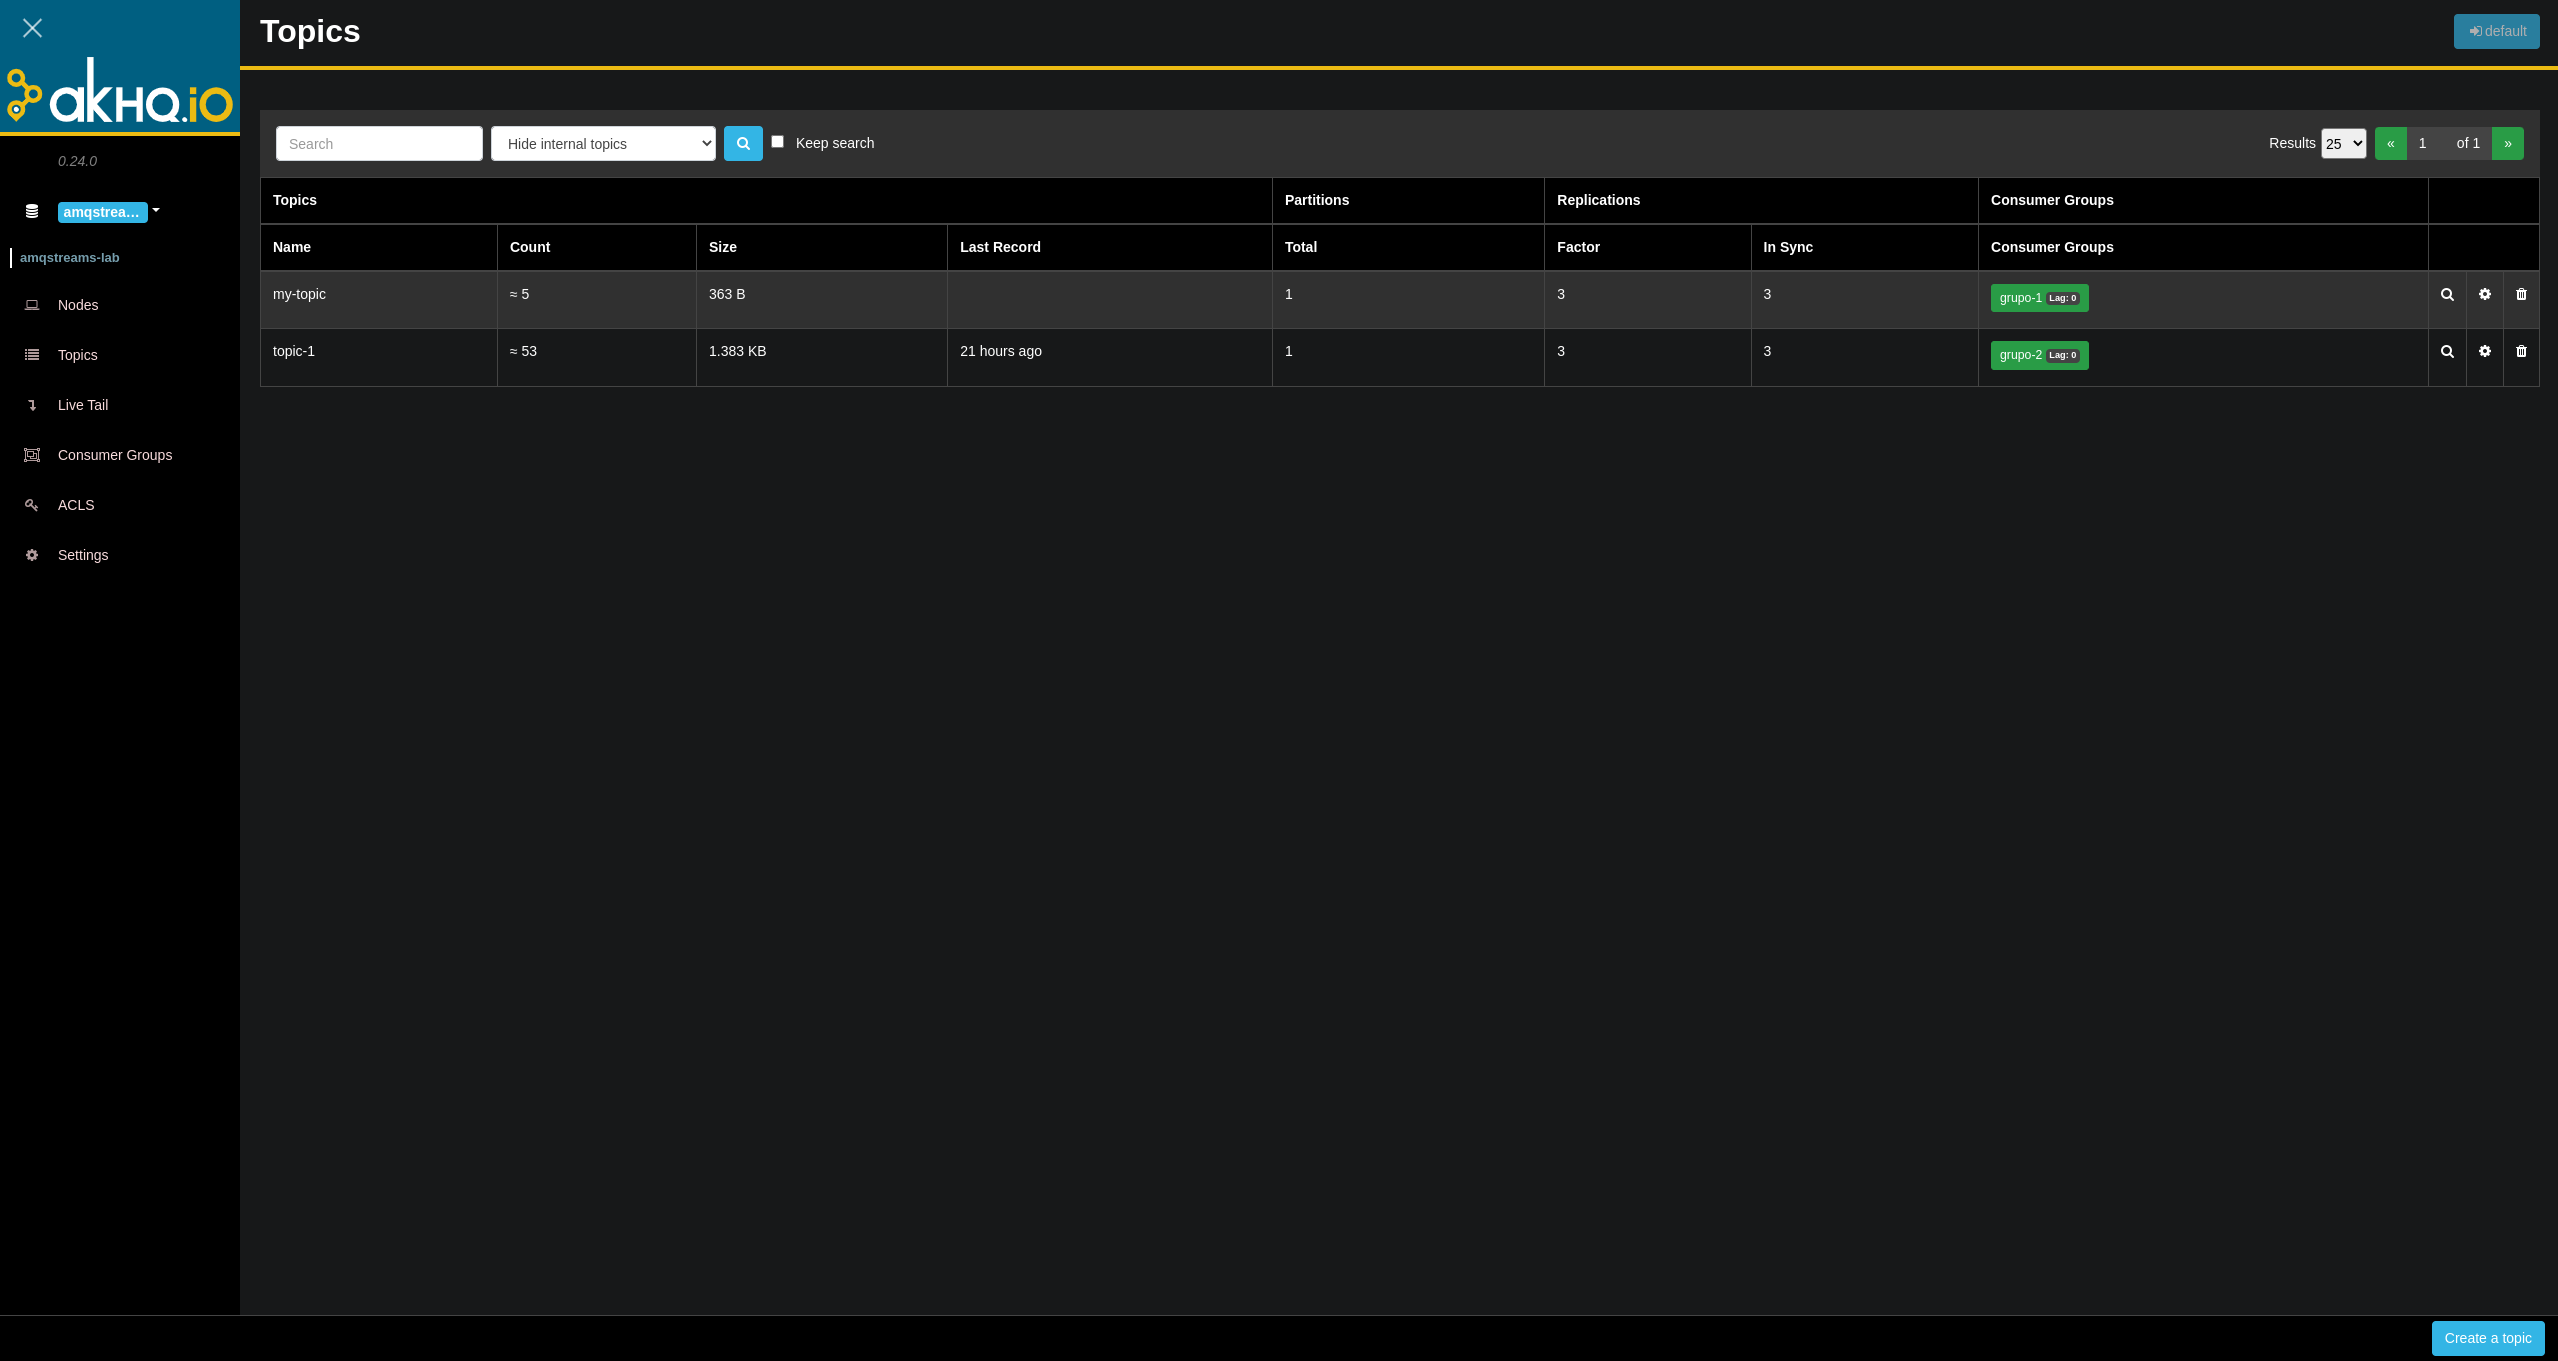
Now, you can navigate through the tool and enjoy the experience.
Final considerations
AKHQ is an excellent complement to AMQ streams. In this article, I provided a quick start guide. However, you can enhance this installation by incorporating additional features such as implementing a login using Red Hat's single sign-on tool, creating a service account, or scaling up the number of pods. You can even customize the appearance by adding a new logo to enhance the user experience further.
Last updated: September 19, 2023