Cryostat is a tool for managing JDK Flight Recorder data on Kubernetes. Cryostat 2.1, the most recent version of the software, has a brand-new user interface for the automated rules that were previously introduced as an API feature in Cryostat 2.0. It is now much easier to manage JDK Flight Recording (JFR) on a large scale for many Java applications.
The power of automated rules
Automated rules trigger JFRs against target JVMs, offering powerful and flexible match expressions to determine which applications each rule applies to. These match expressions can refer to various properties of the target applications, such as the pod name (which can be compared using direct string equality or regular expressions), JMX port number, and any OpenShift or Kubernetes labels and annotations present on the pod.
When a rule is created, Cryostat selects all the applications matched by the expression and starts a new recording using the JFR event template defined by the rule. The same thing happens whenever a new target application instance is discovered: Cryostat tests whether the new application instance matches an expression in a rule that has been previously created and, if so, starts a new recording using the event template.
Additionally, an automated rule can include options for copying the recordings out of the target application memory and into Cryostat's archives. The rule can specify how often the recording data should be copied and how many previous copies of this archived data to preserve, pruning the oldest.
The new user interface
A new user interface (UI) makes it easier than ever to get started with this powerful feature. Not only does the form view simplify interaction with the API by providing typed inputs (number pickers for durations, for instance), but it also includes a match expression wizard to help users craft the perfect expression to match the exact set of target applications they intend to observe (Figure 1).
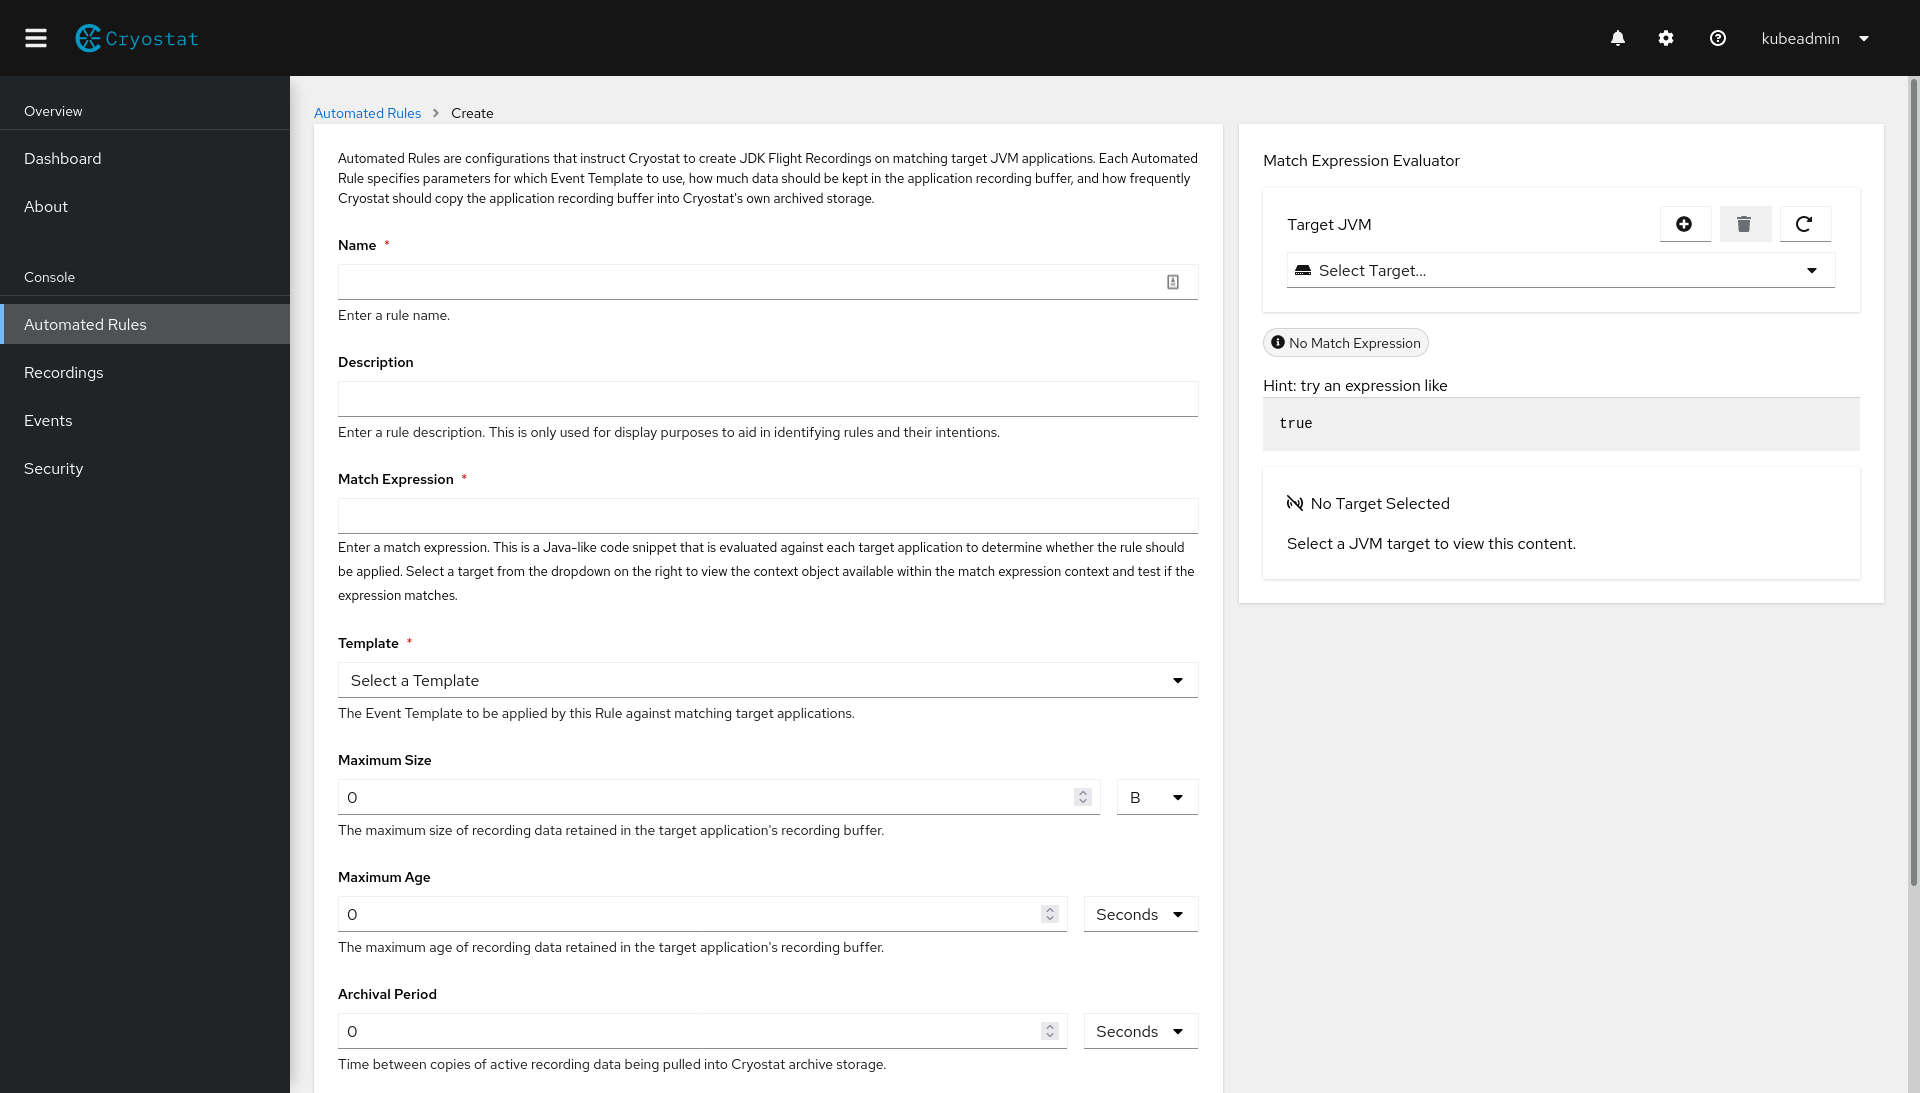
When you select a target, the match expression wizard provides a simple example of a match expression that could be used to match this target. This is meant simply as a hint to remind you of the match expression syntax.
The right side split portion of the view displays the selected target as a JSON structure. This shows you all of the information about the target application that you can refer to within the match expression (Figure 2).

Once you have an idea of an expression that should match the applications you want, enter it into the match expression field. The UI will be updated to show a color-coded response to indicate whether your expression matches the currently selected target:
- Green indicates that the expression matches the selected application.
- Yellow indicates that the expression given is a valid expression, but does not match the selected application.
- Red indicates that the given expression is invalid, most likely due to bad syntax.
If needed, adjust your match expression so that the indicator turns green and the expression matches the target. Next, select another target application that you want to apply the same automated rule to, and verify that the indicator is still green. If not, adjust the match expression again until it is green for both applications. You can also select an application that you do not want to match and verify that the indicator is yellow.
In Figure 3, I have written target.labels.deployment == "quarkus-test" the match expression. The green color and checkmark indicate that this expression matches the selected target application.

For more details and information about the match expression syntax, the automated rules API, and some example use cases, please refer to my previous article on Red Hat Developer, Automating JDK Flight Recorder in containers.
After you submit this form, you will return to the Automated Rules view and should see the definition of your new rule appear in the table. Cryostat will immediately check all known target applications, evaluate whether the match expression applies to them, and, if so, start a recording using the defined settings. When future target applications are discovered, they will also be automatically checked against the match expression, with a recording started if necessary.
Up next: How to label a Cryostat recording
Cryostat 2.1 has a new feature for adding labels to recordings. When a recording is started by an automated rule, it automatically gains a label specifying the name of the rule responsible for starting the recording. This label also follows the recording into the archives if it is copied there. Watch this space for an article coming soon focusing on this feature.
Last updated: November 6, 2023