A foundation for contributor-driven gen AI
Seamlessly and openly develop, test, and run Granite family LLMs to power your apps with Red Hat Enterprise Linux AI.
Discover Red Hat’s latest solutions for building applications with more flexibility, scalability, security and reliability.
Your Red Hat Developer subscription offers you acces to the following resources at no-cost.
Rapidly build, test, and deploy applications that make work better for your organization.
A stable, proven foundation that’s versatile enough for rolling out new...
Open, hybrid-cloud Kubernetes platform to build, run, and scale...

Red Hat Ansible Automation Platform allows developers to set up automation to...

Learn about Red Hat products and start using them for yourself.
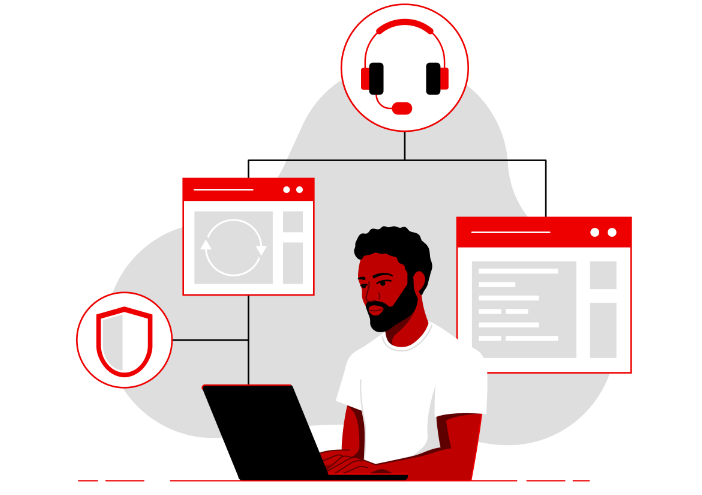
Learn how to increase security by enabling short-lived credentials within...
Announcing the release of the first tech preview of the jlink integration...
Discover the new features of C# 13 (part 1 of 2).
Red Hat Enterprise Linux strategically utilizes different GNU Compiler...
Boost your technical skills to expert-level with our interactive learning tutorials.


A Red Hat Developer membership comes with a ton of benefits, including no-cost access to products such as Red Hat Enterprise Linux (RHEL), Red Hat OpenShift, and Red Hat Ansible Automation Platform.
1 year of access to all Red Hat products
Developer learning resources
Virtual and in-person tech events
Red Hat Customer Portal access
Exclusive content
Access to the Developer Sandbox, a shared OpenShift and Kubernetes cluster for practicing your skills
Chose from keynotes as well as hundreds of breakouts, labs, panels, and roundtable discussions, now live in the 2025 session catalog.

Explore developer resources and tools that help you build, deliver, and manage innovative cloud-native apps and services.
Discover the advantages of OpenShift Virtualization as an alternative to VMware.
This article provides a brief rundown of best practices that apply to...

Discover how the RamaLama open source project can help isolate AI models for...
Read a sample excerpt from Quarkus in Action, a practical guide to building...
Explore insights, news, and tutorials on Red Hat developer tools, platforms, and more.

Spend less time dealing with operational tasks and more time building...

Develop applications on the most popular Linux for the enterprise - all while...
Kubernetes is the foundation of cloud software architectures like...

Java is a powerful language that’s widely used to create enterprise...

Build here. Go anywhere.
We serve the builders. The problem solvers who create careers with code.
Join us if you’re a developer, software engineer, web designer, front-end designer, UX designer, computer scientist, architect, tester, product manager, project manager or team lead.