Red Hat OpenShift Dev Spaces
Kubernetes-based Cloud Development Environments for enterprise teams.
Cloud Development Environments for Red Hat OpenShift
Built on the open source Eclipse Che project, Red Hat OpenShift Dev Spaces uses Kubernetes and containers to provide developers and other IT team members with a consistent, secure, and zero-configuration development environment. The experience is as fast and familiar as an integrated development environment (IDE) on your laptop.
OpenShift Dev Spaces is included with your OpenShift subscription and is available in the OperatorHub. It gives development teams a faster and more reliable foundation on which to work and offers operations teams centralized control and peace of mind.
Want to see for yourself? Get coding today in the Developer Sandbox, which includes OpenShift Dev Spaces to try out at no cost.
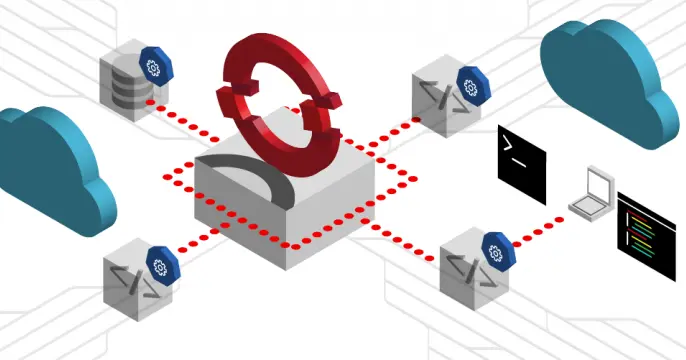
Modern development workflow


Featured OpenShift Dev Spaces articles & learning paths

Learn how to set up a cloud development environment (CDE) using...

Explore how user namespaces can enable nested containers in OpenShift Dev...

Get an overview of key security best practices for Red Hat OpenShift Dev...
OpenShift Dev Spaces in the community
Red Hat OpenShift Dev Spaces is a great product for building applications. But what if you find something that needs fixing or have a new feature to suggest? By getting involved with the community you can give feedback, improve the docs, review code, and discuss and propose new features whenever they're needed. Answering user questions or taking part in development discussions is also a great way to build a reputation for collaboration and expertise in your field.
For more information on the upstream Eclipse Che project, see eclipse.org/che. Take a look at the project README page in GitHub as well.
No matter what your skill level, contributing to the project can be very rewarding and a great learning experience. You'll meet lots of smart, passionate developers who are all driven to create the best development tooling possible in open source! You don't have to be an expert to get involved and it doesn't have to take a lot of time.

Success stories
German government simplifies digital services with Capgemini and OpenShift Dev Spaces
Capgemini is a global business and technology transformation partner whose clients wanted their software developers to work with more agility and the newest tools. Using Red Hat OpenShift Dev Spaces, Capgemini used centrally managed workspaces and automated configurations to then accelerate their key processes and modernize their operations.
Streamlining administrative services posed an immense challenge for the German government, particularly with the lengthy onboarding process for developers. Each laptop required individual setup and stringent security measures, slowing down the progress. However, through a strategic partnership with Capgemini and Red Hat, innovative solutions like Dev Spaces were implemented, reducing onboarding time from 8 weeks to just 24 hours. Now, developers can swiftly deploy digital solutions, ensuring faster access to essential services for all German citizens.

Dell Technologies modernizes the developer experience with Red Hat OpenShift DevSpaces
Dell Technologies wanted to modernize development environments and provide a consistent workspace for their teams. By adopting Red Hat OpenShift DevSpaces, they transitioned to a standardized, cloud-native environment, providing developers with accelerated onboarding and immediate access to pre-configured tools on Day 1.
To achieve this, they used a “golden image” strategy to create a uniform experience while giving developers the flexibility to customize their individual workspaces. The transition to Red Hat OpenShift DevSpaces also improved their security posture by keeping all source code within the cluster, helping developers stay focused on productivity.
