Page
Prerequisites & Step-By-Step guide

Prerequisites
1. Registration with Red Hat Developer Sandbox. Register here, if not already registered.
Step-by-step guide
1. Create a VM
In this learning exercise, we will configure the virtual machine using two methods: the 'click-to-play' system and direct SSH connectivity.
To access the virtual machines, follow the appropriate method based on how the virtual machine was created. If you use Method 1 to create the virtual machine, connect to it using Method 1, as described in the 'How to Connect with VM' section. Similarly, use Method 2 for virtual machines created with Method 2.
Method 1
- To access the Red Hat Developer Sandbox Virtual Machine For RHEL VM, click the "Red Hat OpenShift" tile "launch" button.
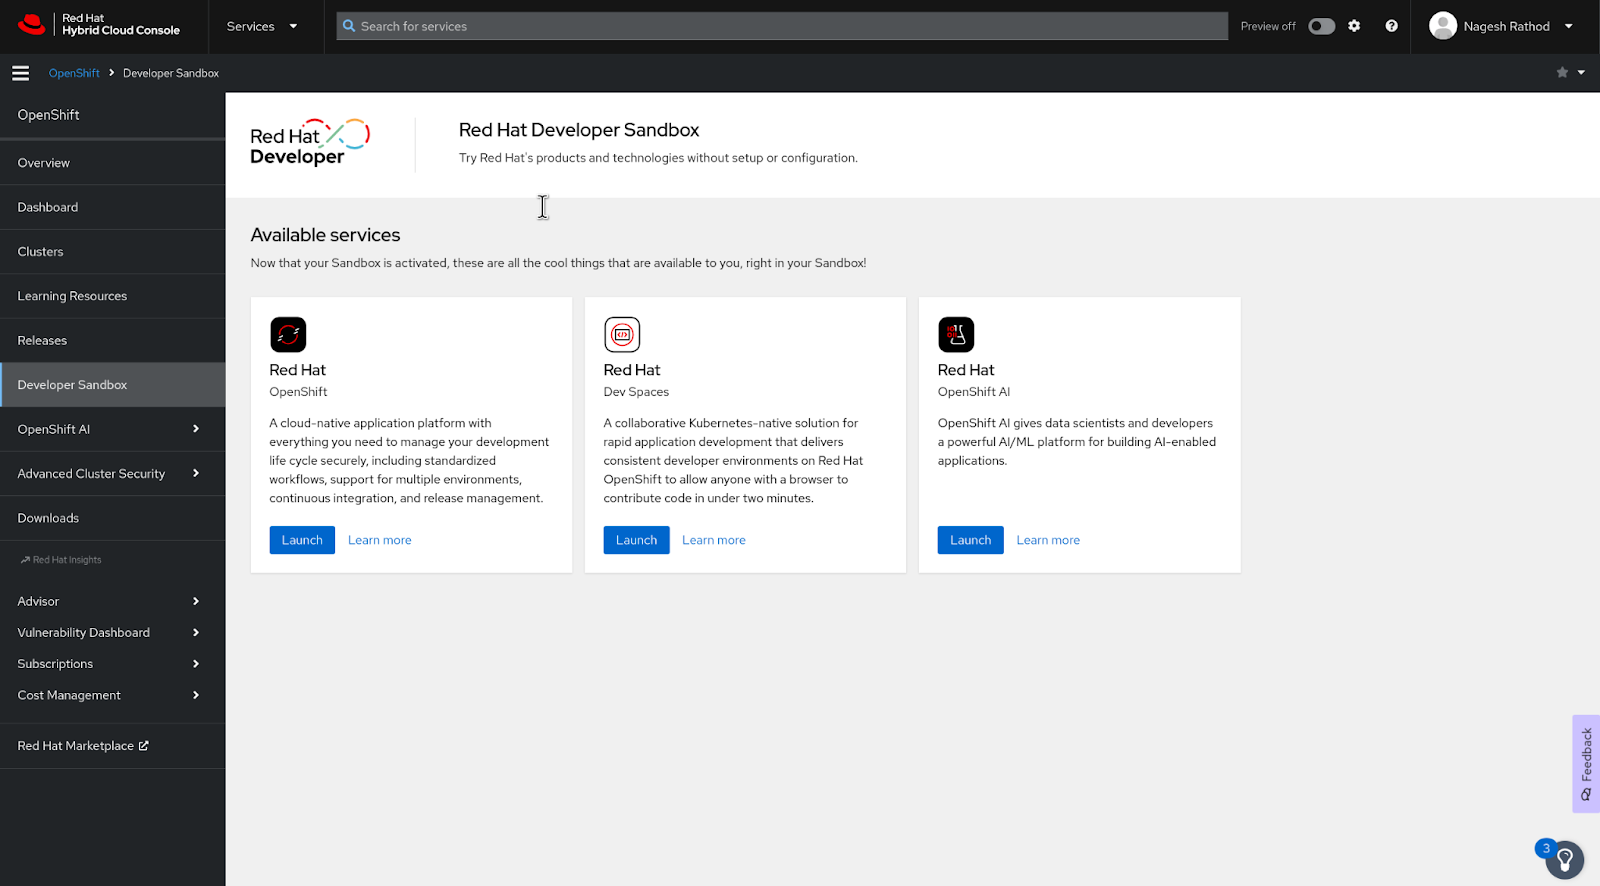
- Click the "Launch" button on the "Red Hat OpenShift" tile.
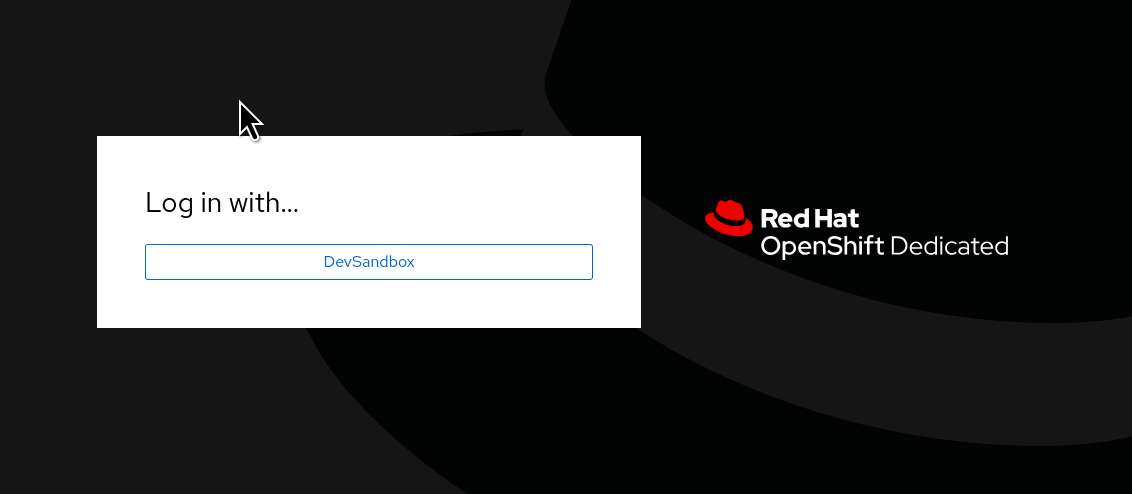
- Log in to the Red Hat Developer Sandbox and click the "DevSandbox" button.
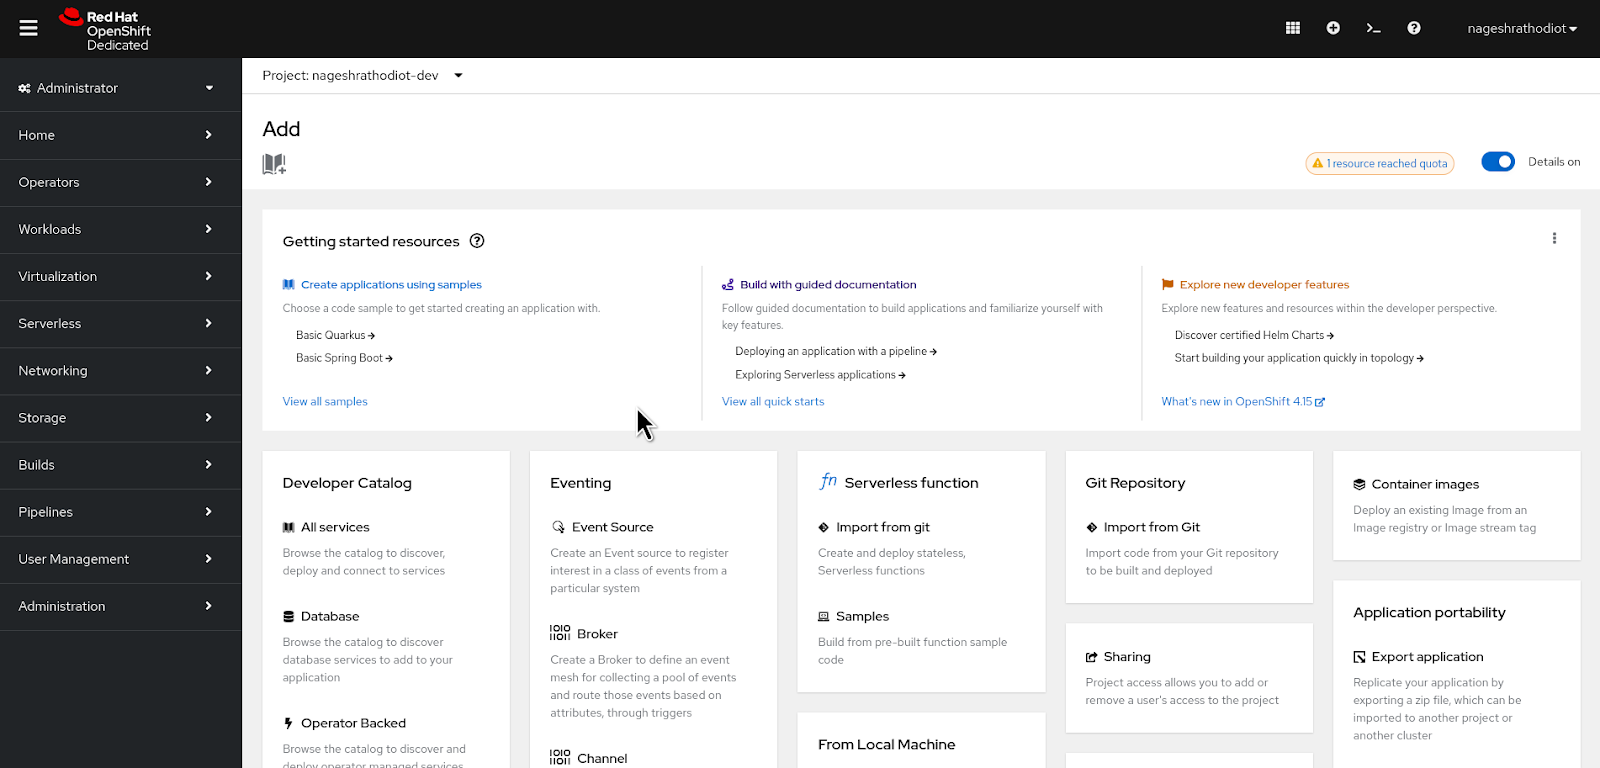
- Switch to the Administrator perspective. Use the top left menu, as shown in the following Figure 3.
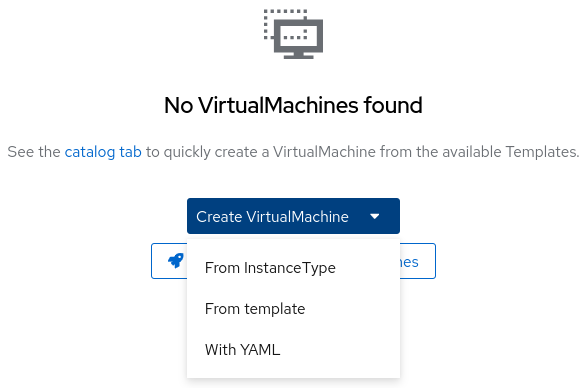
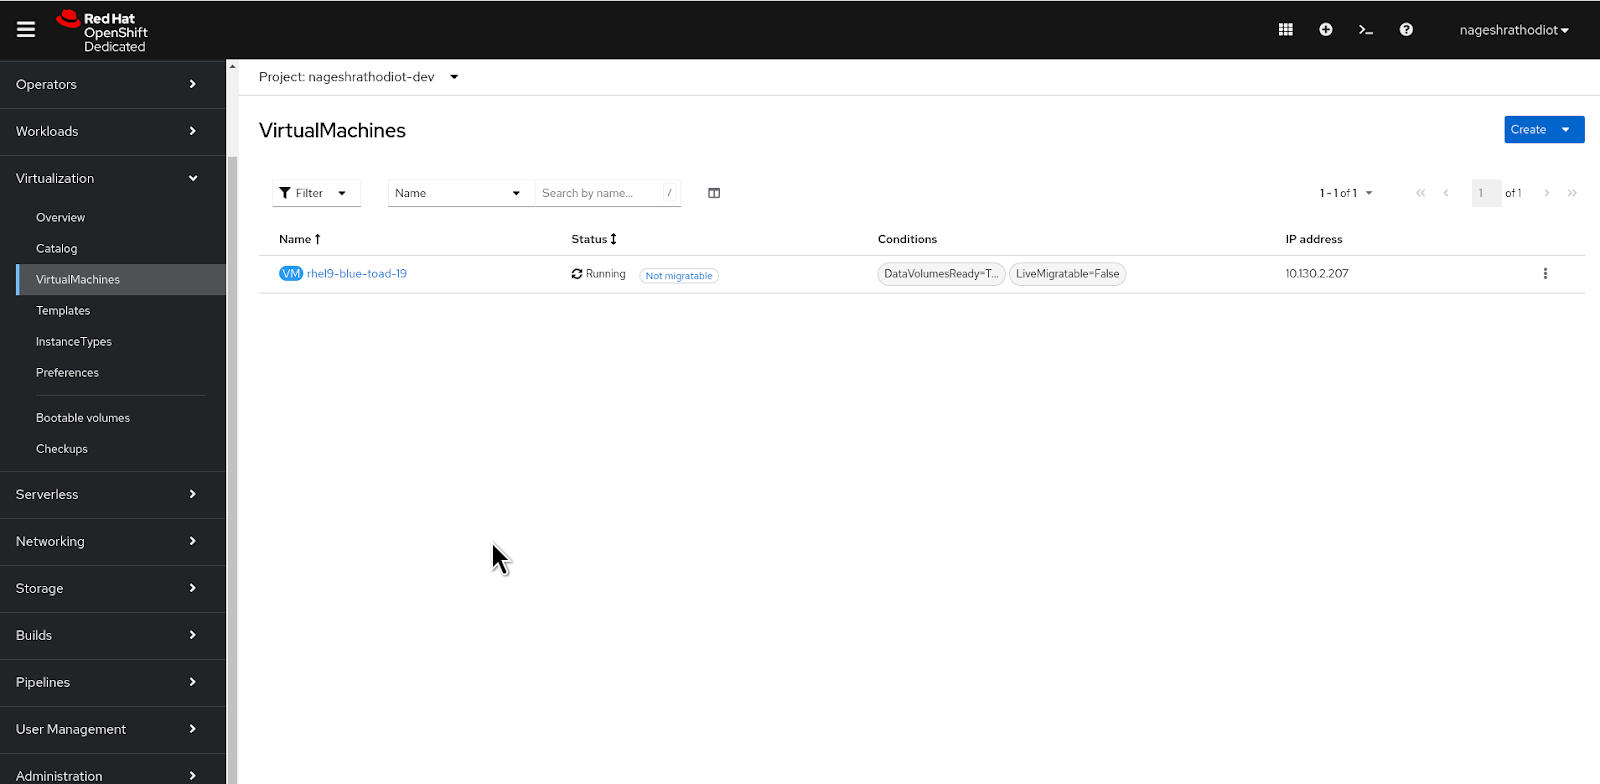
Navigate to the "Virtualization" section and select "Virtual Machines." You will then arrive at a page similar to the one shown in Figure 4.
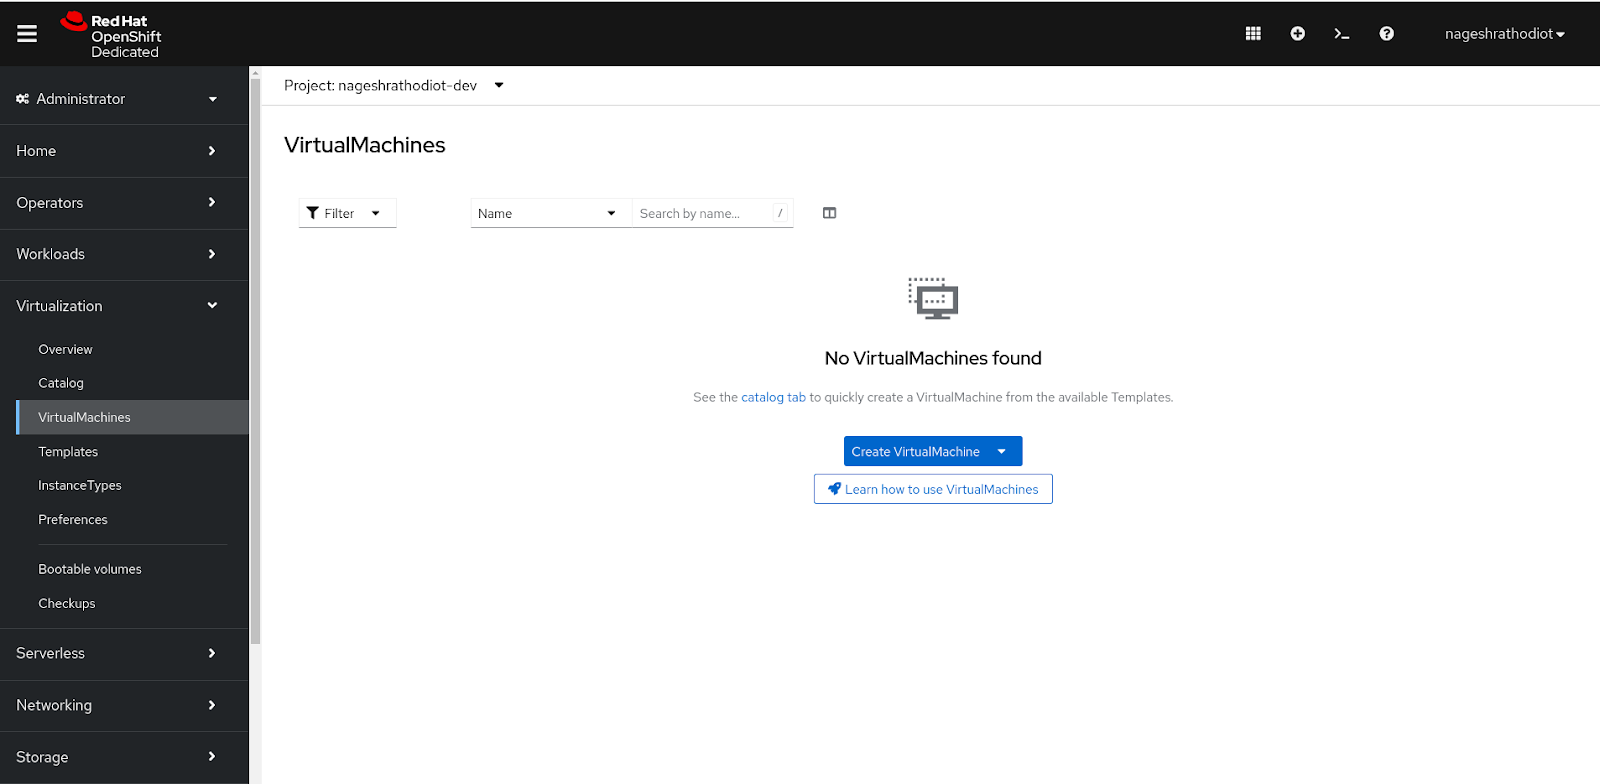
- Click on "Create VirtualMachine," then select the "From template" option from the dropdown menu.
You will be directed to a Catalog page where you can select from various types of Virtual Machine images available in OpenShift Virtualization.
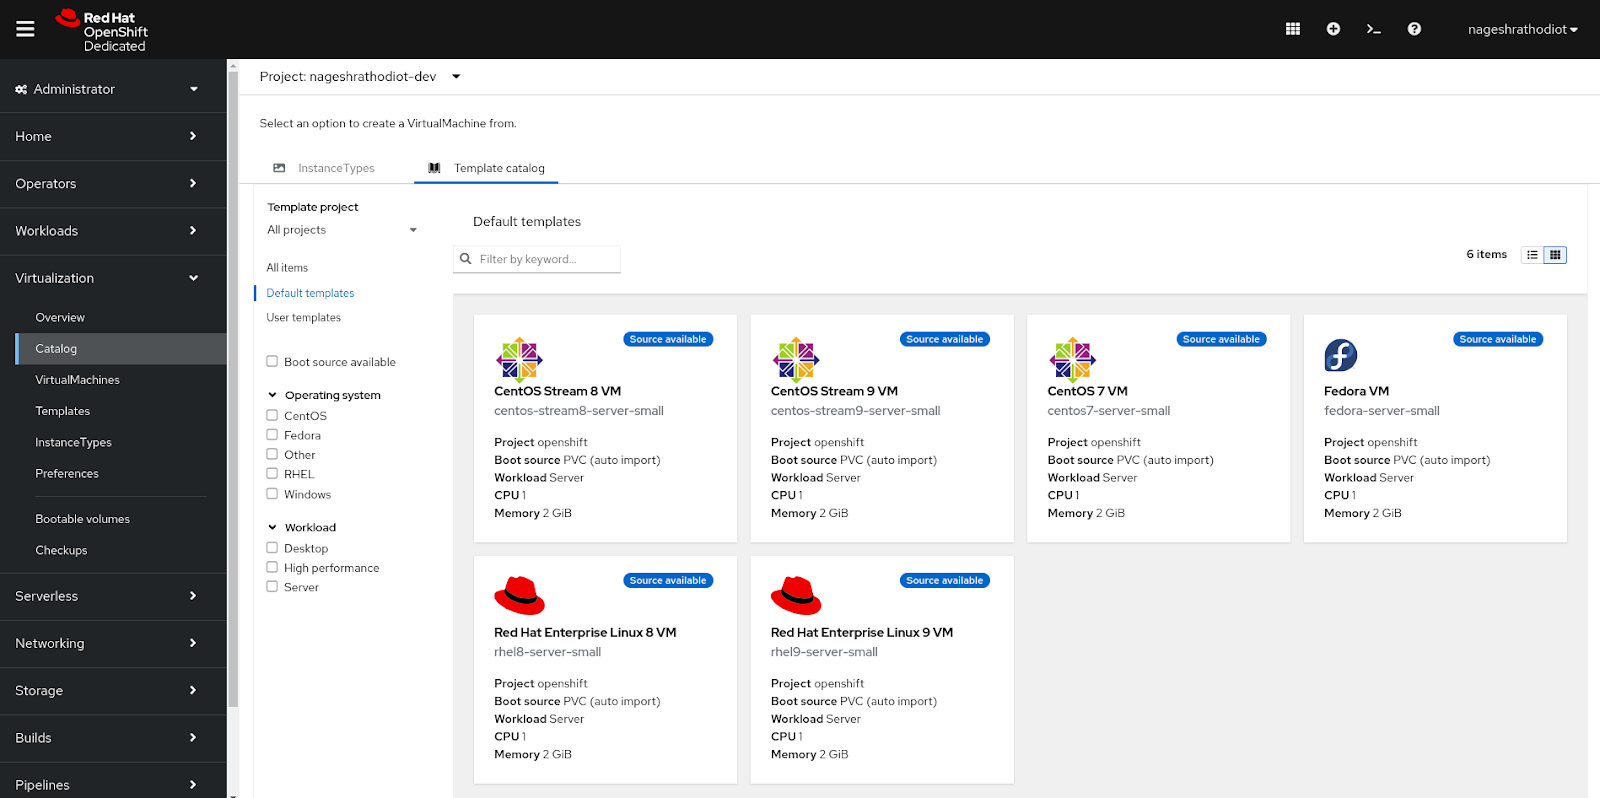
- In this learning exercise, we will deploy the RHEL9 image. To do so, select "Red Hat Enterprise Linux 9 VM."
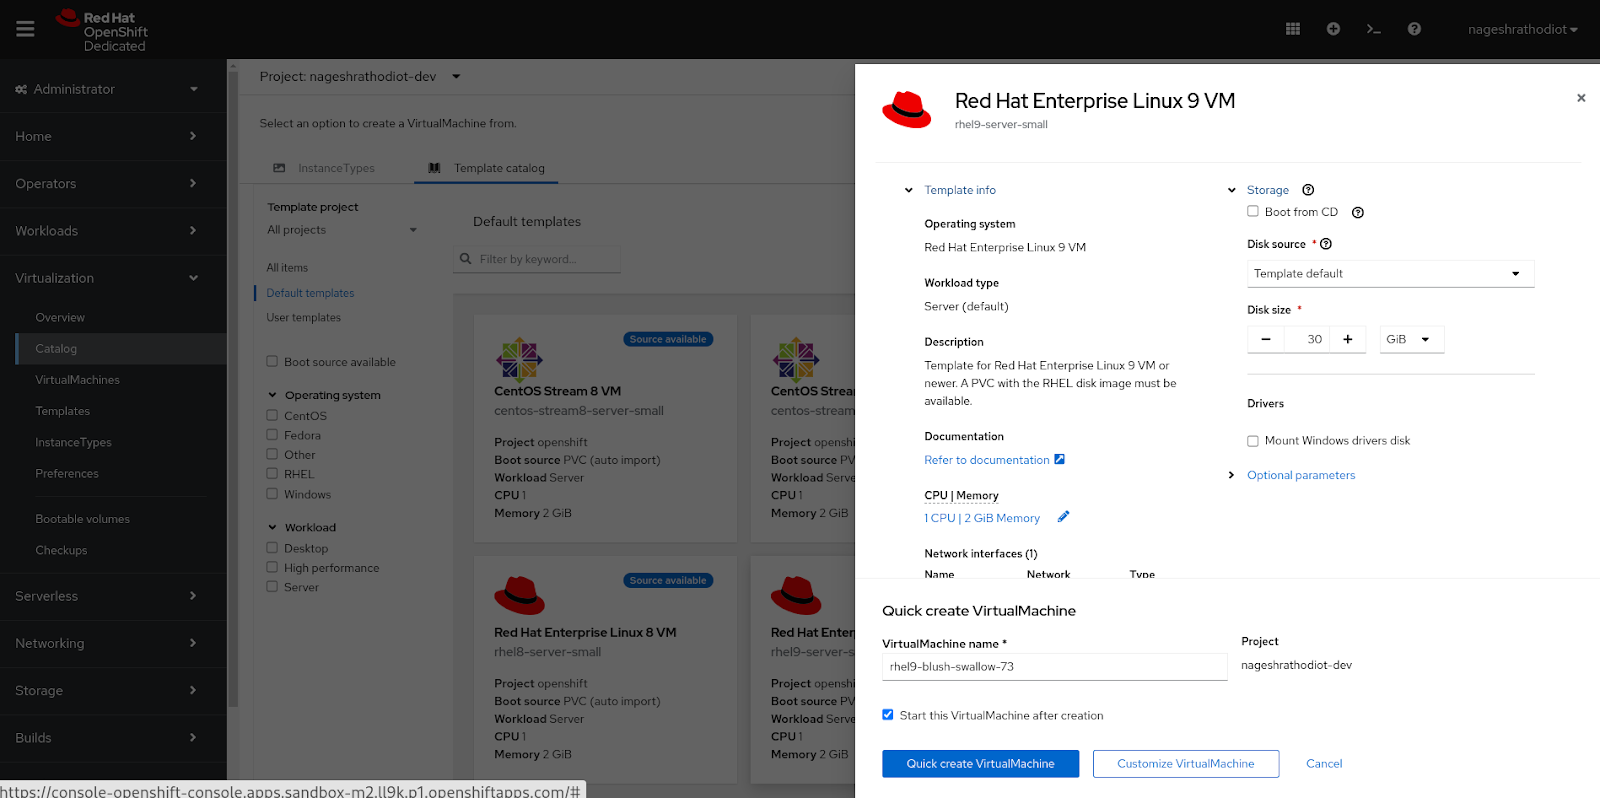
- Click on the "Quick Create VirtualMachine" button.
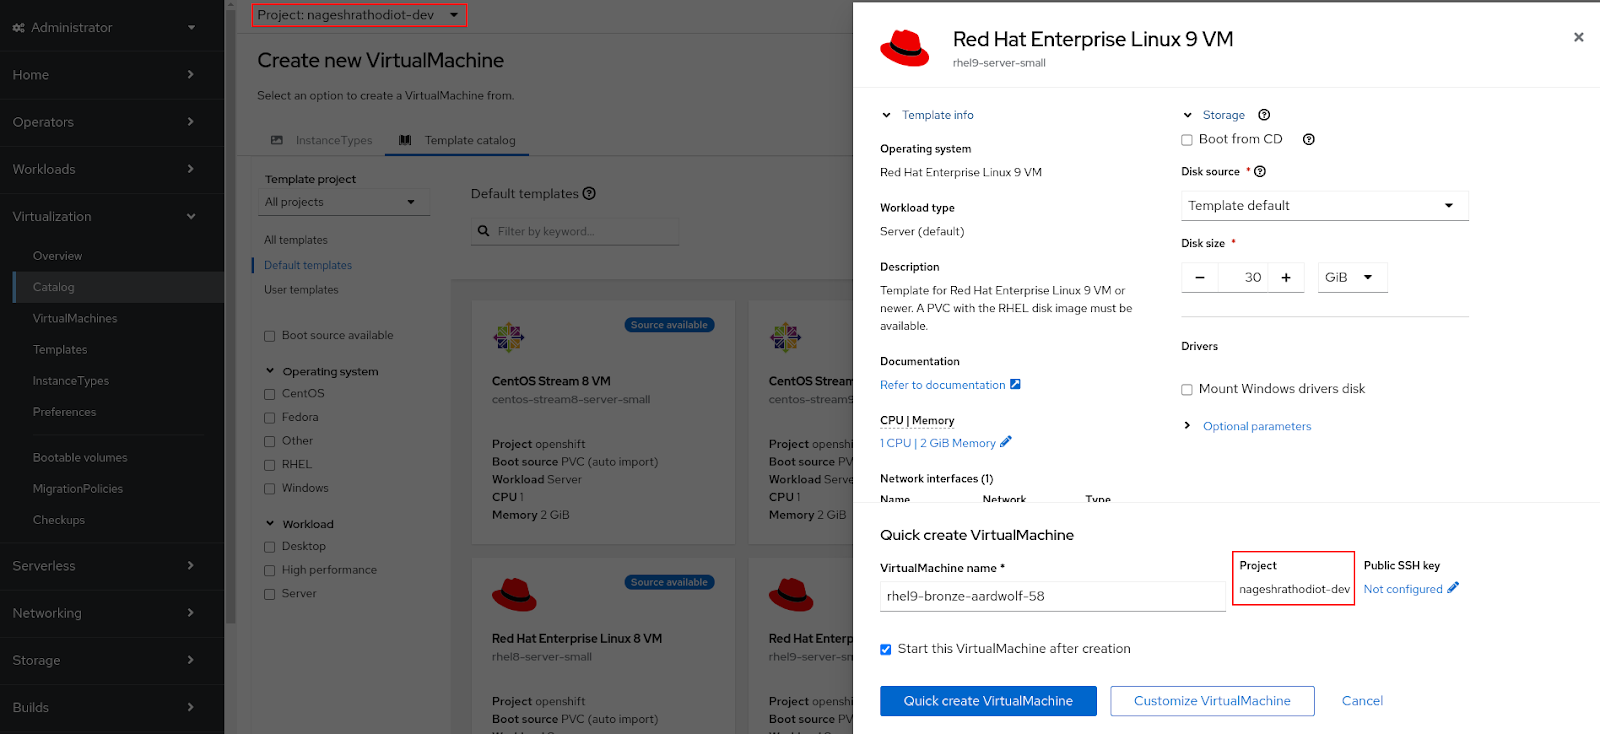
If you encounter any "namespace" related errors after clicking the "Quick Create Virtual Machine" button, it indicates that the Project has not been selected correctly. Ensure the projects are selected accurately, as shown in the following Figure 8.
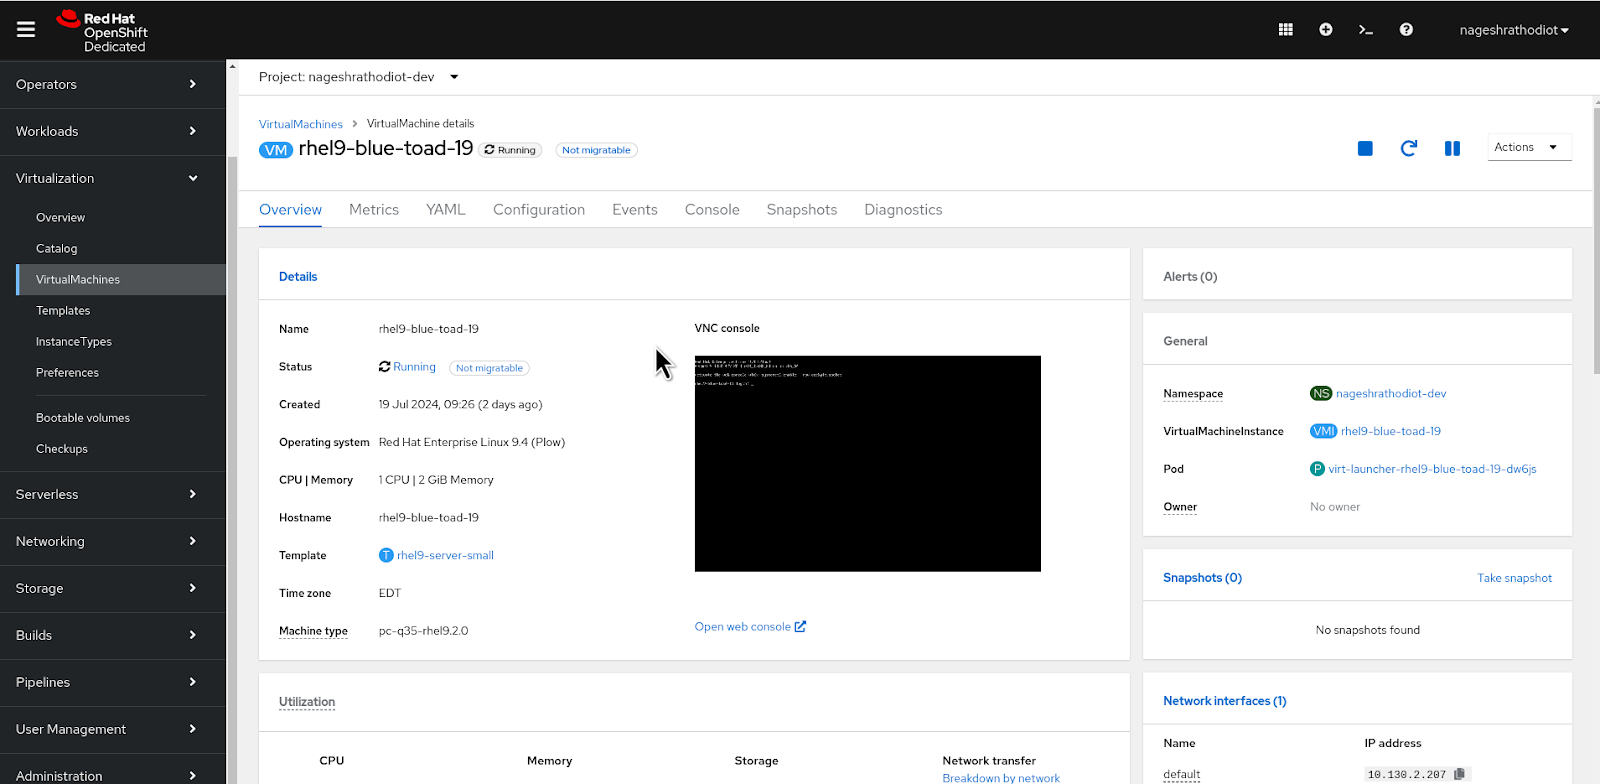
After that you will land up on the overview page of the virtual machine which you provisioned. The status of the virtual machine will be "Provisioning". Similar to the following Figure 9.
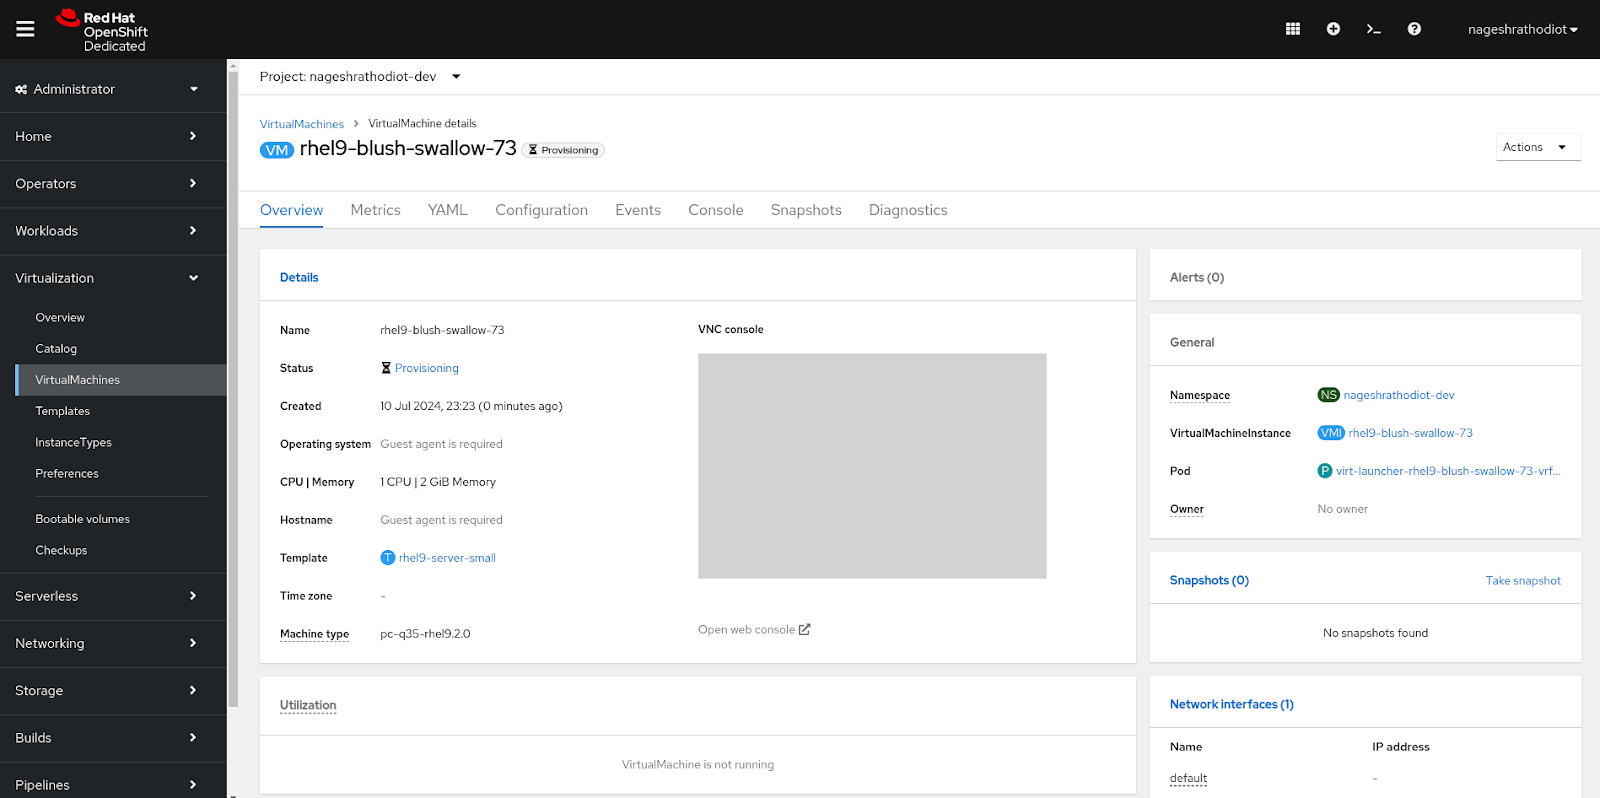
After successfully fetching the image from the library, it will be available in "pvc". The status of the virtual machine will change from "Provisioning" to "Running", as shown in Figure 10.

If you created a virtual machine using Method 1, ensure you follow the instructions under "Method 1" in the "How to Connect with the VM" section to interact with the virtual machine effectively.
Method 2
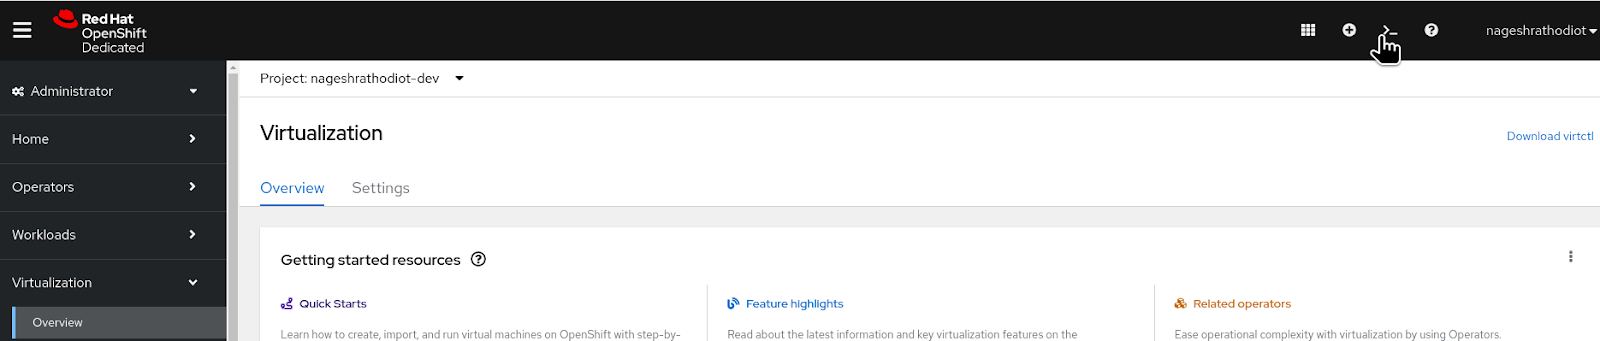
To configure the virtual machine, you can alternatively add an RSA key. To generate the RSA key, open the web terminal located in the top right corner of the Red Hat Developer Sandbox. Click on the ">_" icon, as shown in Figure 11.
Type the following command:
$ ssh-keygen -t rsa -f redhatPress the Enter key twice when prompted for a passphrase.

After creating the RSA SSH key, you need to check the generated keys.
$ ls
redhat  redhat.pub
NOTE: Take a backup of the private key "redhat" on your local system by using the command "$ cat redhat" and saving the output to a text file. This is important because if the web terminal is accidentally closed or after a couple of hours, the web terminal (an ephemeral pod) will delete your key. Without the private key, you will lose SSH access to the VM and will need to create a new key pair, add it to the secret, and create a new VM.
The public key is now ready to integrate with the VM. Copy the content of the ".pub" file using the following command:
$ cat redhat.pubCopy the "redhat.pub" key content.
- Go back to the Catalog option under Virtualization.
- Choose the Red Hat Enterprise Linux 8/9 image for your virtual machine.
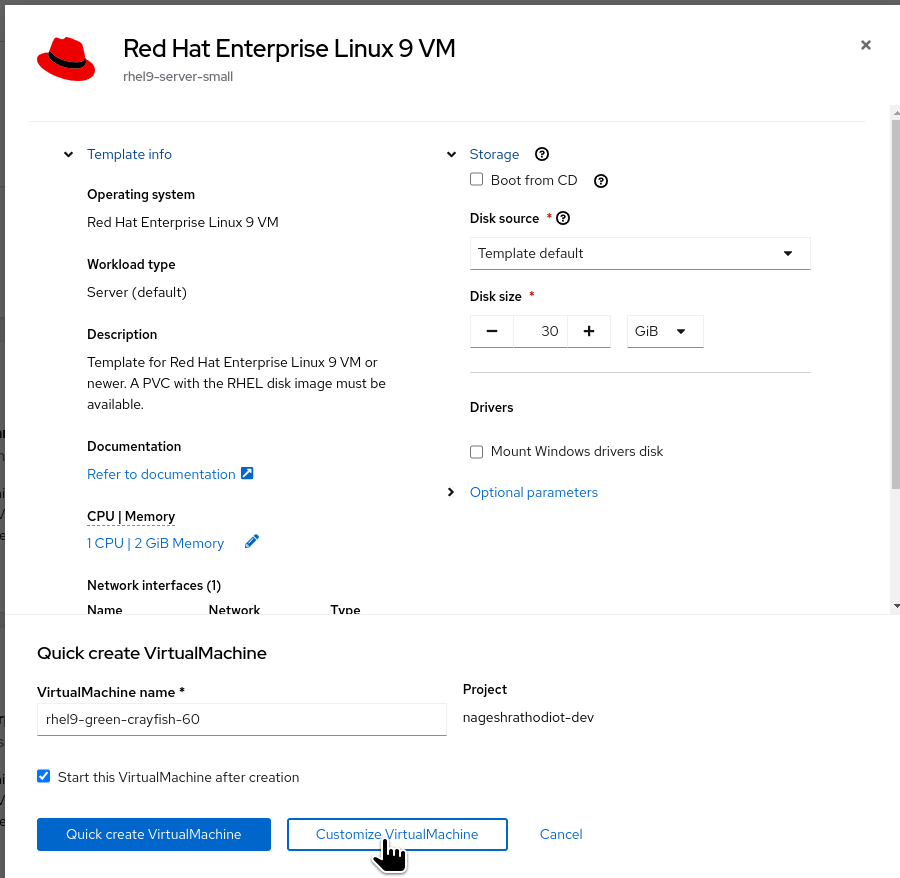
- Instead of selecting "Quick Create Virtual Machine," this time select "Customize Virtual Machine" to enable more customization during the virtual machine's configuration process.
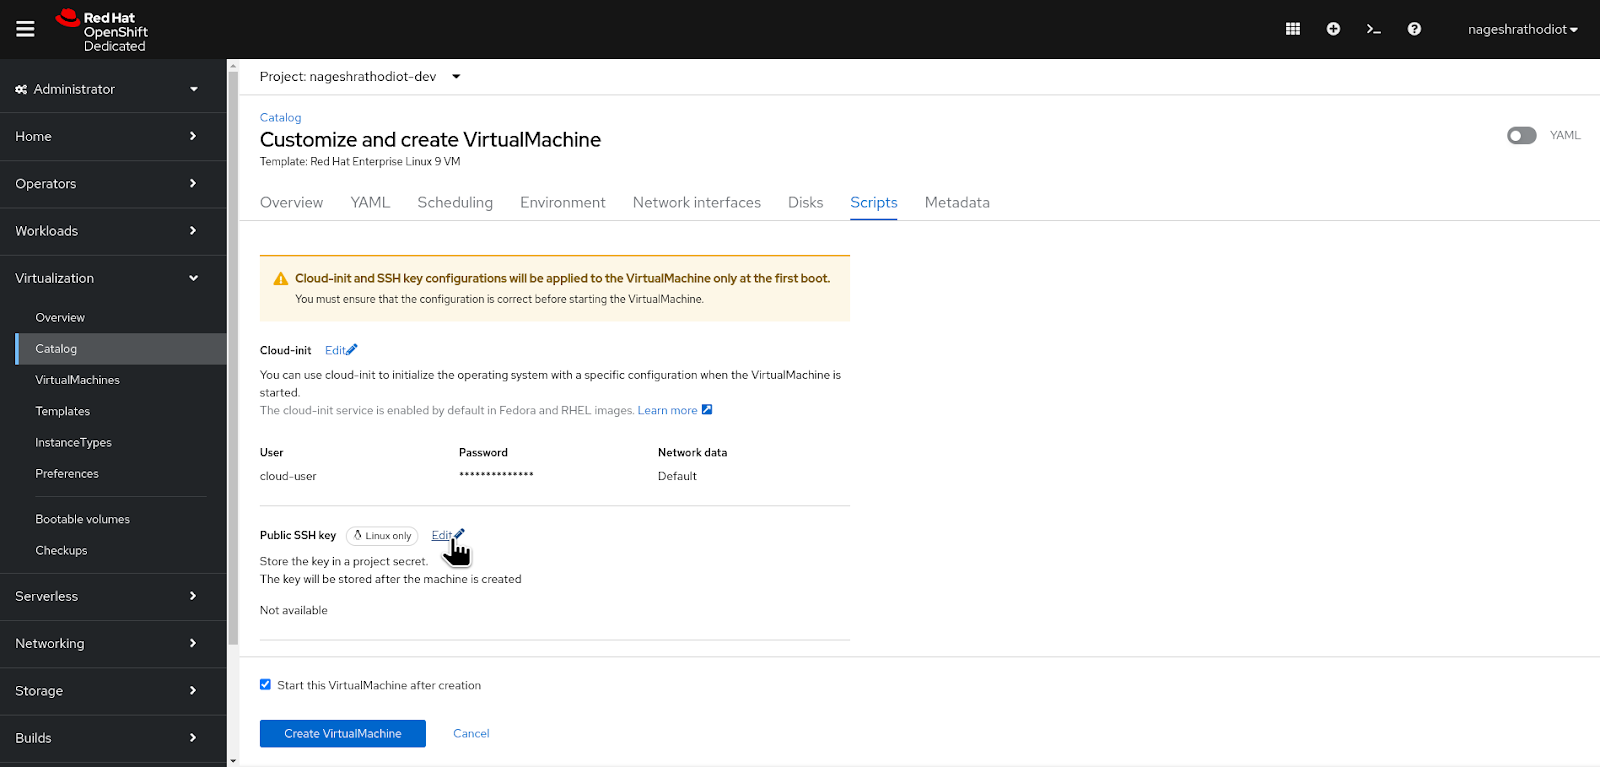
- Switch to the "Scripts" tab as shown in the figure above.
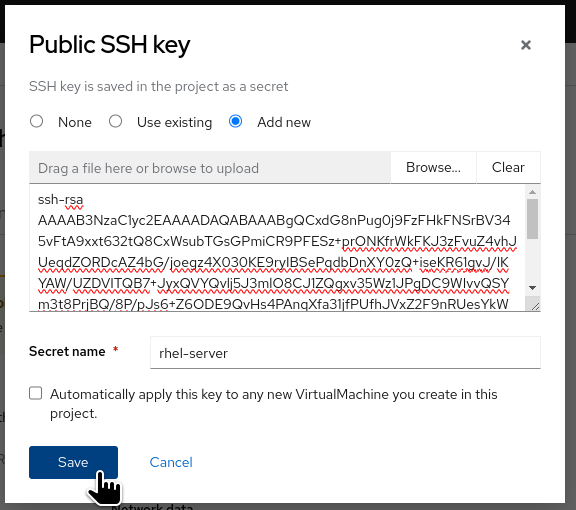
- Select the "Edit" button under the "Public SSH key" section.
- Paste the public key (redhat.key) that was created earlier.
- Define the "Secret name" for your key.
- Click on the Save button.
At the bottom, click on "Create VirtualMachine".
Once the VM is created, you will be redirected to its overview page. The VM's status will be in provisioning mode, similar to the following figure.

After a few minutes, the VM status will transition to the 'Running' status.
If you created a virtual machine using Method 2, ensure you follow the instructions under "Method 2" in the "How to Connect with the VM" section to interact with the virtual machine effectively.
2. How to connect with VM
To connect to a virtual machine, we have two options: 1) Using the Web Console 2) SSH method using Web Terminal.
Method 1: Using Web Console
From the left menu, navigate to Virtualization > VirtualMachines.
- Select the recently created virtual machine.
- Switch from the "Overview" tab to the "Console" tab.
- Under "Guest login credentials," you will find the username and password for the virtual machine.
- Copy and paste these credentials into the terminal to successfully log in to the VM.
Similar as shown in the following Figure 19.

Method 2: SSH method using Web Terminal
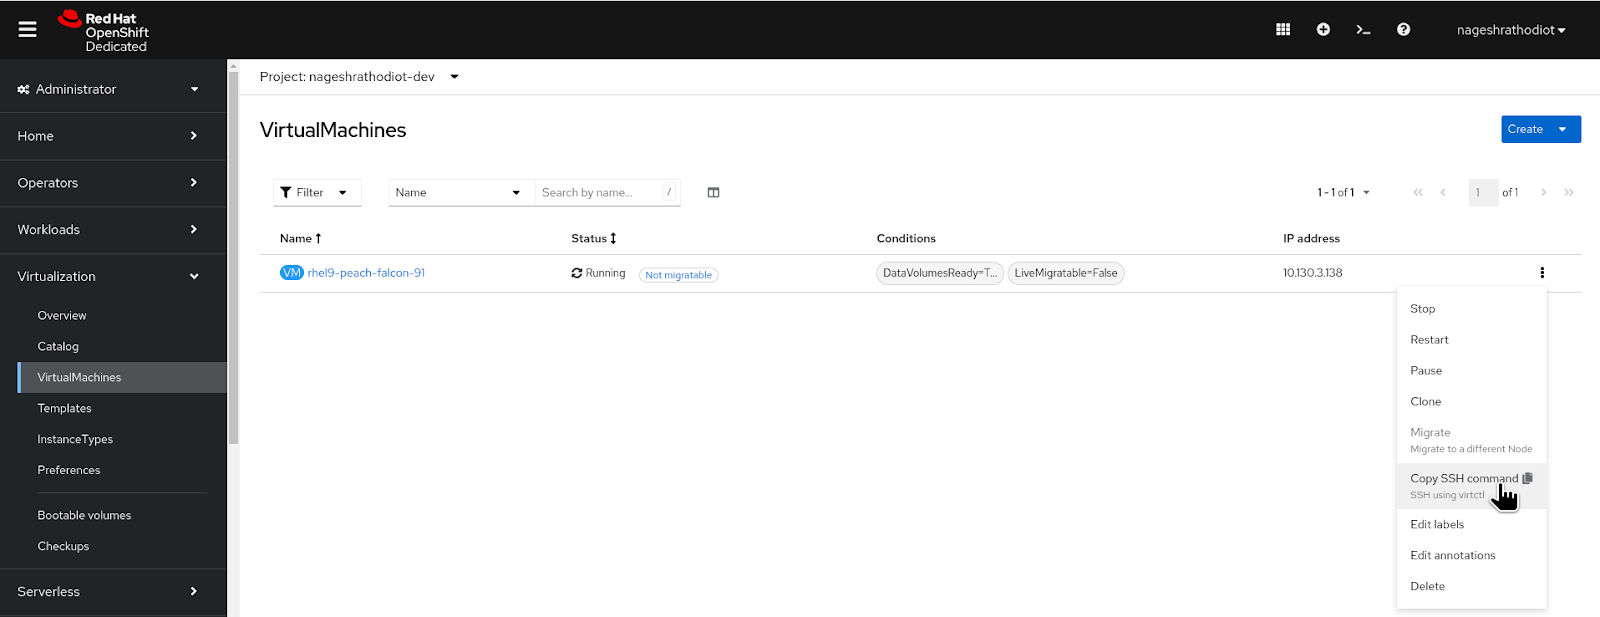
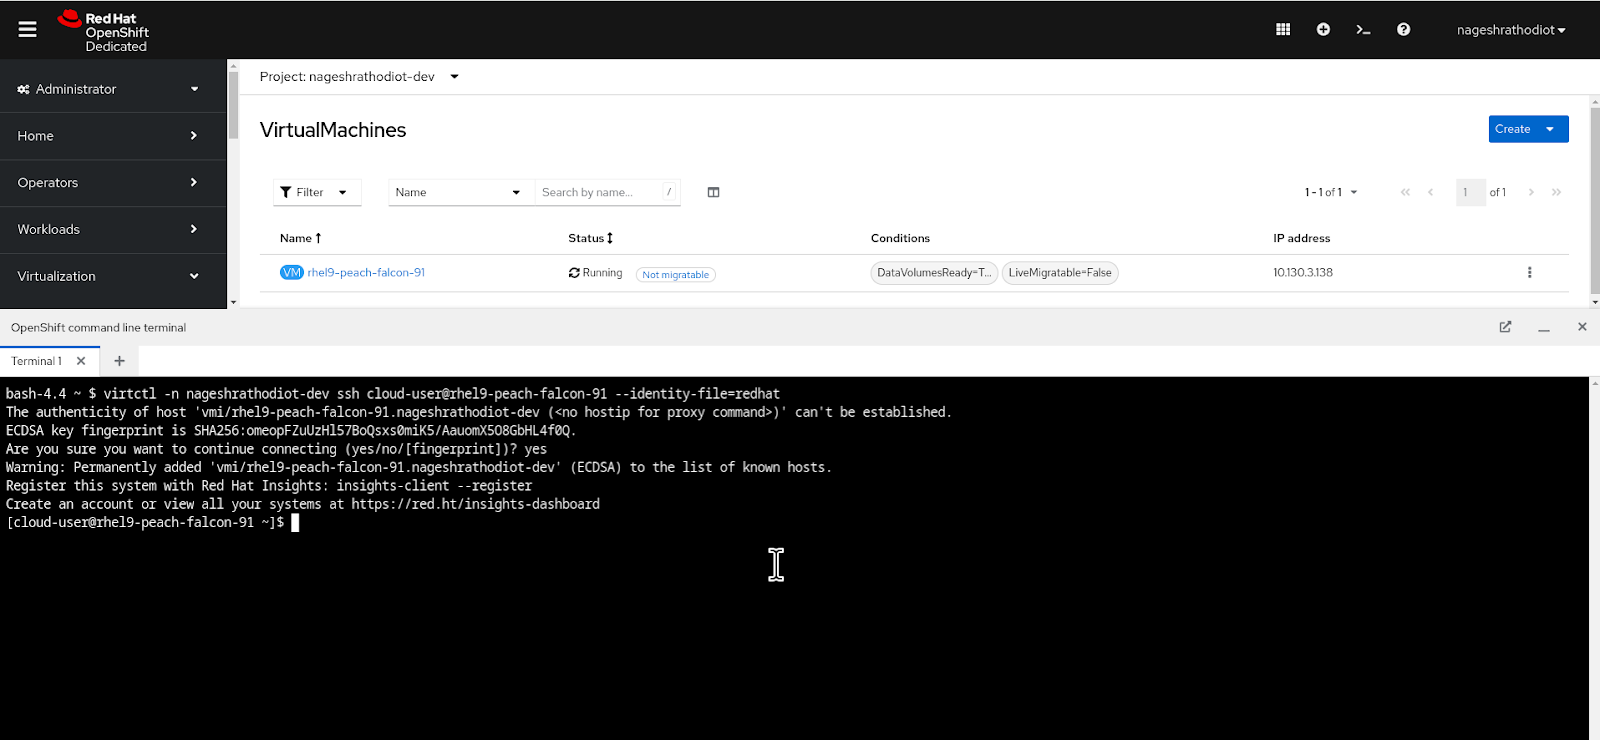
Retrieve the SSH command for the virtual machine from the running virtual machine, as shown in Figure 20.
Open the web terminal from the Developer Sandbox as shown in the following image.

To SSH into Virtual machine paste the copied command from step above into the web terminal.
$ virtctl -n user-namespace-dev ssh cloud-user@rhel9-peach-falcon-91 --identity-file=<path-to-ssh-key>Replace the <path-to-ss-key> with "redhat" private key as shown below.
$ virtctl -n user-namespace-dev ssh cloud-user@rhel9-peach-falcon-91 --identity-file=redhatIt will ask to save the fingerprint. Type yes and press Enter.
In the next section, you will execute some sample Linux commands.
3. Execute sample command
After provisioning a virtual machine in the Developer Sandbox, it is essential to validate the environment by executing a sample command. This step provides critical insights into the configuration and operational status of the RHEL 9 virtual machine, ensuring that the setup is correct and ready for further development tasks.
List the hostname using the following command:
$ hostnameExpected output (hostname displayed may differ from the one shown below):
rhel9-harlequin-barnacle-96Check the version of RHEL using the following command:
$ cat /etc/os-releaseExpected output:
NAME="Red Hat Enterprise Linux"
VERSION="9.4 (Plow)"
ID="rhel"
ID_LIKE="fedora"
VERSION_ID="9.4"
PLATFORM_ID="platform:e19"
PRETTY_ MAME="Red Hat Enterprise Linux 9.4 (Plow)"
ANSI_COLOR="0:31"
LOGO-"fedora- logo-icon"
CPE_ MAME= "ce:/0:redhat: enterprise_linux:9:: baseos"
HOME_URL= "https://www.redhat.com"
DOCUMENTATION_URL="https://access.redhat.com/documentation/en-us/red_hat_enterprise_linux9"
BUG _REPORT_URL="https://bugzilla.redhat.com/"
REDHAT_BUGZILLA_ PRODUCT="Red Hat Enterprise Linux 9"
REDHAT_BUGZILLA_PRODUCT_VERSION=9.4
REDHAT SUPPORT_PRODUCT-"Red Hat Enterprise Linux"
REDHAT_SUPPORT_PRODUCT_VERSION="9.4"
Print the current working directory using the following command:
$ pwdExpected output:
/home/cloud-userCheck the IPv4 address allocated to this virtual machine.
$ hostname -IExpected output (IPv4 address displayed may differ from the one shown below):
10.0.2.24. Attach Subscription-manager to your virtual machine.
Ensure that "subscription-manager" is installed. This client program registers a system with the Certificate-Based Red Hat Network, allowing Red Hat to provide content updates and support through issued subscriptions.
$ sudo subscription-manager statusRegister the host using the "subscription-manager" command, specifying the username and password of subscription-manager.
$ sudo subscription-manager registerExpected output:
Registering to: subscription.rhsm.redhat.com:443/subscription
Username:
Password:
The system has been registered with ID: 59263adr-2c3c-4992-97a-58f0ca286a97
The registered system name is: rhel9-harlequin-barnacle-96
Attach the subscription to the server using the command below.
$ sudo subscription-manager attachYou have successfully registered your RHEL virtual machine with the subscription manager.
Summary
In this learning exercise, you provisioned a virtual machine (VM) in the Red Hat Developer Sandbox using OpenShift Virtualization. We explored various methods for creating and managing the VM within the sandbox environment, as well as different techniques for establishing connections to it. Additionally, the exercise included registering the VM with the Subscription Manager to ensure seamless integration and management within the subscription framework.