Page
Install and initialize Podman Desktop and Podman
This lesson walks you through installing and running both Podman and Podman Desktop.
Prerequisites:
- Terminal session on your computer.
In this lesson, you will:
- Onboard Podman Desktop.
The first step is to visit the Podman Desktop website and download the bits for your operating system (Figure 1).
Follow the installation instructions and you will have Podman Desktop up and running on your computer in short order (Figure 2).

You’ll notice the Start onboarding button in the lower right corner. This begins a process where you install other pieces of software to round out the development environment.
To continue, click the Start onboarding button.
When prompted to execute the Compose download, click the Next button in the lower right corner as shown in Figure 3.
The next prompt is to begin the process of a system-wide install of Compose. Continue by clicking the Next button (Figure 4).
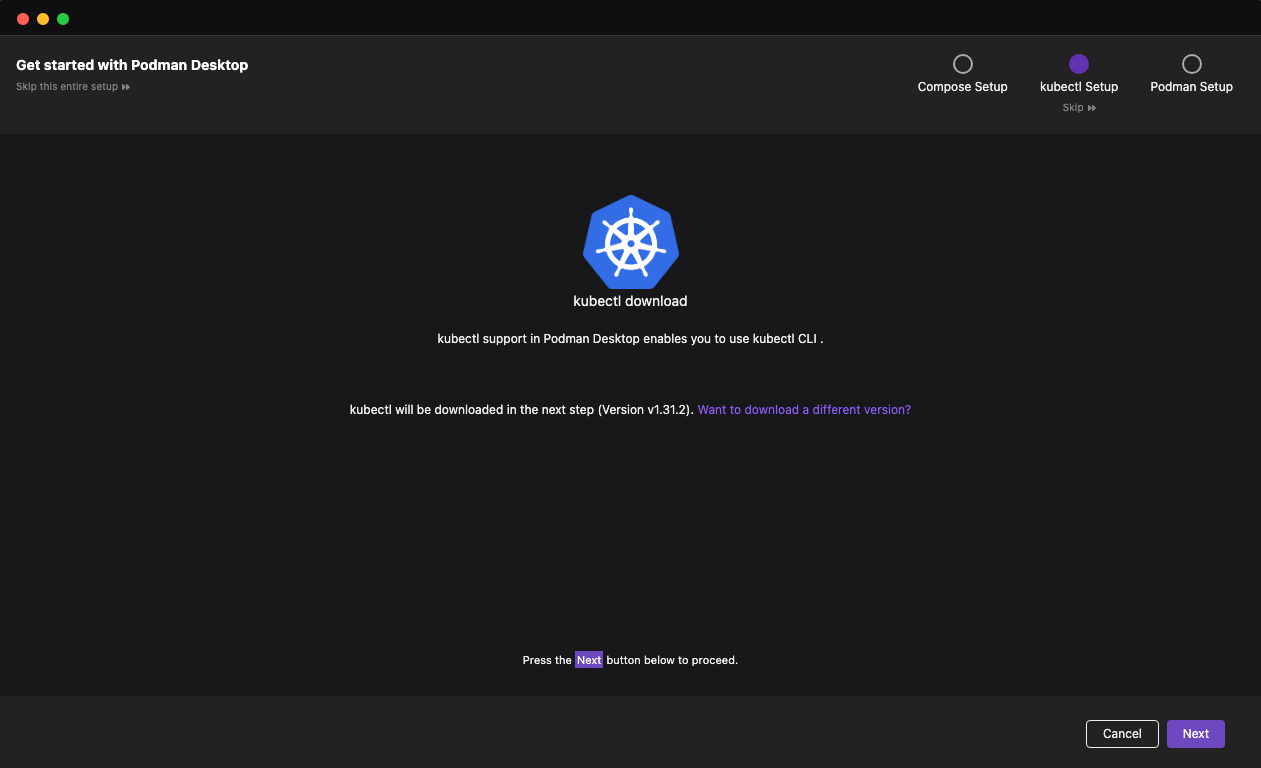
Continue the installation; you will be prompted to install the kubectl command-line interface (CLI). When prompted, click the Next button (Figure 5).
Continue with the installation of kubectl until it is finished (Figure 6).
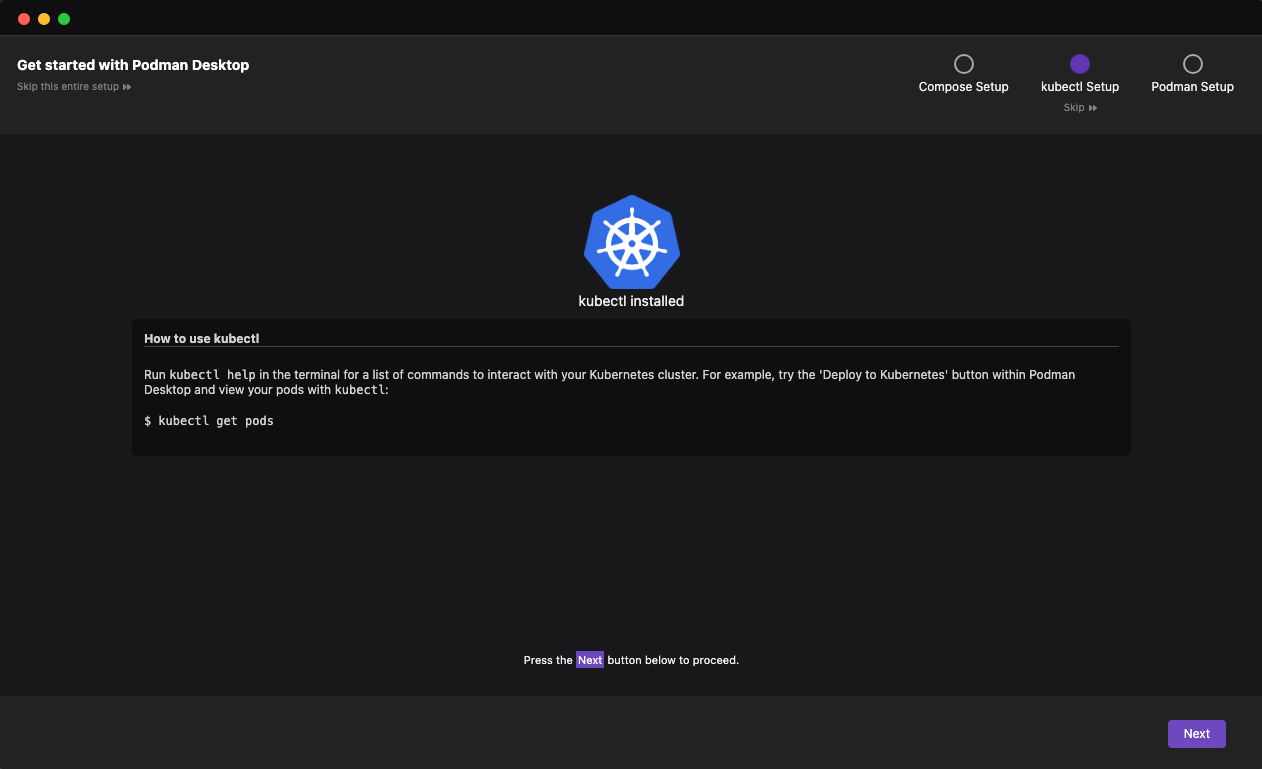
When the installation of kubectl is finished, click the Next button to continue to the installation of Podman, the engine on which Podman Desktop runs (Figure 7).
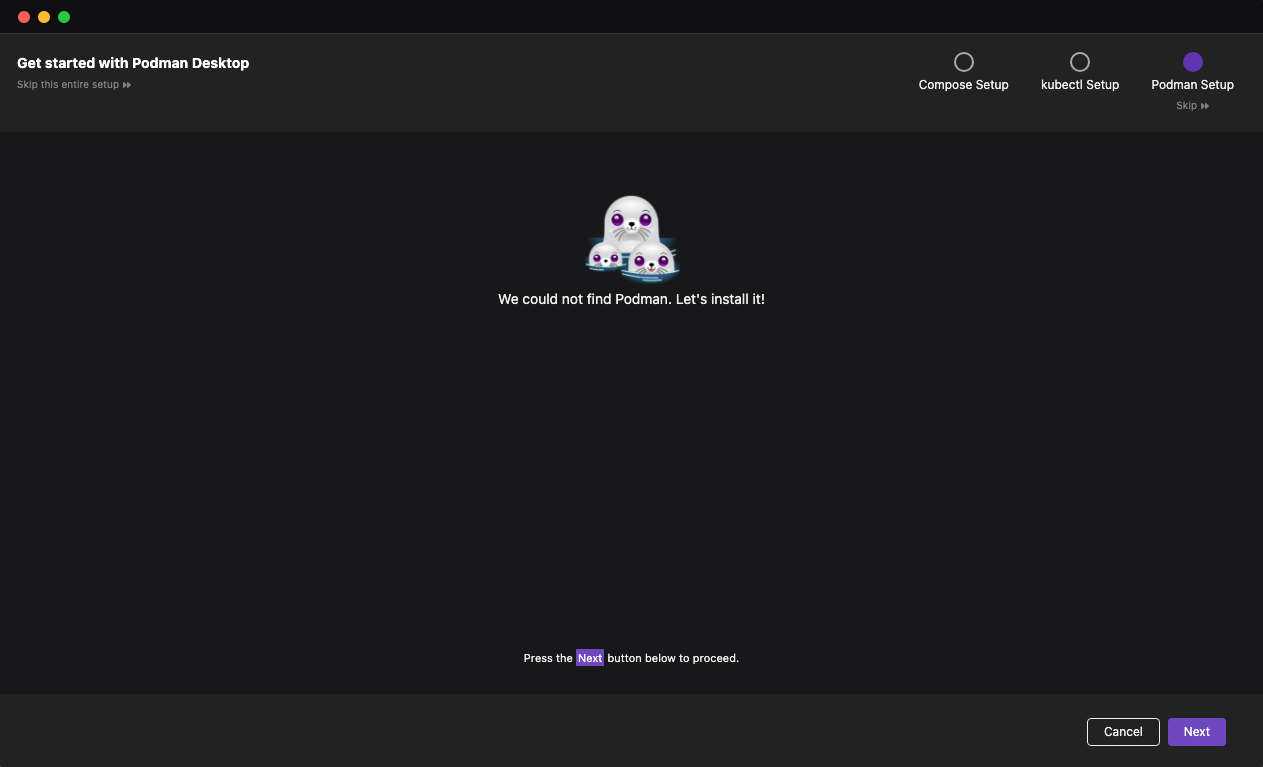
Click the Next button to begin the installation of Podman.
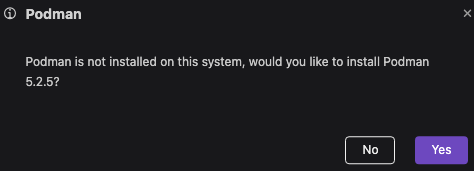
When asked for permission to install Podman, click the Yes button (Figure 8).
Follow the screen instructions to complete the installation of Podman.
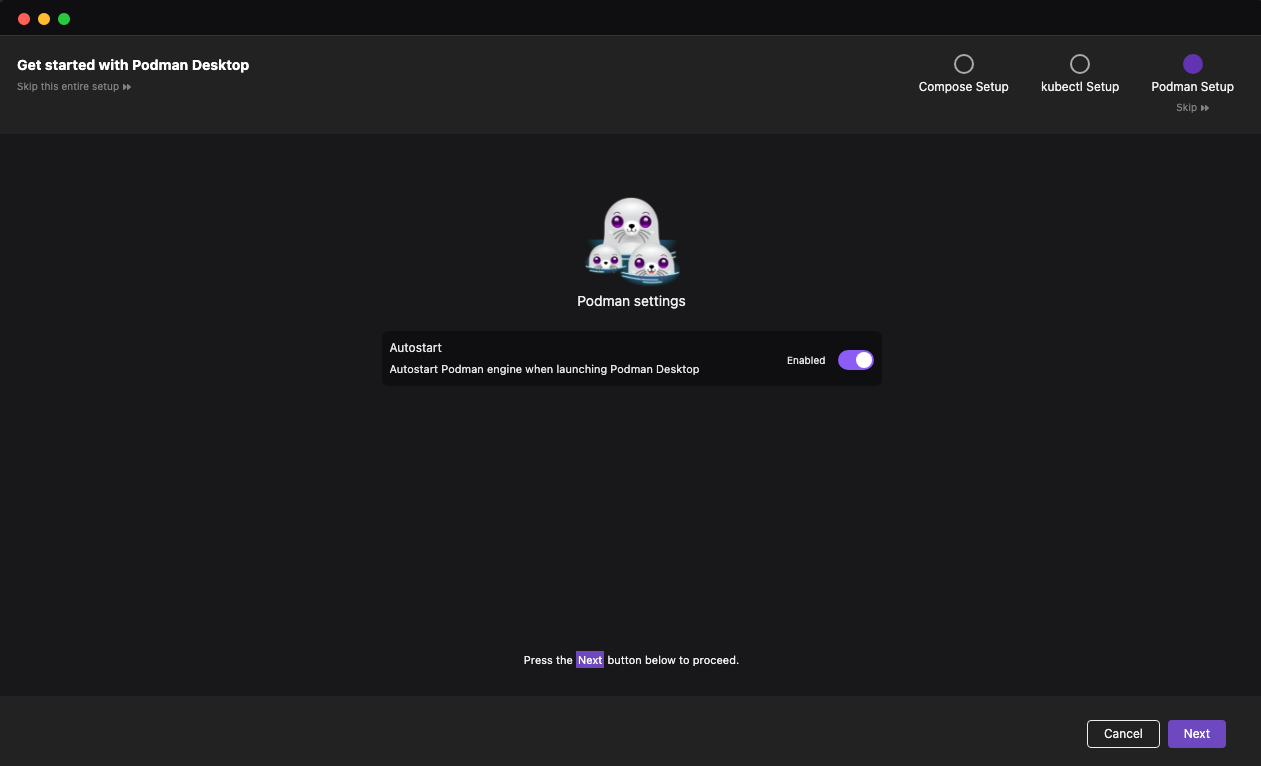
Accept any default settings and click the Next button to continue to the Podman initialization steps. See Figure 9.
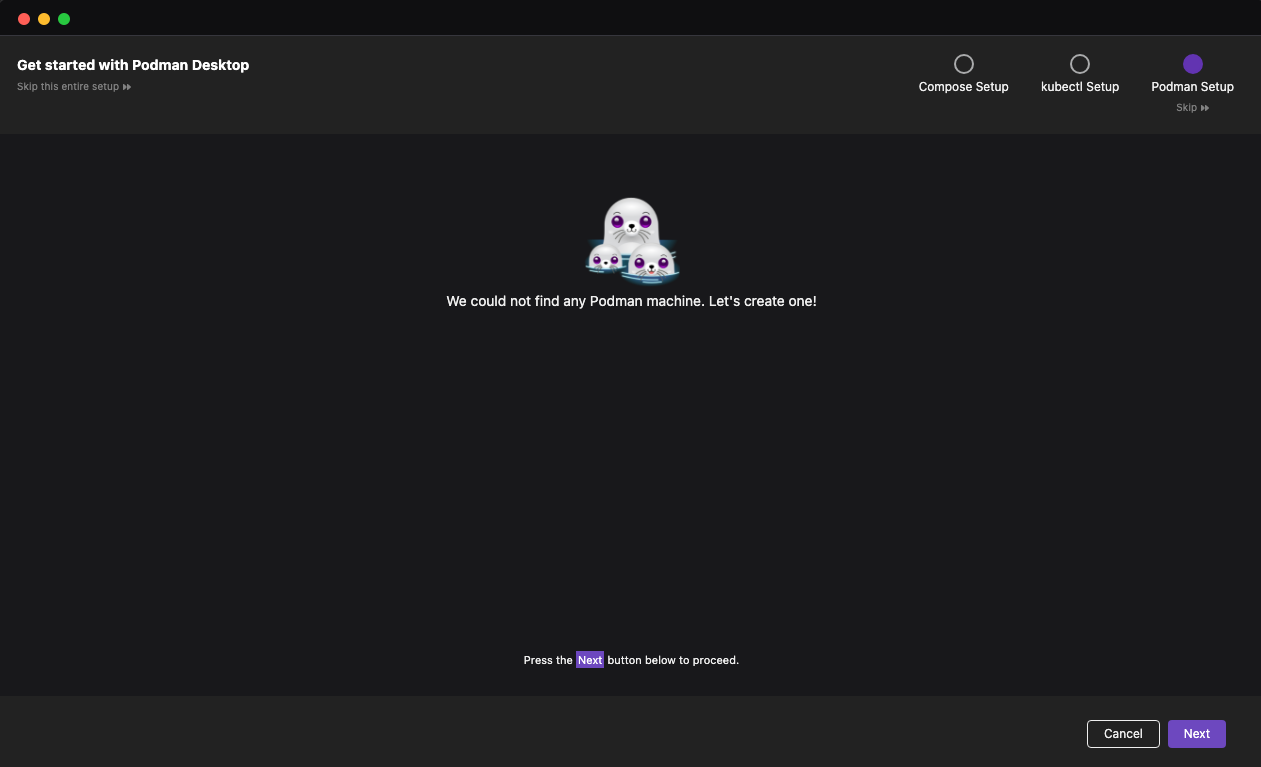
The Podman machine runs in a virtual machine (VM) and is an optional engine that supports Podman Desktop. Click the Next button to begin the Podman machine setup (Figure 10).
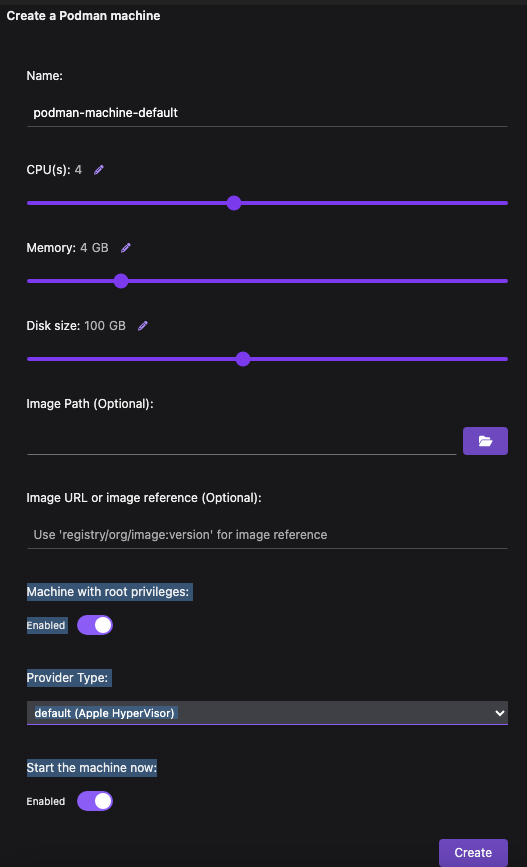
Accept the default settings and click the Create button (Figure 11).
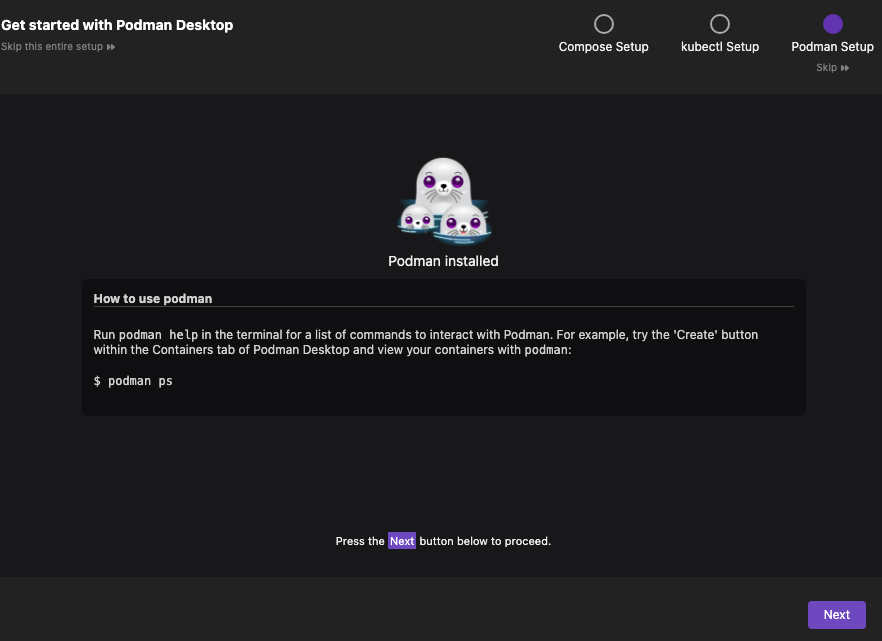
Once the Podman engine has been initialized, you are ready to start using Podman Desktop. See Figure 12.
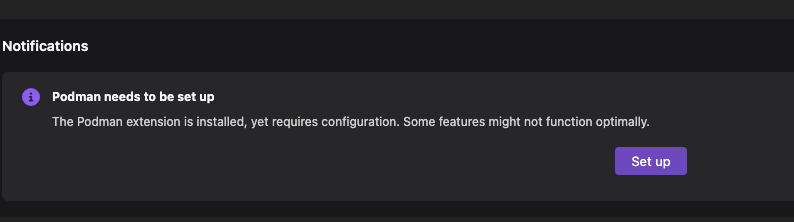
When the Podman Desktop dashboard appears, you are notified that Podman needs to be set up. You just finished this, so you can dismiss that notification. It is not necessary to run Set up again (Figure 13).
With this notification dismissed, you are ready to start using Podman Desktop. If you wish to prove the installation, open a terminal window and run the command podman --version.
You have now successfully installed Podman and Podman Desktop, and configured both to enable a robust and complete container image development environment. The next lesson is to connect your Podman Desktop app to your Developer Sandbox instance.
