Page
Deploy and view the application
Step 4: Deploy the application
While not necessary, you’ll get the greatest impact from this next step if you can organize your screen (or screens) so that you can view the command line and the OpenShift dashboard (in Developer/Topology view) at the same time. Figure 2 shows an example of this view.
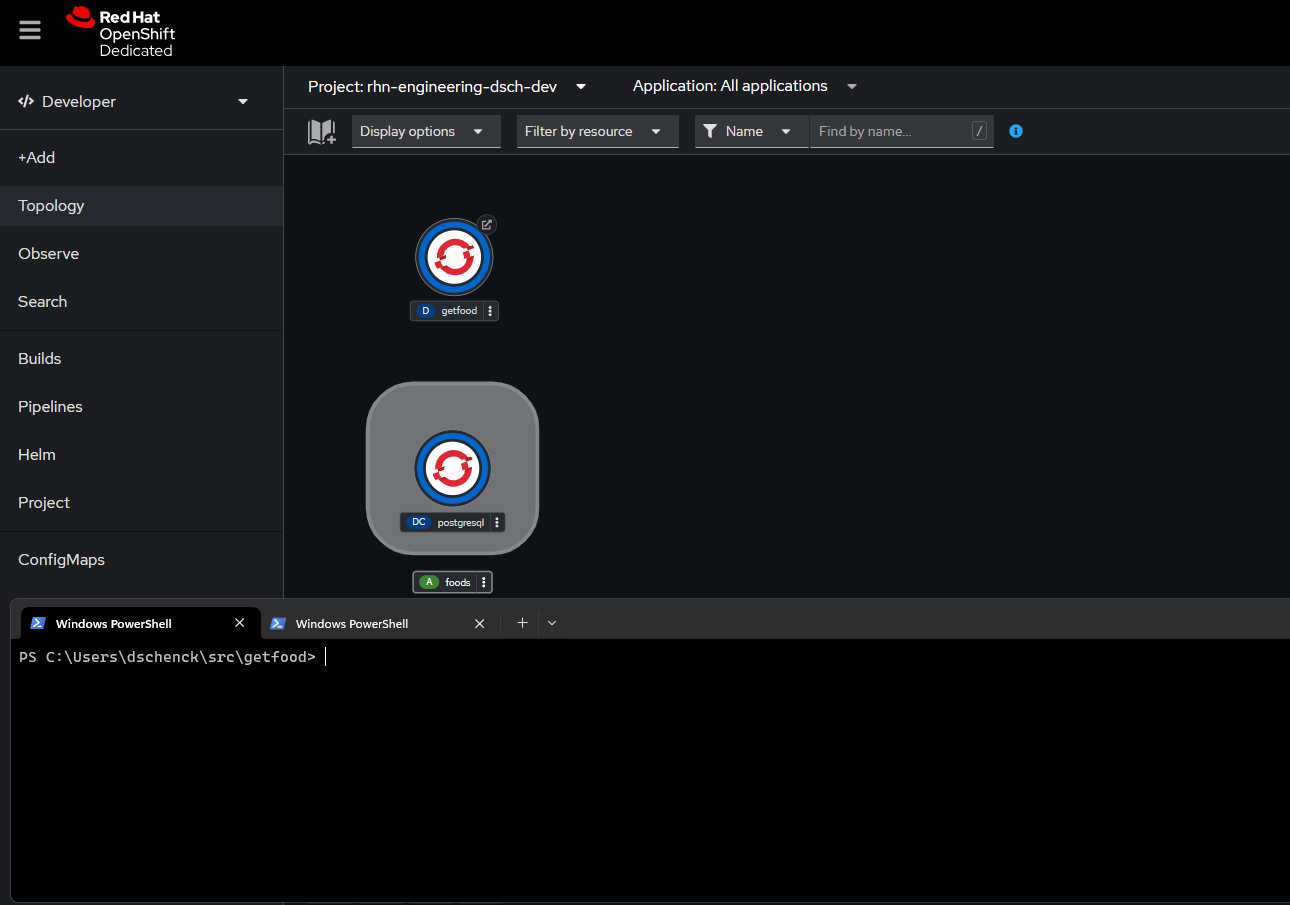
Deploy the application—and, by association, run the init containers—by running the following command:
oc create -f mydeploy.yaml
Here’s an example of the expected output:
> oc create -f .\mydeploy.yaml

deployment.apps/getfood created

service/getfood created

route.route.openshift.io/getfood created
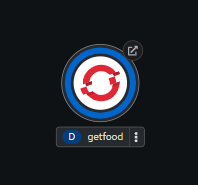
When the application is up and running, you will see a dark-blue ring around the outside of the icon in your dashboard (Figure 3).
Step 5: View the results
Click the Open URL arrow at the upper-right corner of the application icon in your OpenShift dashboard. This will open the Quarkus application in your browser (Figure 4).
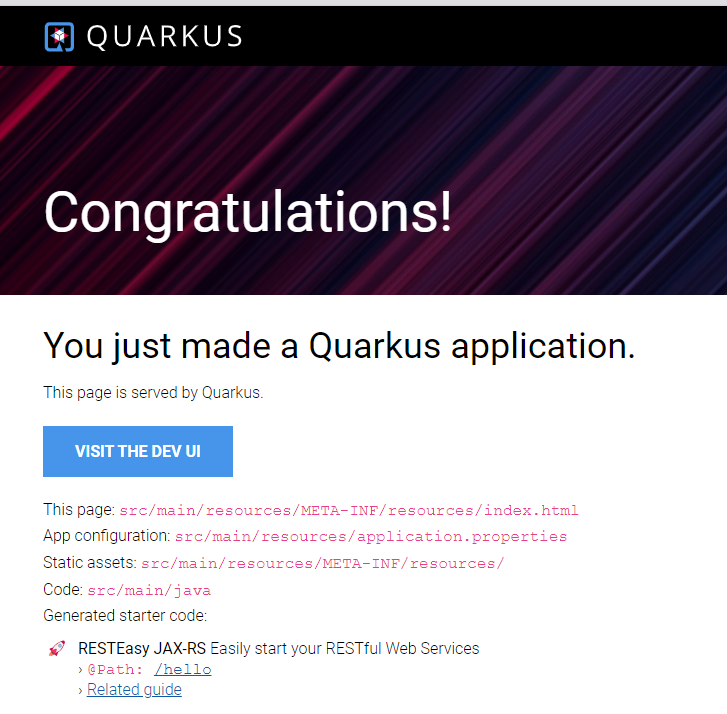
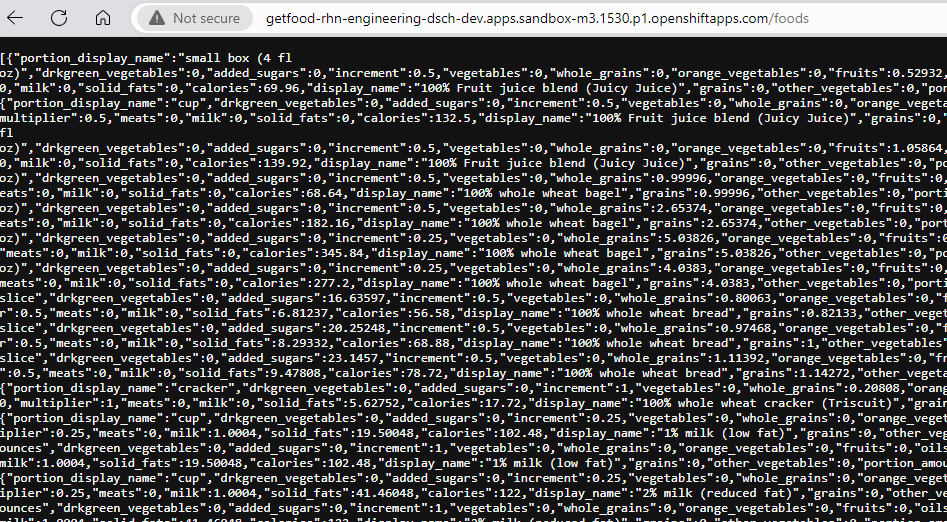
Append /foods to the URL to see the JSON array returned, containing every row from the database (Figure 5).
Congratulations. You have created a database instance inside OpenShift and initialized your tables with data. Here are some notes to help you continue your learning journey.
Developer notes
- The back-end application, food-service, is written using Quarkus in Java by Red Hat’s resident Quarkus genius, Hans-Peter Grahsl.
- The back-end application,
getfood, is created from an already-built image, quay.io/rhdevelopers/food-service:latest. - Database names, user names, and passwords are all hard-coded. Note: This is not a best practice.
Move it, remove it, improve it
Here are some ways you can move, remove and improve the skills you learned in this exercise.
Move it
You can download all of the YAML files associated with this application and use them to move it to another OpenShift instance by using the Export Application button in the upper-right corner of the OpenShift dashboard.
Remove it
You can remove parts of this activity by using the following command:
oc delete all -l app.kubernetes.io/part-of=foods
Improve it
Some ideas to improve or alter this activity:
- Write your own back-end function in a different language.
- Write a front-end piece
- Create a second service that allows a search parameter
Info alert:Postgres, PostgreSQL and the Slonik Logo are trademarks or registered trademarks of the PostgreSQL Community Association of Canada, and used with their permission.
Ready to learn more?
Want to learn more about how OpenShift and Quarkus work together? Try this learning path.