Page
Prerequisites and step-by-step guide

Prerequisites:
- Red Hat Developer Sandbox
- GitHub account
Step-by-step guide:
1. Explore the OpenShift AI dashboard
In this section, you will learn how to initiate an OpenShift AI instance from the OpenShift Sandbox cluster, enabling exploration of the myriad possibilities offered by artificial intelligence and machine learning. The following steps will guide you through the process of getting started with OpenShift AI.
- To access the Red Hat Hybrid Cloud Console dashboard, first, log in to your OpenShift Sandbox cluster.
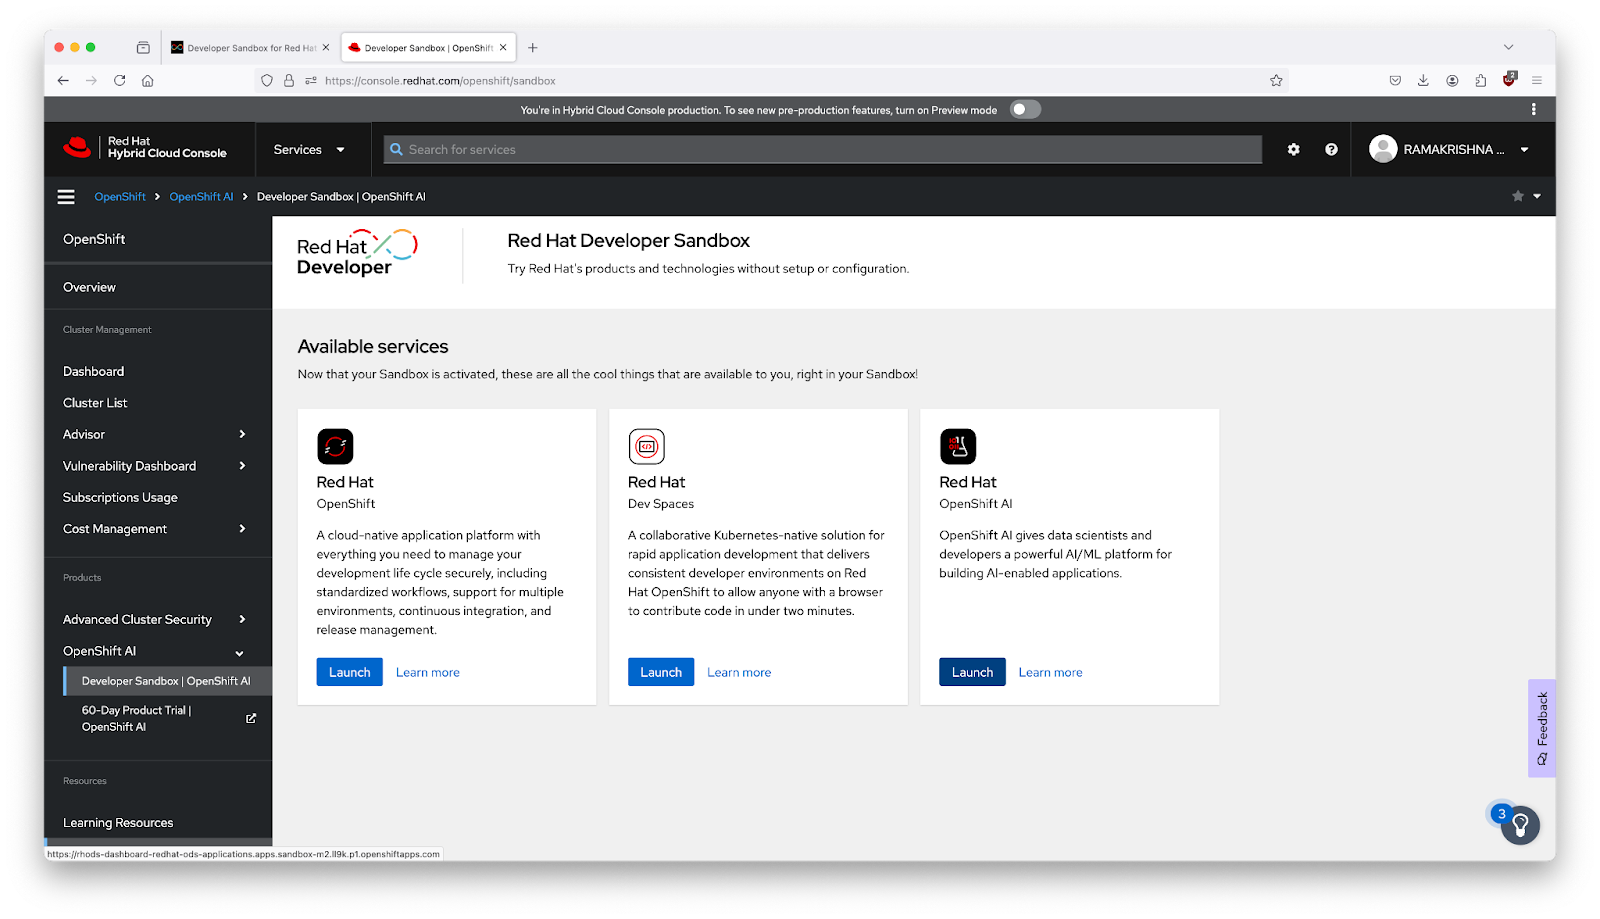
You will then see the dashboard as shown in Figure 1 below. Click on "Launch" within the Red Hat OpenShift AI box.
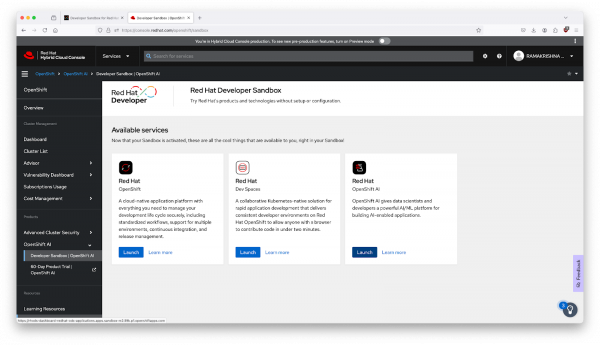
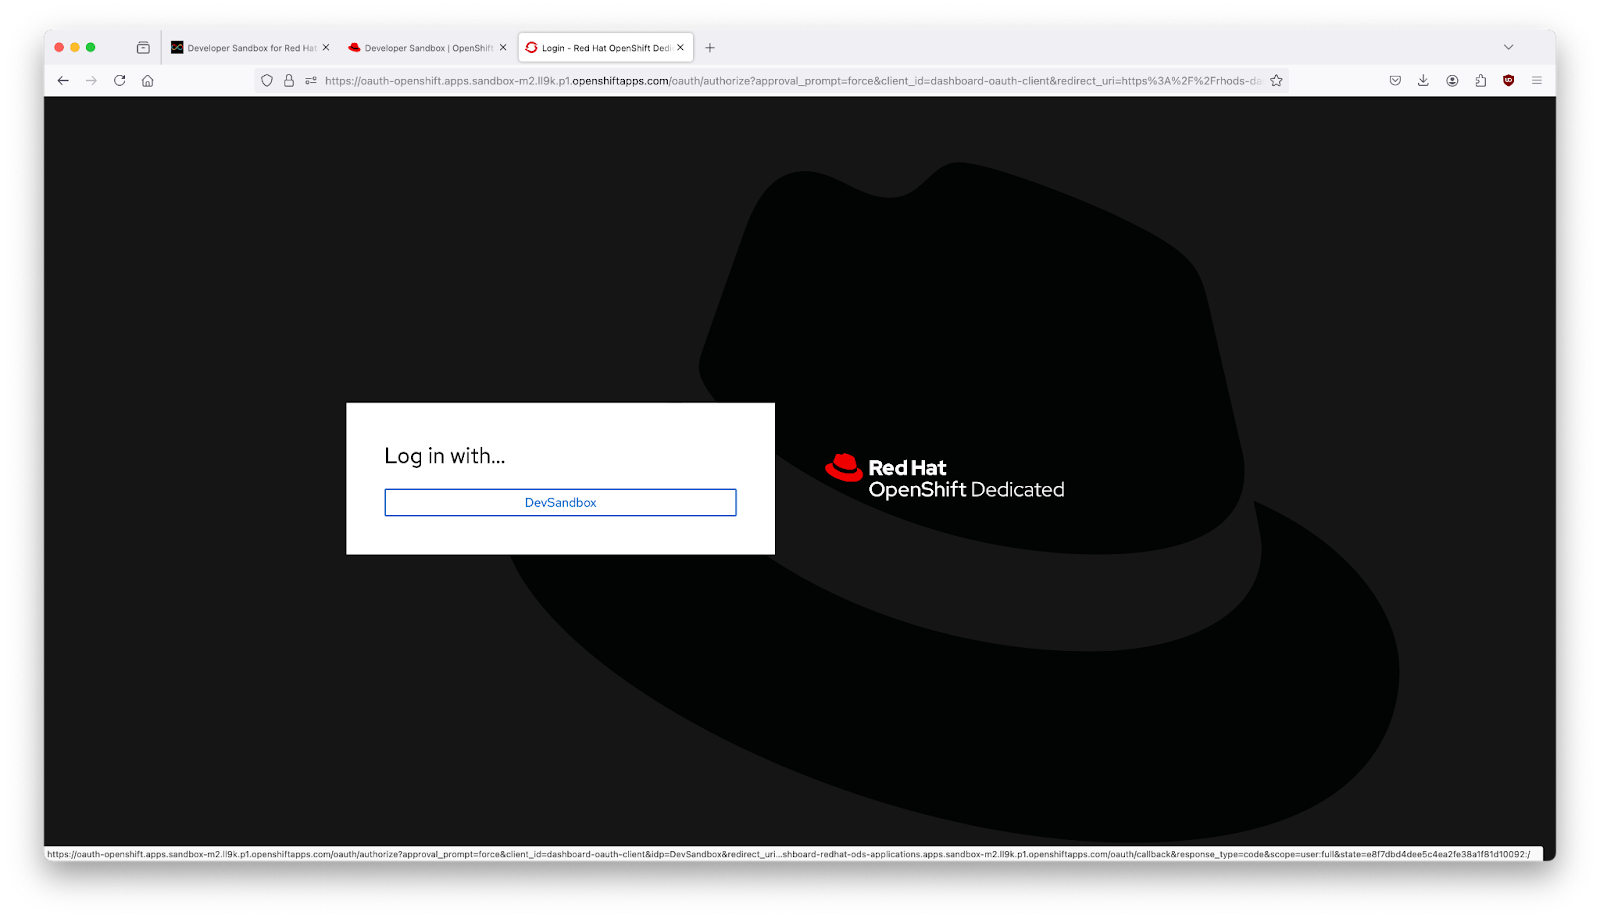
Figure 1: The Red Hat Hybrid Cloud Console with Red Hat OpenShift AI. Click on "Log in with OpenShift", as shown in Figure 2 below, and sign in with your username and password for your OpenShift cluster.

Figure 2: OpenShift Login. After clicking on "Log in with OpenShift", a new screen will appear. Please click on the DevSandbox link as shown in Figure 3 below.
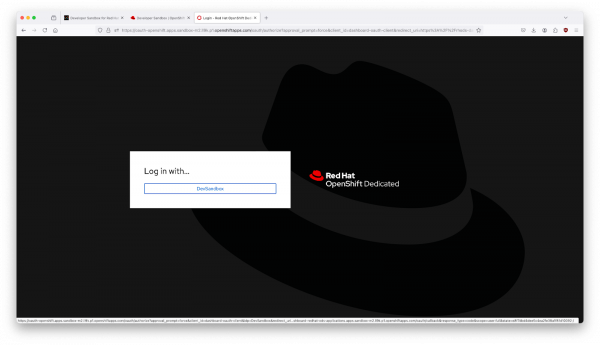
Figure 3: Log in with Developer Sandbox. After clicking on "DevSandbox", you are now taken to the OpenShift dashboard, where you will see the heading for Data Science Projects as shown in Figure 4 below.
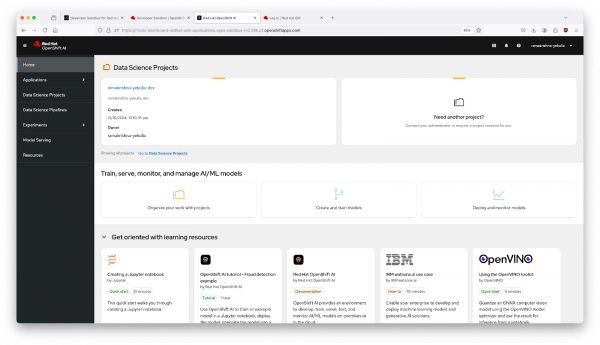
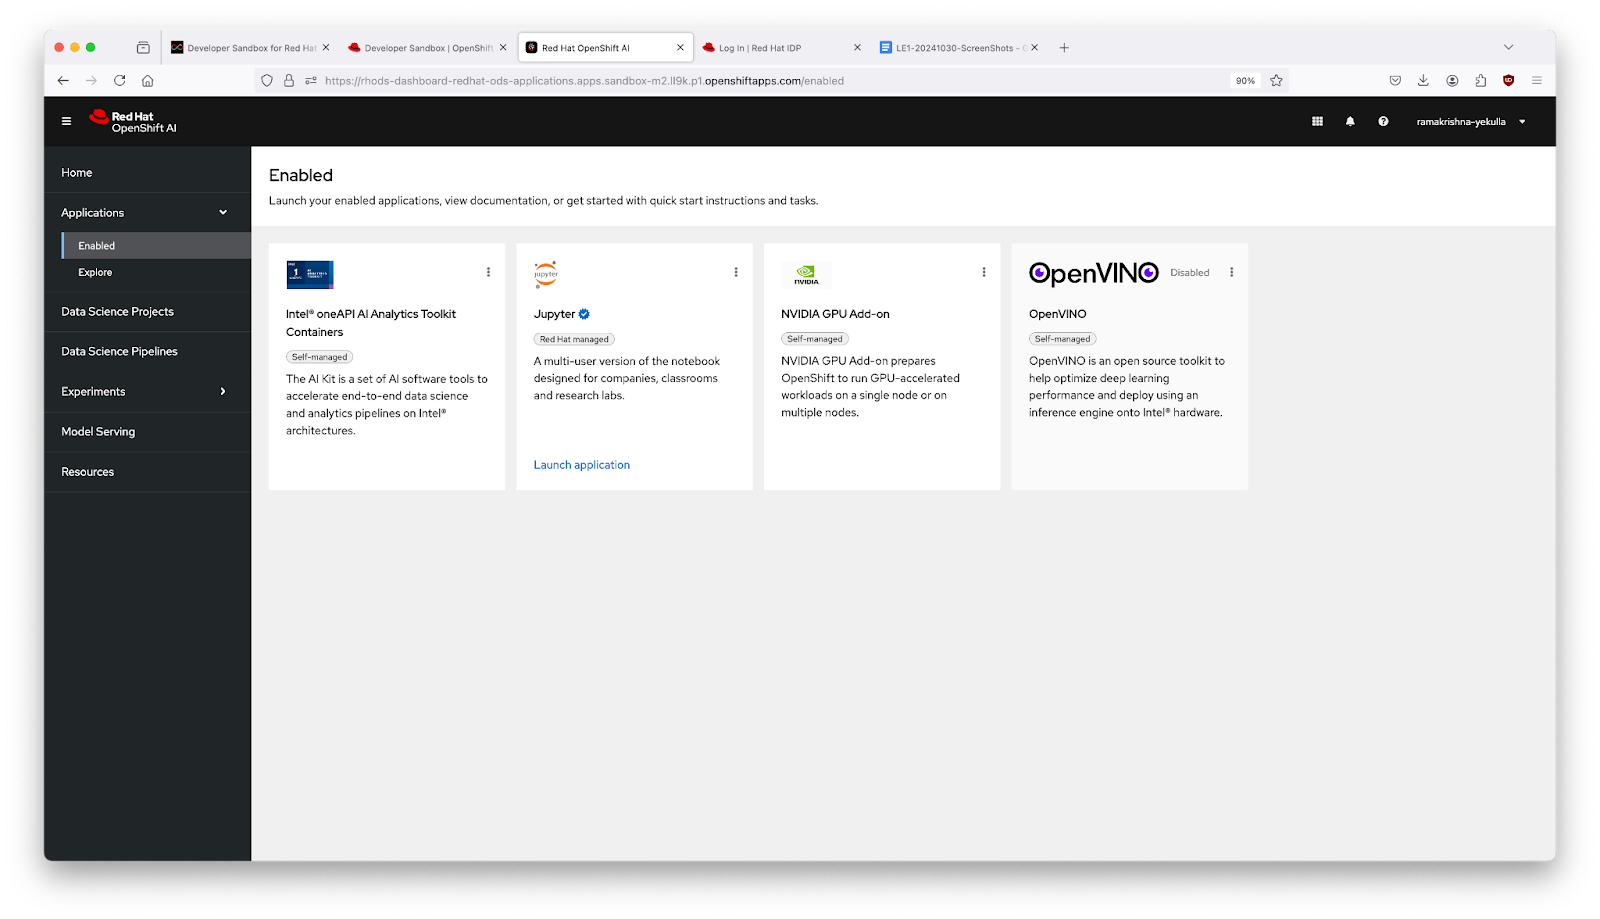
Figure 4: Red Hat OpenShift offers a multitude of instances. Under the "Applications" section on this dashboard, locate the "Enabled" option to find active instances of AI application development as shown in Figure 5 below. By default, Jupyter is already activated, and we will utilize it within this learning exercise. You can launch your enabled applications, view documentation, or get started with quick start instructions and tasks.
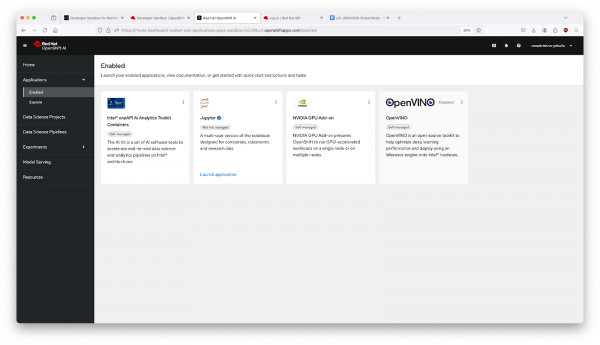
Figure 5: Red Hat OpenShift AI includes pre-installed applications. Upon landing on the OpenShift AI dashboard, you will also find the Explore option under Applications, which provides additional options for applications of Red Hat OpenShift AI instances, as shown in Figure 6 below.

Figure 6: Red Hat OpenShift offers a multitude of instances.


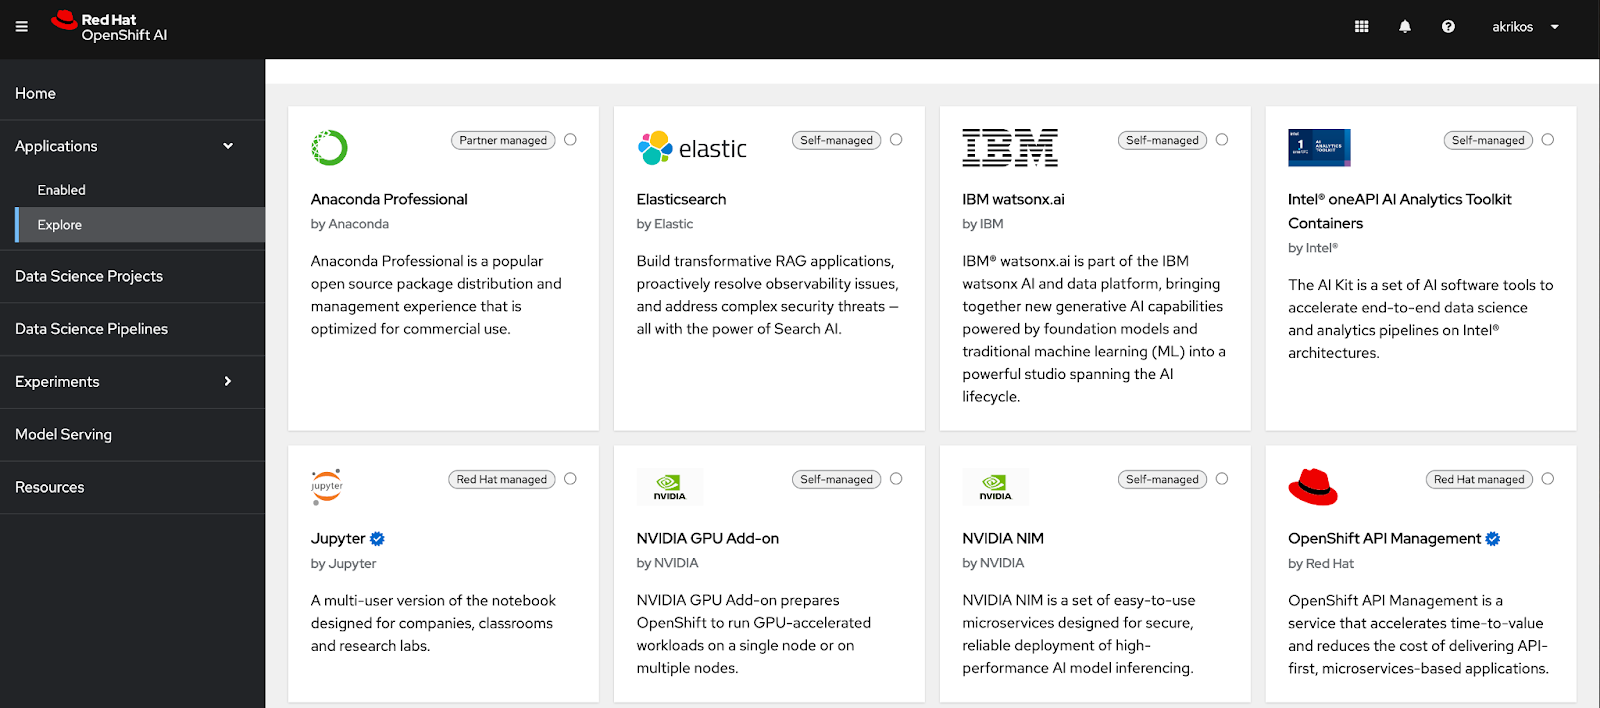
To learn more, the Resources tab provides tutorials and documentation on how to use OpenShift AI, including partner software. Quick starts are embedded in the application itself and offer an in-line tutorial experience.
2. Create Data Science Project
In this learning exercise, we will configure a Jupyter notebook server using a specified image within a Data Science project, customizing it to meet your specific requirements. In the Developer Sandbox environment, a Data Science project is created for your convenience. Please navigate to and open this project to set up a Workbench.
- Click on the Data Science Projects tab.
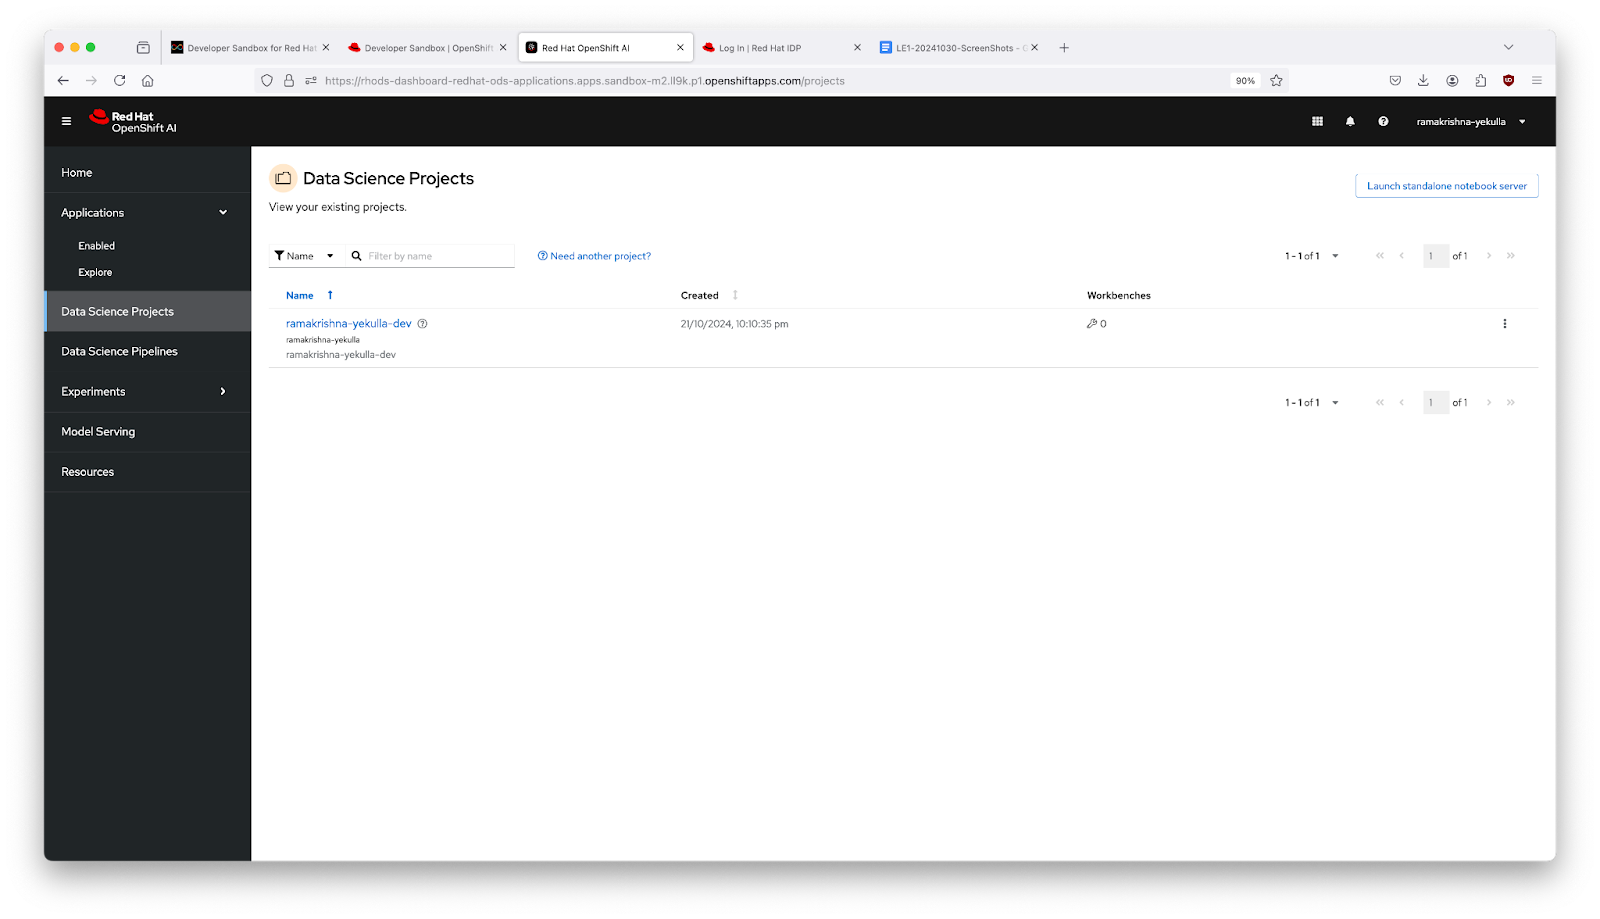
- You should see the created Data Science project with your username, as shown in Figure 7 below.
Click on it to open the project.
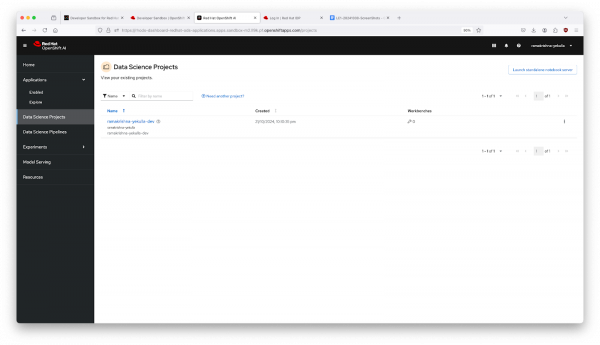
Figure 7: Creating data science project. - Once you click on the project with your username, a screen will appear with more details of your project, along with a link to create a workbench as shown in Figure 8 below. Click on Create a workbench. Now you are ready to move to the next step to define the workbench.
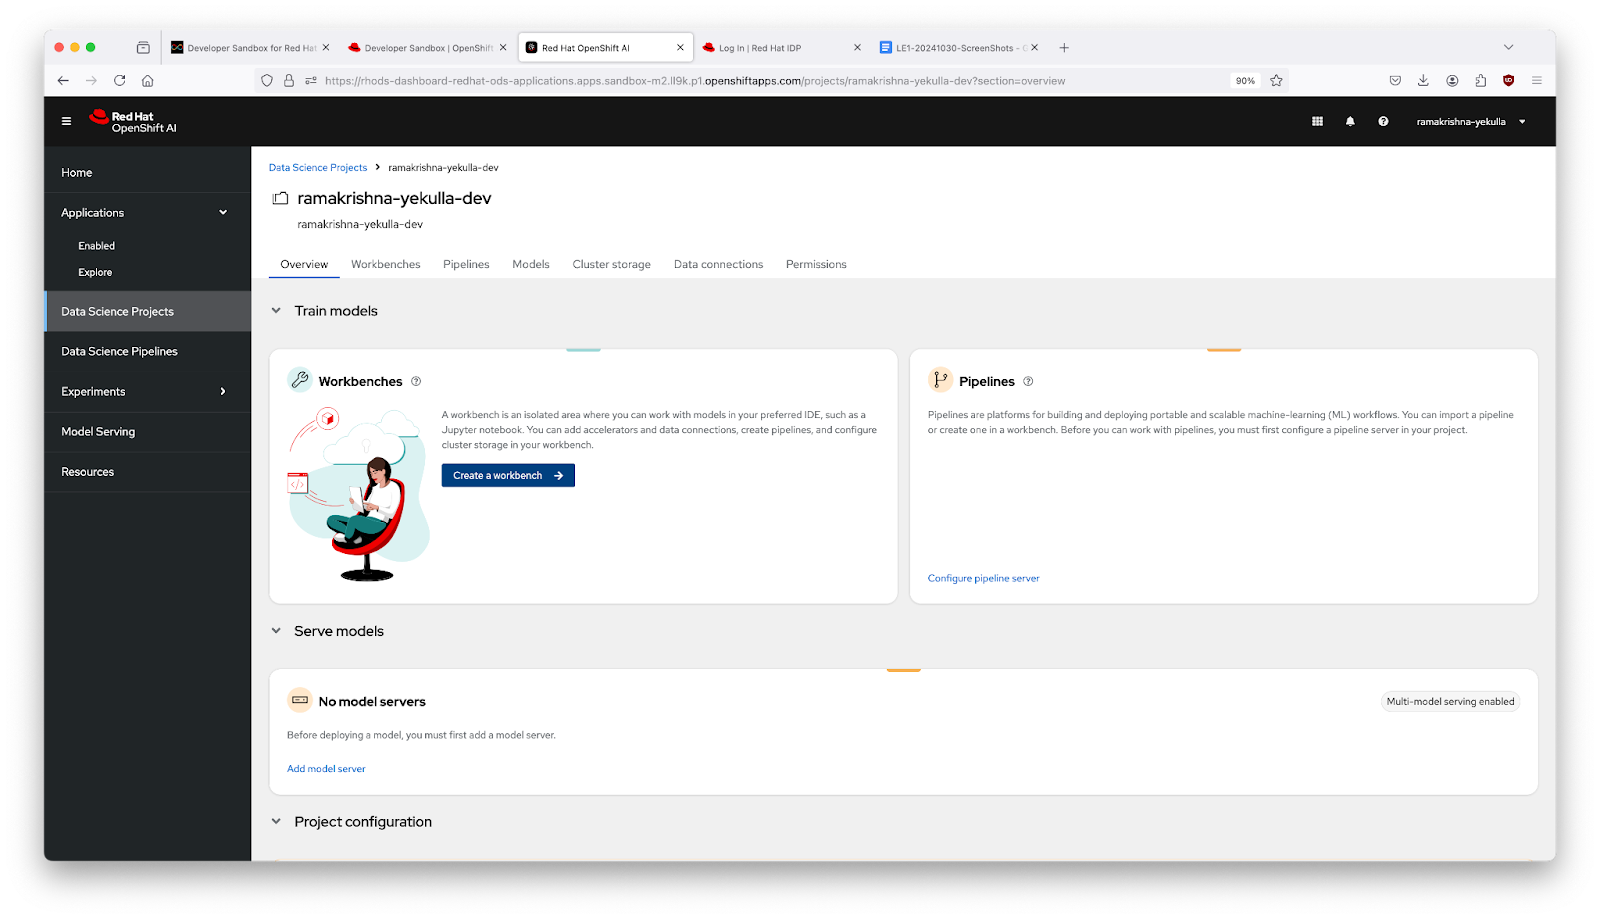
3. Establish the Workbench for Jupyter notebook server
After clicking Create a workbench you’ll be directed to Figure 9 below, where you can create a Jupyter notework. The Data Science Project serves as a registry for the Jupyter notebook we will create. You will be directed to the component page of the Data Science project. On this page, we need to define the configurations of Jupyter Notebook server images, such as Simple Data Science, TensorFlow, PyTorch, and others. Additionally, we can specify the server size and other parameters.
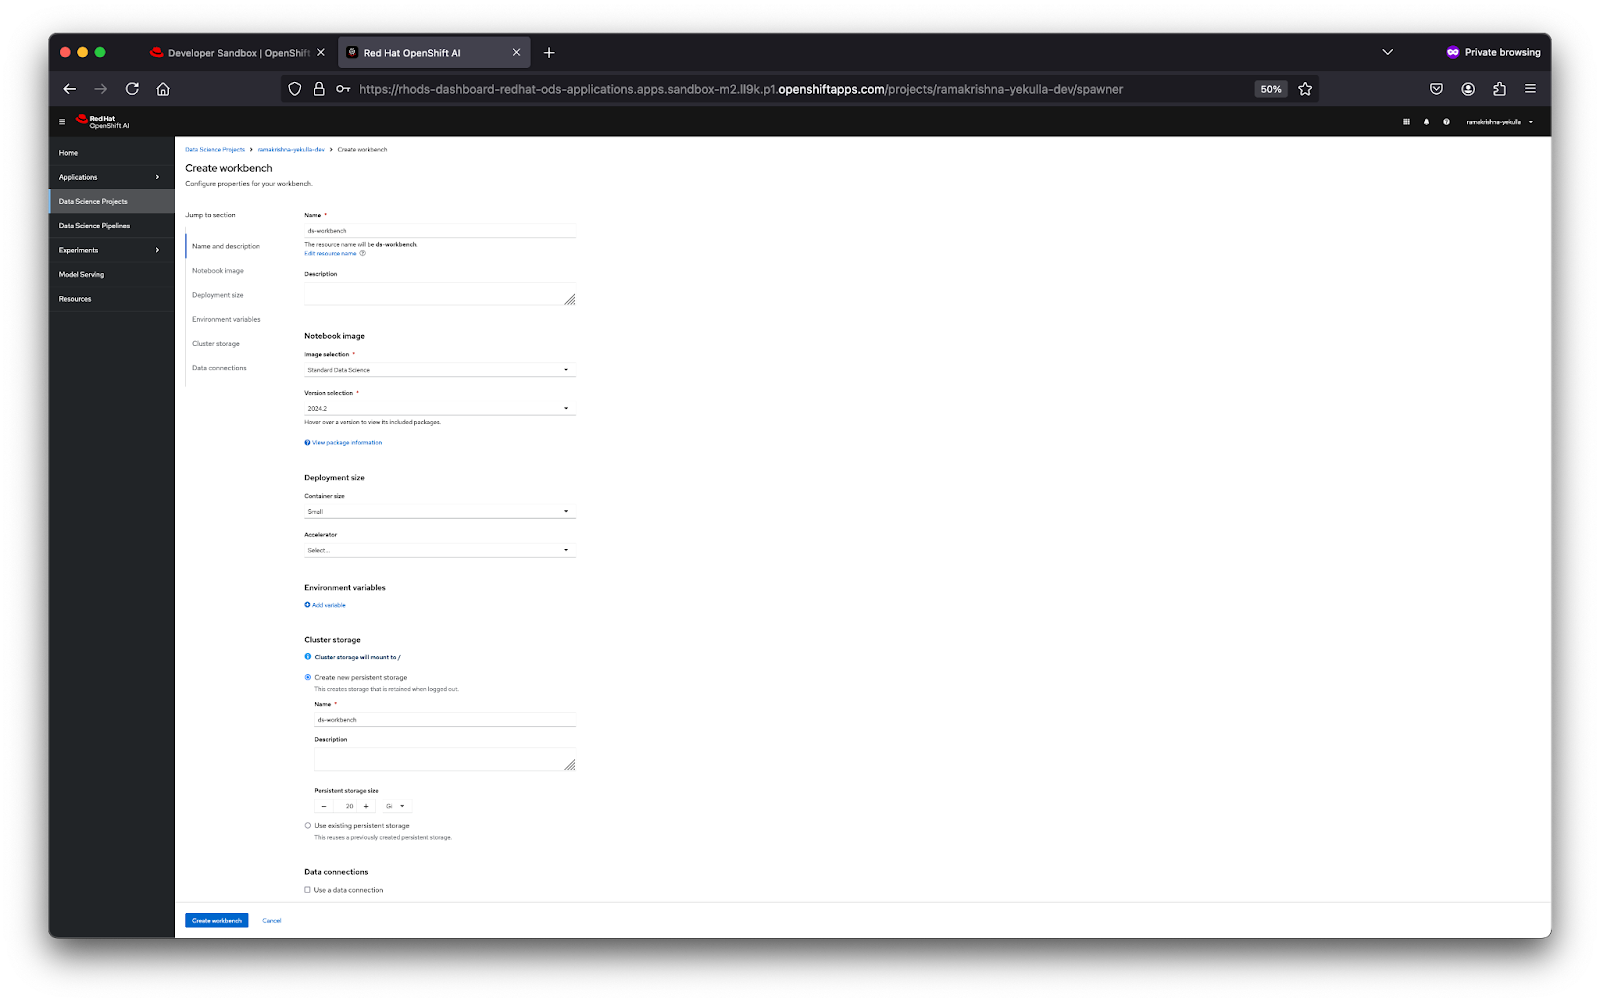
- On the Create workbench page, you are now ready to fill in workbench parameters.
- Give the workbench a name.
- Select the Notebook image from the image selection dropdown as Standard Data Science.
- Select the Container size to small under "Deployment size".
- Scroll down and in the storage cluster, give it a storage name.
- Define the required storage size in Gi. Set the storage size to 10 Gi.
Note: The OpenShift Developer Sandbox has a storage restriction, limiting it to 15GB. Therefore, default values cannot be used in this context.
- Click on the Create workbench button at the bottom of the page.
After successful implementation, the status of the workbench turns to "Running," similar to Figure 10 below.
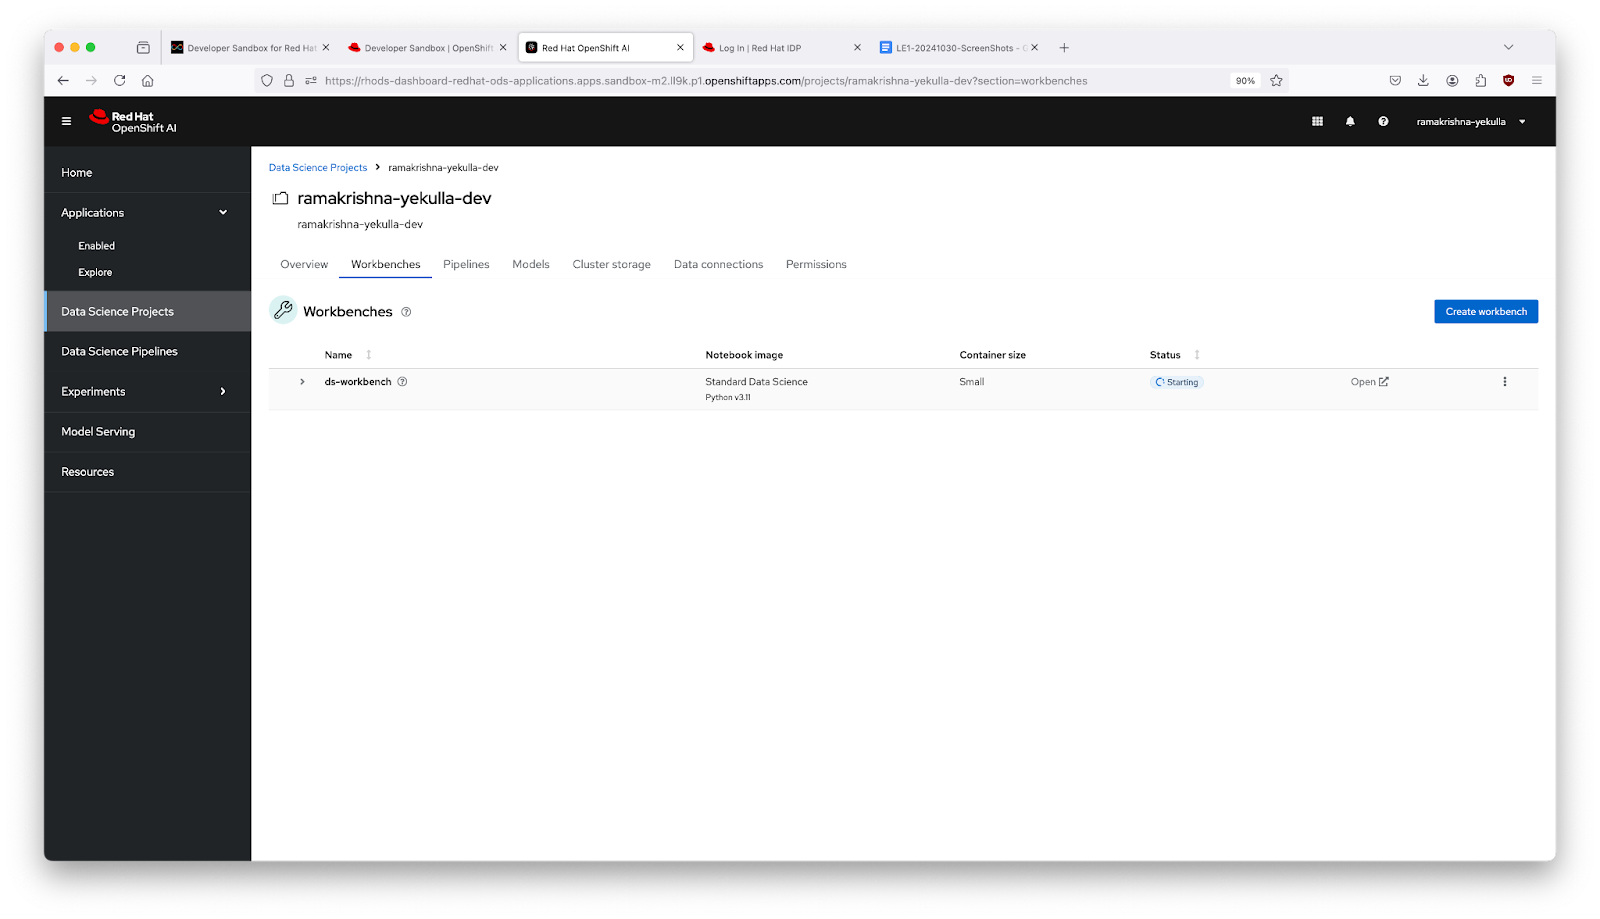
- Click on the "Open↗" button, located beside the status.
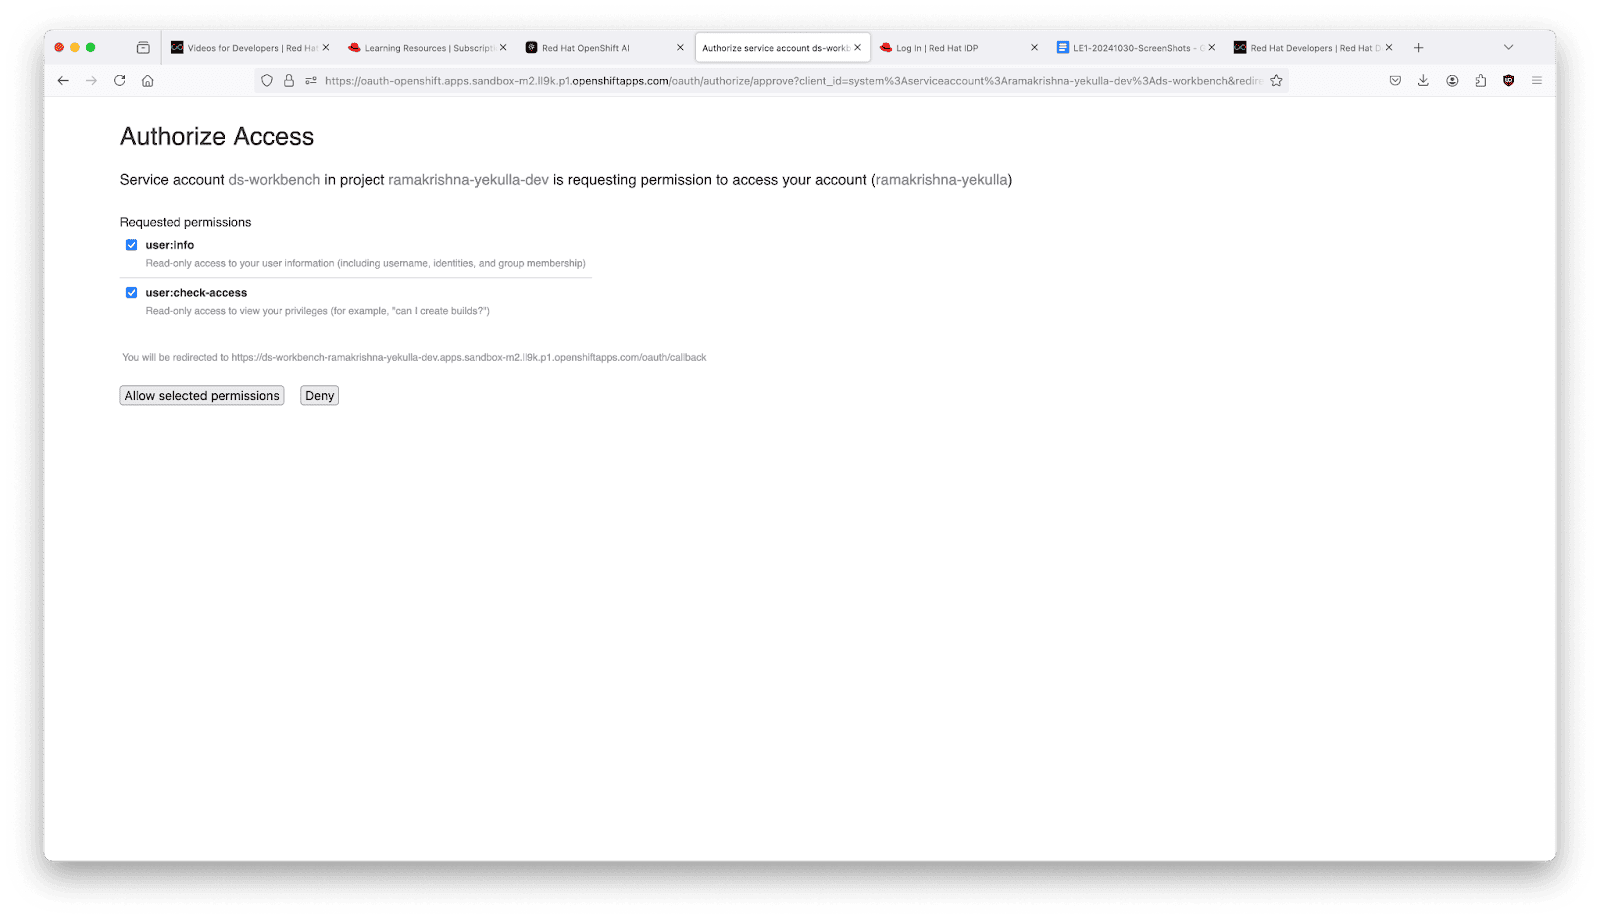
- Authorize the access with the OpenShift cluster by clicking on the "Allow selected permissions," similar to how it's shown in Figure 11.
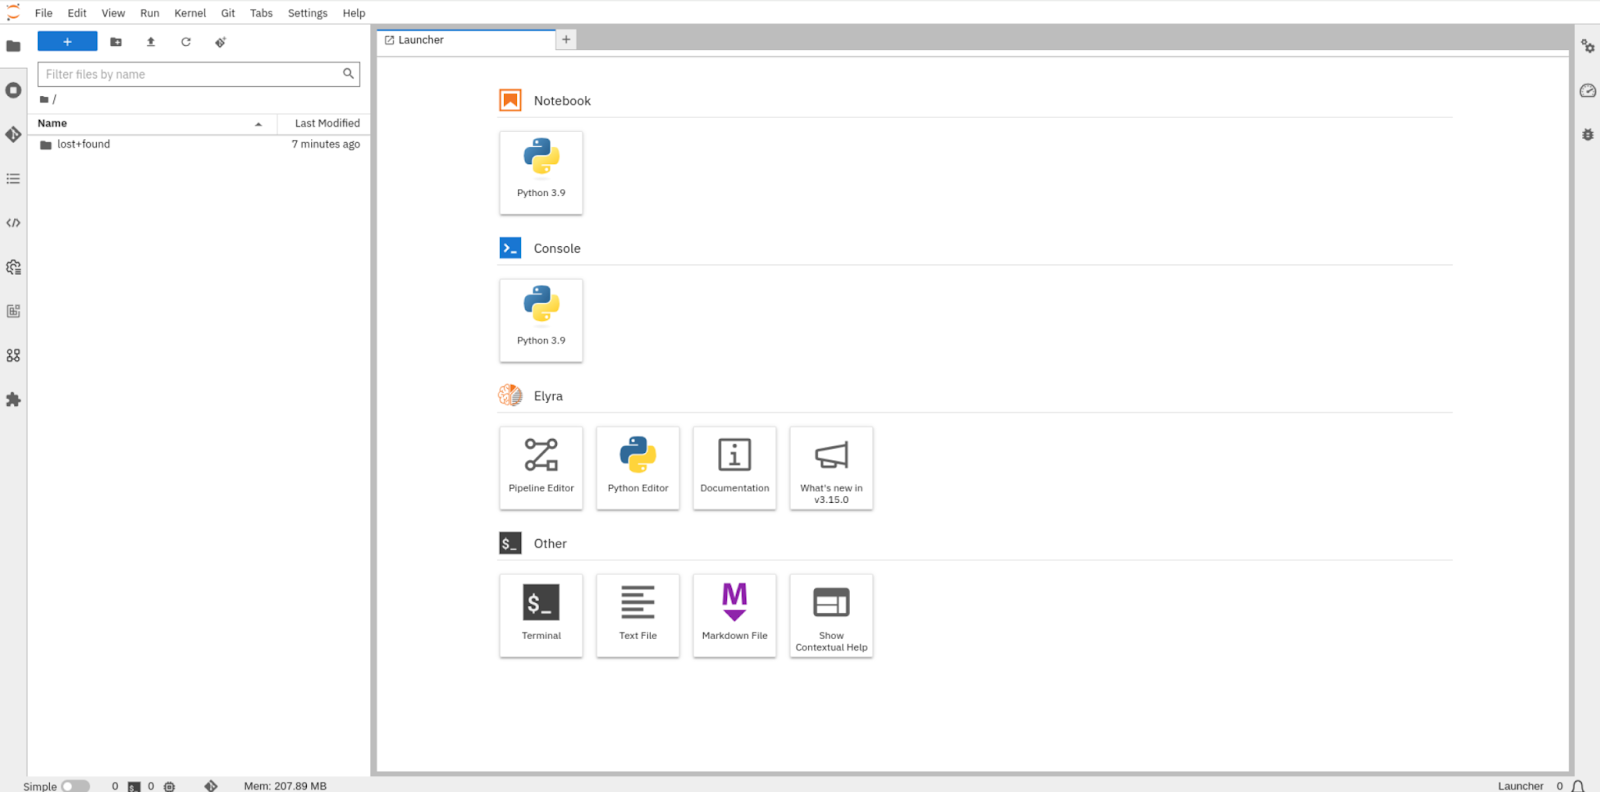
After granting permissions with OpenShift, you will be directed to the Jupyter Notebook page, resembling the depiction in Figure 12 below.
4. How to access the current data science project within Jupyter Notebook
The Jupyter Notebook provides functionality to fetch or clone existing GitHub repositories, similar to any other standard IDE. Therefore, in this lesson, we will clone an existing simple AI/ML code into the notebook using the following instructions.
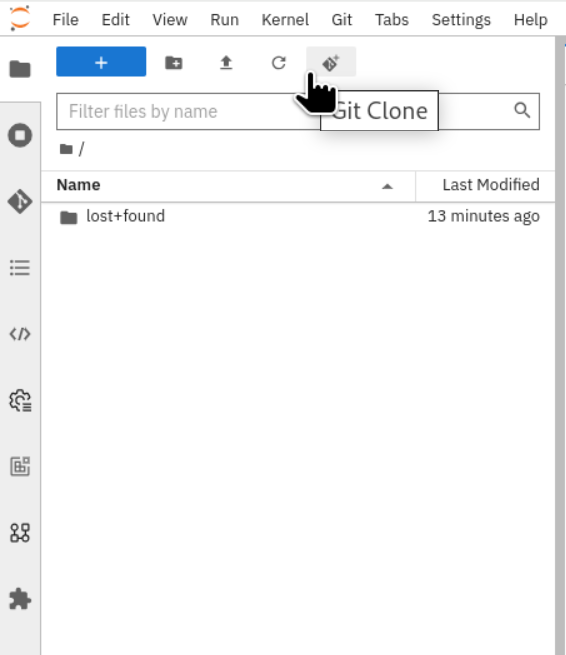
From the top, click on the "Git Clone" icon, similar to the illustration shown in Figure 13 below.

Figure 13: Git clone option from toolbar. - In the popup window, define the following GitHub URL:
- https://github.com/redhat-developer-demos/openshift-ai.git
Click on the clone button as shown in Figure 14.
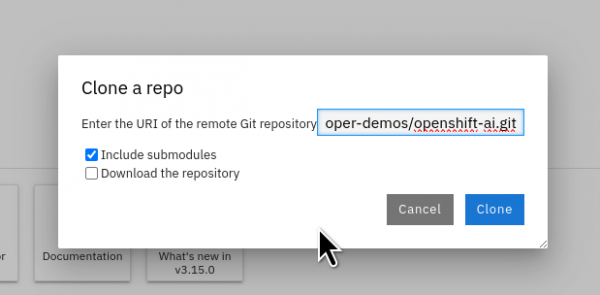
Figure 14: URI of git.

After fetching the github repository, the project will appear in the directory section on the left side of the notebook.
- Checkout in the "/openshift-ai/first-app/" directory.
- Open the "openshift-ai-test.ipynb" file.
You will be presented with the view of a Jupyter Notebook.
5. Learn how to execute code in a Jupyter notebook
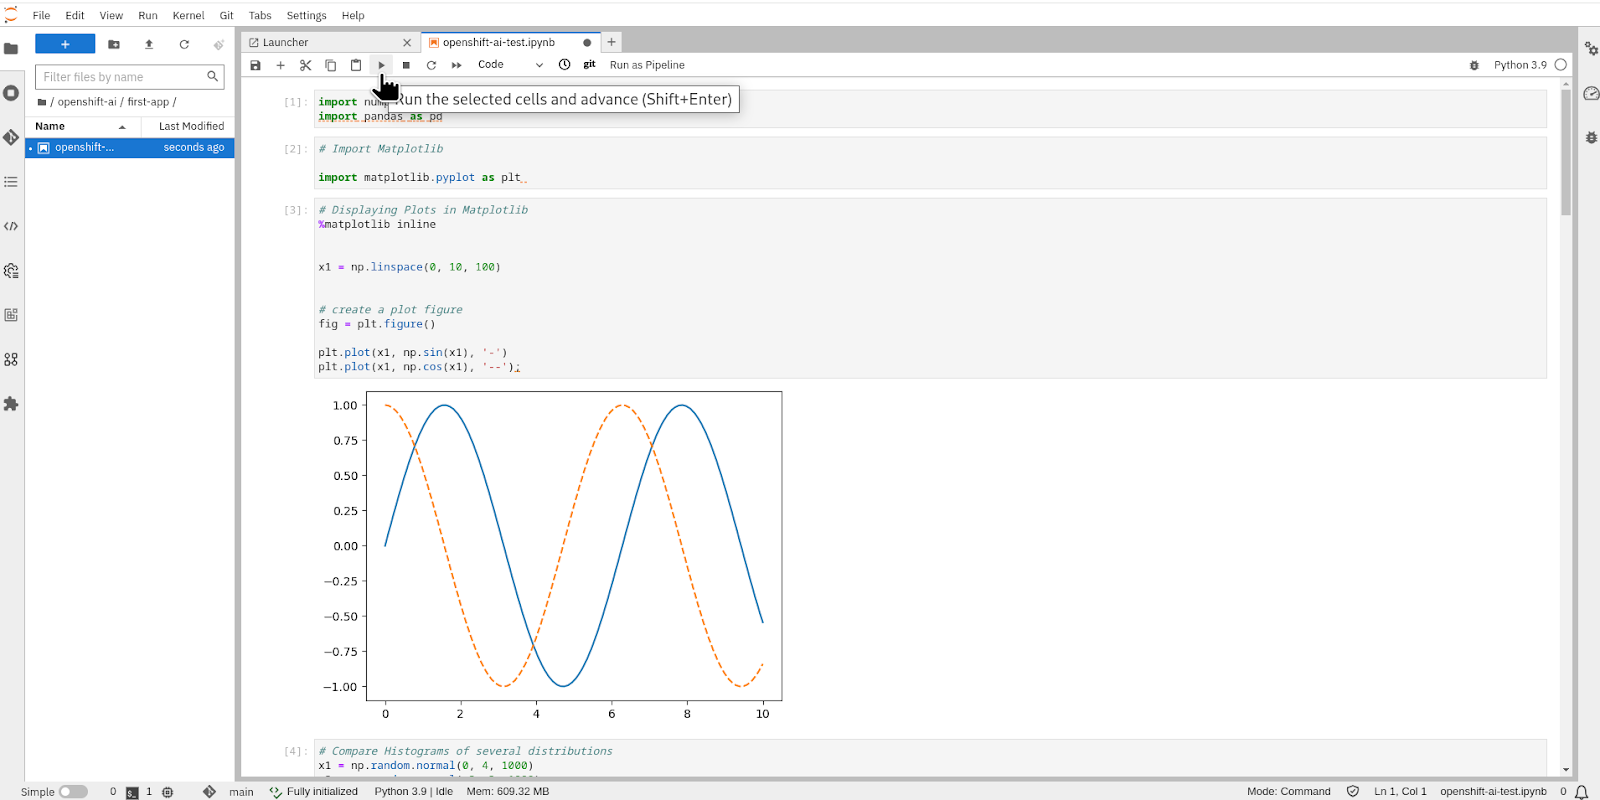
In the previous lesson, we imported and opened the notebook. To run the code within the notebook, you'll start by clicking on the "Run" icon located at the top of the interface. This action initiates the execution of the code in the currently selected cell.
After you click "Run," you will notice that the notebook automatically moves to the next cell. This is part of the design of Jupyter Notebooks, where scripts or code snippets are divided into multiple cells. Each cell can be run independently, allowing you to test specific sections of code in isolation. This structure greatly aids in both developing complex code incrementally and debugging it more effectively, as you can pinpoint errors and test solutions cell by cell.
For instance, as shown in Figure 15, after executing a cell, you can immediately see the output just below it. This immediate feedback loop is invaluable for iterative testing and refining of code.
Summary
We guided you through accessing OpenShift AI from the OpenShift Sandbox cluster and demonstrated the process of fetching a GitHub repository within the JupyterLab environment. Additionally, we explored utilizing the Jupyter IDE and executing sample machine learning programs.
Our aim is to ensure the success of your data science projects, not merely as experiments, but as integral components of the next generation of intelligent applications.
