Page
Access OpenShift Dev Spaces and create your CDE
Once you have registered for a Developer Sandbox , you can access Red Hat OpenShift Dev Spaces.
In order to get full benefit from taking this lesson, you need to:
- Register for a Developer Sandbox for Red Hat OpenShift account.
In this lesson, you will:
- Access OpenShift Dev Spaces on the Developer Sandbox.
- Start the cloud development environment.
Access Red Hat OpenShift Dev Spaces on the Developer Sandbox
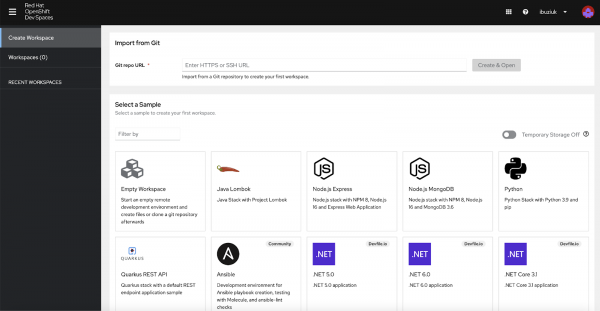
Follow this link to get started with OpenShift Dev Spaces. This redirects you to the OpenShift Dev Spaces user dashboard (Figure 1).
Start the cloud development environment
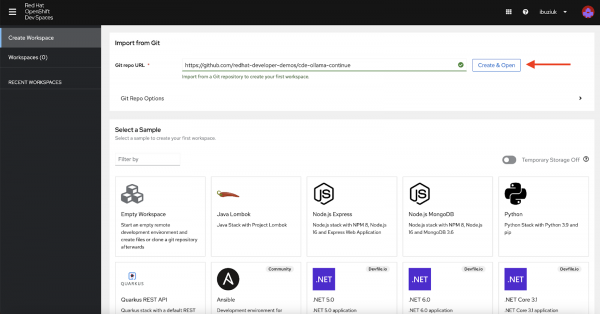
On the User Dashboard, navigate to the Create Workspace tab and provide the URL to the repository that we will use for this activity:
https://github.com/redhat-developer-demos/cde-ollama-continue
Then, click the Create & Open button (Figure 2).
During the workspace startup, you will be asked to authorize the GitHub OAuth app (Figure 3).
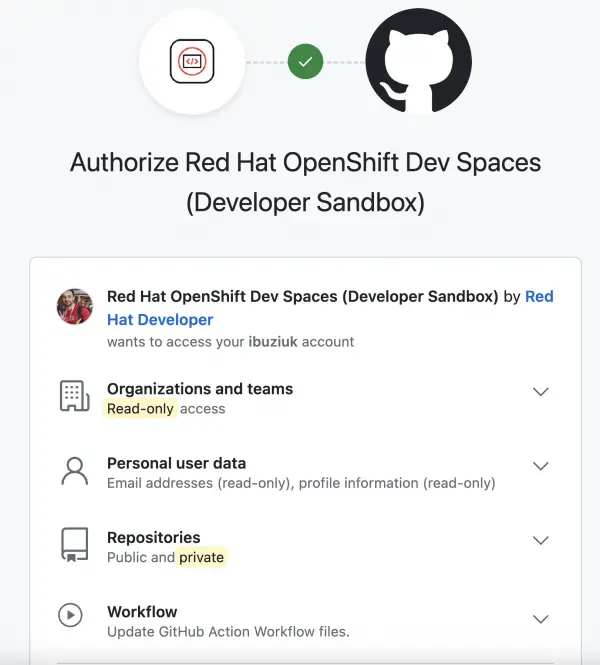
This allows users to have full Git access from the workspaces and execute commands like git push without any setup. Once the permissions are granted, the git-credentials-secret is created in the user namespace which stores the token that is used by Red Hat OpenShift Dev Spaces.
Note: You can always revoke the access at any time on the User Dashboard via User Preferences → Git Services or directly from the GitHub settings.
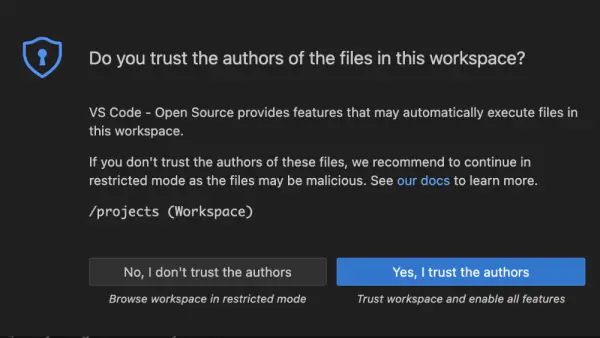
Once the workspace is started, you will be asked if you trust the authors of the files in the workspace (Figure 4). Opt in by clicking the Yes, I trust the authors button.
After some seconds, the Continue extension will be automatically installed.
Note: Continue is the leading open source AI code assistant. Learn more about the extension from the official documentation.
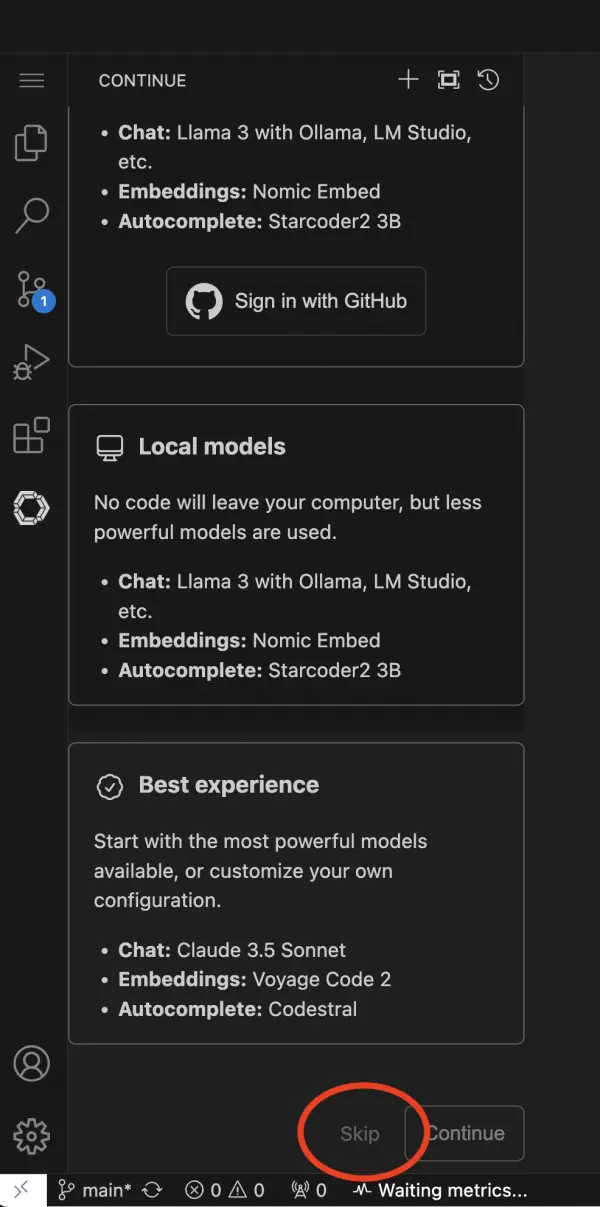
When installation is complete, you can click the new symbol on the left in the sidebar, where a Welcome to Continue screen shows up. Because the Continue extension has already been preconfigured, you can scroll to the bottom of this page and click the Skip button (Figure 5).
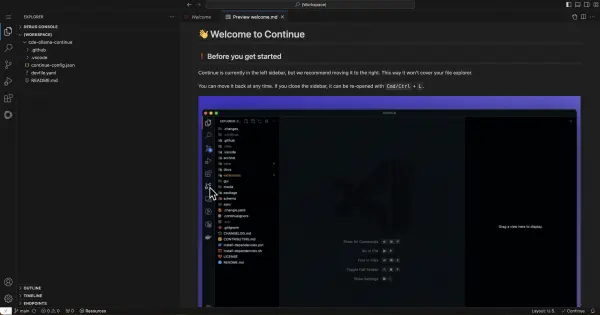
Now you are ready to use the personal AI assistant (Figure 6).
In the next lesson, we’ll examine the devfile and explore some examples that illustrate the utility of a personal AI assistant.
