Page
Deploy the pod to the Developer Sandbox
Deploying a pod in Podman Desktop can be as easy as point-and-click.
Prerequisites:
- Podman Desktop.
- Podman CLI installed on your computer (Podman).
In this lesson, you will:
- Deploy a running pod to the Developer Sandbox.
Step 1: Deploy a pod (to Kubernetes) from Podman Desktop
In the Pods view of Podman Desktop, click the kebab menu for the pod you created in the previous lesson and choose the Deploy to Kubernetes option. When prompted, click the Deploy button (Figure 1).
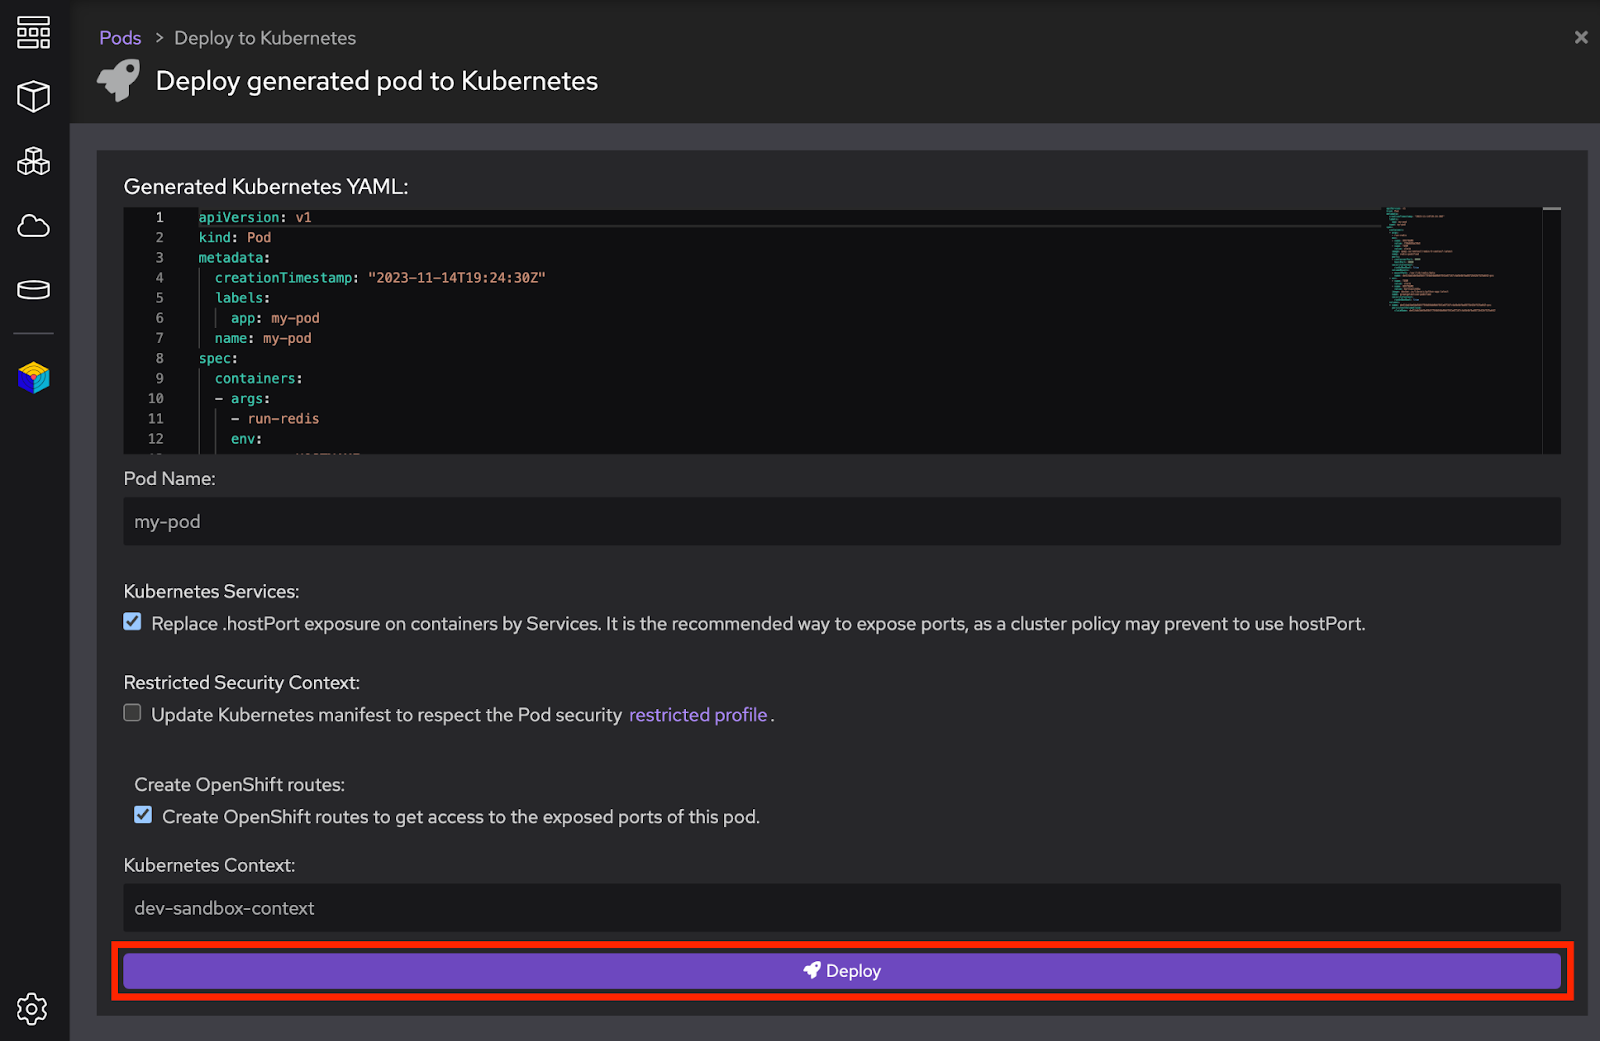
Figure 1: Deploy the pod to your sandbox instance.
Step 2: View results in OpenShift console
Switch to your Developer Sandbox to Developer Topology view and you will see the pod. By clicking the Open URL icon, you can view the website in your browser (Figure 2).
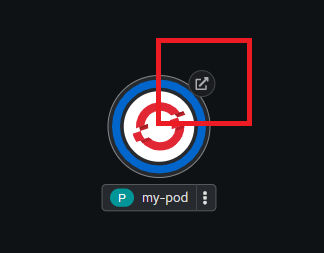
Figure 2: Open the app in your browser.
Refresh the browser multiple times to see the counter increment.
If you return to the Pods section of Podman Desktop, you will notice that this new pod—running in your sandbox—is reflected in the list (Figure 3).
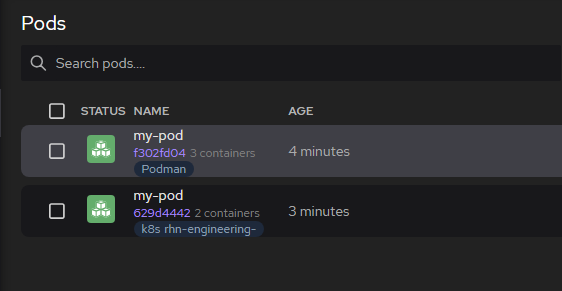
Figure 3: Notice the "k8s" designation, indicating that the pod is running in Kubernetes (i.e., your sandbox instance).
