This is the second half of my series covering how to use Red Hat CodeReady Workspaces to develop a Java Enterprise Edition (now Jakarta EE) application using Red Hat JBoss Enterprise Application Platform (JBoss EAP) in the cloud on Red Hat OpenShift/Kubernetes. In the first part, we saw how to:
- Bring your own tools by extending Red Hat's provided stacks
- Register your own stack within Red Hat CodeReady Workspaces
- Create your workspace using your stack and embedding your JEE project located on a Git repository
For this second part, we'll start configuring the workspace by adding some helpful settings and commands for building and running a JBoss EAP project. We'll then see how to use the local JBoss EAP instance for deploying and debugging our application. Finally, we'll create a factory so that we'll be able to share our work and propose an on-demand configured development environment for anyone that needs to collaborate on our project.
Configuring your JBoss EAP workspace
In the previous article, we ended up with a workspace that was configured for Java but with some missing dependencies. An extra step is usually necessary: indicate that you’re dealing with a Maven project. This has to be done only once by the user that set up the workspace. For that, go to Project > Update Project Configuration and enable Maven under the JAVA section. Once that is done, an additional External Libraries item appears in your project tree. You can now open Java files and play around with code navigation, Java completion, and so on.
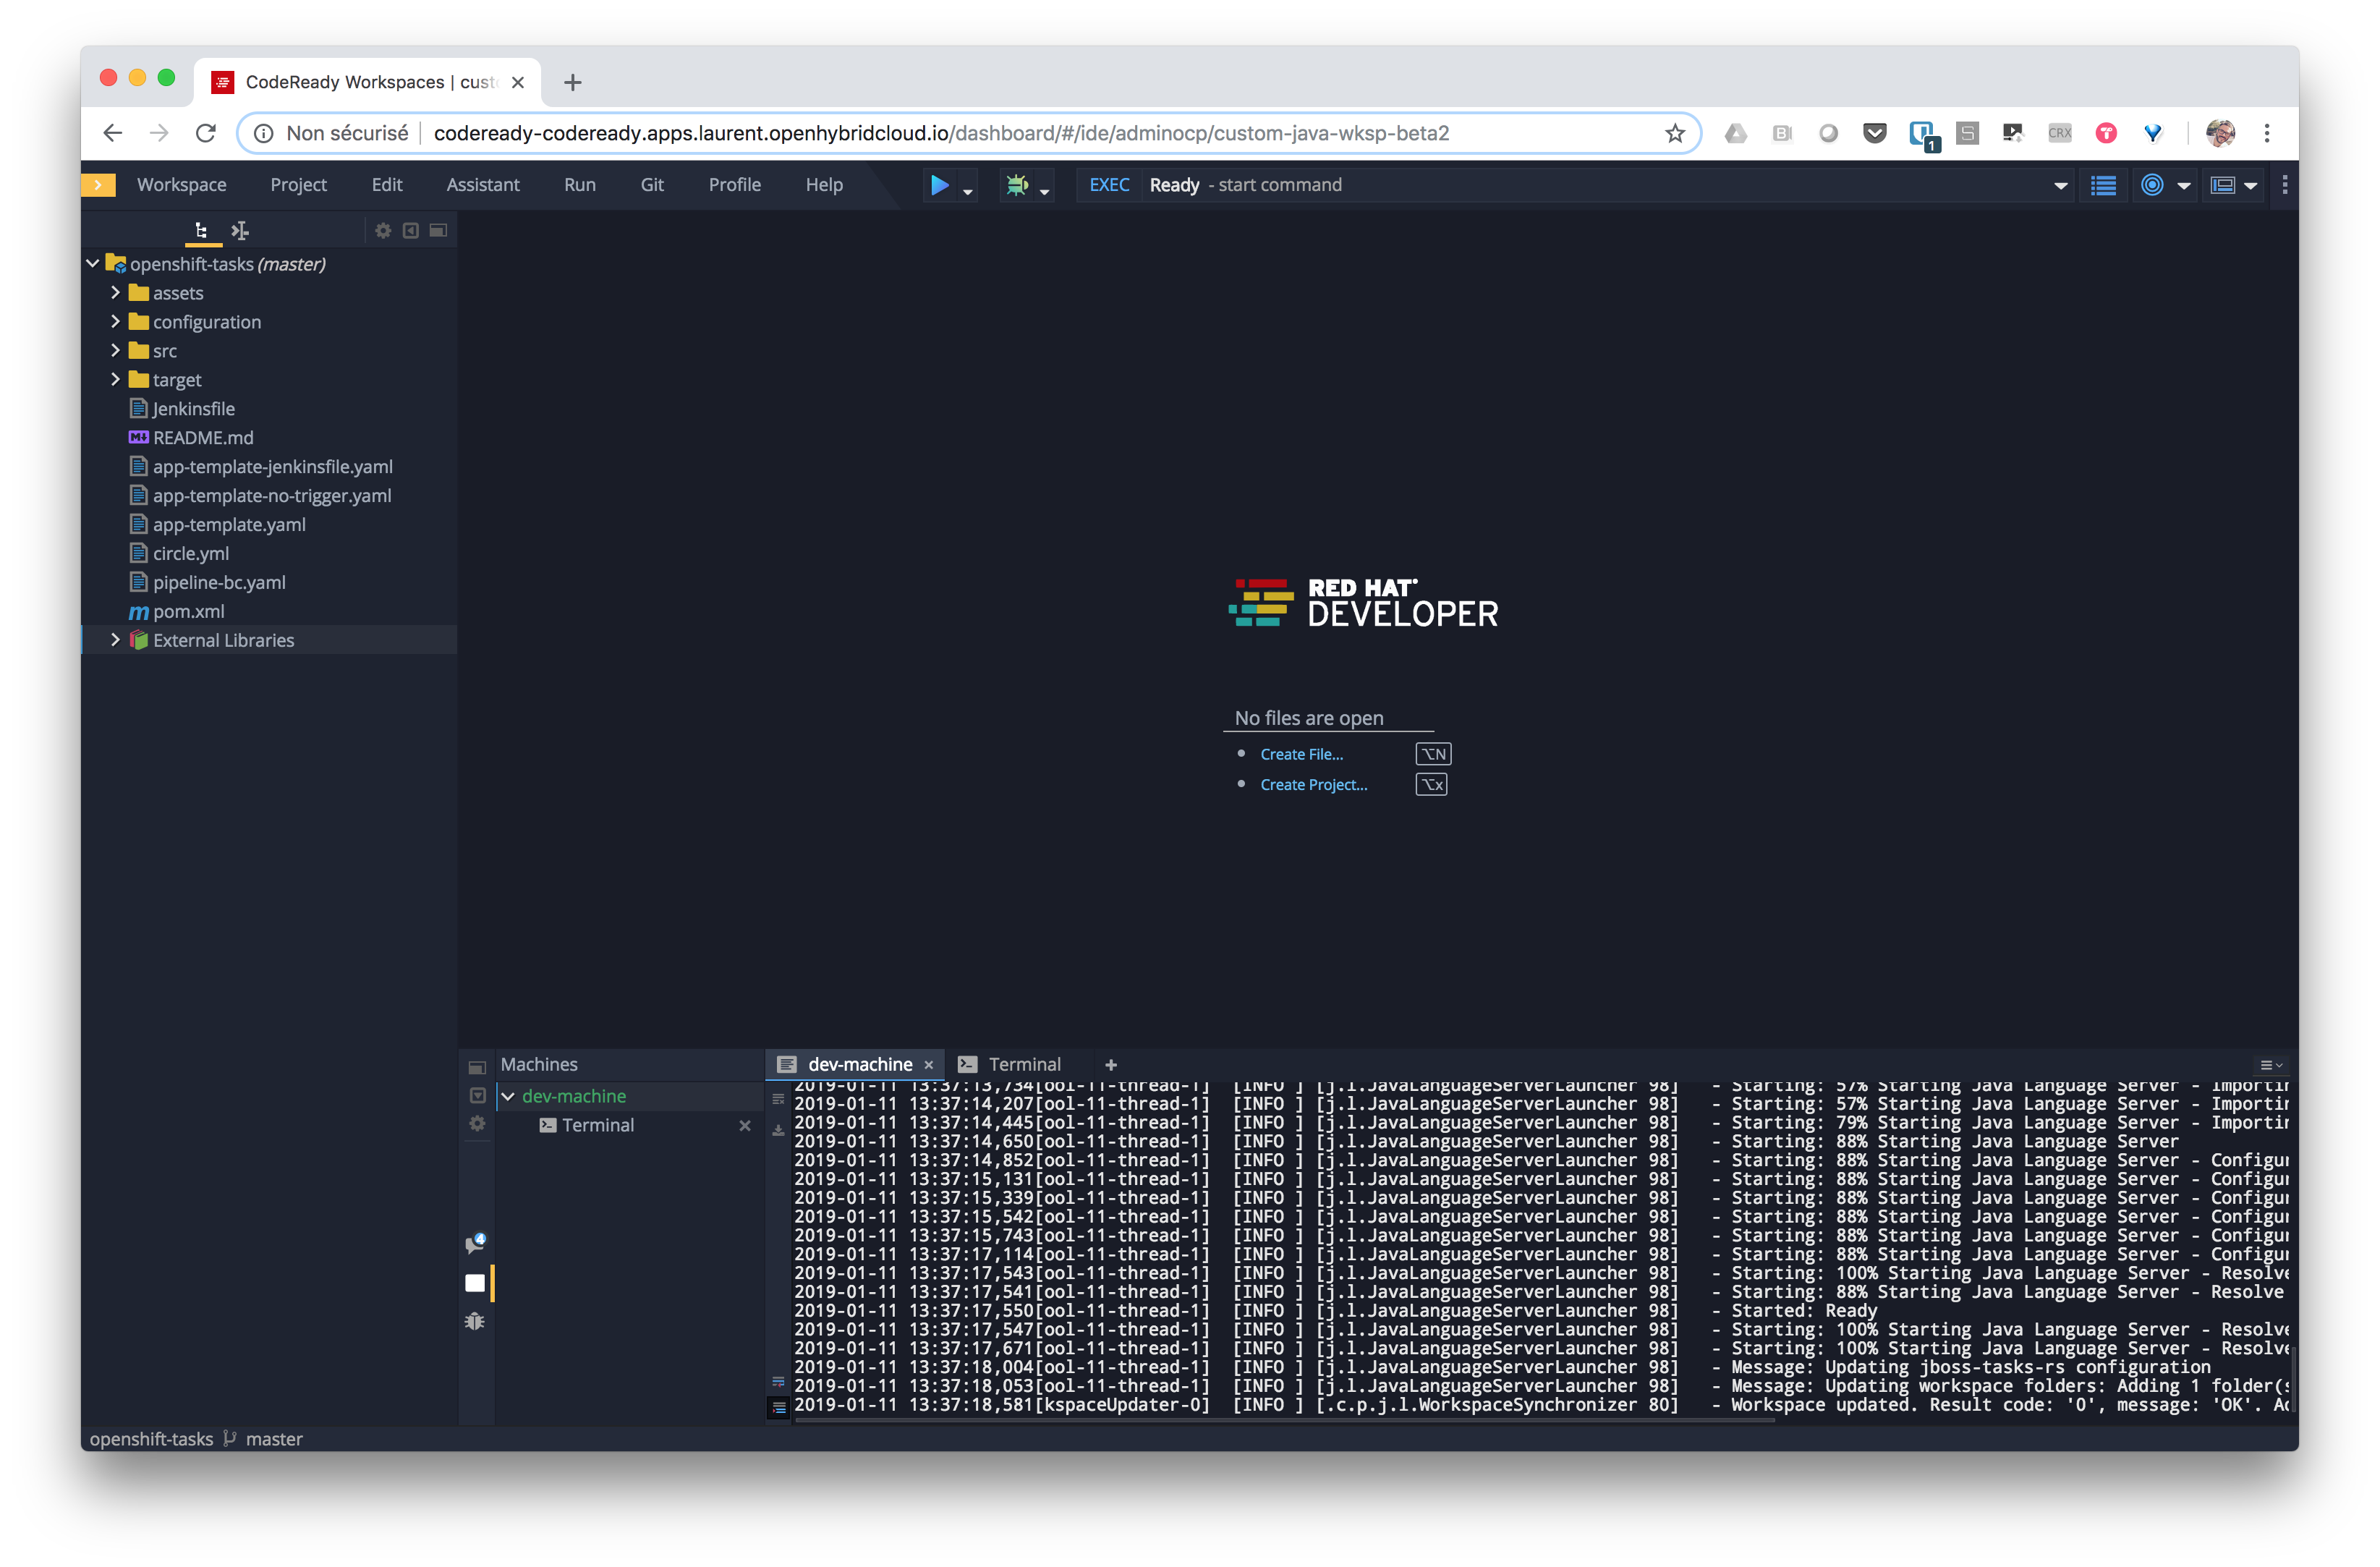
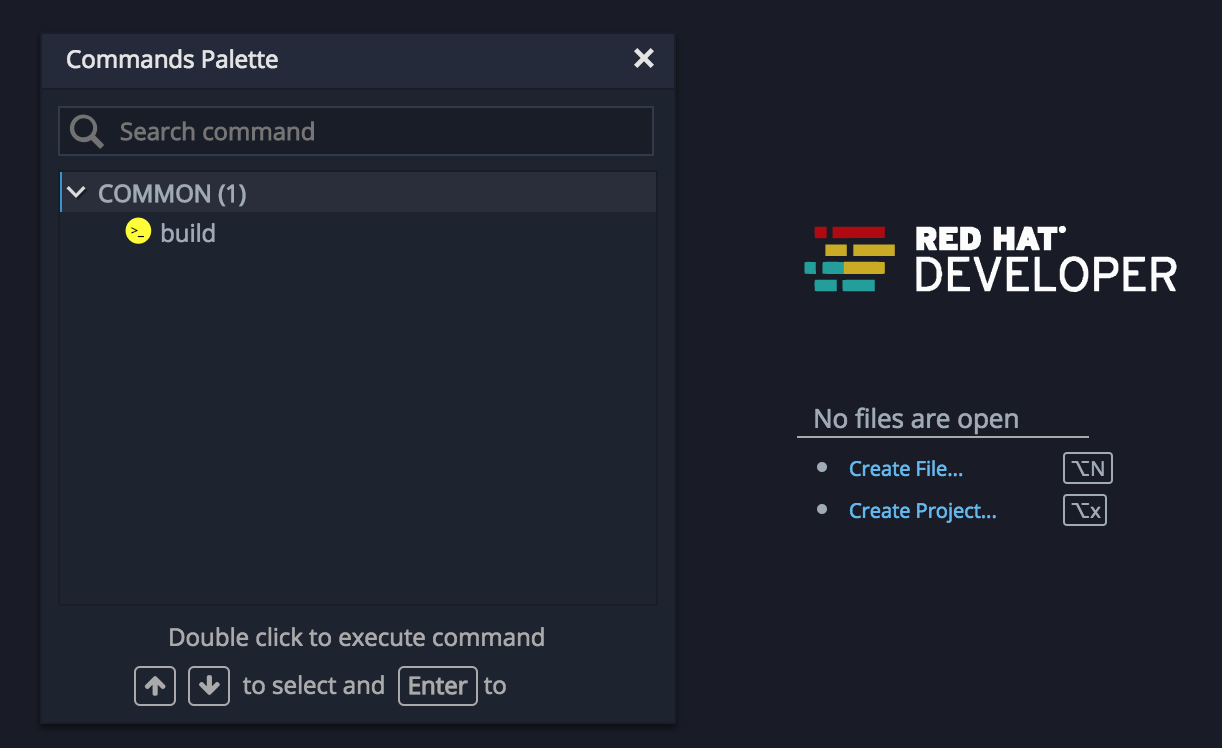
You should now be able to launch your first build command. Open the Commands Palette using Run > Commands Palette or the Shift+F10 shortcut. You’ll see the build command was defined when you created the workspace and you may double-click it to run it.
After a few seconds, you’ll see the successful build in the build command's dedicated console.

Nice! You can now start modifying code and do some refactoring. We’re able to edit code, compile it, and package it, but let's see how to test it locally within our JBoss EAP instance.
Adding some JBoss EAP commands
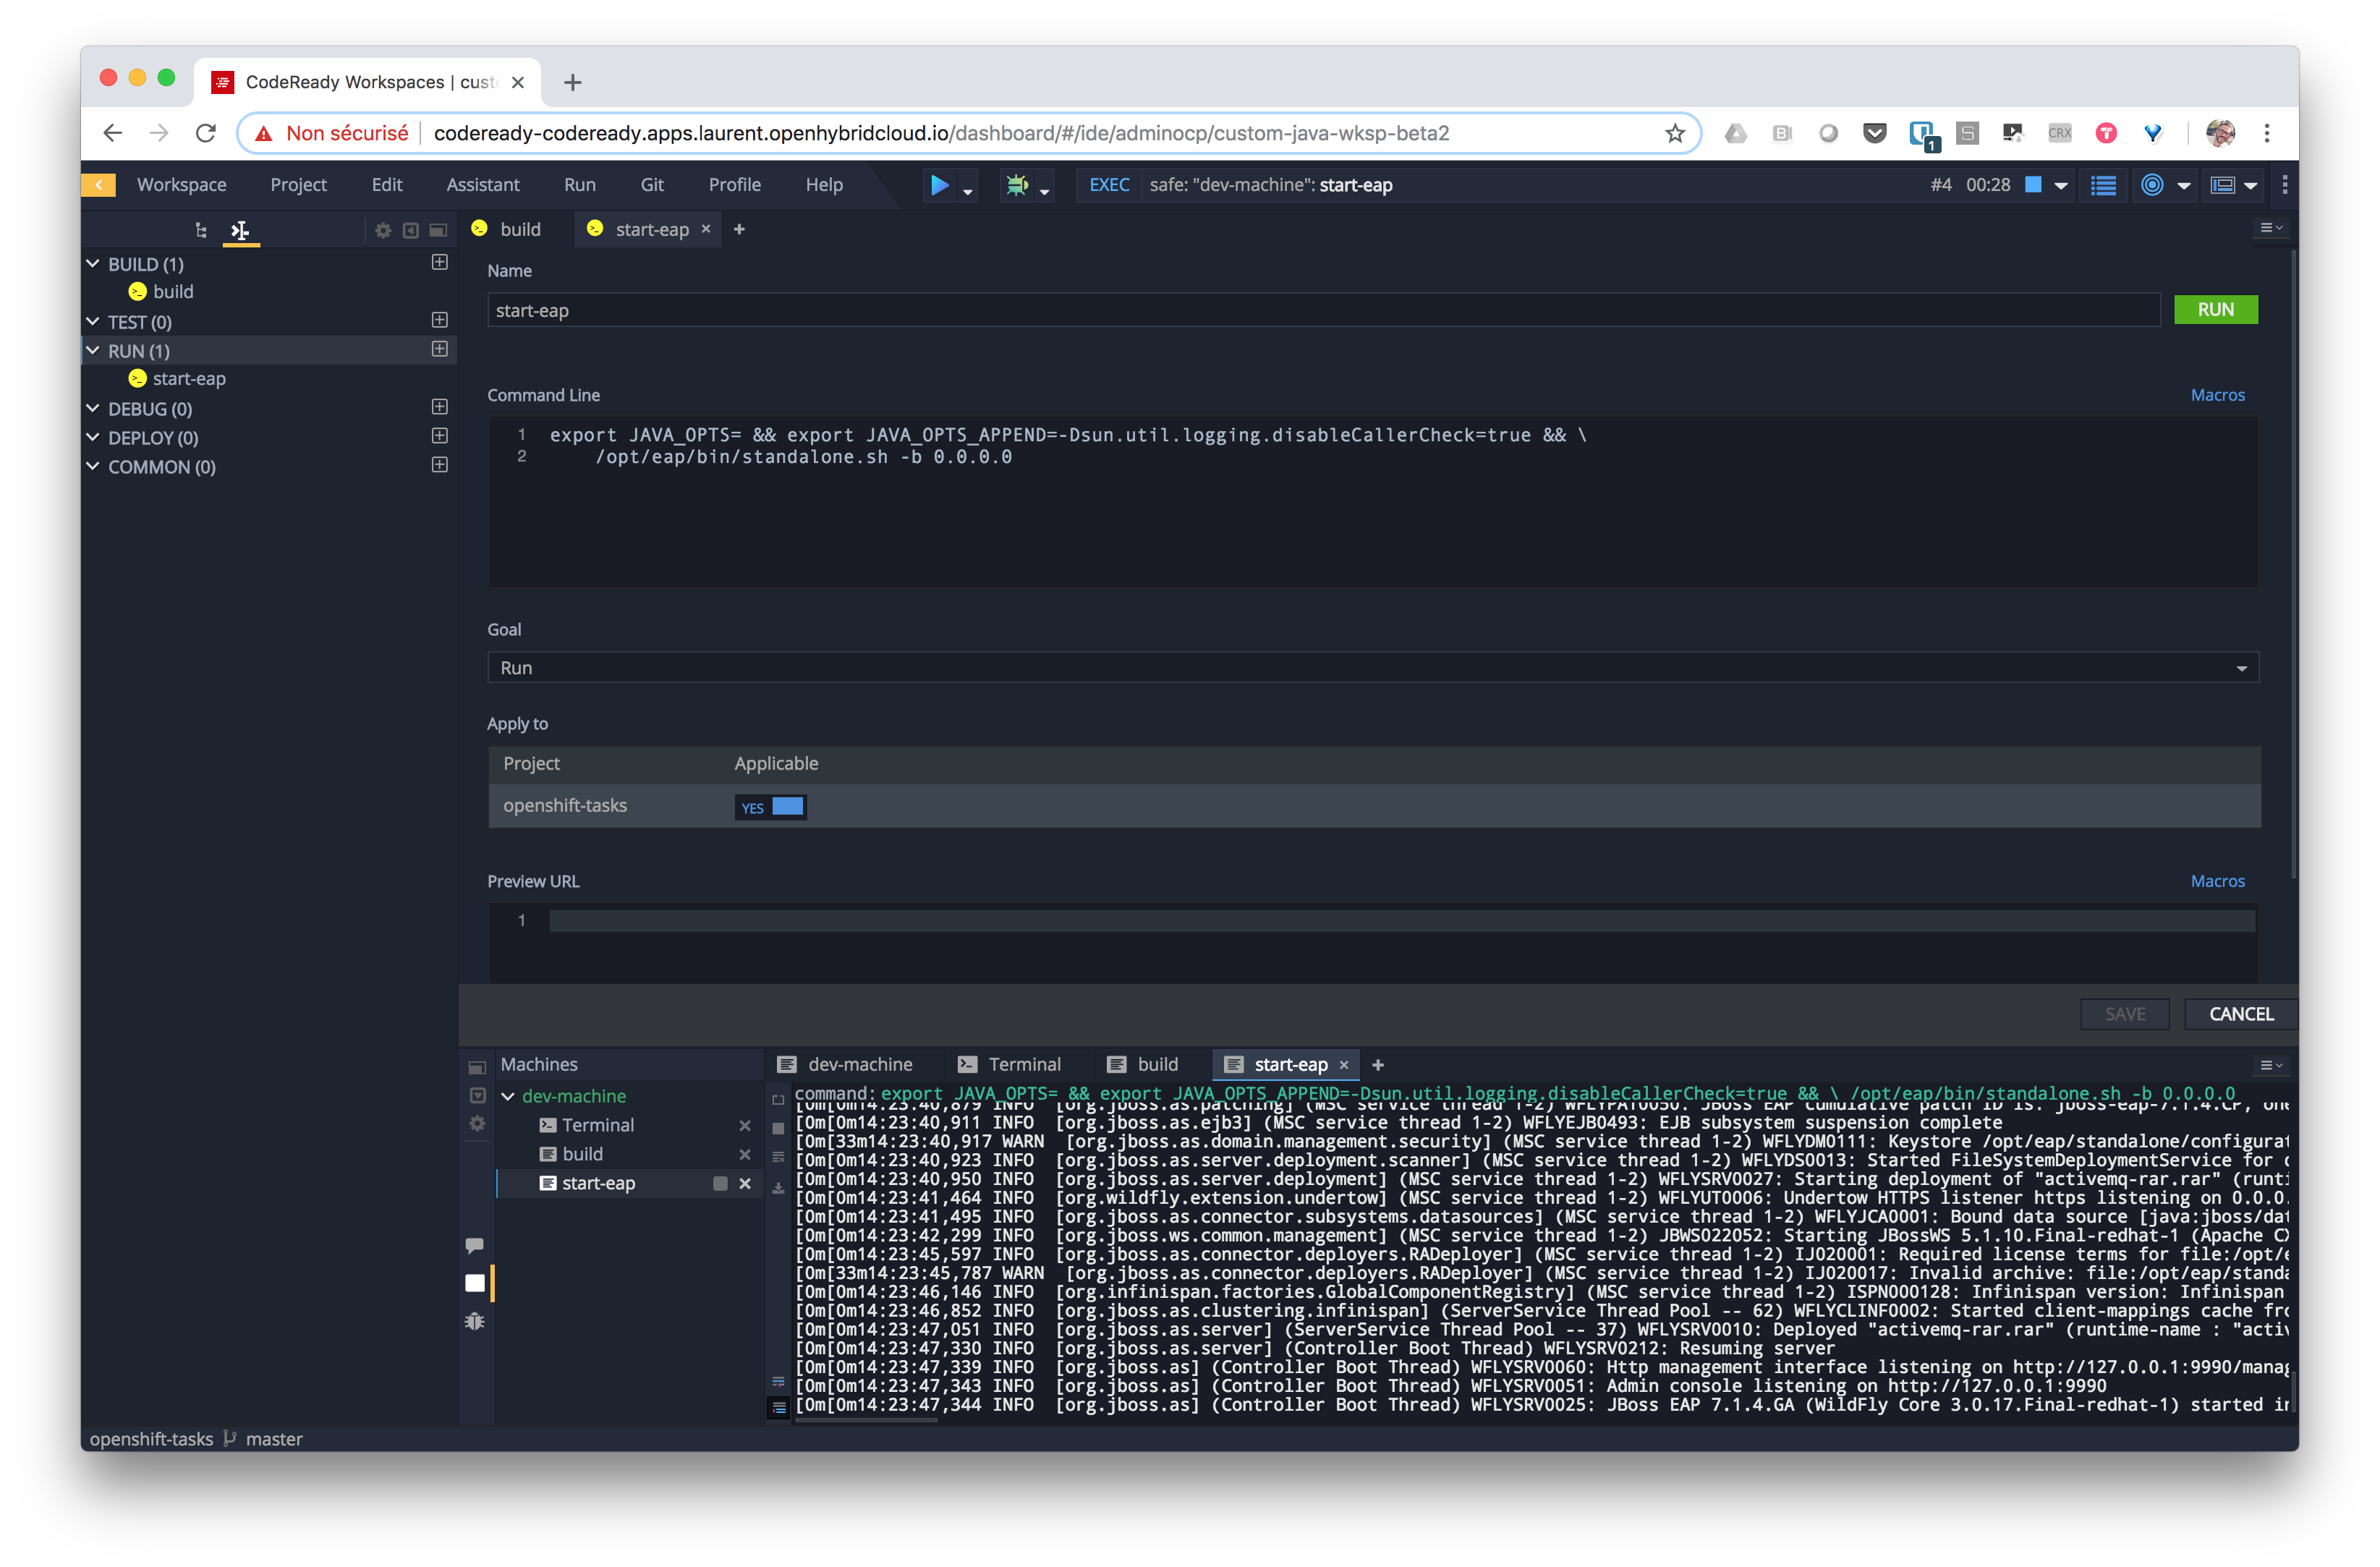
Let's start by adding a new command for starting the JBoss EAP instance that is included within our stack image. Looking just above the project tree view, you’ll find an icon on the right that allows you to open the commands management view. You’ll see that commands are categorized into BUILD, TEST, RUN, DEBUG, DEPLOY, and COMMON goals. In the RUN section, create a new Custom command that you’ll call start-eap and add the command below:
export JAVA_OPTS= && export JAVA_OPTS_APPEND=-Dsun.util.logging.disableCallerCheck=true && \
	/opt/eap/bin/standalone.sh -b 0.0.0.0
You can now launch this command through the Command Palette or through the Run blue arrow on the menu bar. The command is executed in its own console and you should see output like the following indicating that your JBoss EAP 7.1 instance is up and running.
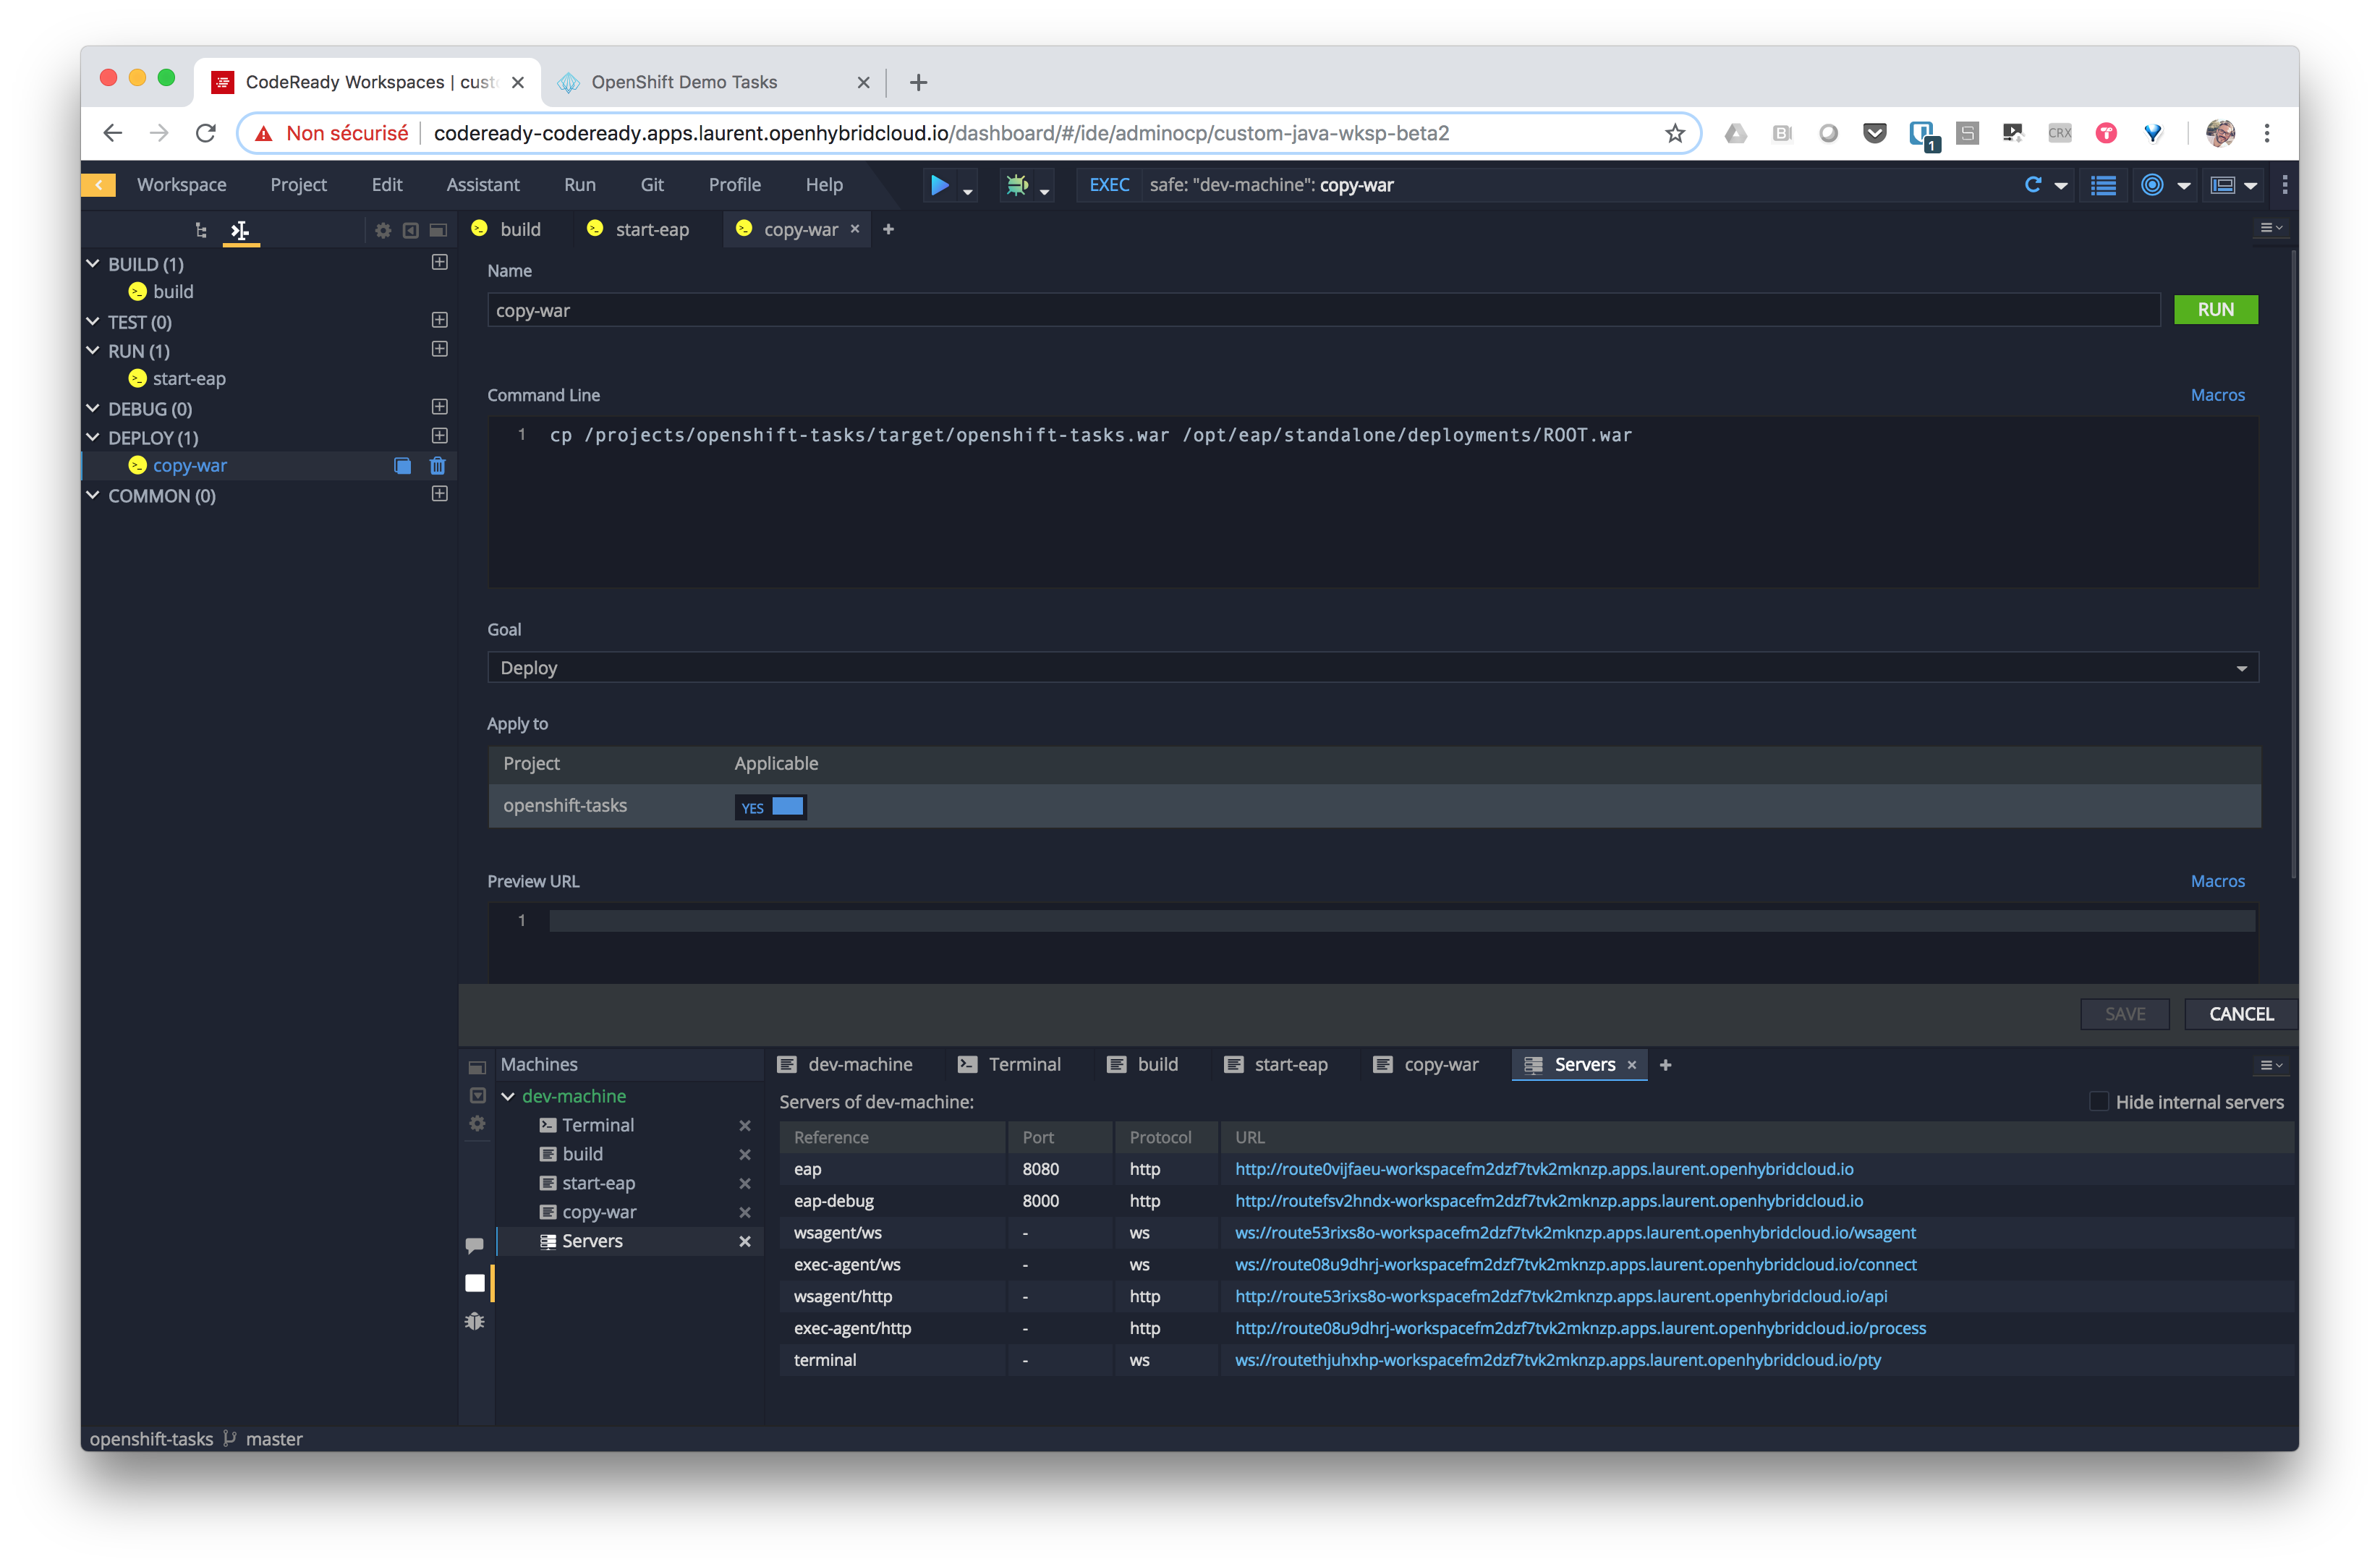
Now let’s deploy our application to the running instance. For that, let’s create a new command within the DEPLOY section and call it copy-war. Add the command below and execute it.
cp /projects/openshift-tasks/target/openshift-tasks.war /opt/eap/standalone/deployments/ROOT.war
This enables the previously built WAR archive to be deployed to our JBoss EAP instance's deployments folder. The instance should now hot-deploy it in a few seconds. You may now want to check your application and play with it. Just right of the command console, click the + button and choose Servers. This will open a new view displaying the URL corresponding to the different servers attached to your workspaces. Remember the eap server we declared in the stack configuration? This information is used by Red Hat CodeReady Workspaces to create a new OpenShift route that allows you to access your deployed application!
Just copy and paste the URL into your browser and you should see our test application live.
For now, we just have created simple commands deploying a packaged WAR but you can also call some commands allowing you to work using an exploded directory structure and hot-reload of JSP and static resources. For example, I use the following build-dev command for initializing a directory structure within the deployment folder of the JBoss EAP instance:
mvn clean package -f ${current.project.path}/pom.xml && \
	mkdir /opt/eap/standalone/deployments/ROOT.war && \
	cp -R ${current.project.path}/target/openshift-tasks/* /opt/eap/standalone/deployments/ROOT.war/ && \
	touch /opt/eap/standalone/deployments/ROOT.war.dodeploy
And I use the following update-dev command to just refresh this directory and force a re-deploy of the application:
mvn -DskipTests package -f ${current.project.path}/pom.xml && \
	cp -R ${current.project.path}/target/openshift-tasks/* /opt/eap/standalone/deployments/ROOT.war/ && \
	touch /opt/eap/standalone/deployments/ROOT.war.dodeploy
Debugging
Red Hat CodeReady Workspace tooling can also be used for debugging your application. In order to do that, create a new command as usual within the DEBUG section. Let’s call it start-eap-debug and just put there the following command, including the debug flag and the port 8000 we have used within our stack definition:
export JAVA_OPTS= && export JAVA_OPTS_APPEND=-Dsun.util.logging.disableCallerCheck=true && \
	/opt/eap/bin/standalone.sh -b 0.0.0.0 --debug 8000
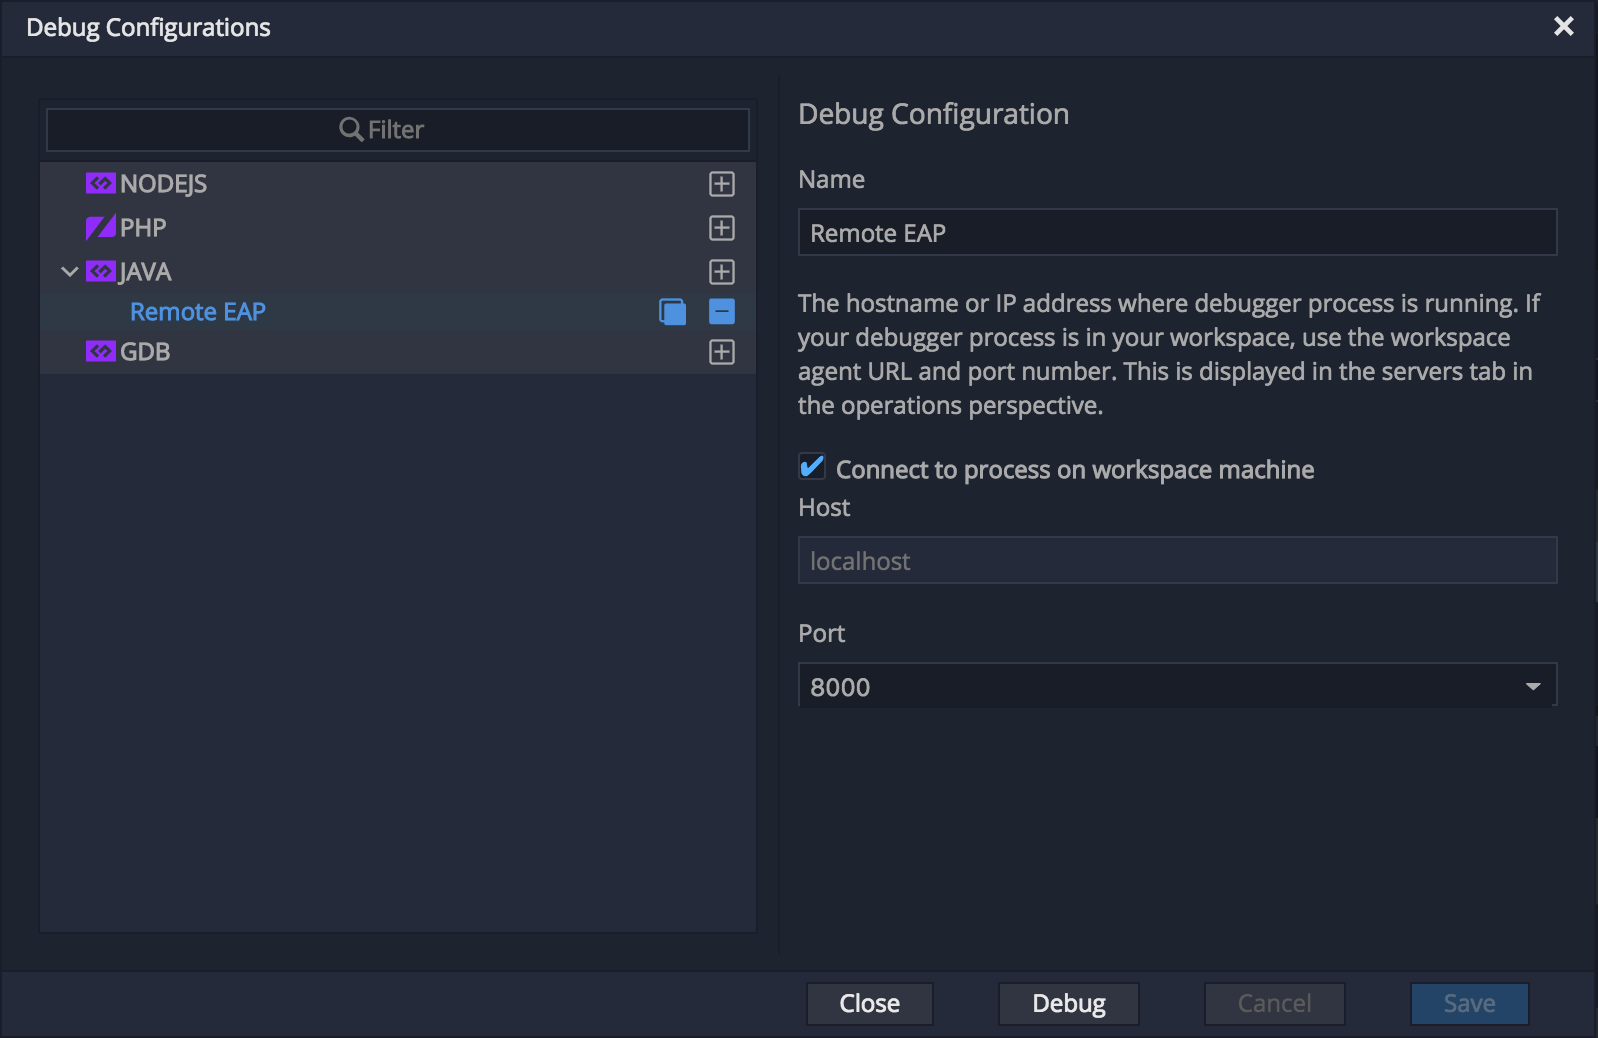
Now start the JBoss EAP instance using the debug mode. Before starting it up again, you may want to stop the running instance: you can achieve that by looking for the start-eap running process in the top EXEC menu bar and clicking the blue square. Your instance is now launched in debug mode and you have to launch a debug session within the IDE. Before doing so, remember that the Edit Debug Configurations item in the Run menu lets you configure a connection to a remote JBoss EAP instance using port 8000, as shown below.
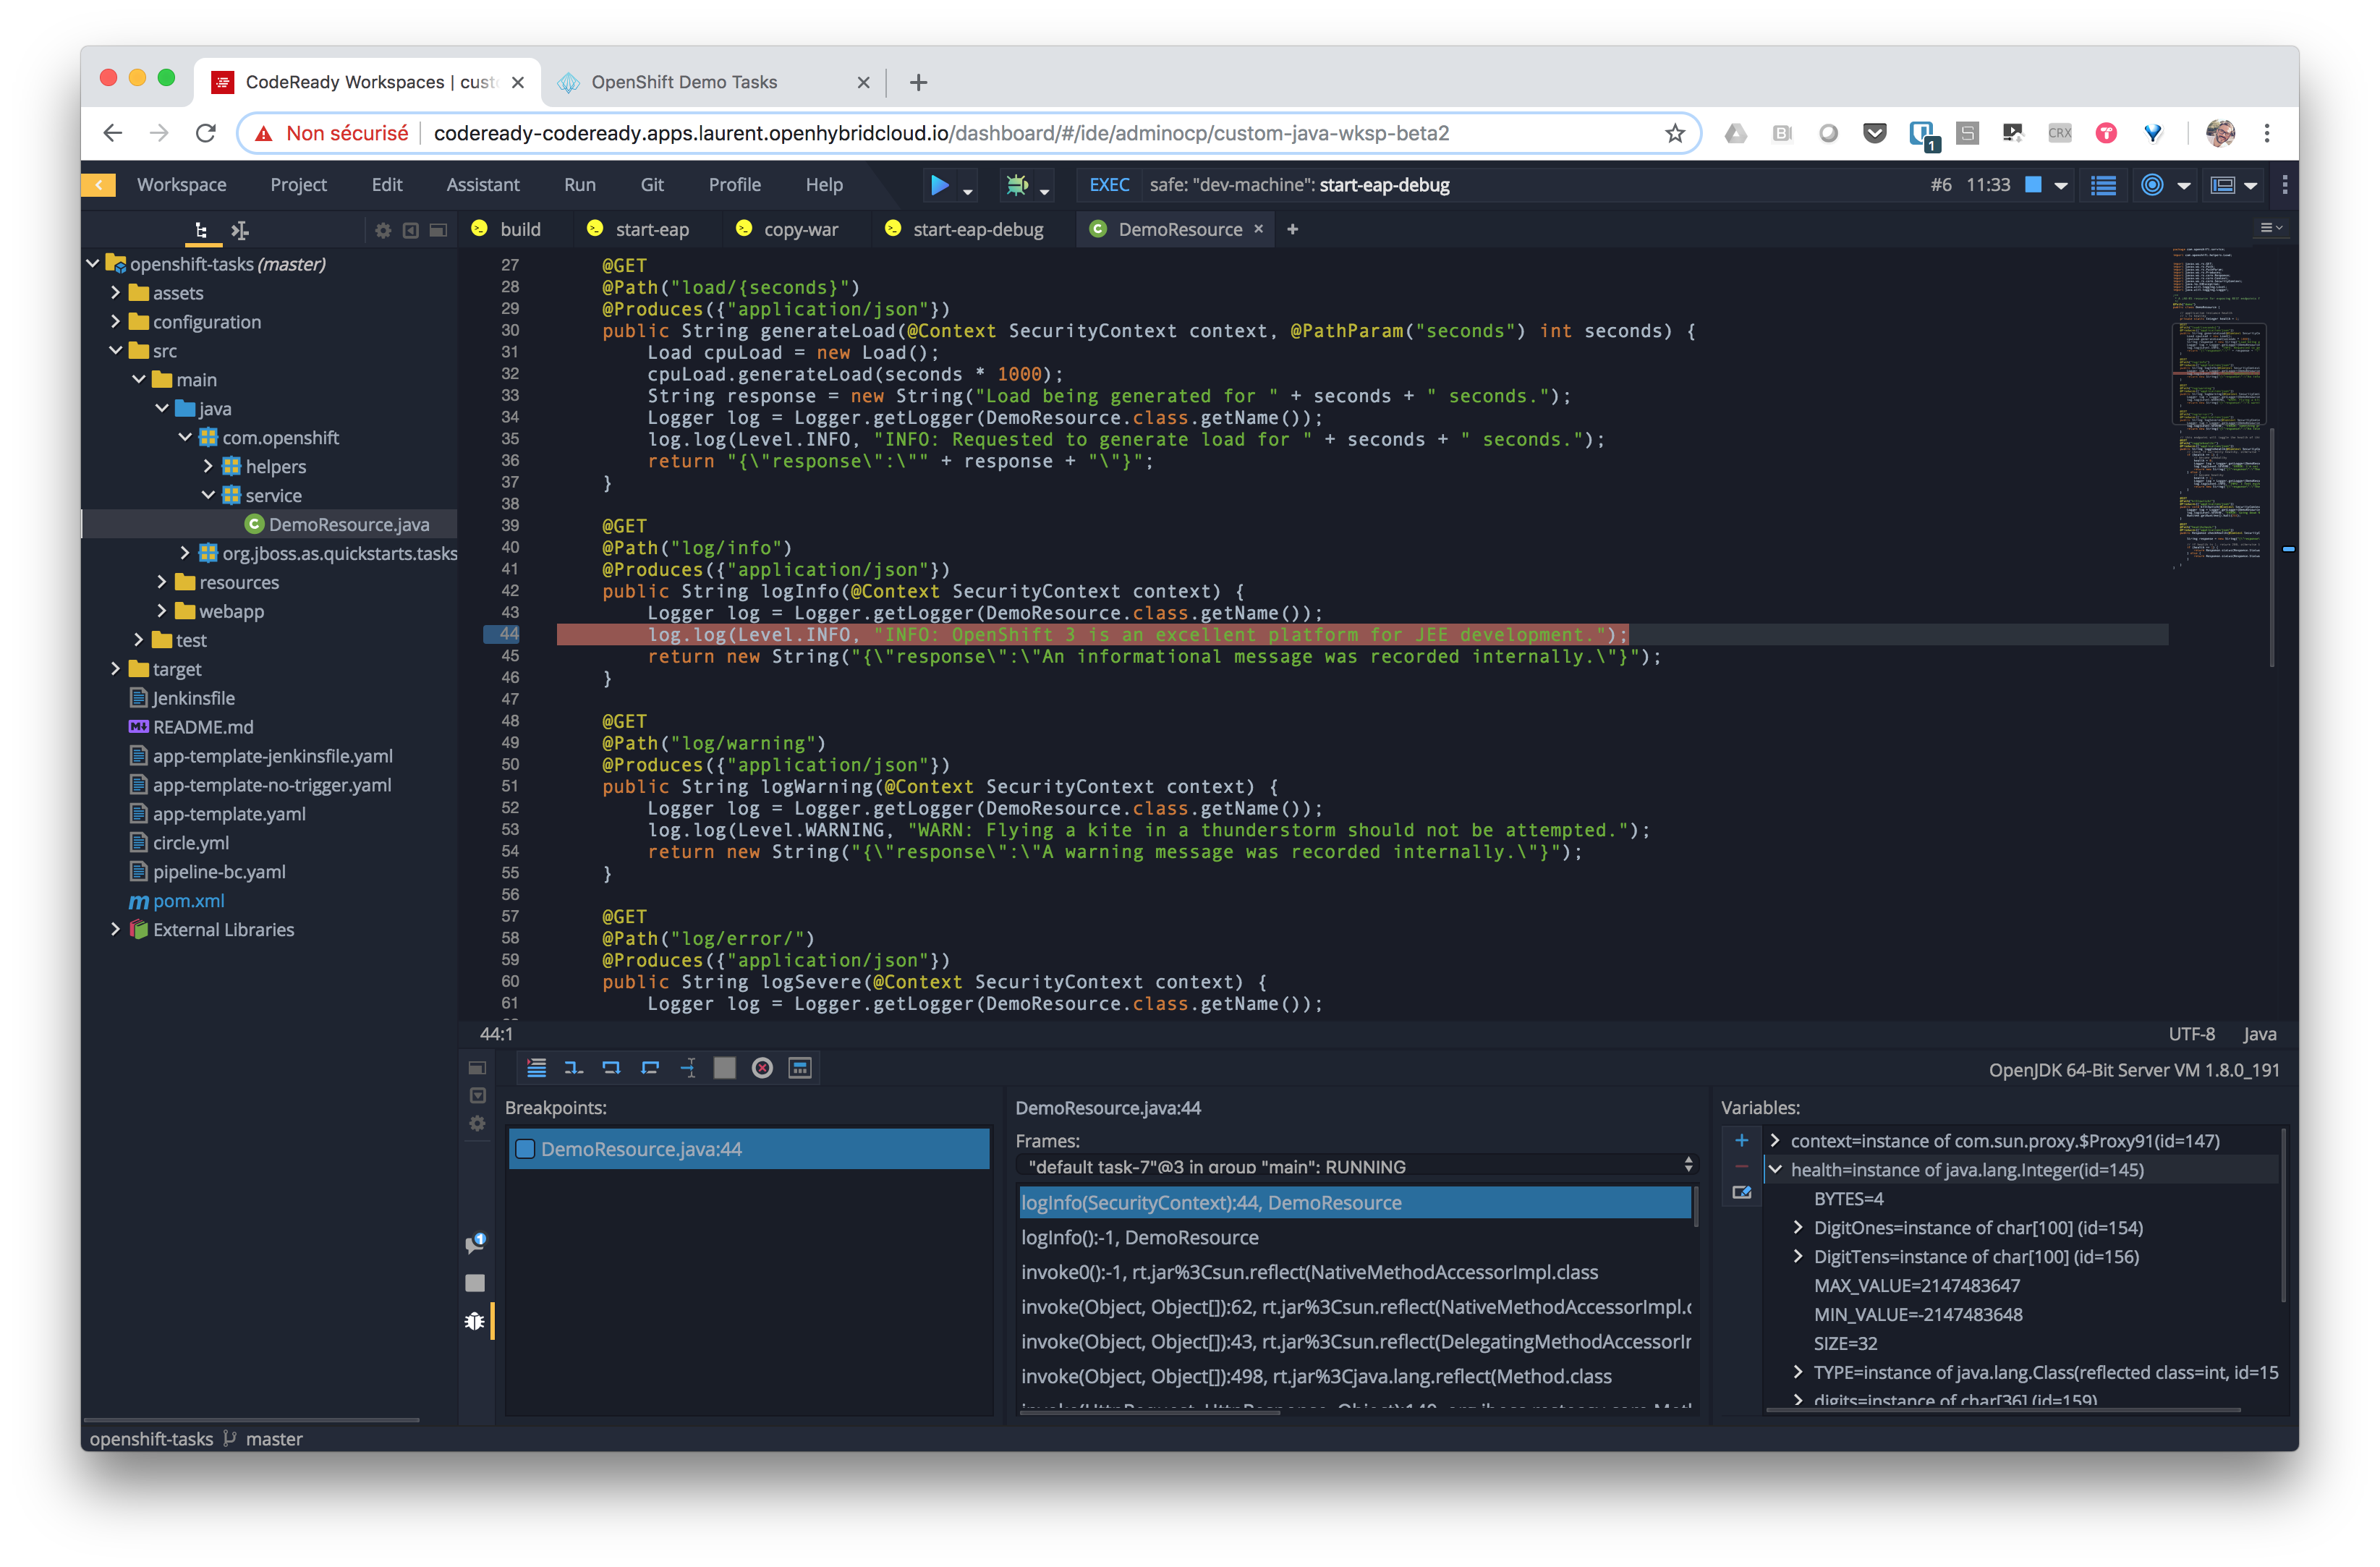
You can now start a debug session through the Run > Debug > Remote EAP menu item. The IDE connects to localhost:8000 and switches to the debug perspective. You can now open some Java class like /src/main/com/openshift/service/DemoResource.java file. Click on line 44 to place a breakpoint. Now go to the browser tab hosting your app and click the Log Info button; you should see the debug session starting in the workspace and filling up the Frames and Variables panels.
Sharing your work with a factory
Setting up everything was not that hard but it takes a little time and can be error-prone. Red Hat CodeReady Workspaces offers the concept of a factory in order to be able to reproduce and duplicate a workspace configuration. Using factories, you can easily onboard new collaborators for your project by making everything available with a single click!
Let’s create a factory for our workspace. From the Red Hat CodeReady Workspace dashboard, choose the Factories menu item on the left vertical menu, and then give your factory a name and select the Workspace you want to use as a basis. Choose CREATE and then explore the factory properties in the detail screen:
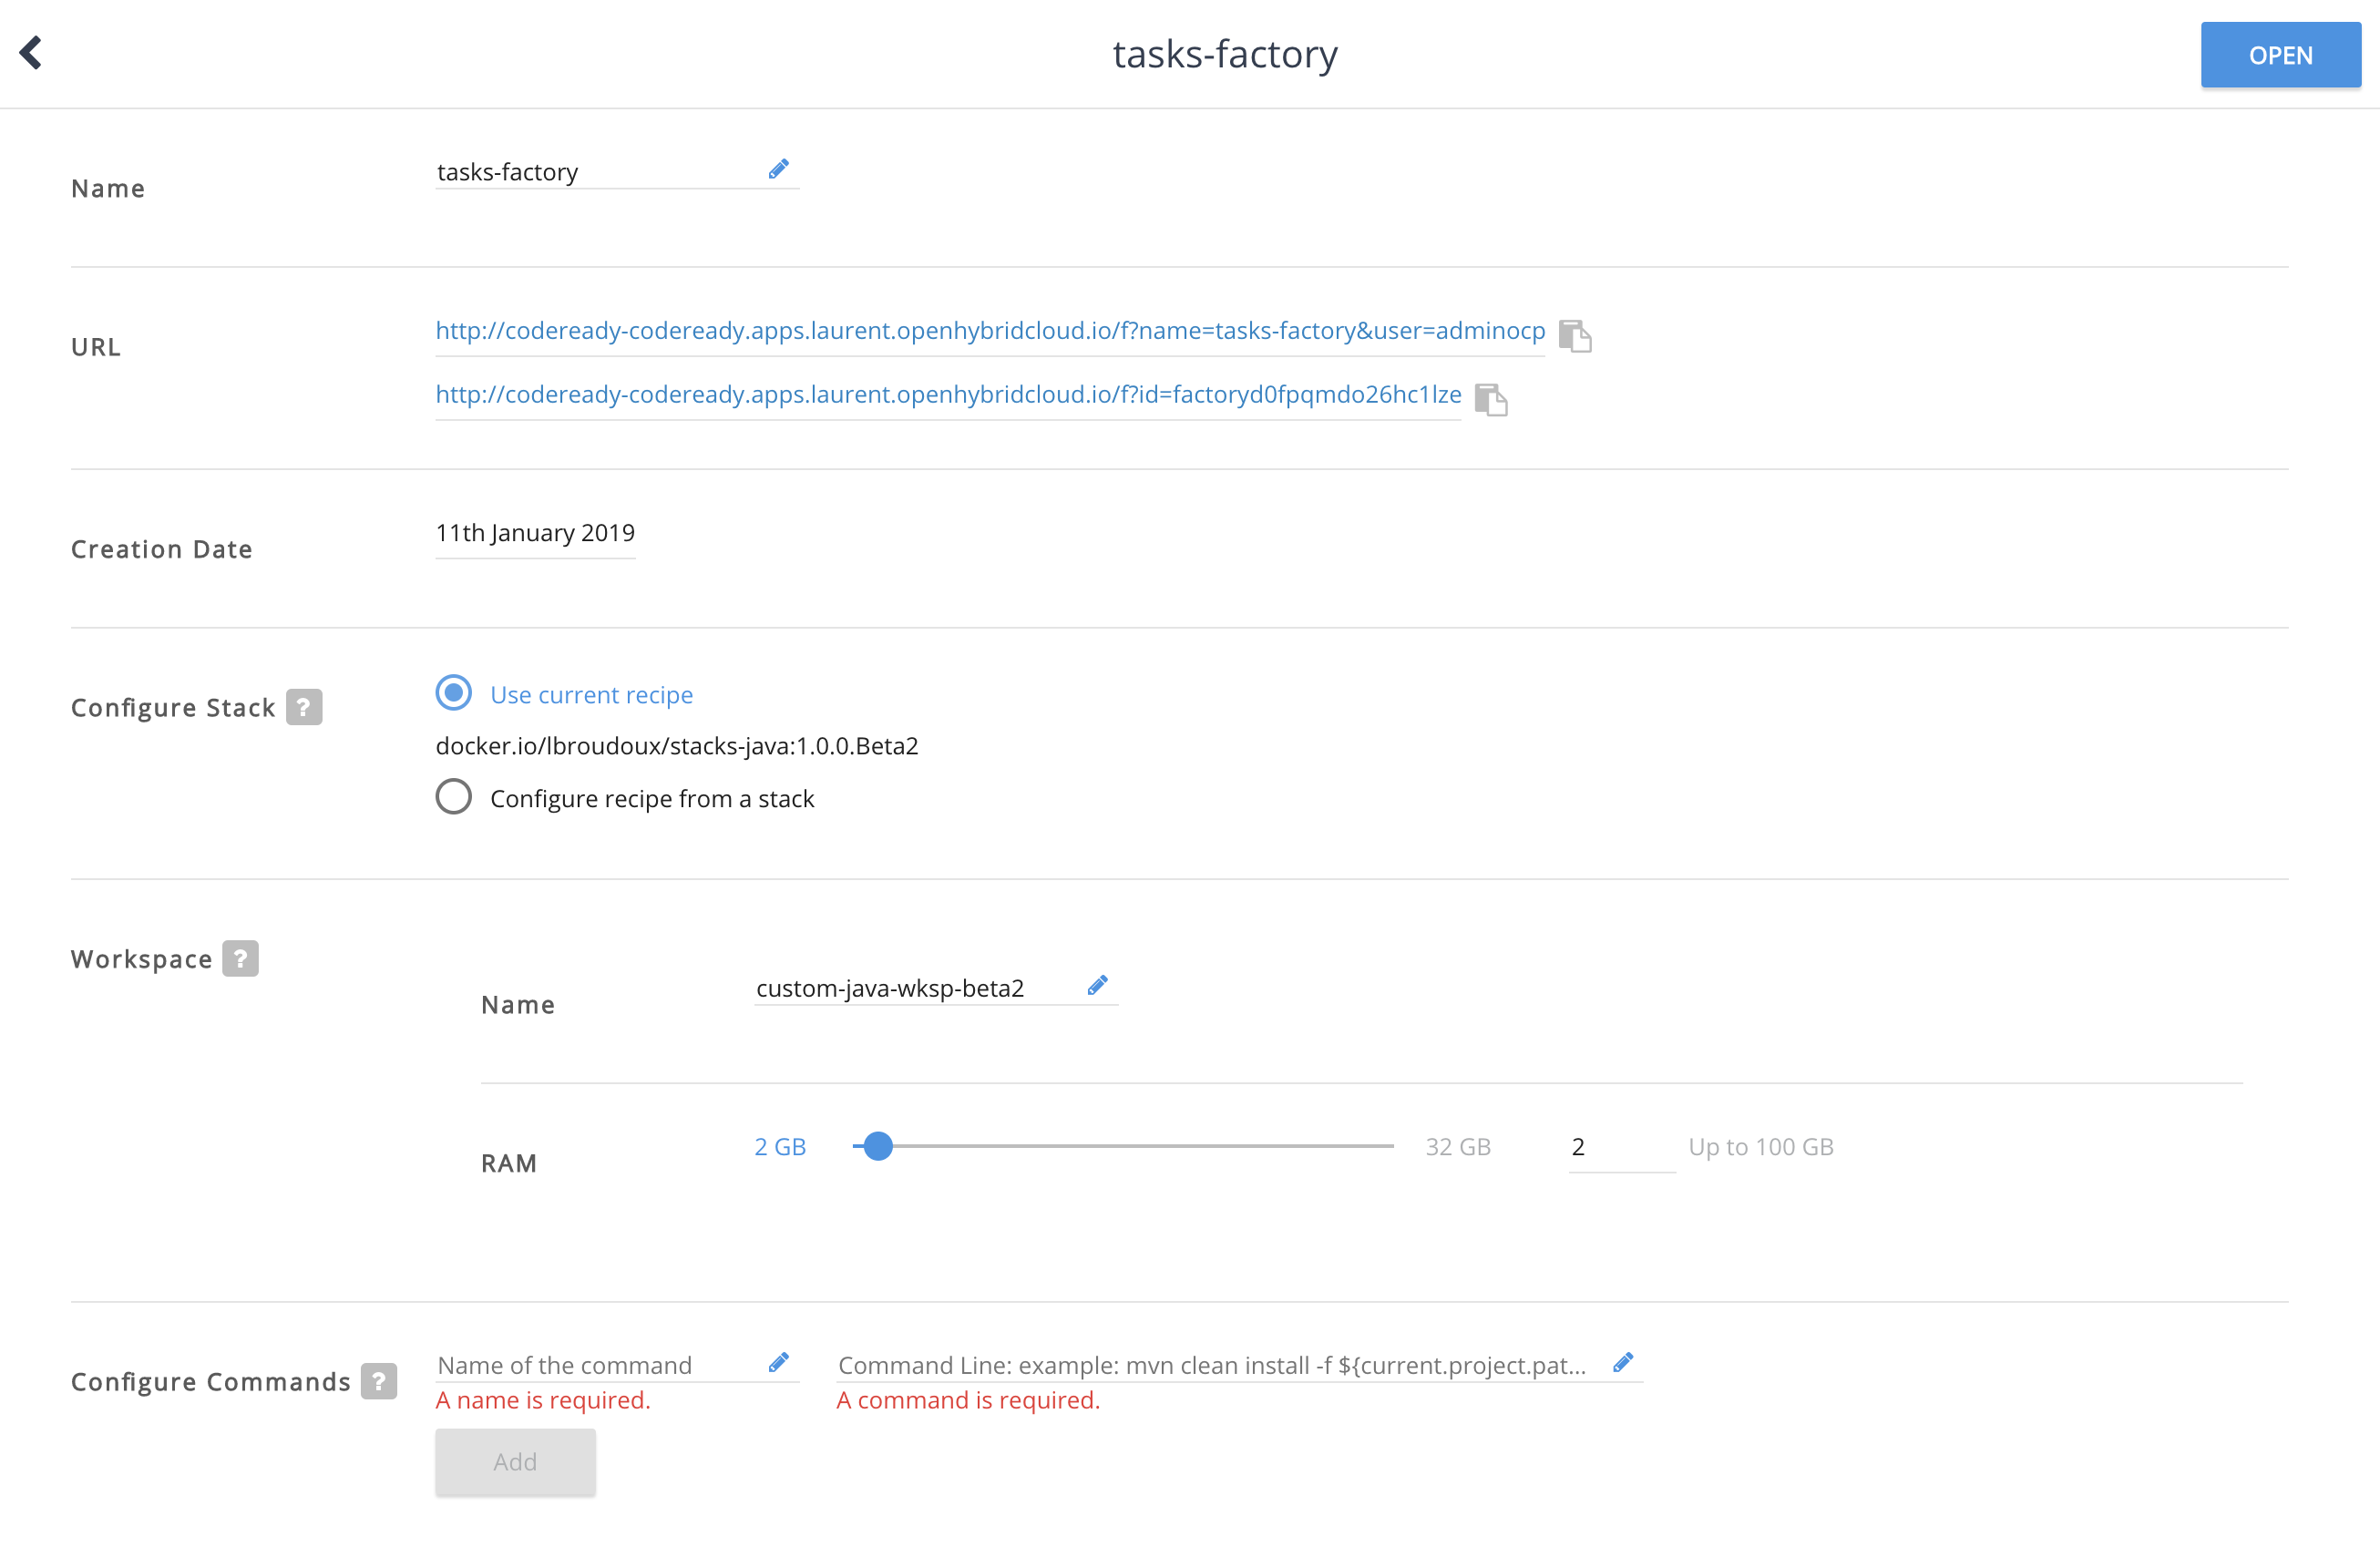
The most important attributes of a factory are its URLs, which can be used for launching a new workspace embedding all the configuration and commands we added to the original workspace. A URL may be combined with nice badges to offer instant access for any README or wiki page.

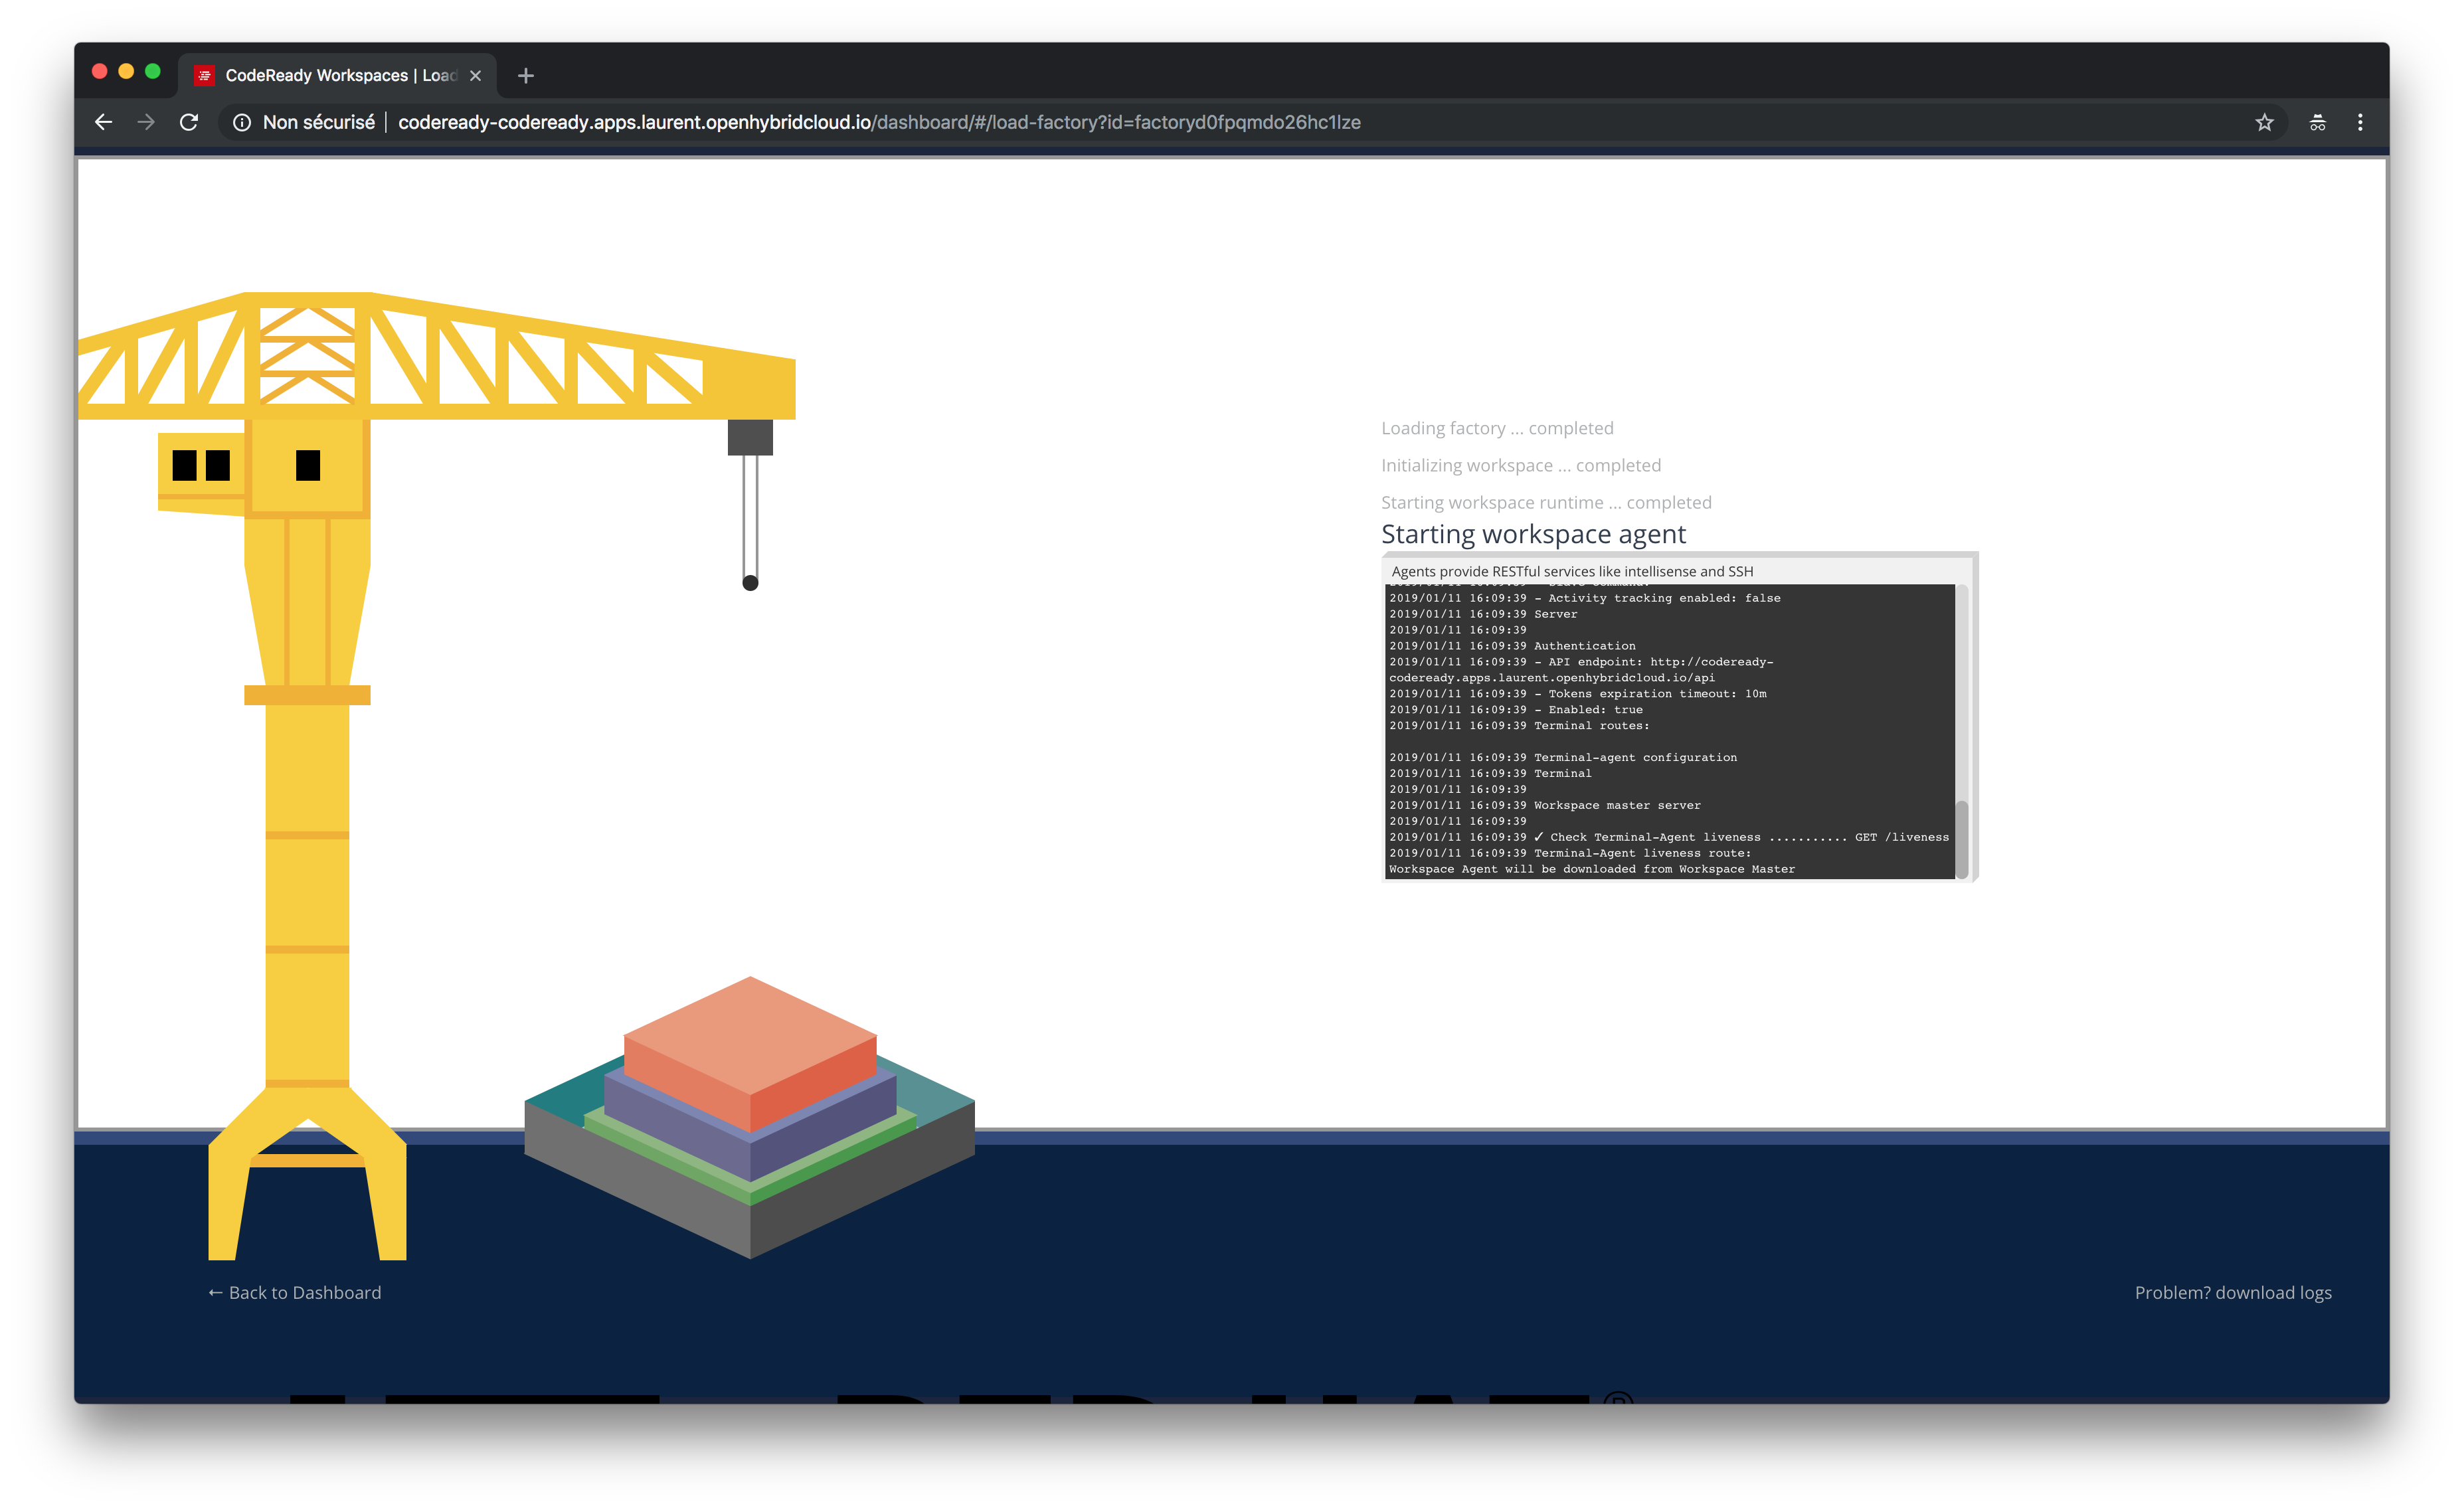
Just copy and paste one of the URLs into a browser tab or click a badge and you’ll see this nice crane animation building your own workspace on demand, allowing you to quickly starting collaboration on a new project.
Now that your collaborator’s workspace is up and running, she can start coding and easily contributing pull requests to your original source code repository. But I’ll leave that topic for a later article.
Get started!
We have seen through this tour how Red Hat CodeReady Workspaces allow you to configure a development environment and easily replicate and distribute it among your organization. The embedded cloud/browser-based IDE provides everything you need to start quickly collaborating on projects while providing you security through centralization of source code and authentication of access. Red Hat CodeReady Workspaces gives you greater security and faster onboarding, and it ensures your code works on all your developers' machines too.
Best of all, it’s easy to sign up for the beta. Visit the product page to get the code and everything you need to know about the product.
See also:
- Streamline your JBoss EAP dev environment with Red Hat CodeReady Workspaces: Part 1
- CodeReady Workspaces for OpenShift (Beta) – It works on their machines too
- Eclipse Che 7 is Coming and It’s Really Hot: Part 1
Last updated: November 8, 2023
