Creating a simple MicroProfile-based microservice and deploying it to OpenShift Container Platform
Eclipse MicroProfile is an open source specification for Enterprise Java microservices. It is a community of individuals, vendors, and organizations collaborating and working on innovative microservices patterns for Enterprise Java within the context of modern development, architectures, and underlying infrastructures, e.g. health checks, fault tolerance, metrics, and security propagation within a cloud environment. Its first release was based on 3 Java EE JSRs/libraries/APIs, but this does not necessarily mean that everything that Eclipse MicroProfile does will be Java EE-centric, some API specifications may end up just being part of MicroProfile, depending on the community itself and the spec leads for Java EE1. For example, the new release of Eclipse MicroProfile 1.1 includes the Config API, which is a non-Java-EE API. One of the goals of the Eclipse MicroProfile project is to innovate so its release schedule is agile compared to a standards body.
Eclipse MicroProfile is a specification and Red Hat implements it using WildFly Swarm, which is a runtime delivered as part of Red Hat OpenShift Application Runtimes.
This is the first of a 3-blog post series about MicroProfile-based microservices. In this first one, I cover how to create a simple MicroProfile-based microservice and how to deploy and run it on OpenShift Container Platform. In the second blog post, I will cover how to associate a MicroProfile-based microservice to a database (which is created and populated with sample data). On the last blog post, I will cover how to use JBoss Data Grid (to cache the database information) with a MicroProfile-based microservice.
You can write your own MicroProfile-based microservice from scratch of course, but for this didactic exercise, I am using the WildFly Swarm Project Generator to create a sample MicroProfile microservice.
Prerequisites
Before we delve into the exercise, here are the prerequisites I used for my environment:
- MacBook Pro running macOS Sierra (10.12.6) / 16 GB RAM / 2.5 GHz Intel i7 processor
- Docker 1.13.1 (15353)
- OpenShift Master: v3.5.5.24
- Kubernetes Master: v1.5.2+43a9be4
Note: I set up my environment my first installing Docker and then OpenShift Container Platform. You can find a good blog post on how to do this here.
Steps
Make sure needed components are up and running
First, make sure Docker is up and running. Also, make sure OpenShift is up2 by opening a browser window and entering:
https://127.0.0.1:8443
in the browser address field. At this point, log in as "developer" for username and "password" for the password.
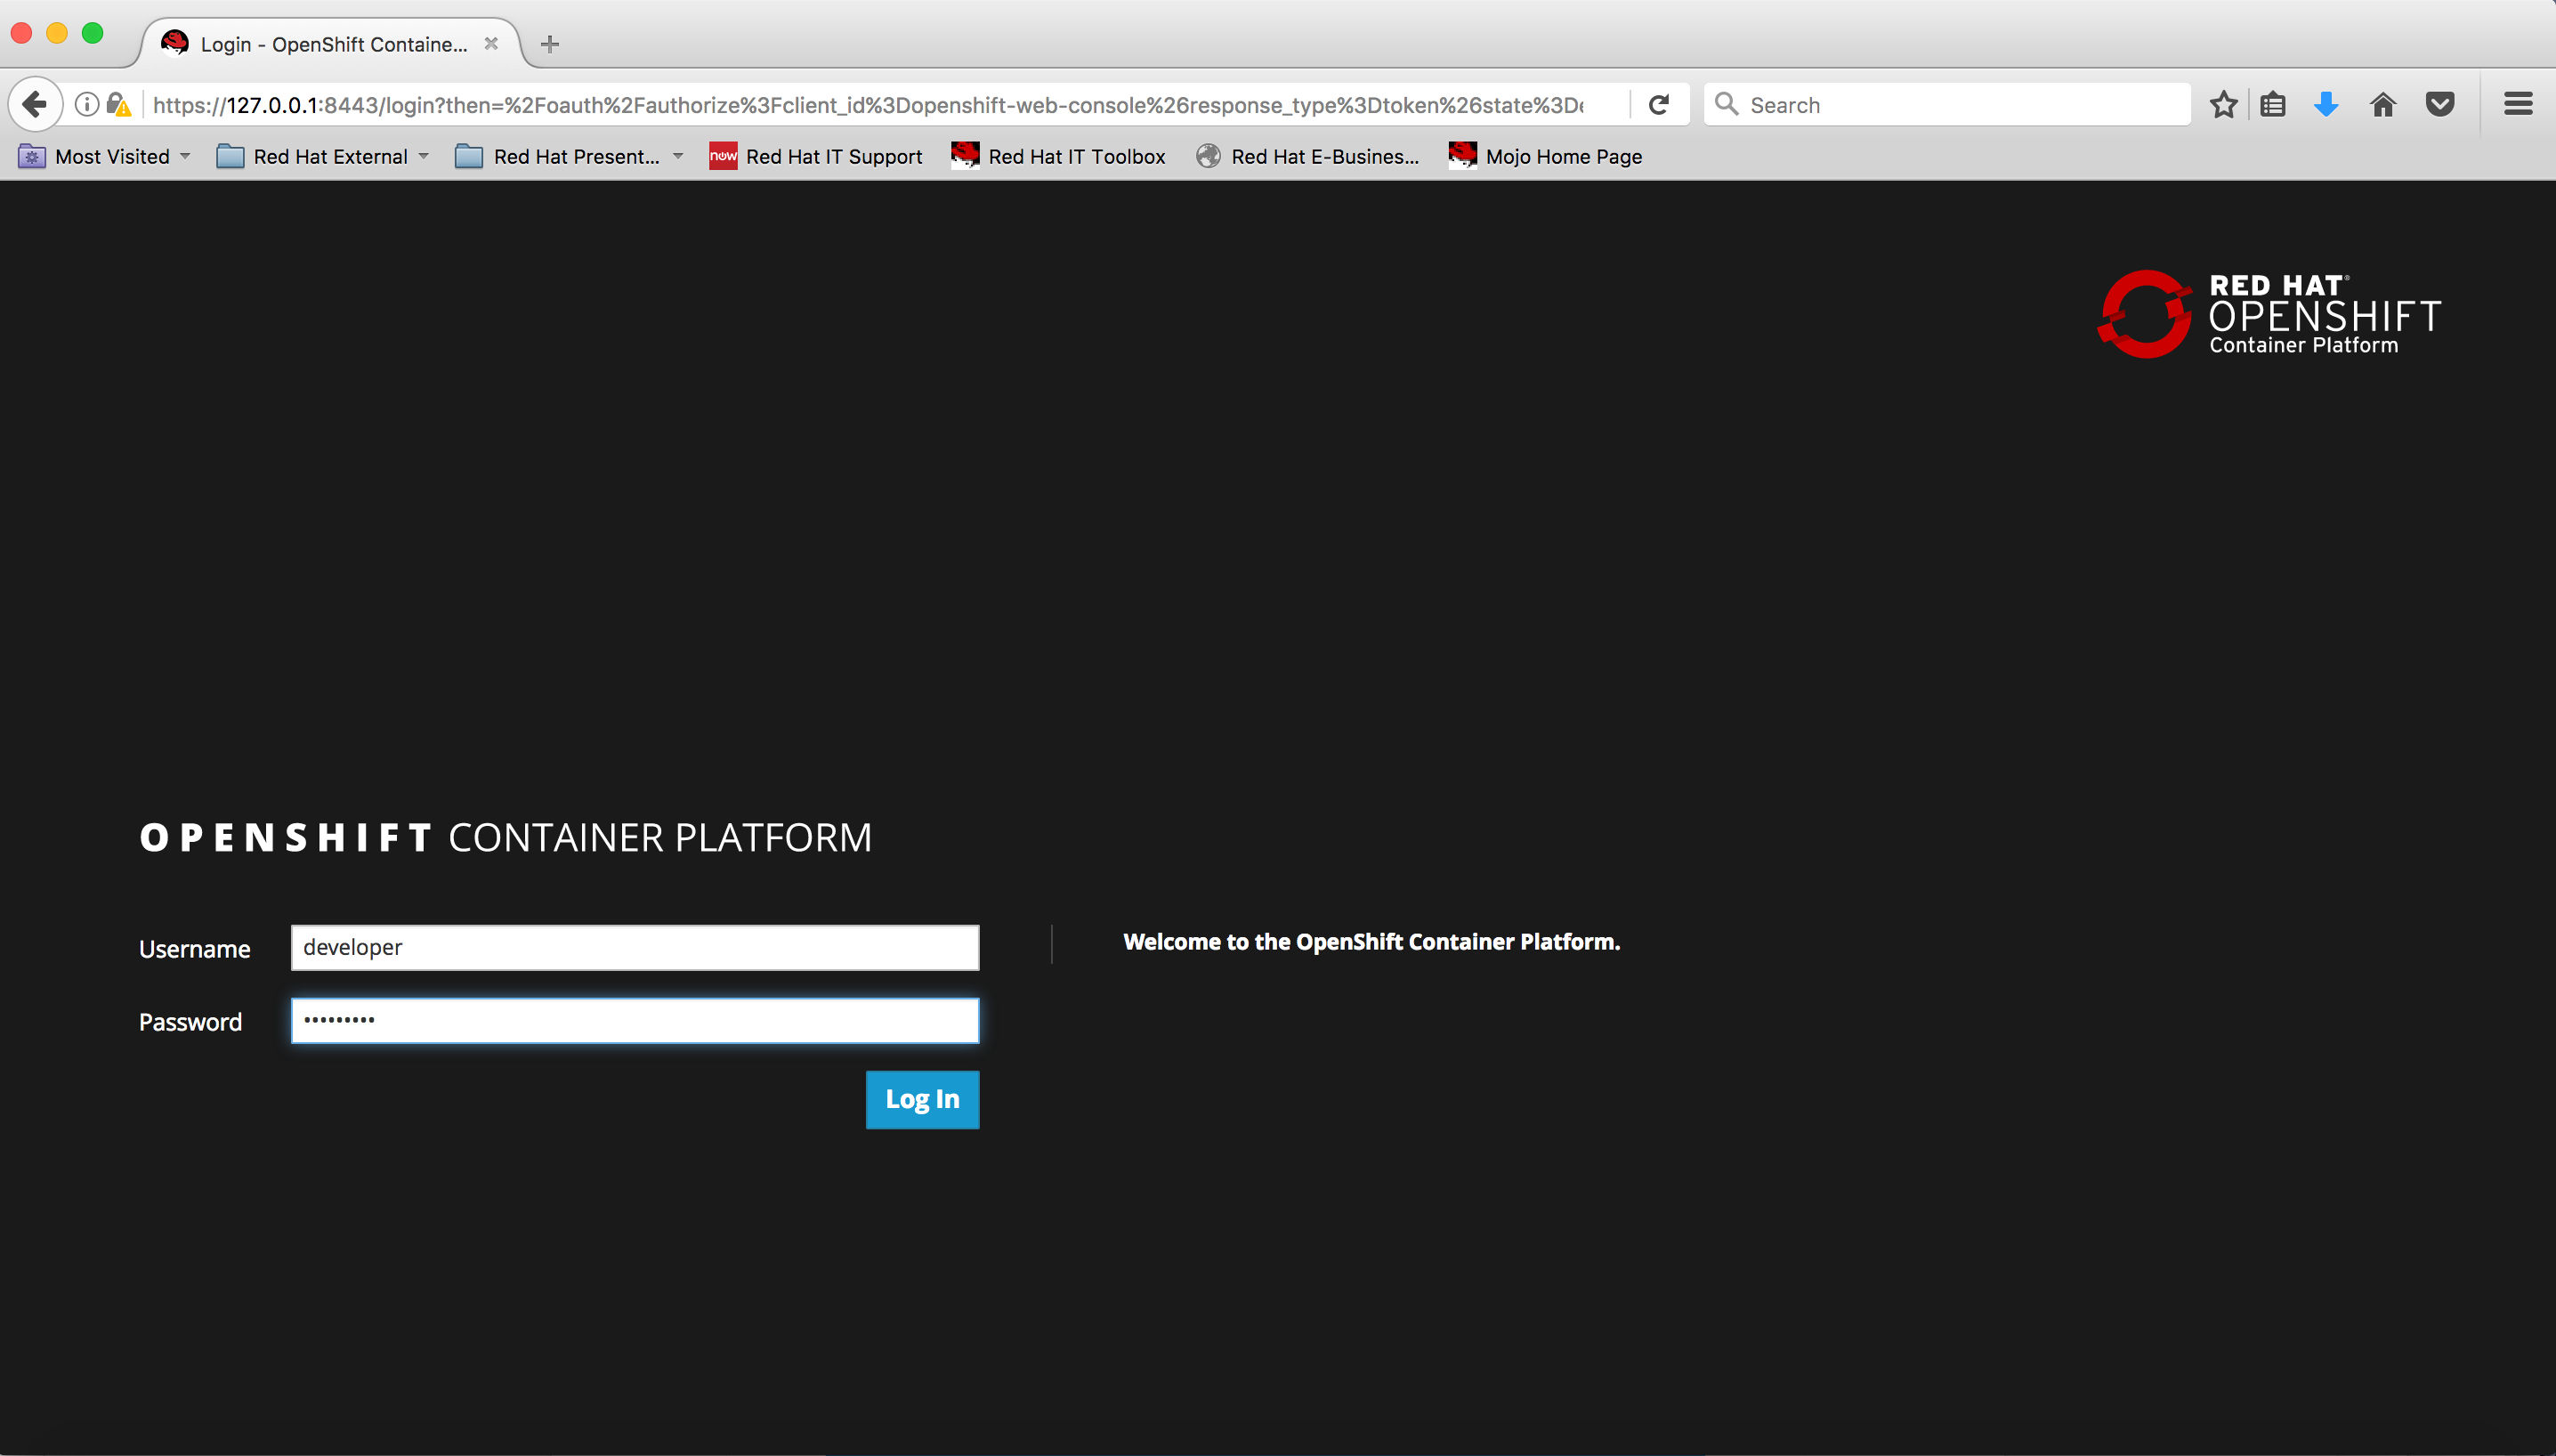
Once logged in, you should see the following:
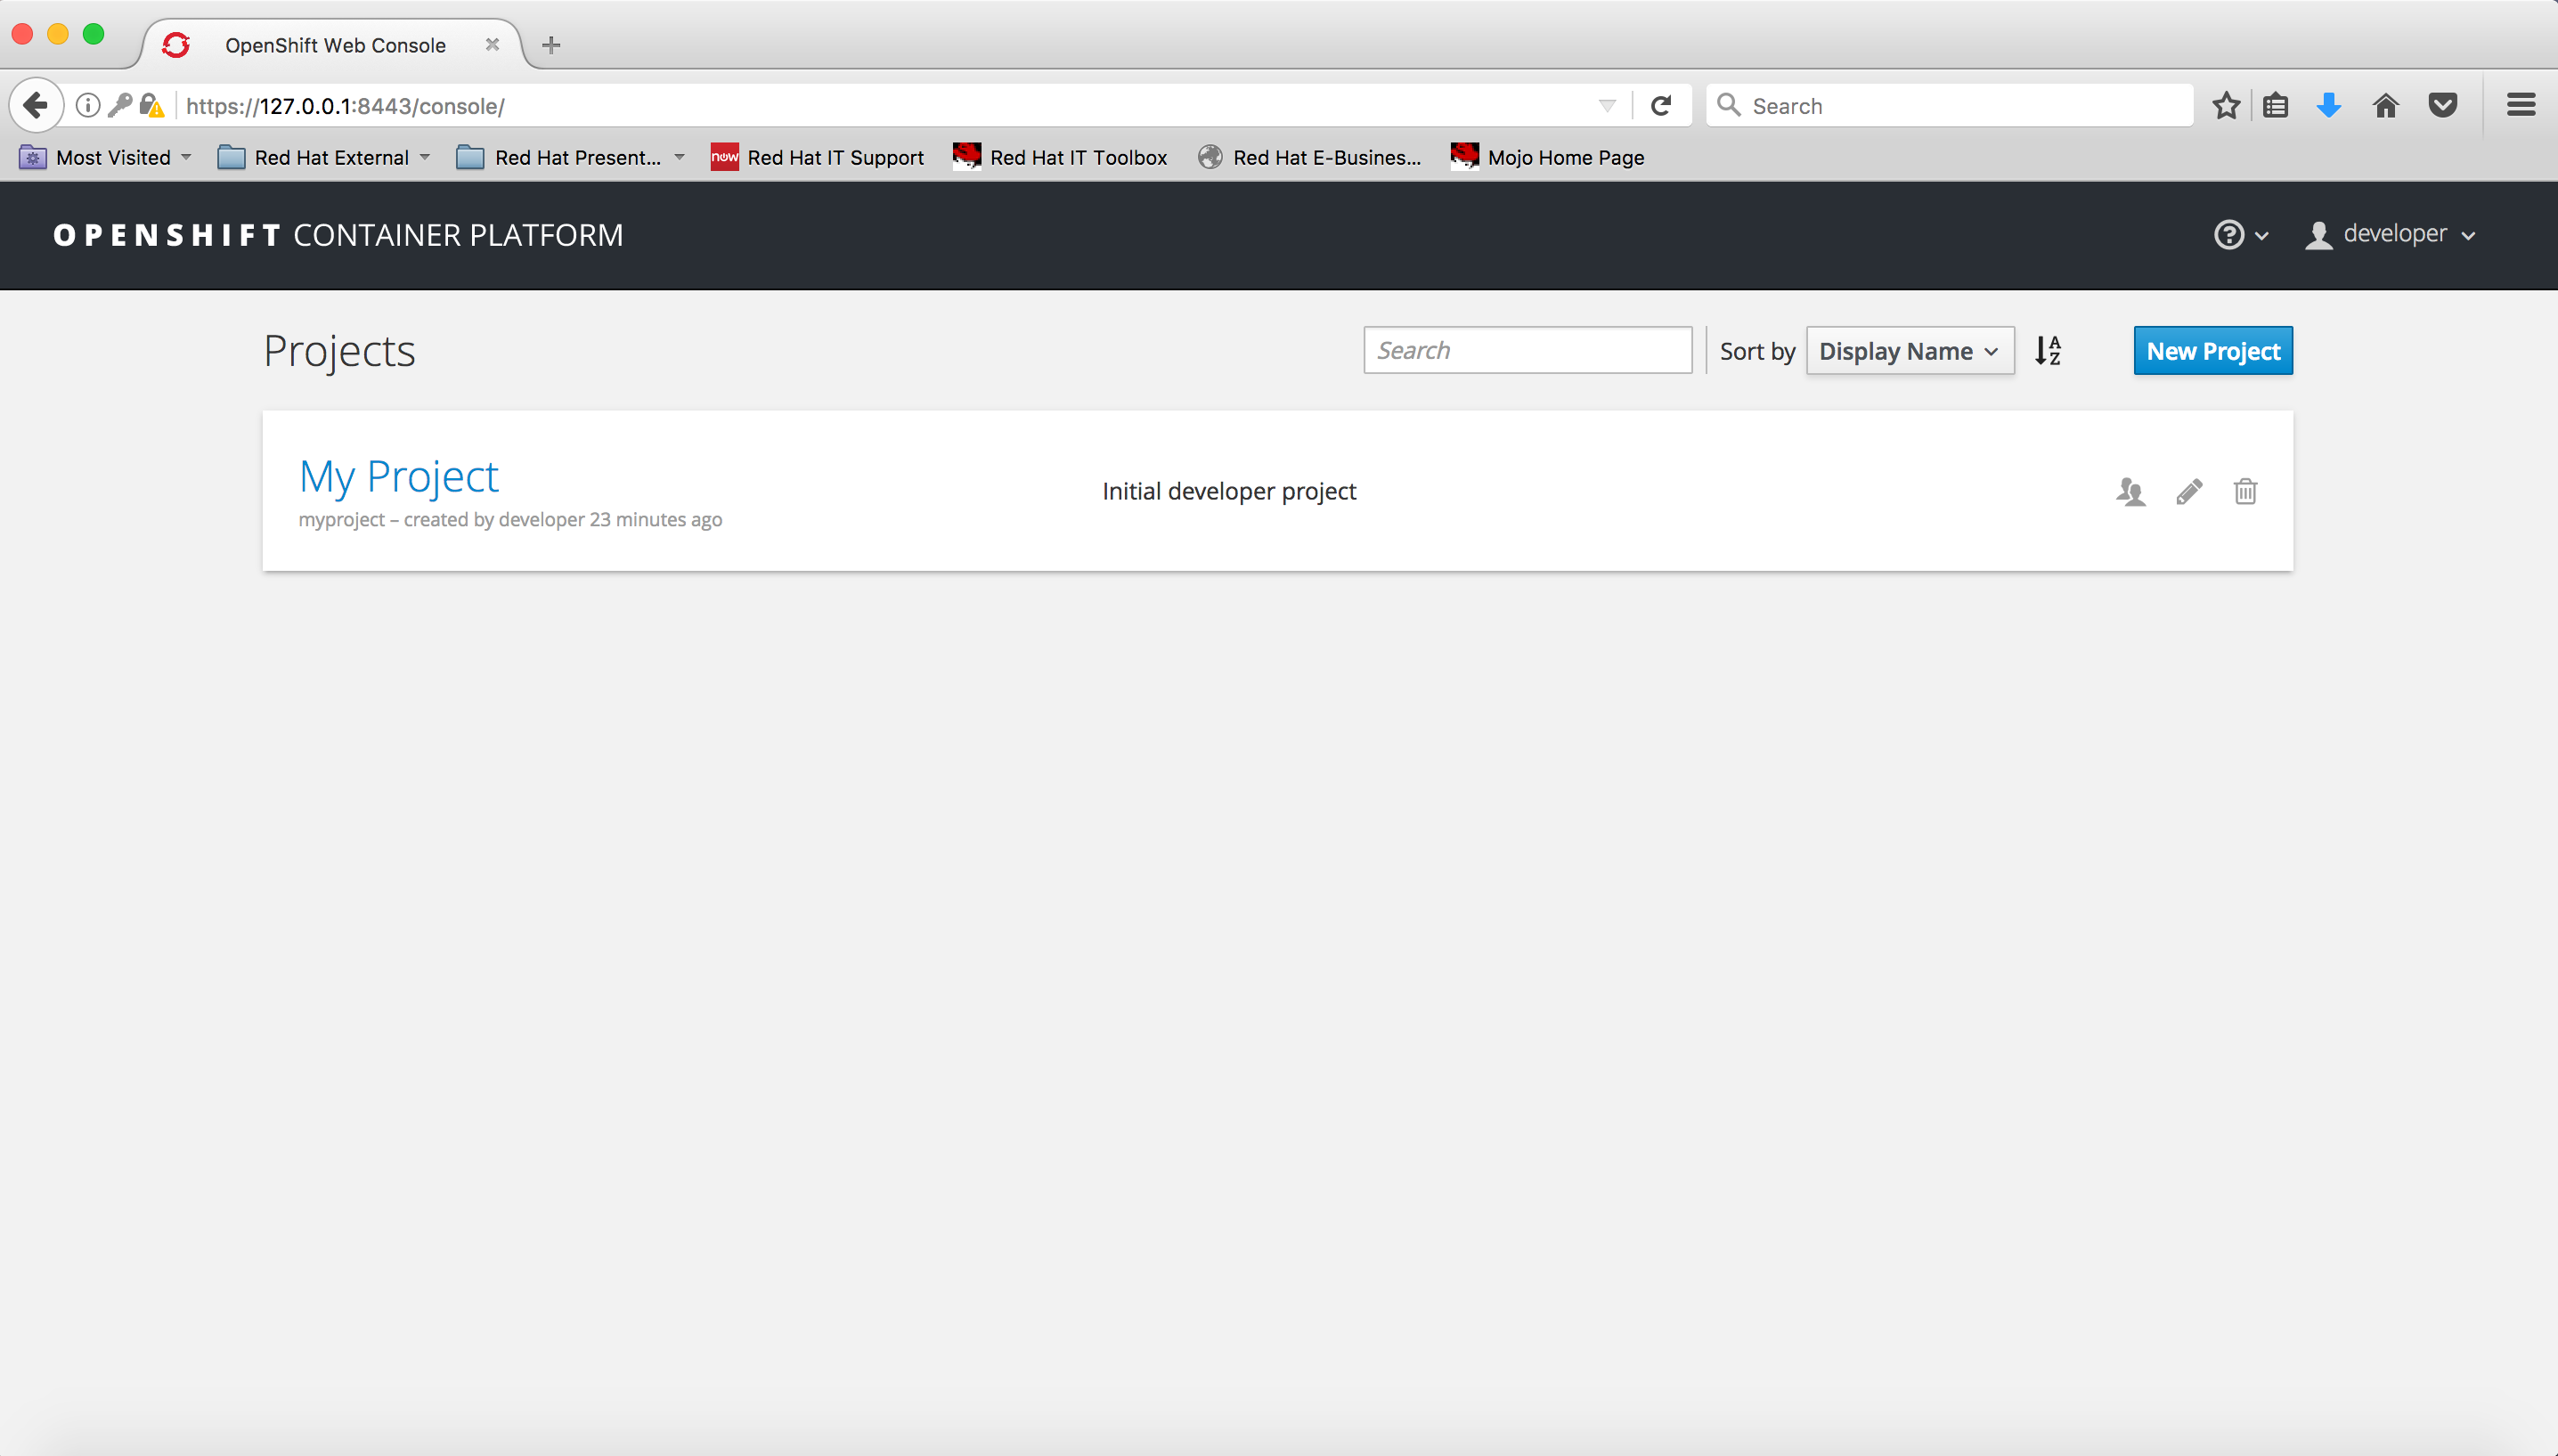
The “My Project” is the default project, which we will use throughout these blog series. At this point, you have a working OCP environment running on your laptop.
Generating the MicroProfile microservice and getting it ready for OpenShift Container Platform
Go to WildFly Swarm Project Generator https://wildfly-swarm.io/.
First, make sure to enter “MicroProfile” in the “Dependencies” field.
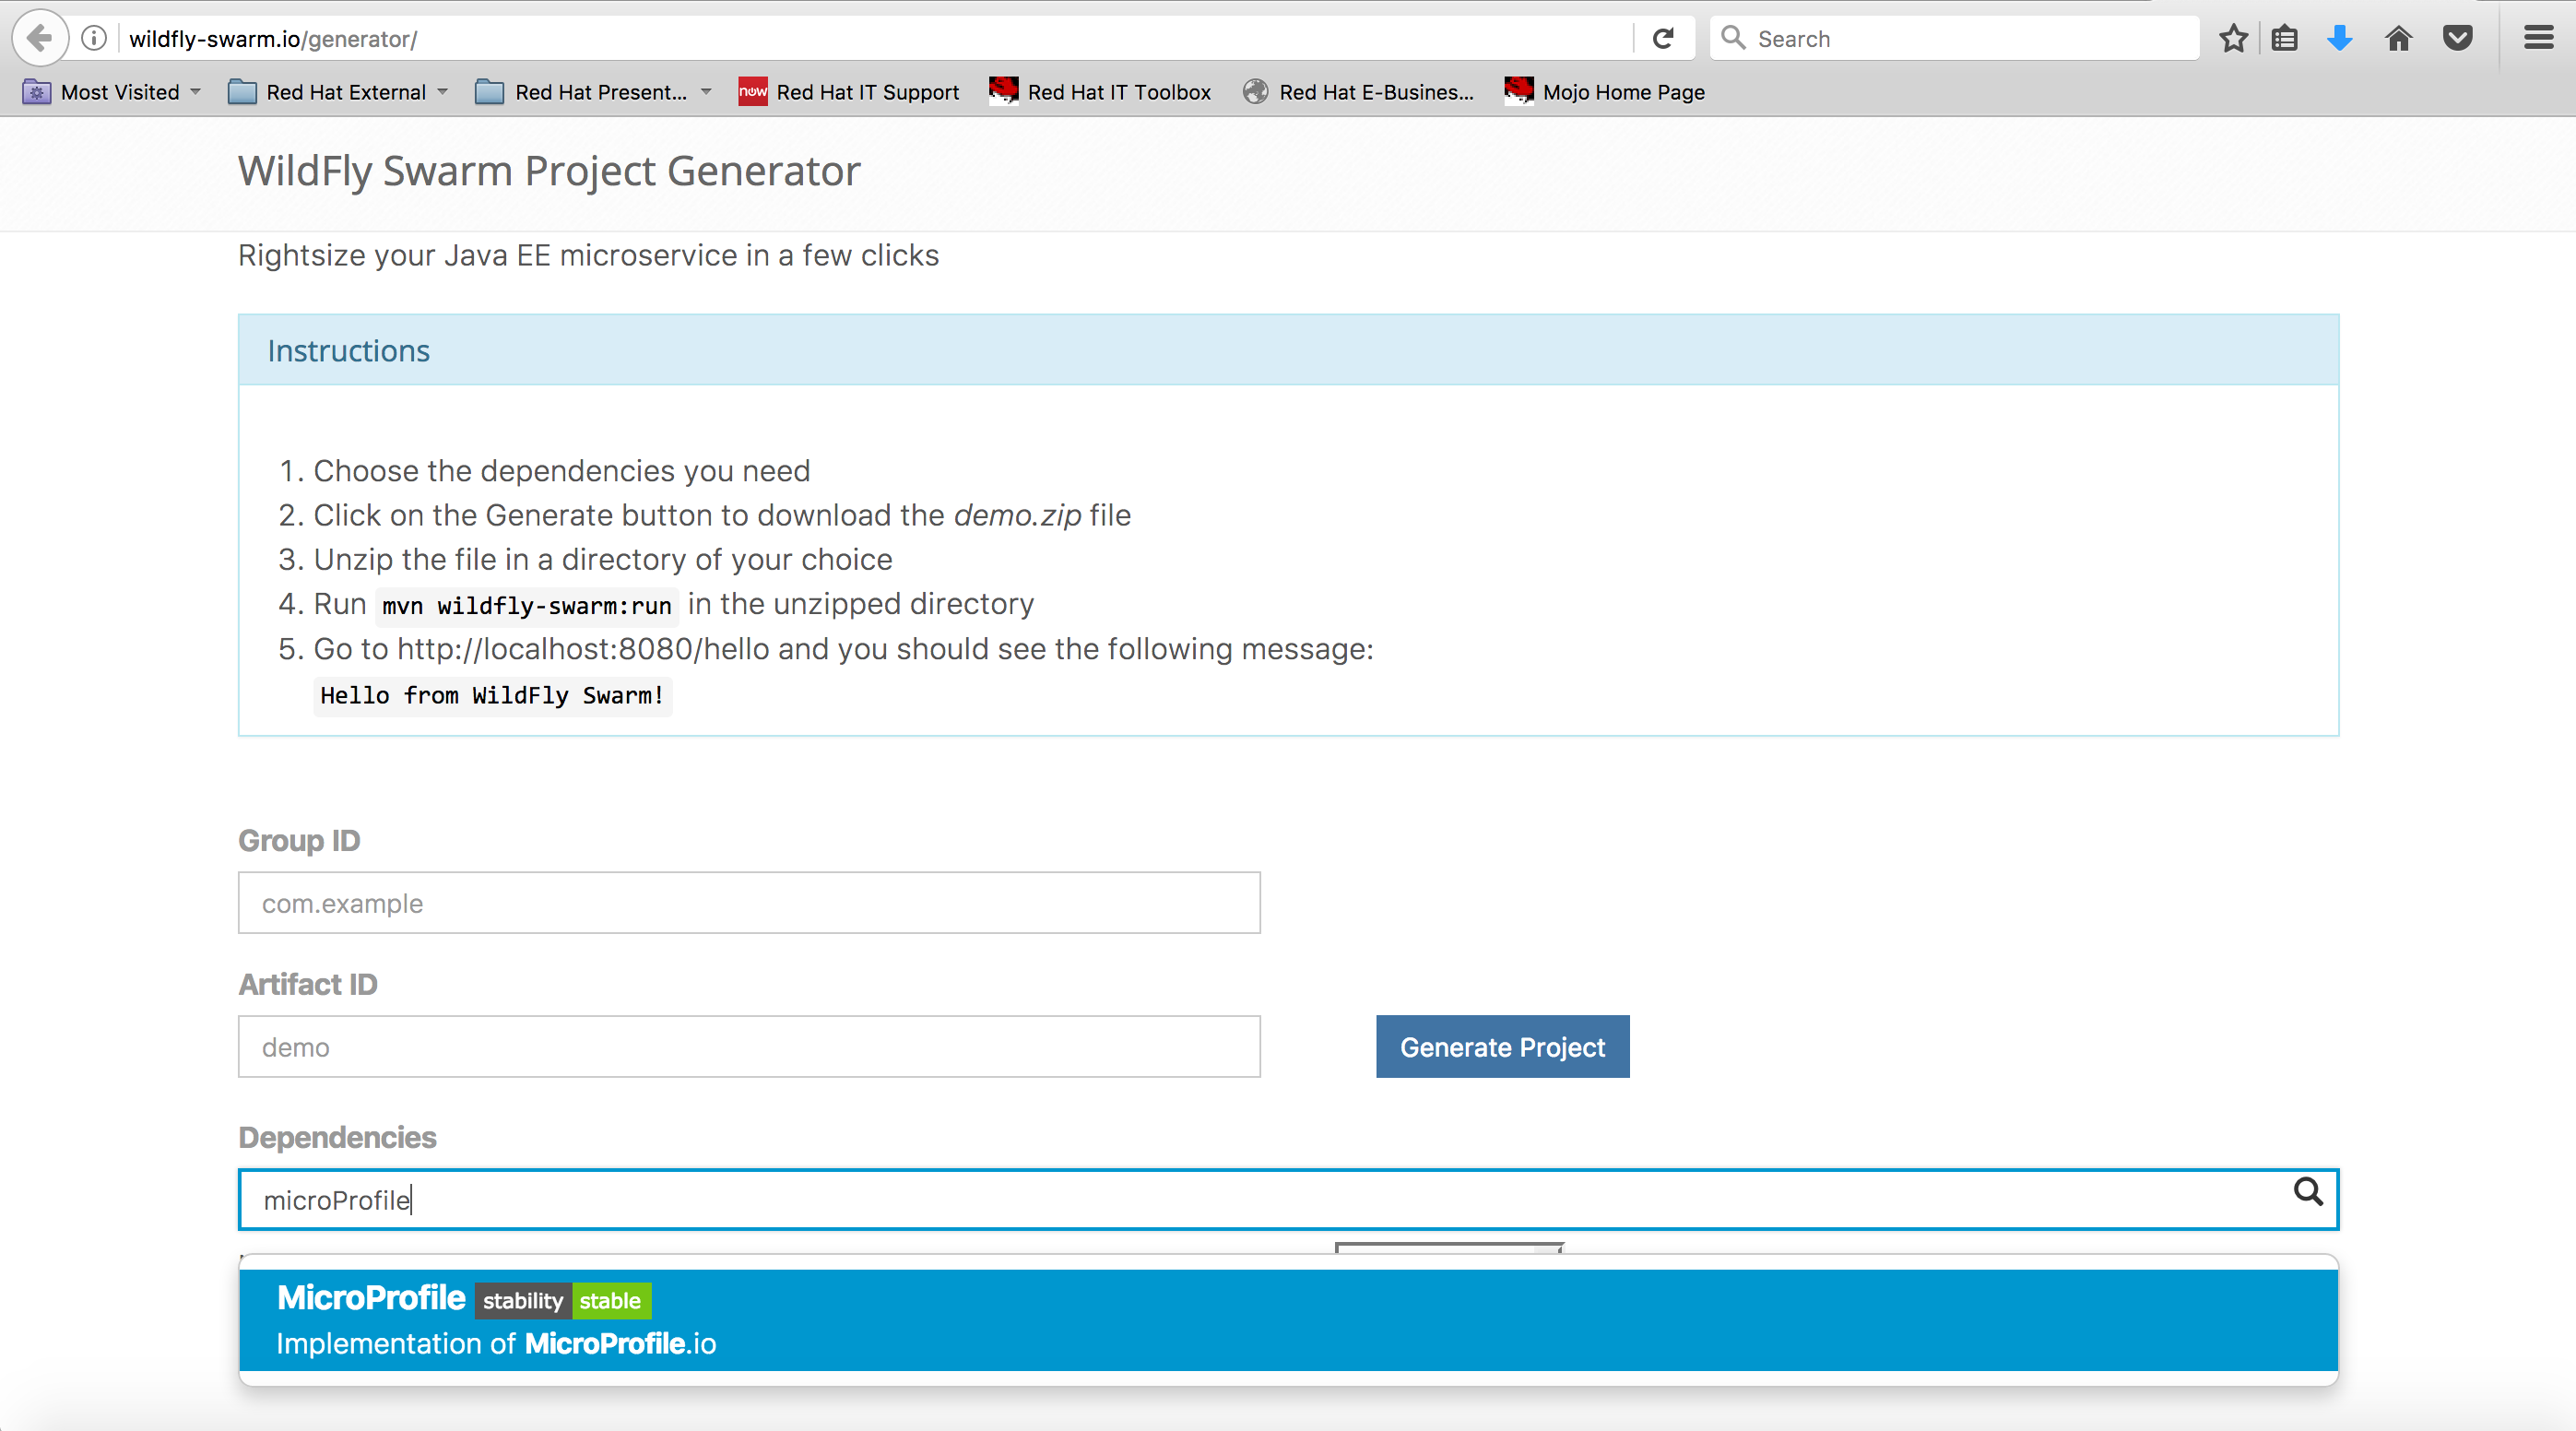
When the pop down with the name “MicroProfile - Implementation of MicroProfile.io” appears, click on it. This will add the MicroProfile dependency to your project (A green box titled “MicroProfile” will appear under the “Selected dependencies”).
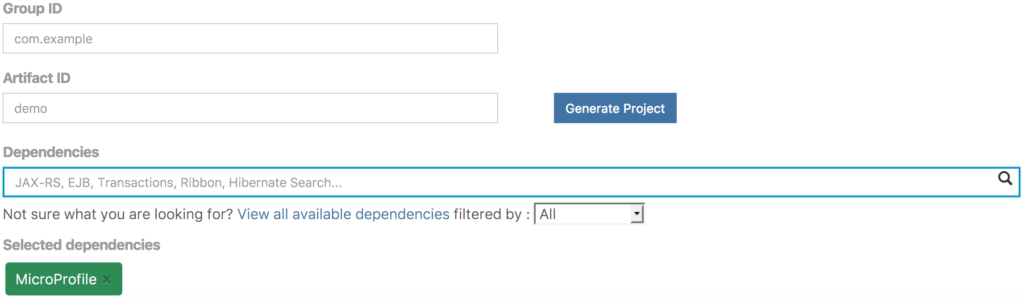
Enter “com.mpexample” in the “Group ID” field, and “mpHelloWorld” in the “Artifact ID” field.
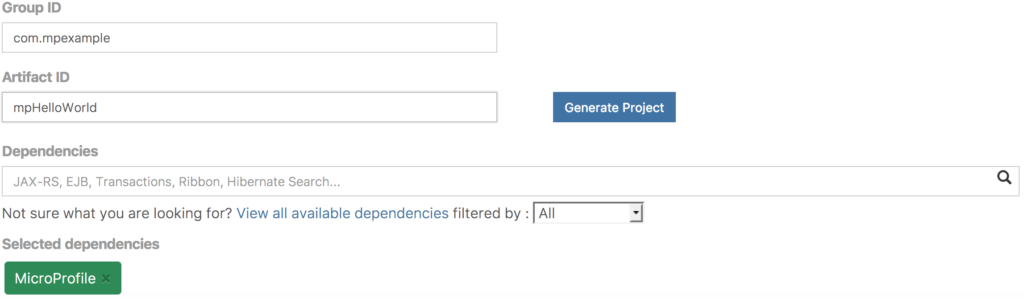
Click on the “Generate Project” button. This will generate a file named “mpHelloWorld.zip” and when asked to have it downloaded to your local drive, click on the OK button (make sure option for “Save File” is selected before clicking the OK to the download).
The contents of the zip file are:

Move this zip file to a directory of your choice and unzip it (on a Mac, you can just double-click on the zip file and it will automatically unzip).
Before proceeding, we need to make a couple of edits. Change directory to your project directory:
- cd <dir of your choice>/mpHelloWorld
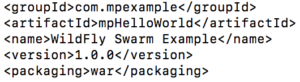
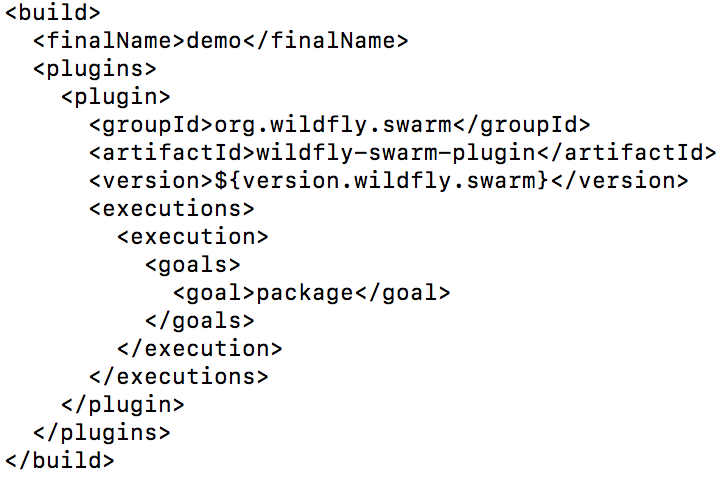
- Edit the project’s pom.xml file and remove the string “-SNAPSHOT” from the <version> tag for your Swarm project.
Here is a snippet of the before picture of the pom.xml:

And here’s the after picture:
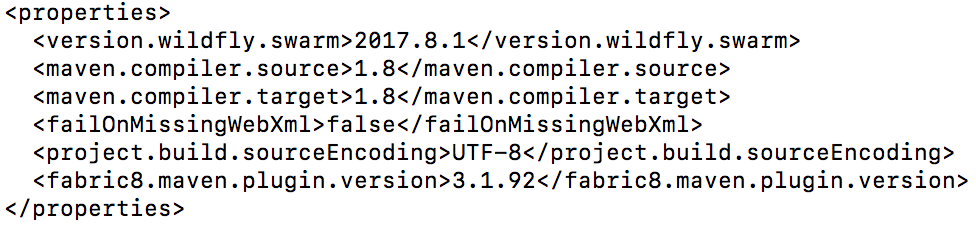
- Edit the pom.xml and declare a variable that contains the version number of the fabric8 maven plugin by appending the following line at the end of the <properties> section:
<fabric8.maven.plugin.version>3.1.92</fabric8.maven.plugin.version>
Here is a snippet of the before picture:
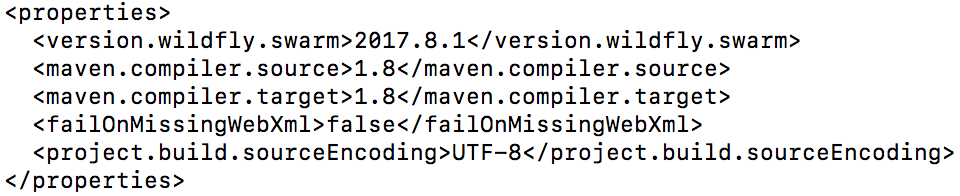
And here’s the after picture:
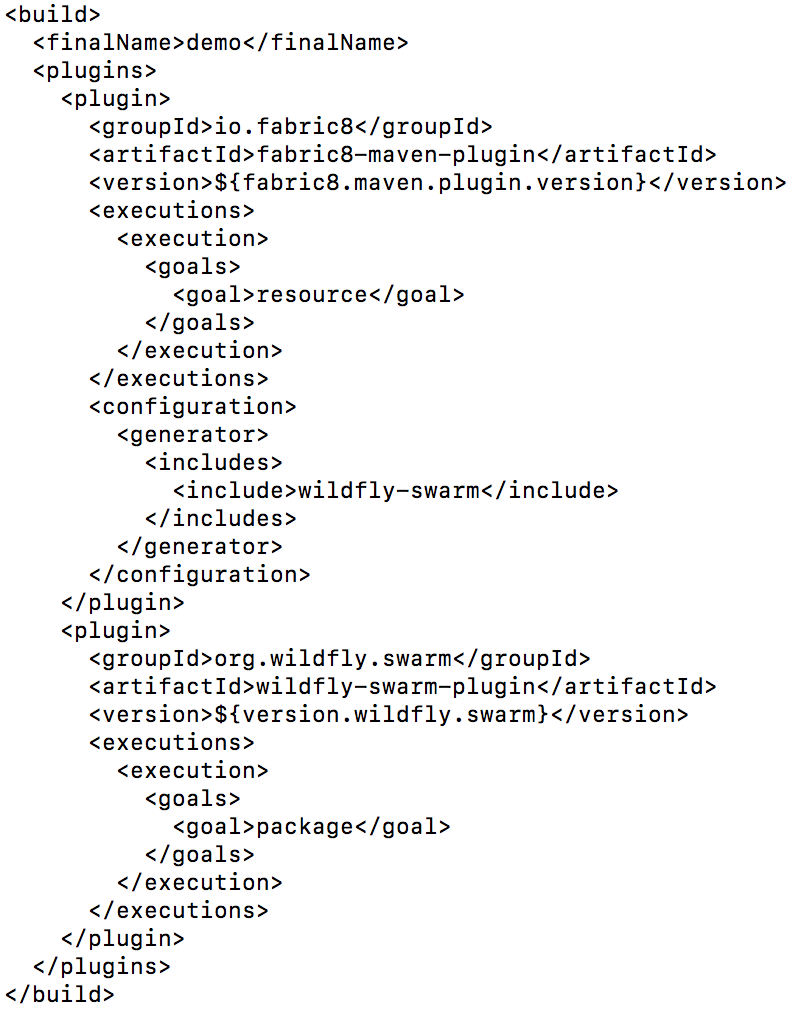
- Add the fabric8 maven plugin as the first plugin by adding the following lines in the <plugins> section of the pom.xml:
<plugin>
<groupId>io.fabric8</groupId>
<artifactId>fabric8-maven-plugin</artifactId>
<version>${fabric8.maven.plugin.version}</version>
<executions>
<execution>
<goals>
<goal>resource</goal>
</goals>
</execution>
</executions>
<configuration>
<generator>
<includes>
<include>wildfly-swarm</include>
</includes>
</generator>
</configuration>
</plugin>
Here’s the before picture:
And here’s the after picture:
- Lastly, make sure to save the pom.xml file.
Building and deploying your MicroProfile-based microservice to OpenShift Container Platform
At this point, with your OCP up and running, change directory to your downloaded project directory. Open a Terminal window and enter:
cd <dir of your choice>/mpHelloWorld
Then, log in to the running OpenShift, by entering:
oc login https://127.0.0.1:8443 -u developer -p developer
Here's a screen snapshot of what you should see:

Now, build and deploy your project to OpenShift by entering:
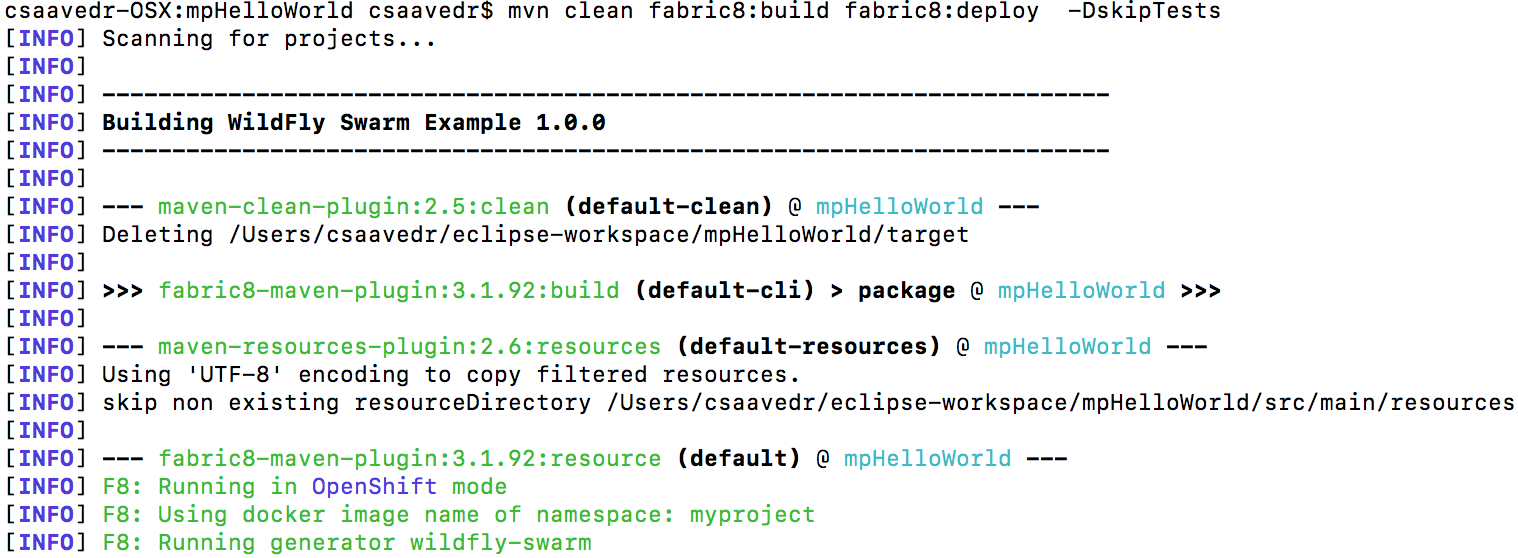
mvn clean fabric8:build fabric8:deploy -DskipTests
Many lines will scroll down as a result of the build and deploy. Here’s a snapshot of the output lines of the start of the build and deploy:
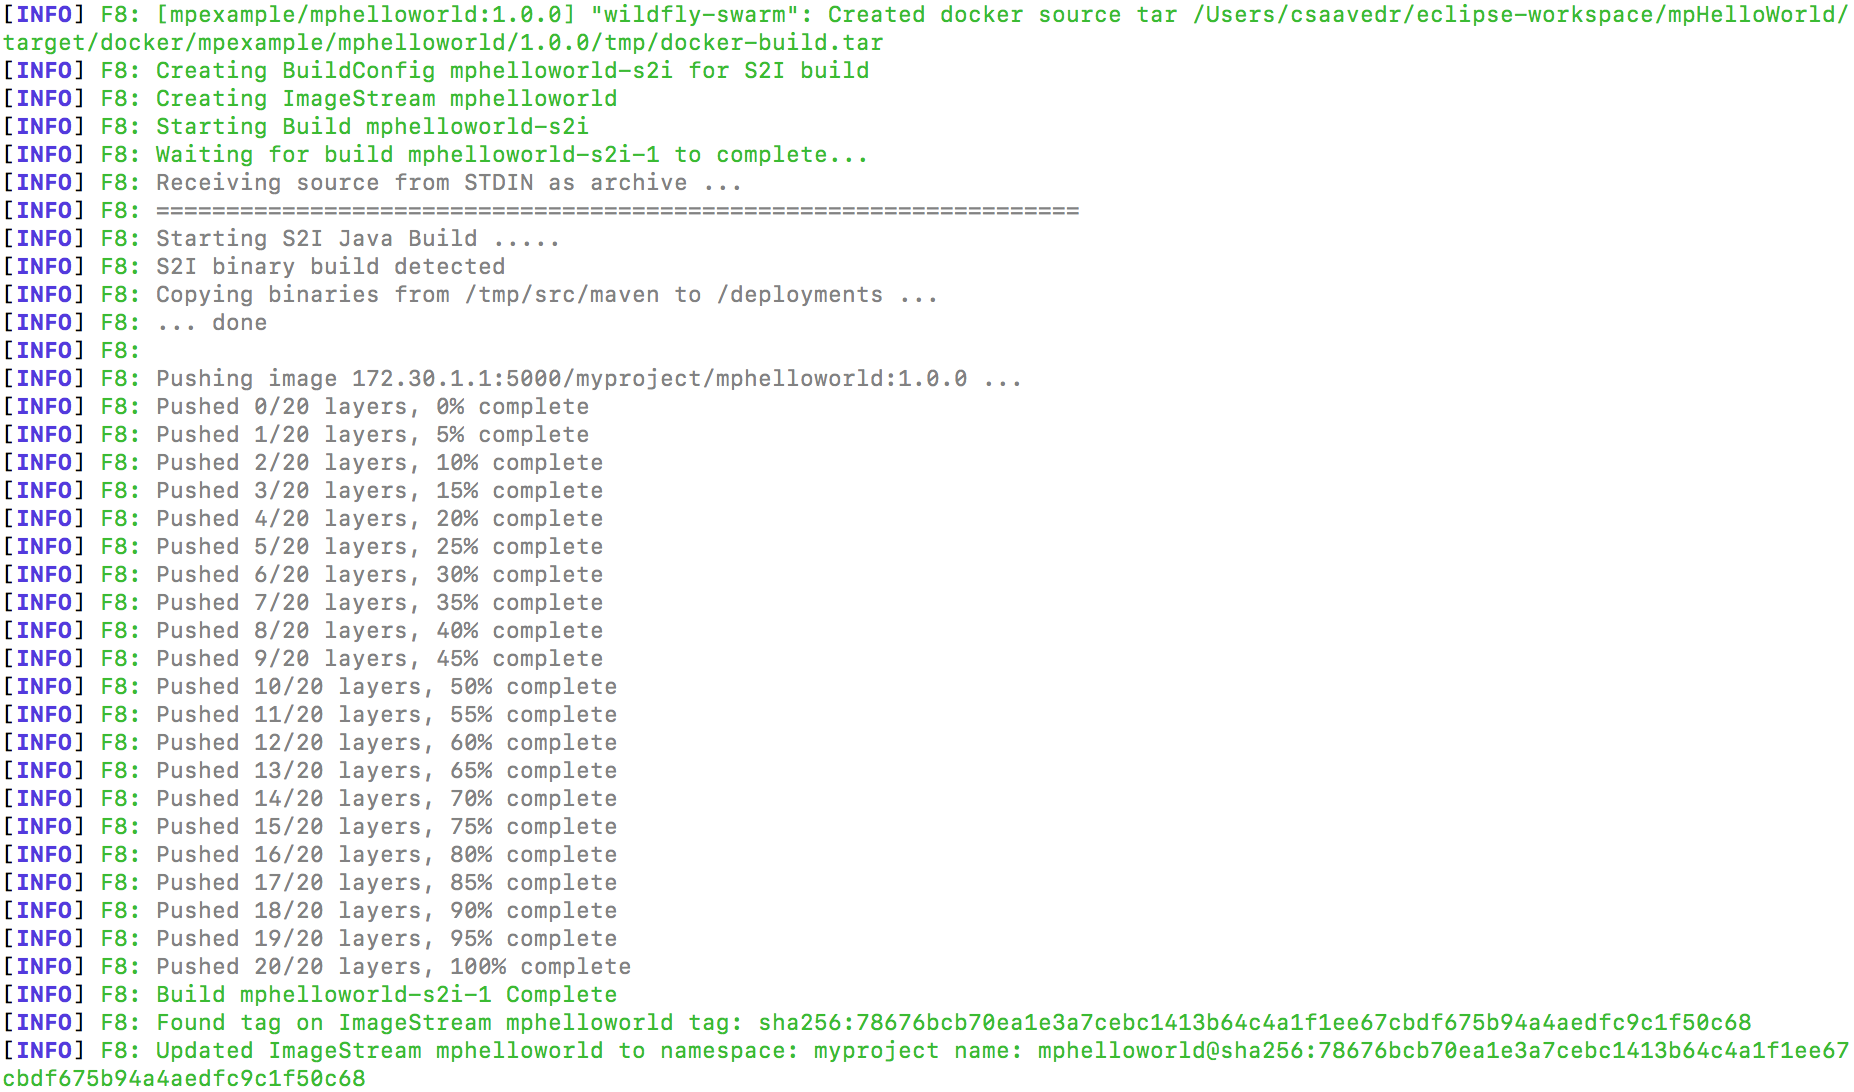
Here’s a snapshot of the output lines toward the middle of the build and deploy where the Docker image is actually created:
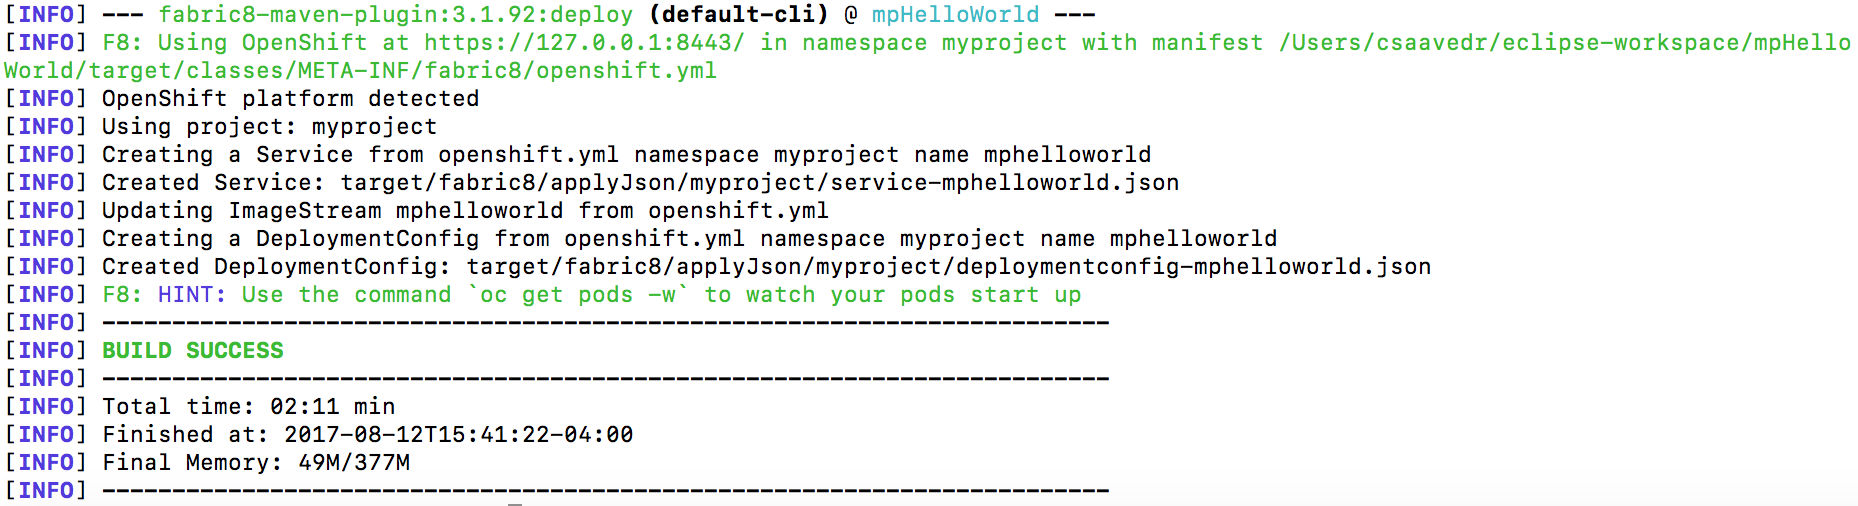
Here’s a snapshot of the output lines at the end of the build and deploy:
Verifying your deployment, creating a route, and testing your MicroProfile-based microservice
At this point, your project has been deployed and started as a pod for it in OpenShift.
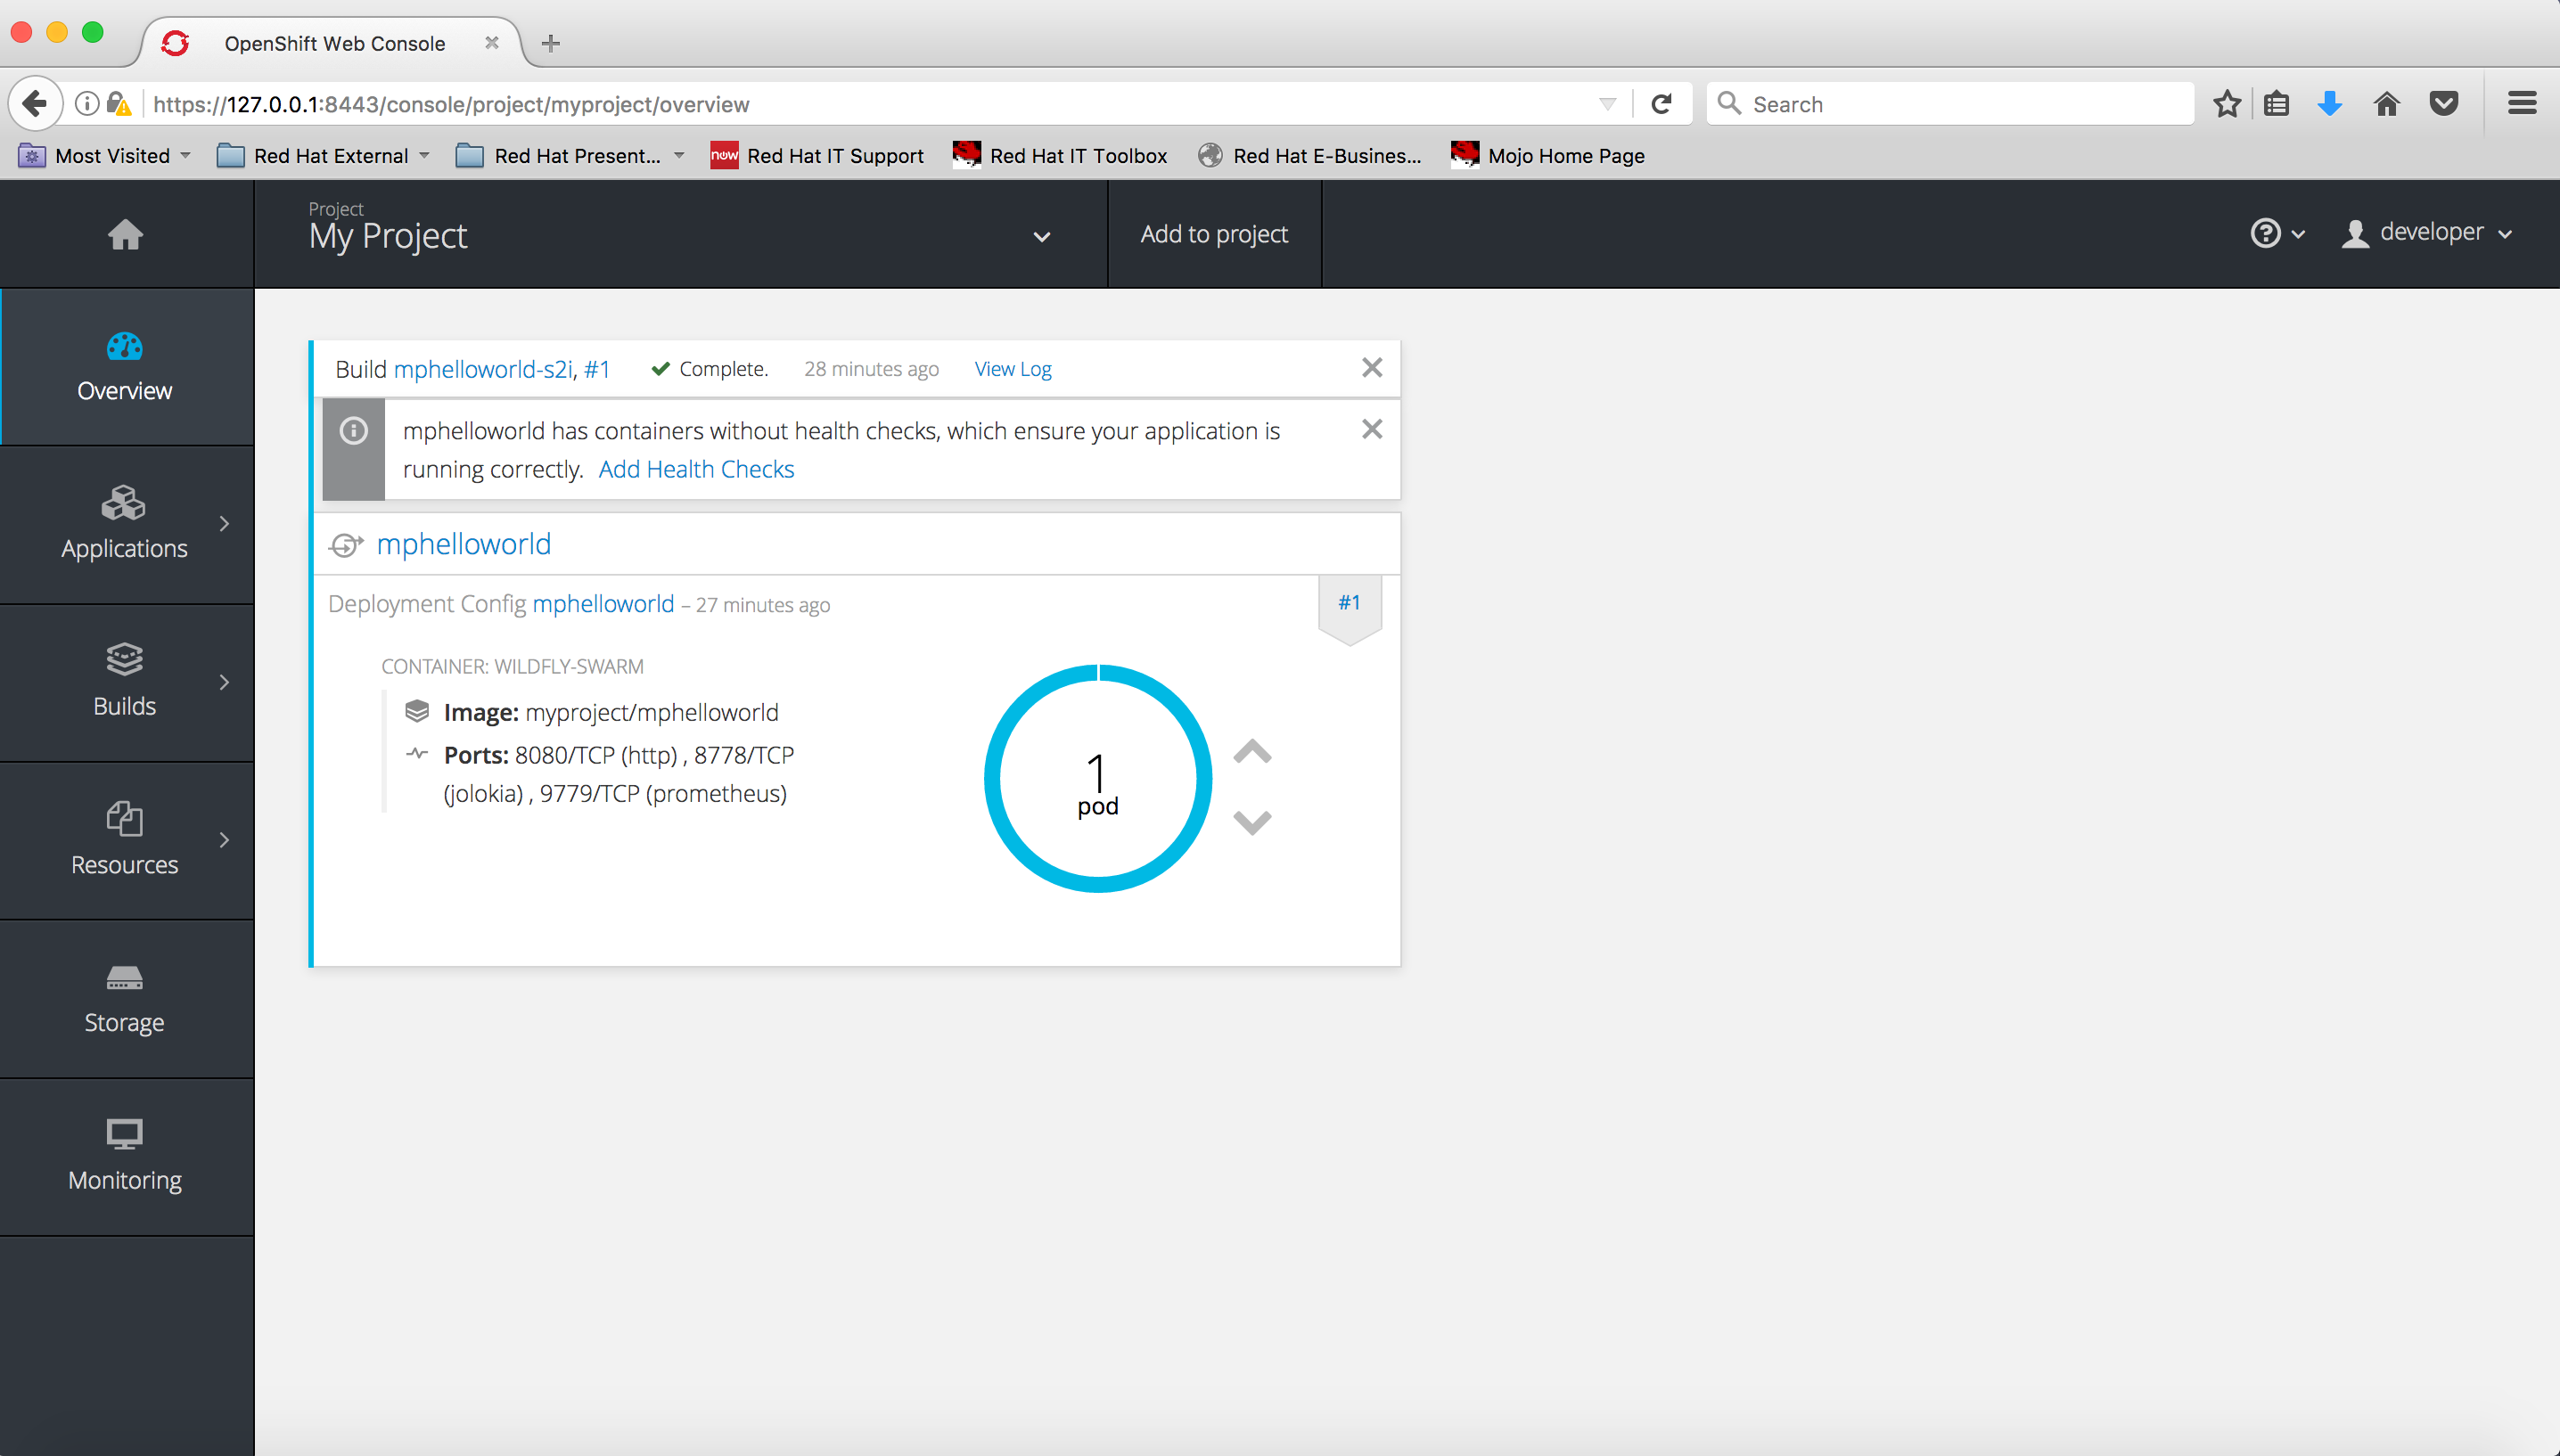
Go to OCP landing page (the page right after you successfully log in as “developer”), and click on “My Project”. You will see a pod running your application “mphelloworld”:
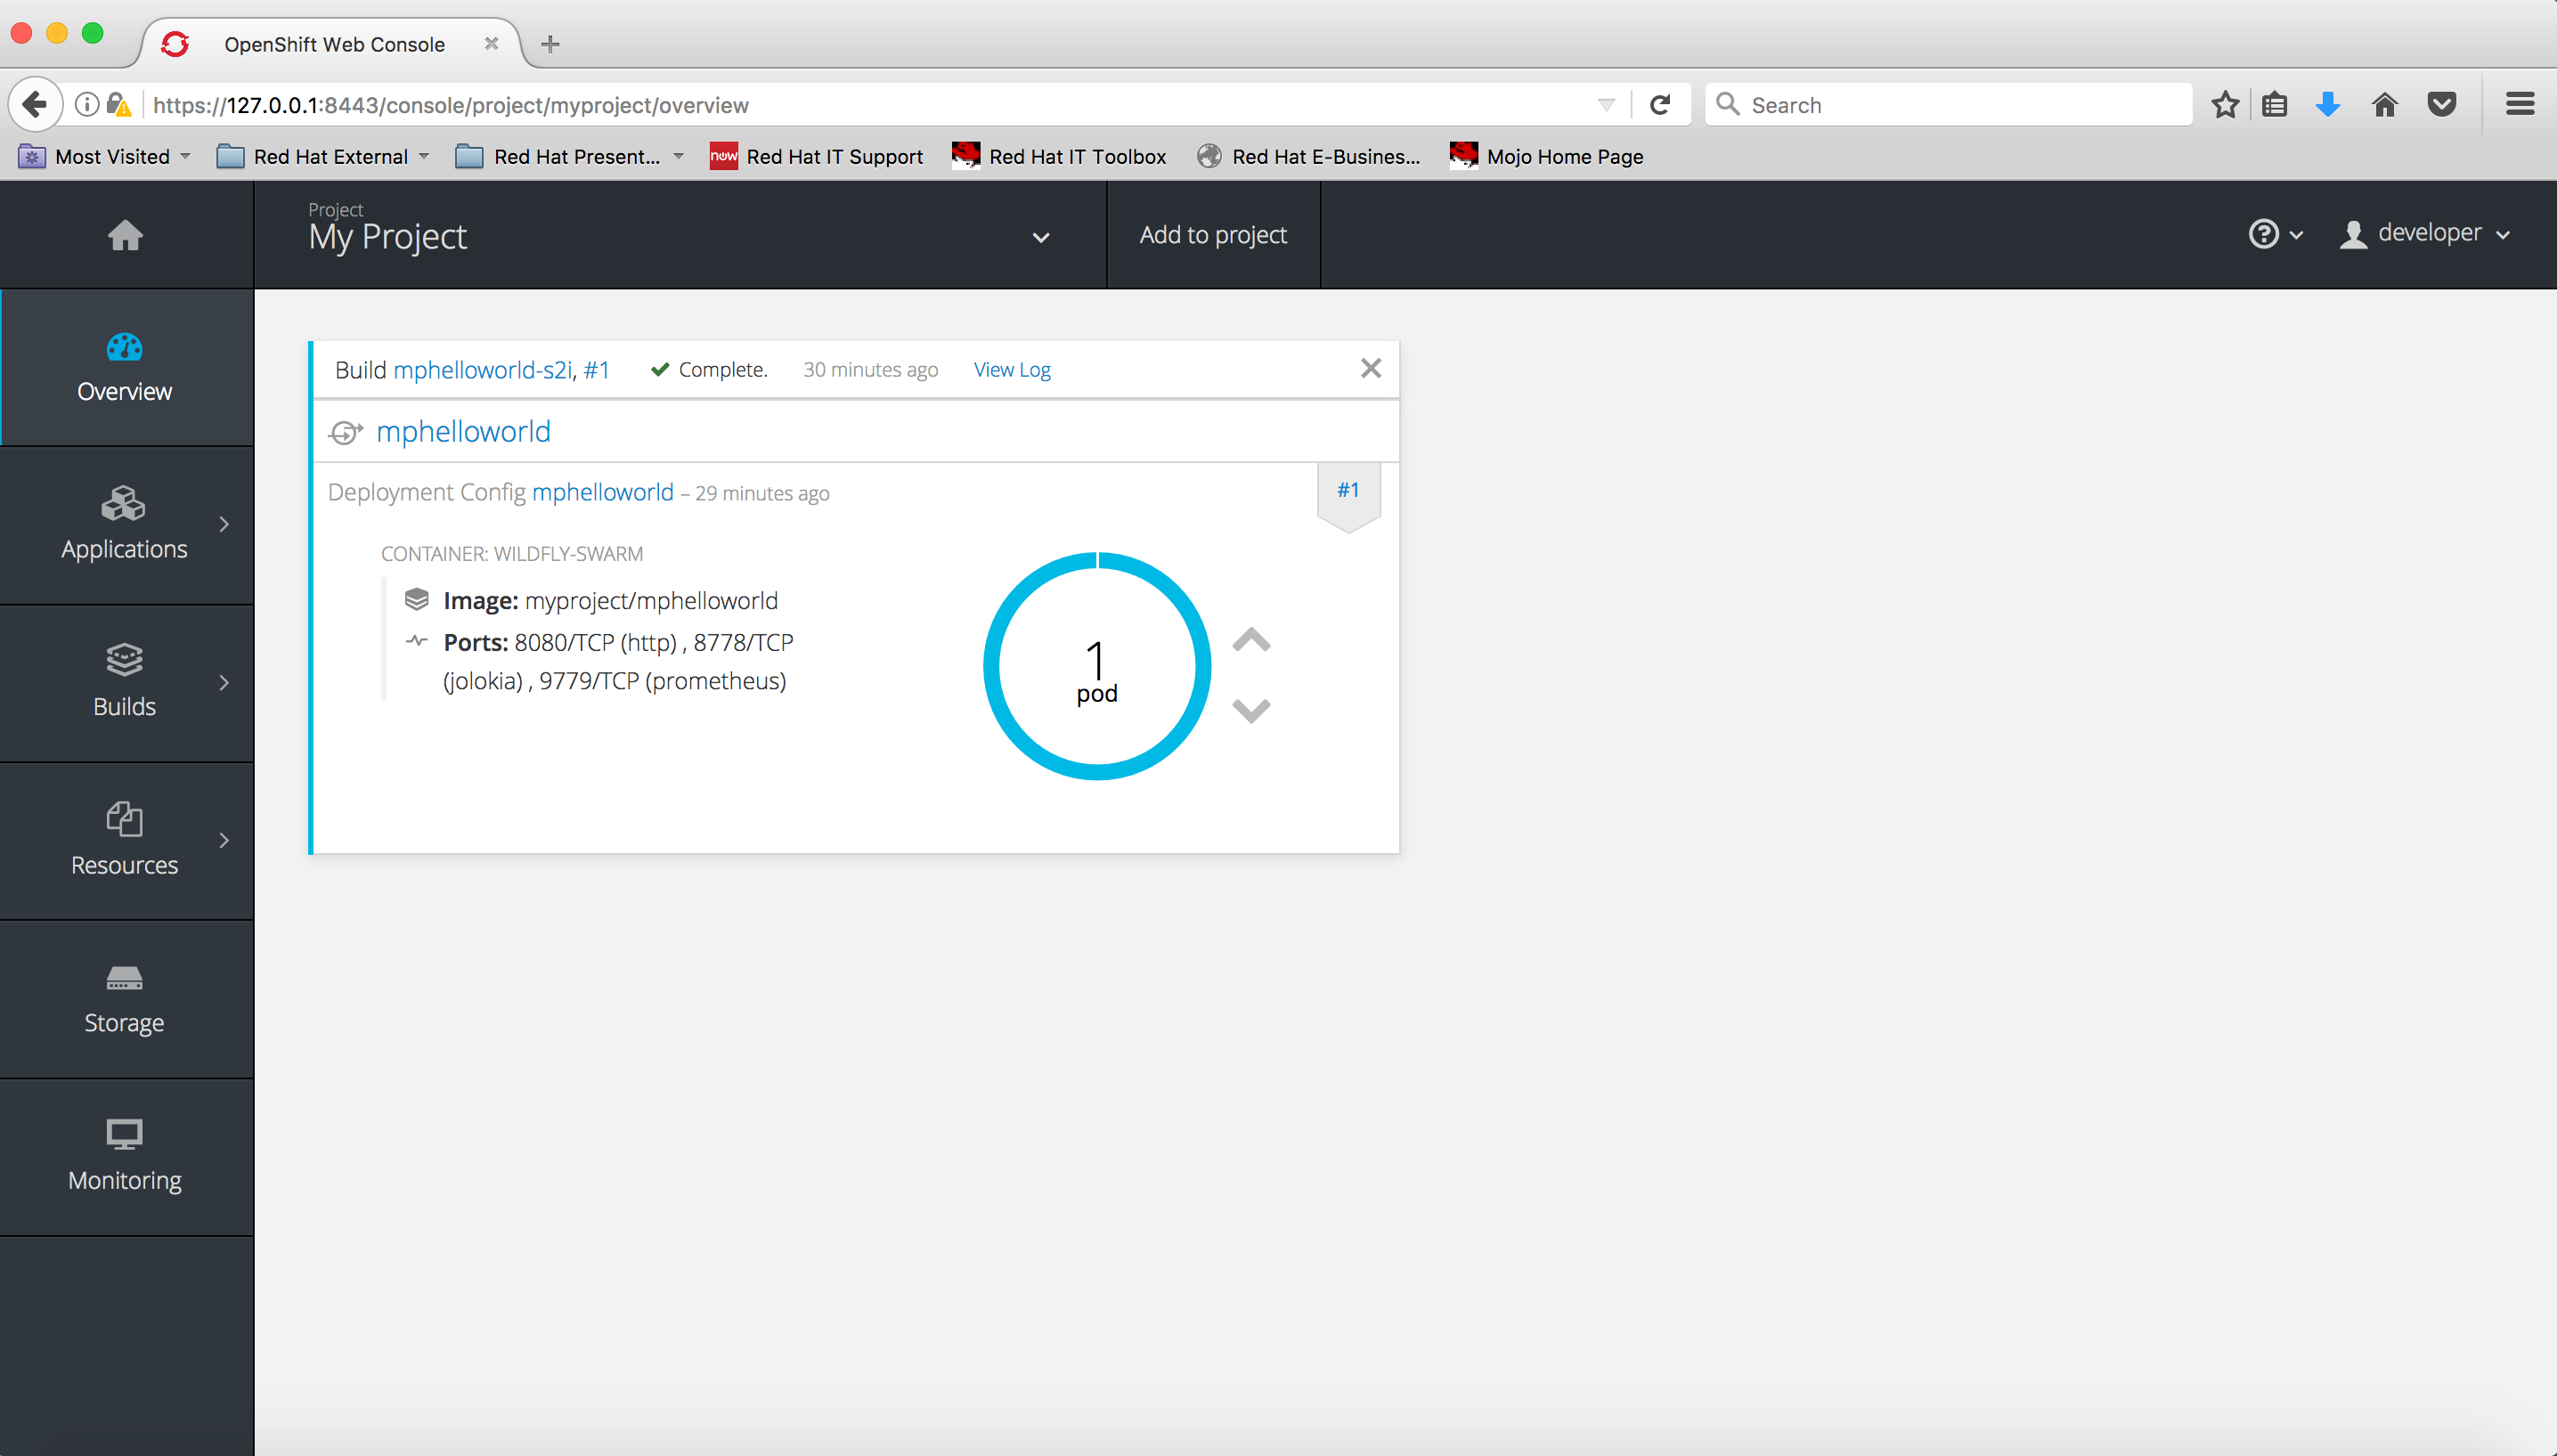
You can dismiss the information message about your container not having health checks (for this exercise, we will not be covering that). After you dismiss the information message, you will see:
Now that your pod is up and running on OpenShift Container Platform, you have to create a Route for it so that you can call it from a browser window.
Click on “mphelloworld” next to the icon that looks like a small circle with two arrows. You will see:

Click on “Create Route” next to the “Routes:” label and accept all defaults:
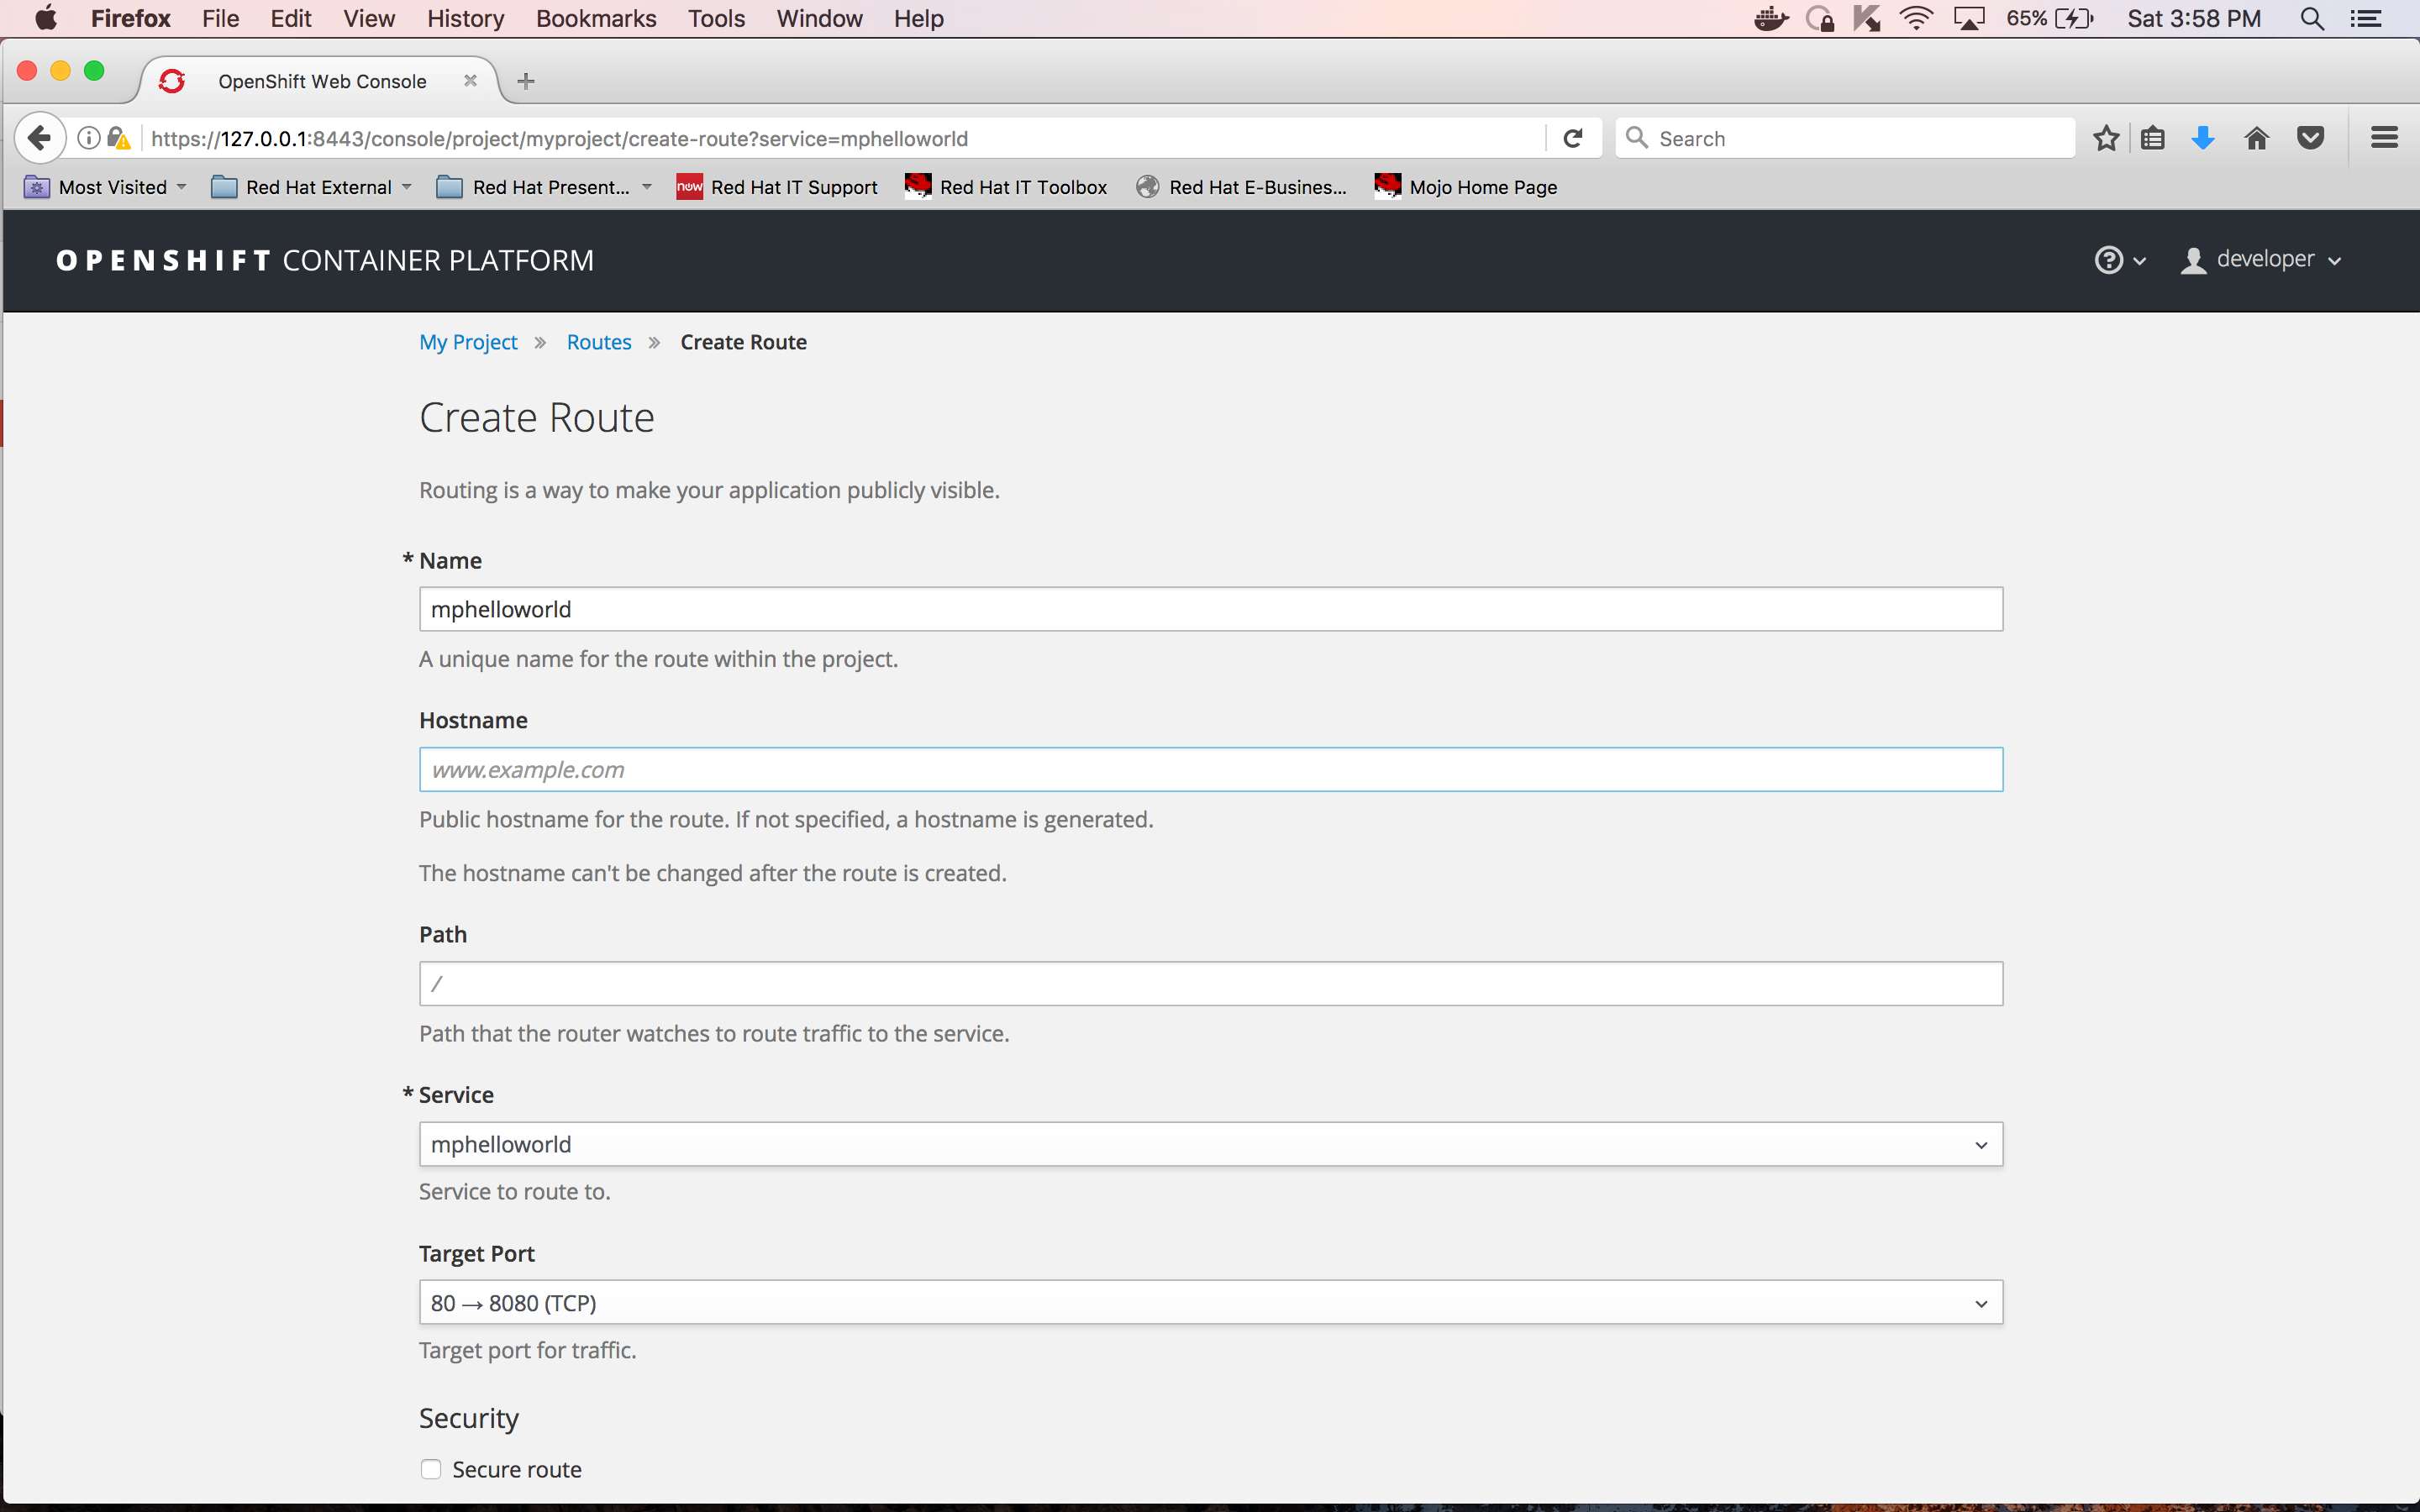
Scroll down and click on the “Create” button:
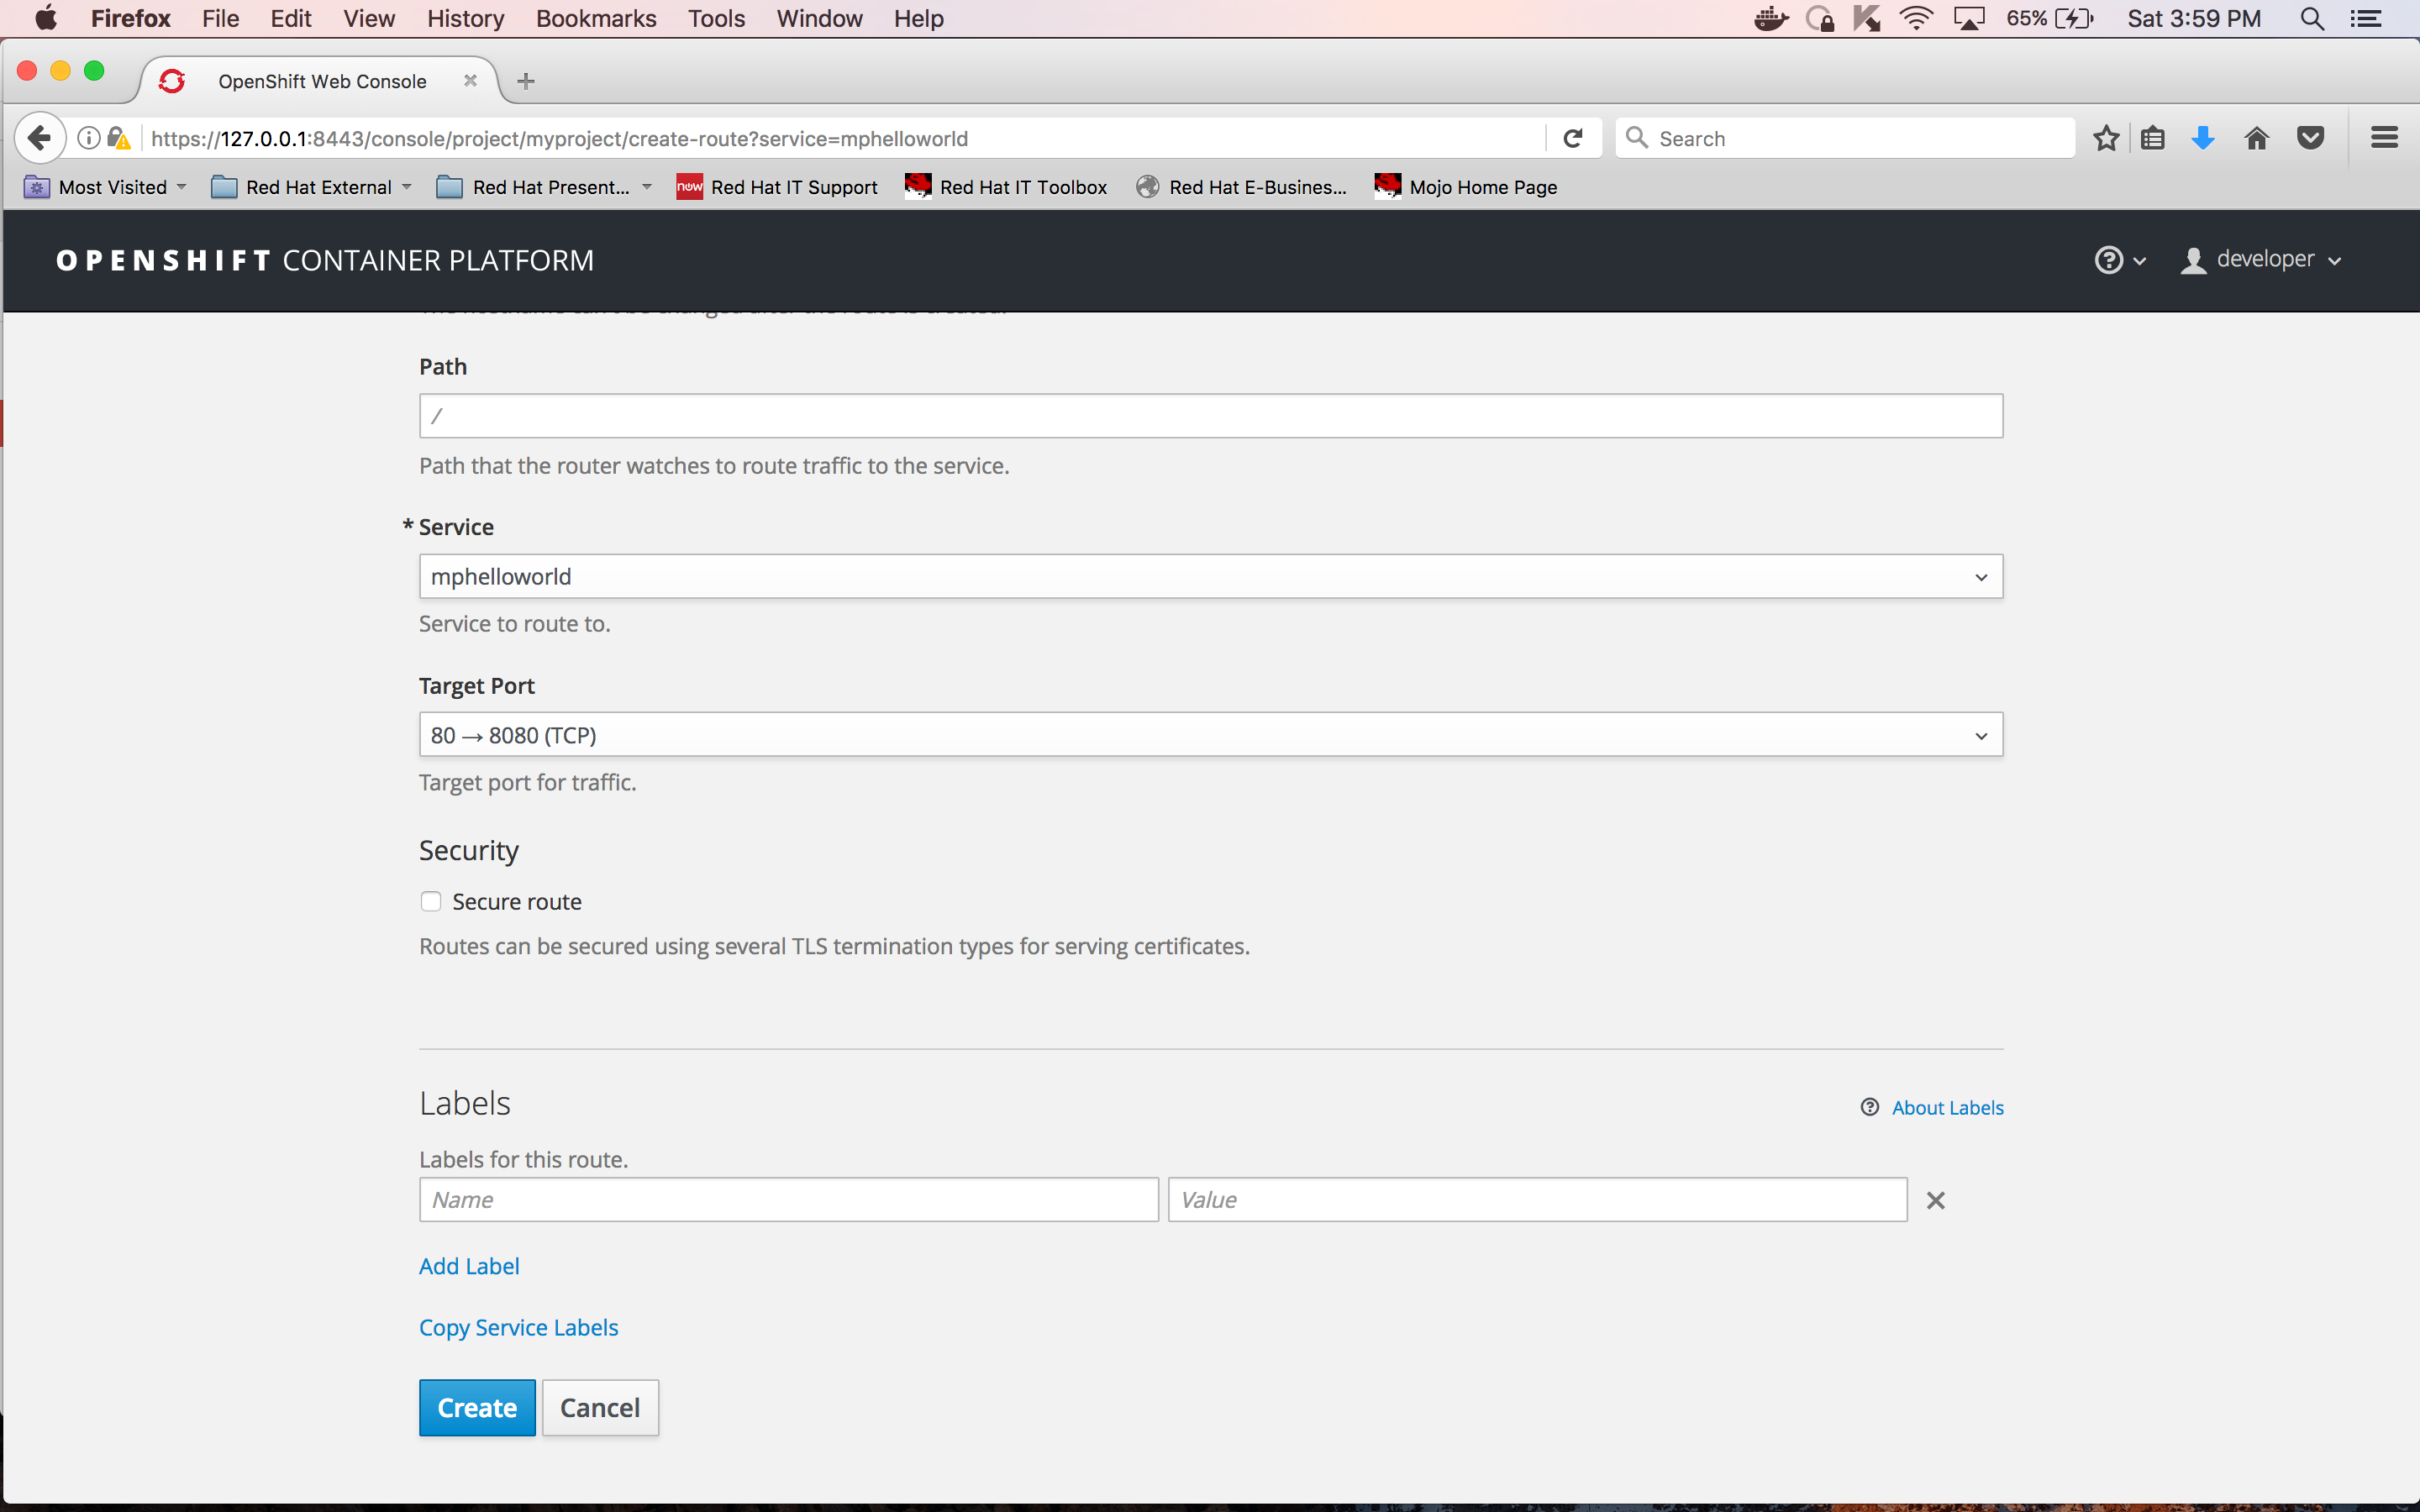
This will create a route for this microservice so that it can be called from outside OpenShift Container Platform:
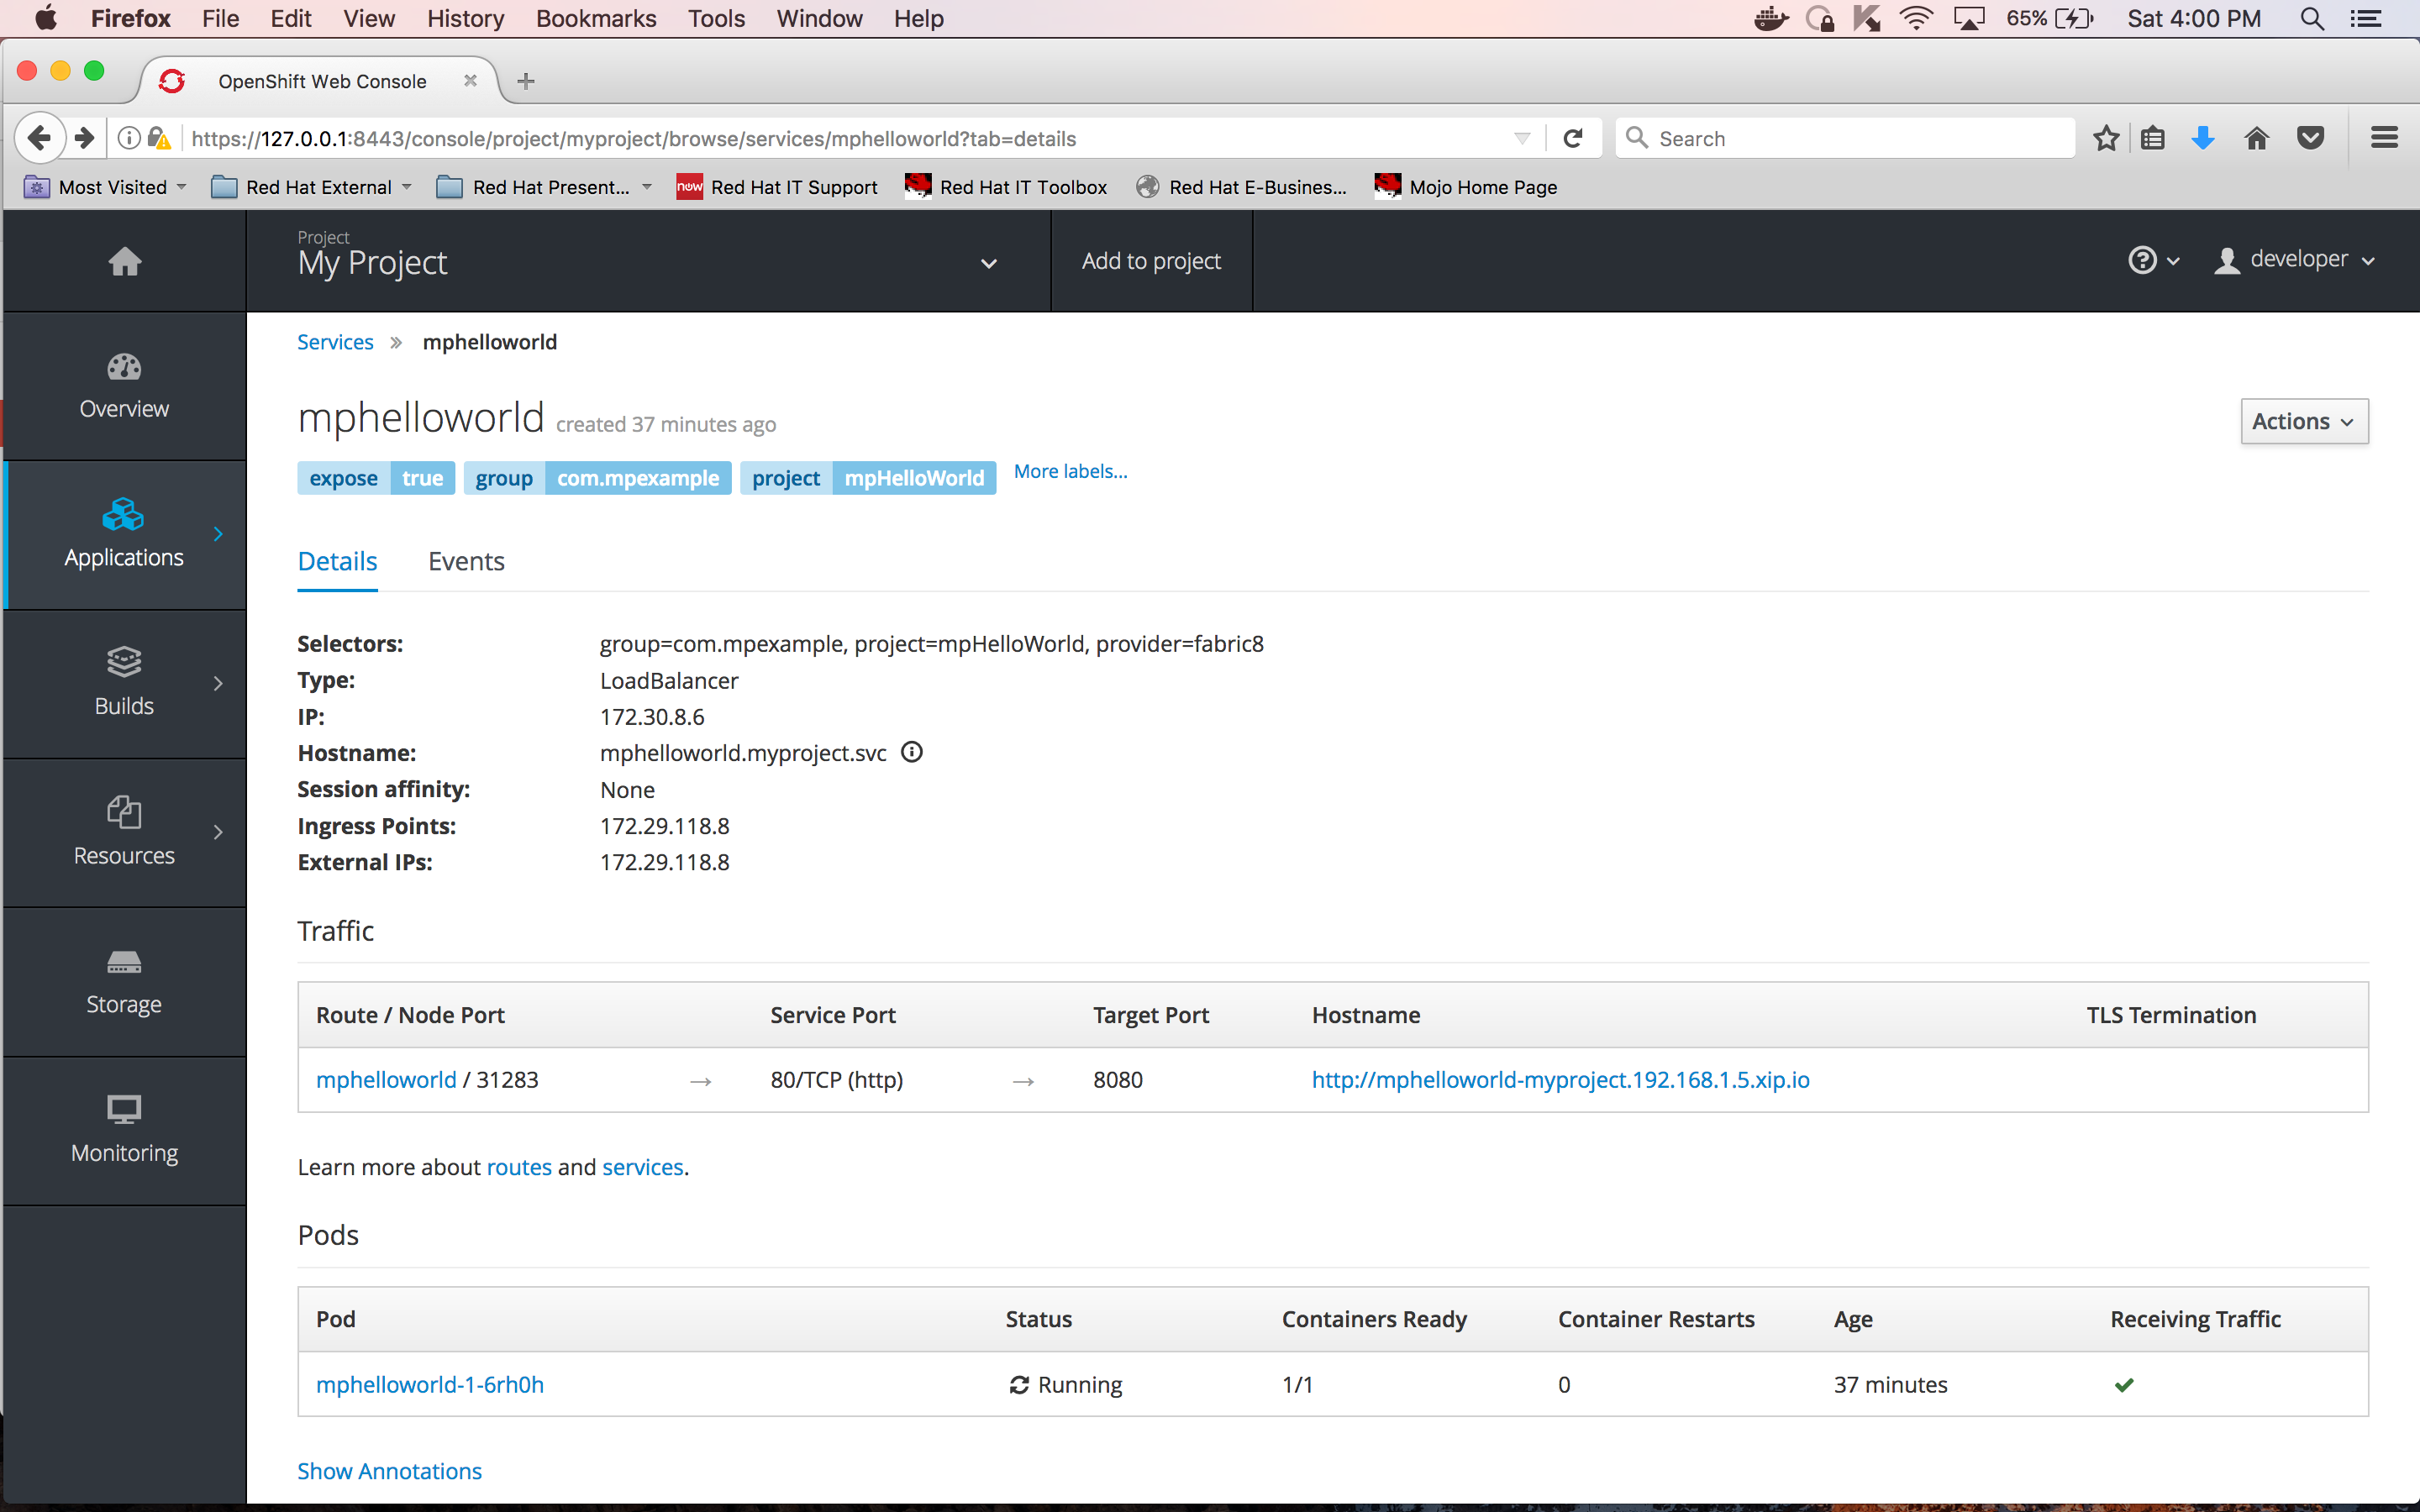
You can see the created route under the "Traffic" section above. The URL to invoke the service from outside OpenShift Container Platform is "http://mphelloworld-myproject.192.168.1.5.xip.io".
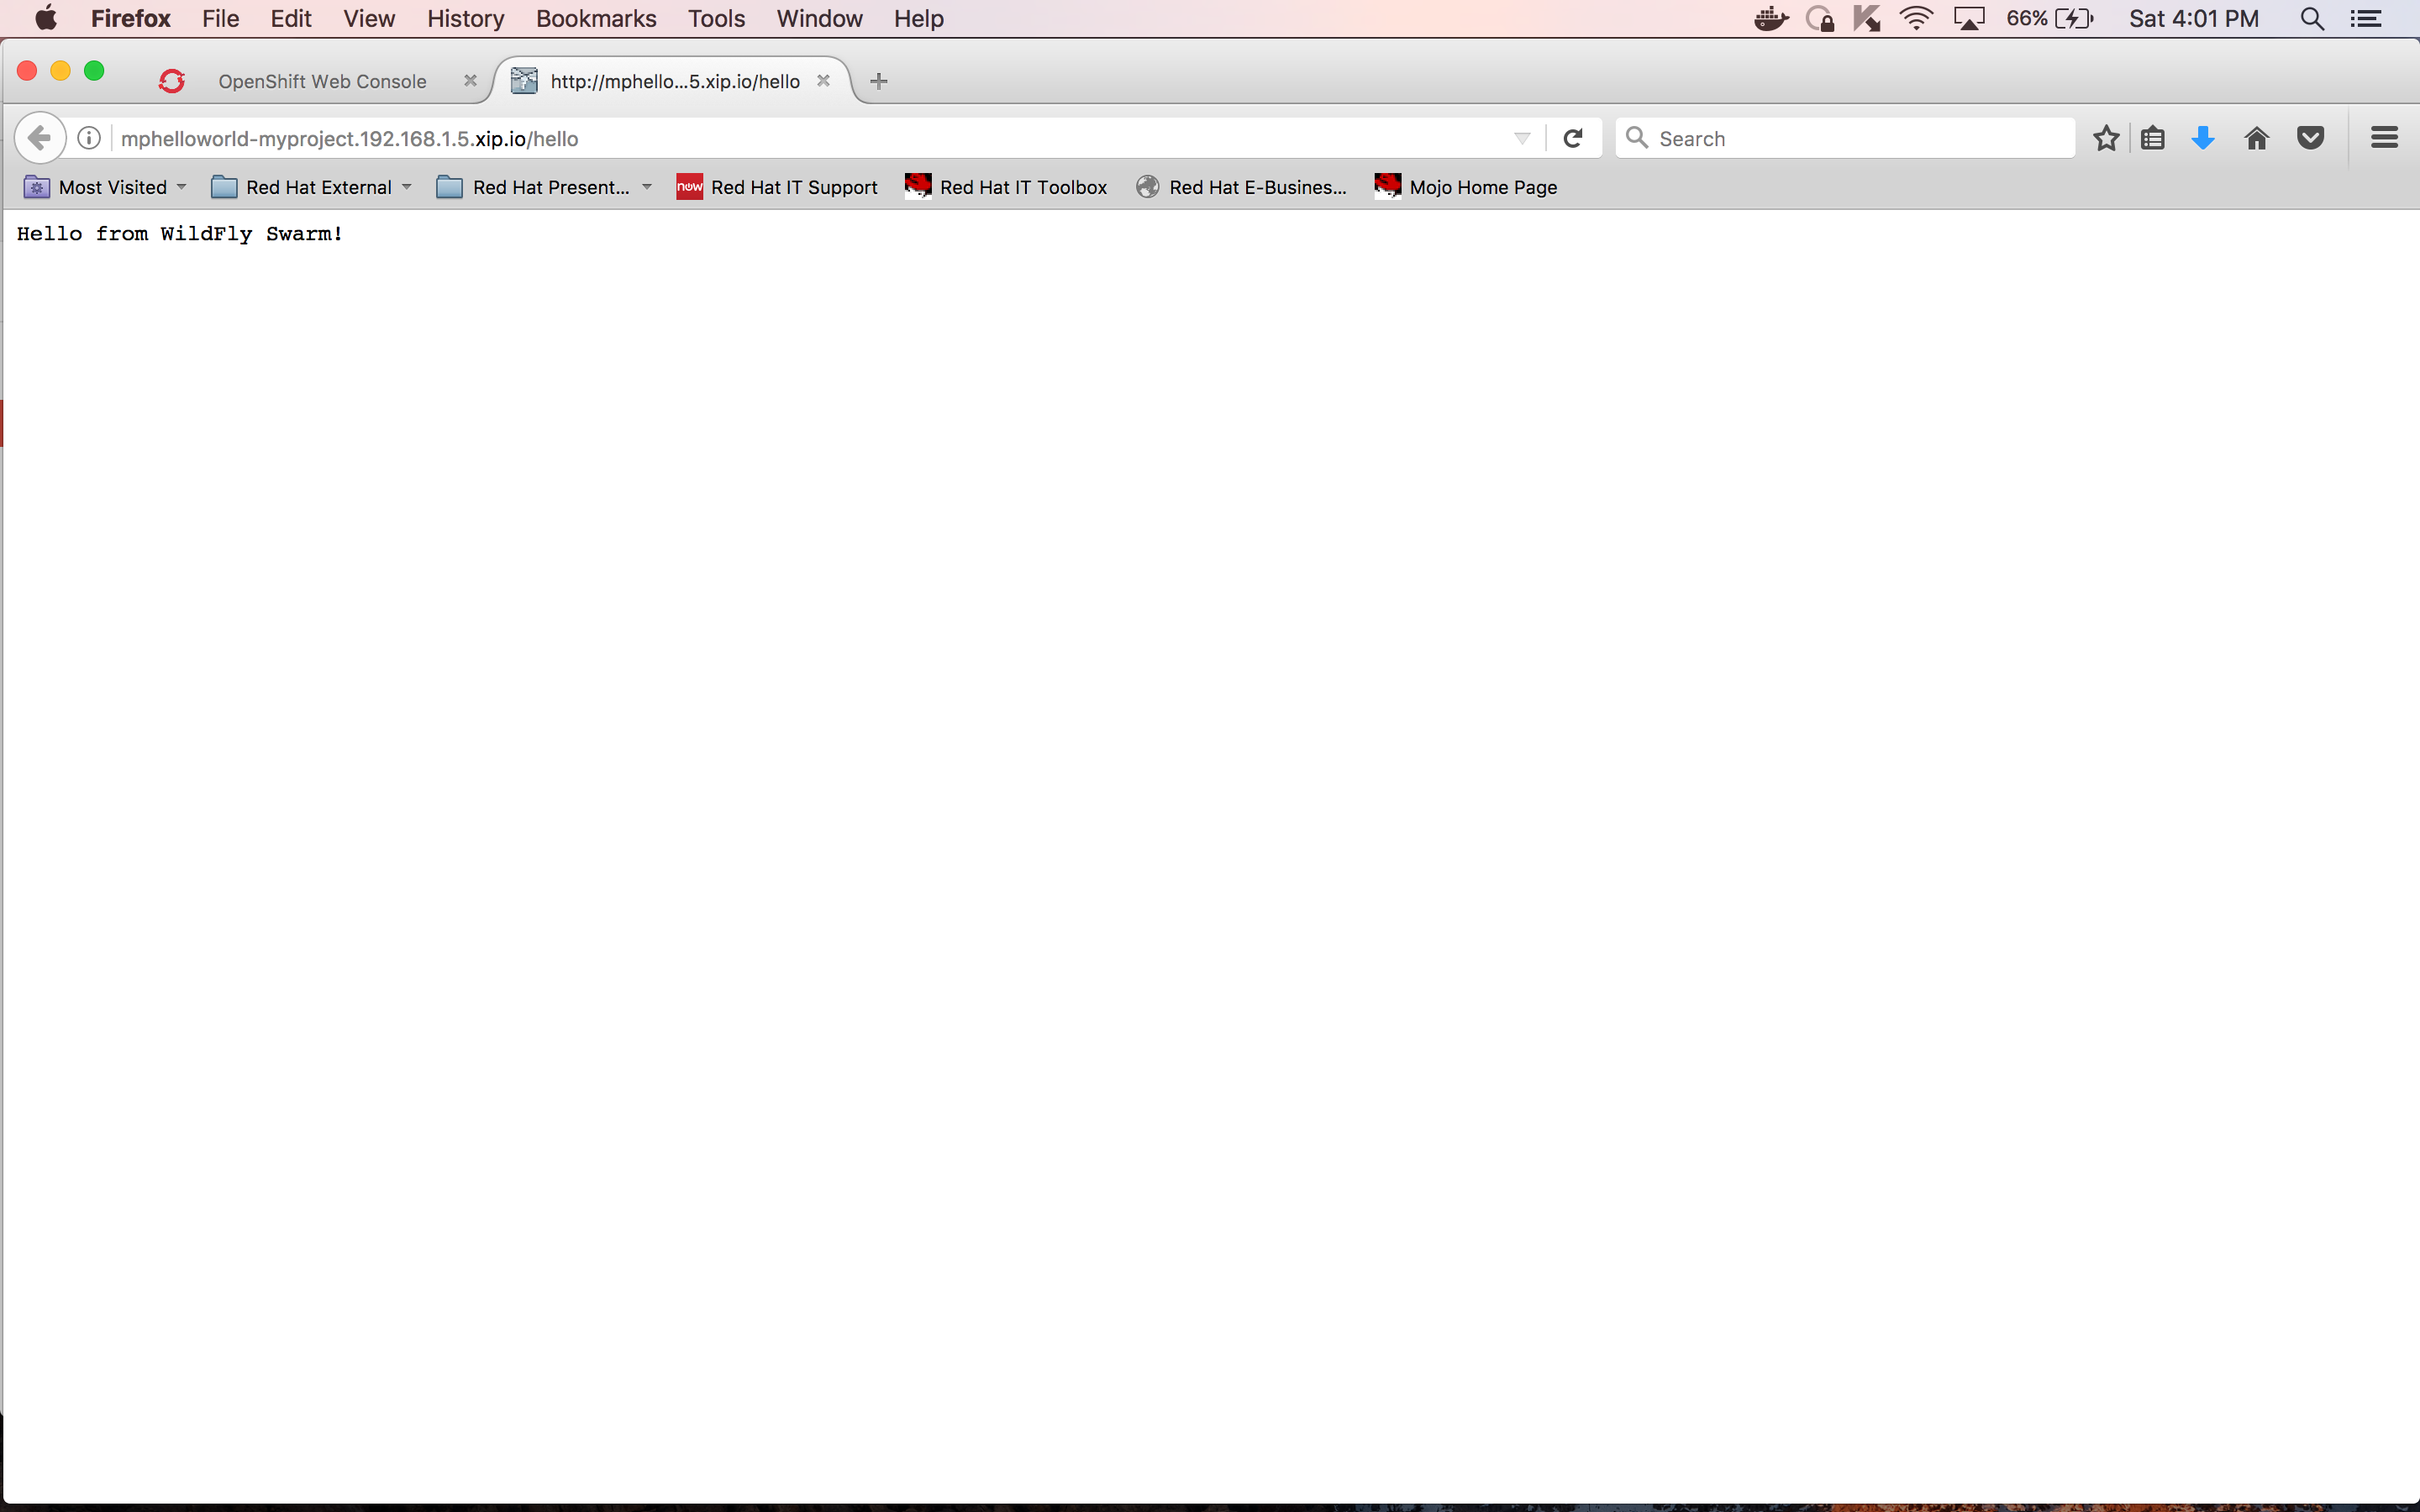
To test application, open a browser window and enter:
http://mphelloworld-myproject.192.168.1.5.xip.io/hello
You should see the string “Hello from WildFly Swarm”, which is what the microservice returns as JSON, appear in the browser window:
This concludes the first post of the series. In this blog post, you learned how to generate a MicroProfile-based microservice using the WildFly Swarm generator, modify it to be built, deployed and run on OpenShift Container Platform. Finally, you verified your MicroProfile-based service was running well by invoking it from a web browser.
In part 2 of this blog post, you will learn how to add a database, populate it, and associate it to a MicroProfile-based microservice, which you will modify to access the database content.
1 – On August 17, 2017, Oracle announced that it’s considering moving Java EE to an open source foundation post the release of Java EE 8 (scheduled for the end of 2017). The governance processes for Java EE will adapt to the new open source foundation and the submission of APIs from MicroProfile will most likely follow the new process
2 – If you brought up your OCP with “oc cluster up”, then you will lose all your work if you recycle the cluster. To keep the state of your cluster between restarts, use the following command to bring it up “oc cluster up --host-data-dir=/mydata --use-existing-config”
The Red Hat OpenShift Container Platform is available for download.
Last updated: September 25, 2024