This article explores how to configure and use MinIO—a high-performance, self-hosted object storage solution—as a backend for Ansible automation hub when deploying Red Hat Ansible Automation Platform. This approach eliminates the need for cloud-native object storage services like AWS S3 or Azure Blob, making it ideal for air-gapped, on-prem, or cost-sensitive environments. You'll learn how to set up Minio, integrate it with AAP, and validate its functionality as a fully compatible S3-like storage backend for hosting custom content collections.
As organizations increasingly adopt Ansible Automation Platform for enterprise-wide automation, the need for flexible and cost-effective storage solutions becomes critical, especially when deploying a private automation hub to host certified or custom content collections. While cloud providers like Amazon Web Services (AWS) and Azure offer S3-compatible storage (S3, Blob), these options may not be feasible in air-gapped, on-premise, or regulated environments.
To address this, we can use Minio, a high-performance, S3-compatible object storage system that can be deployed on a Red Hat OpenShift environment. This enables a fully self-contained, cloud-independent Ansible Automation Platform deployment.
This article is divided into two parts:
Part 1: Set up Minio on an OpenShift cluster.
Part 2: How to use Minio to deploy Ansible Automation Platform.
Prerequisites
Before we begin, ensure that you have:
- Access to Red Hat OpenShift Container Platform (version 4.12 or higher recommended; I have tested it in 4.16).
- Cluster-admin or equivalent privileges to deploy workloads and configure storage.
- Registry connectivity for pulling images.
Note:
I am using letsencrypt for the certificates.
As of now, I couldn't make it work with a self-signed certificate or with -tls-verify=false. The automation hub API pod gives "urllib3.exceptions.SSLError: [SSL: CERTIFICATE_VERIFY_FAILED] certificate verify failed: self signed certificate in certificate chain (_ssl.c:1006)." You may see a 500 internal error while pushing the images.
Part 1: Deploy Minio on OpenShift
Follow these steps to deploy Minio on OpenShift (or refer to the Minio guide):
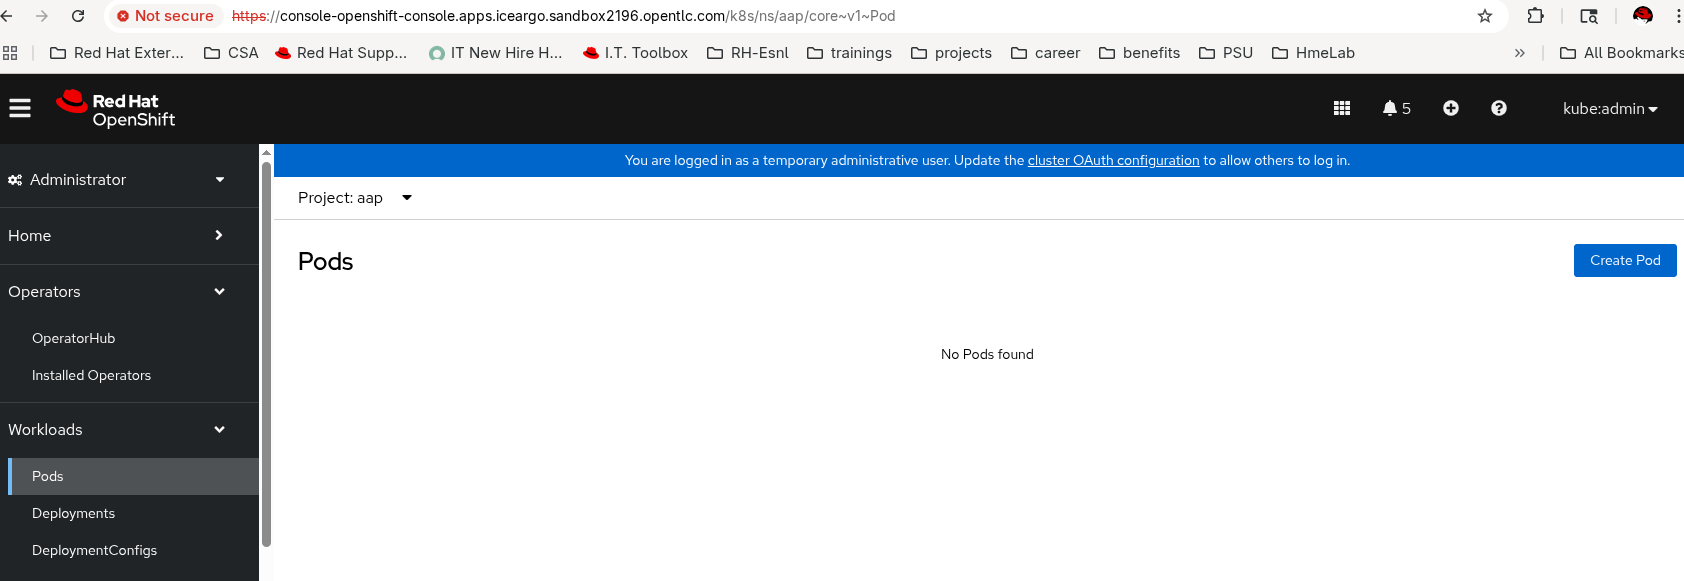
- Create a project in OpenShift Container Platform. I created a project called "aap" in OpenShift, where I am going to deploy my Minio pod.
- Navigate to Workloads -> Pods for the project and then click the plus sign (+) to import YAML, as shown in Figure 1.
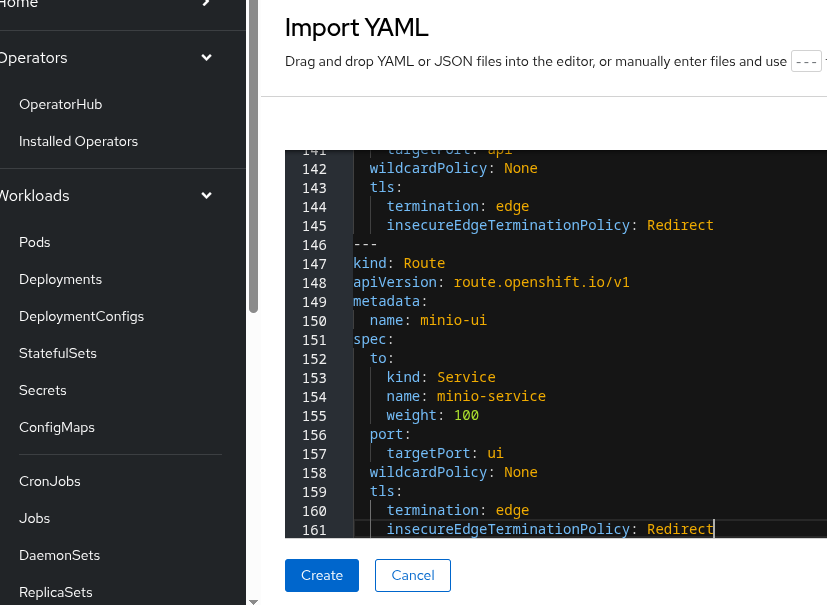
Paste the following YAML into the editor:
--- kind: PersistentVolumeClaim apiVersion: v1 metadata: name: minio-pvc spec: accessModes: - ReadWriteOnce resources: requests: storage: 20Gi volumeMode: Filesystem --- kind: Secret apiVersion: v1 metadata: name: minio-secret stringData: # change the username and password to your own values. # ensure that the user is at least 3 characters long and the password at least 8 minio_root_user: minio minio_root_password: minio123 --- kind: Deployment apiVersion: apps/v1 metadata: name: minio spec: replicas: 1 selector: matchLabels: app: minio template: metadata: creationTimestamp: null labels: app: minio spec: volumes: - name: data persistentVolumeClaim: claimName: minio-pvc containers: - resources: limits: cpu: 250m memory: 1Gi requests: cpu: 20m memory: 100Mi readinessProbe: tcpSocket: port: 9000 initialDelaySeconds: 5 timeoutSeconds: 1 periodSeconds: 5 successThreshold: 1 failureThreshold: 3 terminationMessagePath: /dev/termination-log name: minio livenessProbe: tcpSocket: port: 9000 initialDelaySeconds: 30 timeoutSeconds: 1 periodSeconds: 5 successThreshold: 1 failureThreshold: 3 env: - name: MINIO_ROOT_USER valueFrom: secretKeyRef: name: minio-secret key: minio_root_user - name: MINIO_ROOT_PASSWORD valueFrom: secretKeyRef: name: minio-secret key: minio_root_password ports: - containerPort: 9000 protocol: TCP - containerPort: 9090 protocol: TCP imagePullPolicy: IfNotPresent volumeMounts: - name: data mountPath: /data subPath: minio terminationMessagePolicy: File image: >- quay.io/minio/minio:latest args: - server - /data - --console-address - :9090 restartPolicy: Always terminationGracePeriodSeconds: 30 dnsPolicy: ClusterFirst securityContext: {} schedulerName: default-scheduler strategy: type: Recreate revisionHistoryLimit: 10 progressDeadlineSeconds: 600 --- kind: Service apiVersion: v1 metadata: name: minio-service spec: ipFamilies: - IPv4 ports: - name: api protocol: TCP port: 9000 targetPort: 9000 - name: ui protocol: TCP port: 9090 targetPort: 9090 internalTrafficPolicy: Cluster type: ClusterIP ipFamilyPolicy: SingleStack sessionAffinity: None selector: app: minio --- kind: Route apiVersion: route.openshift.io/v1 metadata: name: minio-api spec: to: kind: Service name: minio-service weight: 100 port: targetPort: api wildcardPolicy: None tls: termination: edge insecureEdgeTerminationPolicy: Redirect --- kind: Route apiVersion: route.openshift.io/v1 metadata: name: minio-ui spec: to: kind: Service name: minio-service weight: 100 port: targetPort: ui wildcardPolicy: None tls: termination: edge insecureEdgeTerminationPolicy: Redirect- Change default username/password and size (lines 21, 22, and 11 in the YAML).
- Click Create (Figure 2).
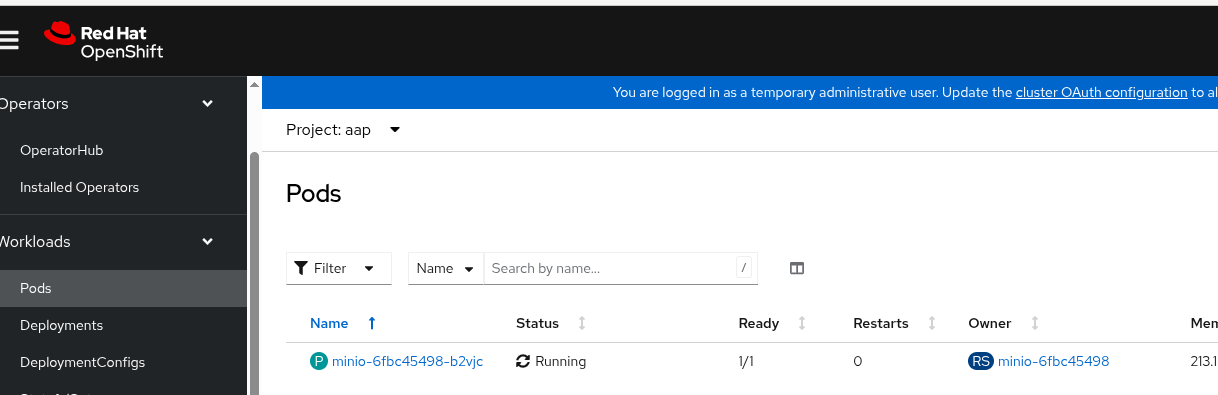
Now you have created Minio resources like PVC, secret, service, api(route), and ui(route).
- Check the pod status, as shown in Figure 3.
Check the Minio routes, as shown in Figure 4.
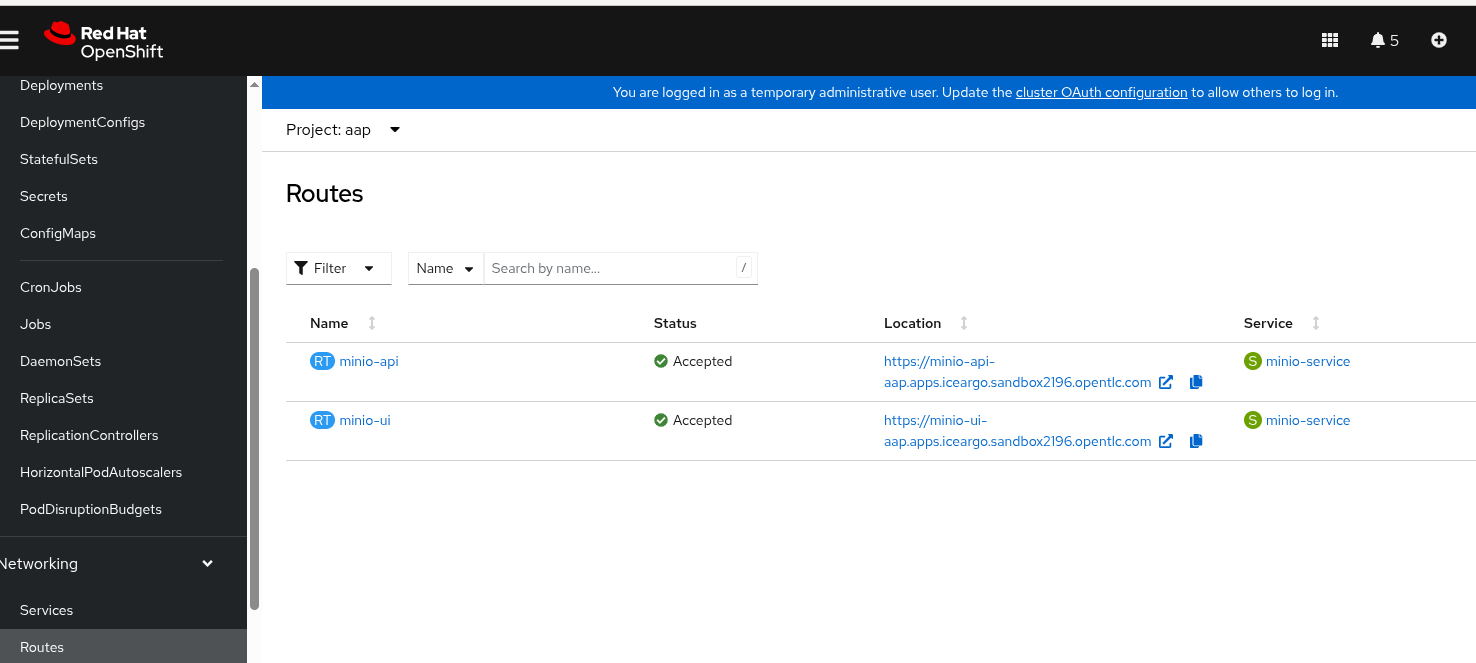
Note that -api route is for programmatic access and -ui route is for the UI (Figure 5).
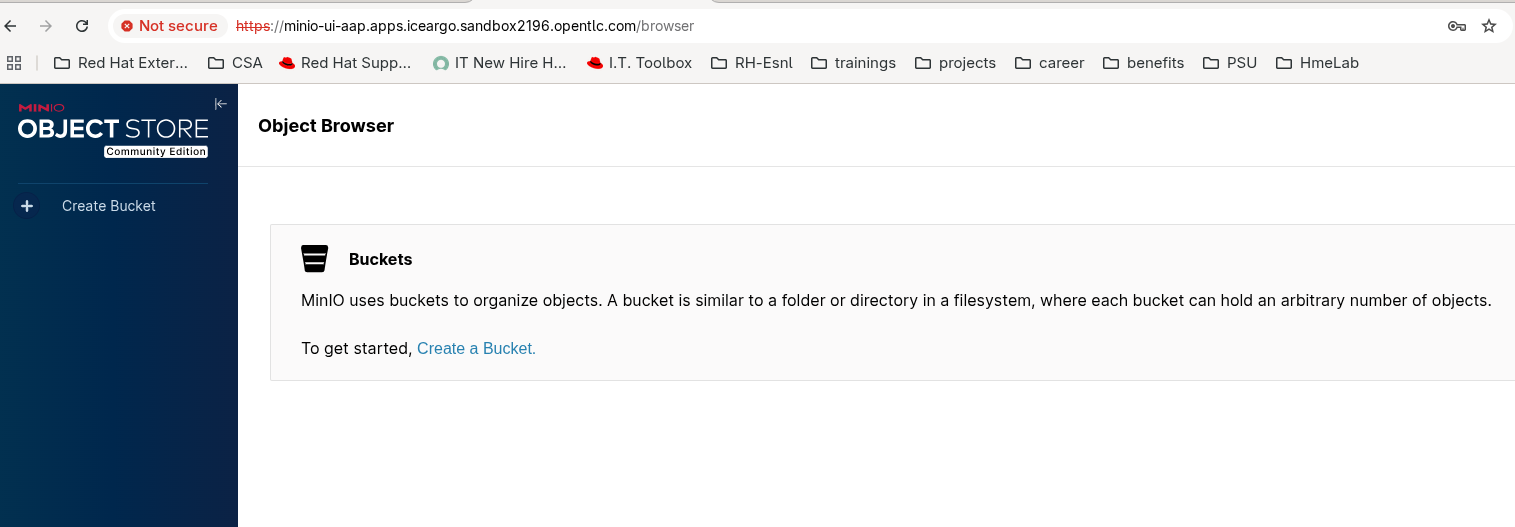
- Click Create Bucket and enter a name to create a bucket (Figure 6).

We can use this for our automation hub storage.
Part 2: Deploy Ansible Automation Platform
We will now deploy the Ansible Automation Platform operator using the Minio bucket. Learn more...
Follow these steps:
- In the OpenShift Container Platform UI, navigate to OperatorHub in the left panel.
- Enter "Ansible Automation Platform" in the search bar. Then select and install it with the default options. I am installing Ansible Automation Platform 2.5.
Once you have installed the operator, create a secret to access the Minio bucket:
oc -n $HUB_NAMESPACE apply -f- <<EOF apiVersion: v1 kind: Secret metadata: name: 'my-private-hub-s3' stringData: s3-access-key-id: minio s3-secret-access-key: minio123 s3-bucket-name: my-bucket-private-automation-hub s3-endpoint: https://minio-api-aap.apps.cluster-hh65q.hh65q.sandbox502.opentlc.com/ EOF- Change the value of access-key, secret, bucket name, and endpoint with your actual values. The s3-endpoint should be the -api route, not the UI. You can find more details here.
Now it's time to deploy the Ansible Automation Platform instance. I am using the following sample YAML for this purpose. Be sure to change the name of the secret.
oc apply -f - <<EOF
apiVersion: aap.ansible.com/v1alpha1
kind: AnsibleAutomationPlatform
metadata:
  name: my-aap
  namespace: aap
spec:
  # Platform
  image_pull_policy: IfNotPresent
  # Components
  controller:
    disabled: false
  eda:
    disabled: false
  hub:
    disabled: false
    storage_type: S3
    object_storage_s3_secret: my-private-hub-s3
  lightspeed:
    disabled: true
EOF
It will take 5 to 10 minutes to deploy. Learn more about the YAML.
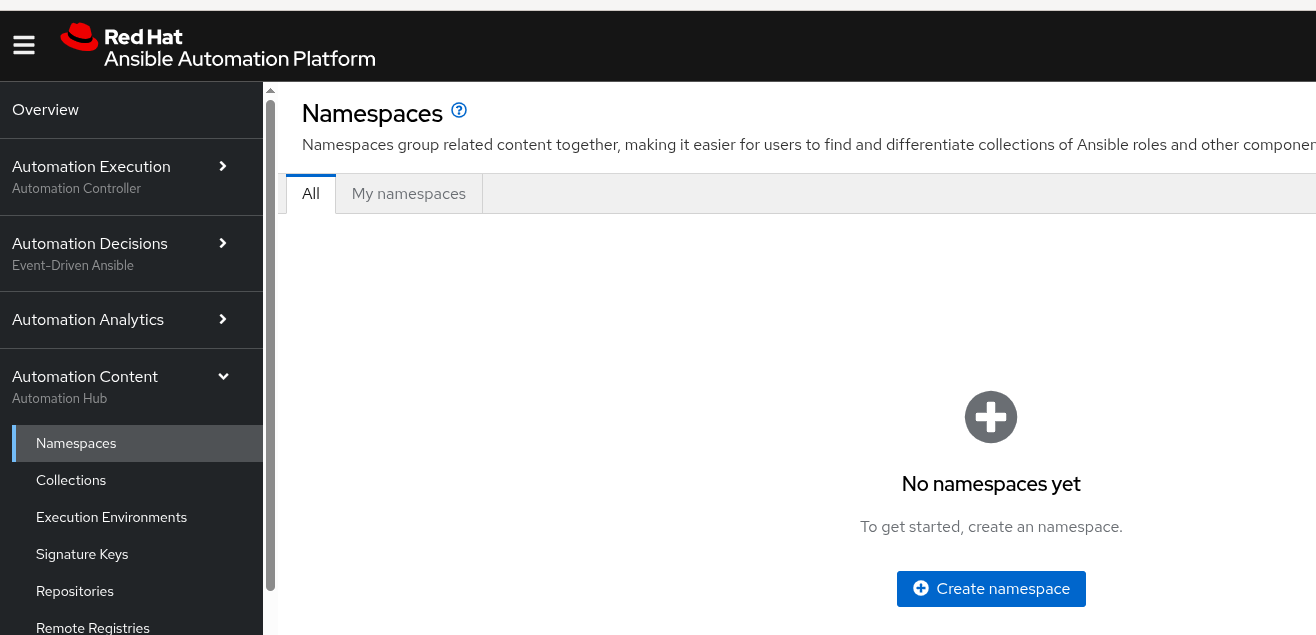
- Once deployment is complete, log in to the Ansible Automation Platform Gateway and apply the subscription.
- Navigate to the Automation Content section (Figure 6).
Test the automation hub by pushing an image. Log in to the automation hub, tag an image, then push the image.
kashekha@kashekha-thinkpadp1gen7:~$ podman login https://my-aap-aap.apps.cluster-hh65q.hh65q.sandbox502.opentlc.com
Username: admin
Password:
Login Succeeded!
kashekha@kashekha-thinkpadp1gen7:~$ podman tag localhost/ee-supported-rhel9_caac_infra my-aap-aap.apps.cluster-hh65q.hh65q.sandbox502.opentlc.com/ee-supported-rhel9_caac_infra:latest
kashekha@kashekha-thinkpadp1gen7:~$ podman images |grep "my-aap-aap"
my-aap-aap.apps.cluster-hh65q.hh65q.sandbox502.opentlc.com/ee-supported-rhel9_caac_infra  latest      9d6efab8d315  4 weeks ago   1.53 GB
kashekha@kashekha-thinkpadp1gen7:~$ podman push my-aap-aap.apps.cluster-hh65q.hh65q.sandbox502.opentlc.com/ee-supported-rhel9_caac_infra:latest
Getting image source signatures
.
.
Verify the image in the private automation hub.
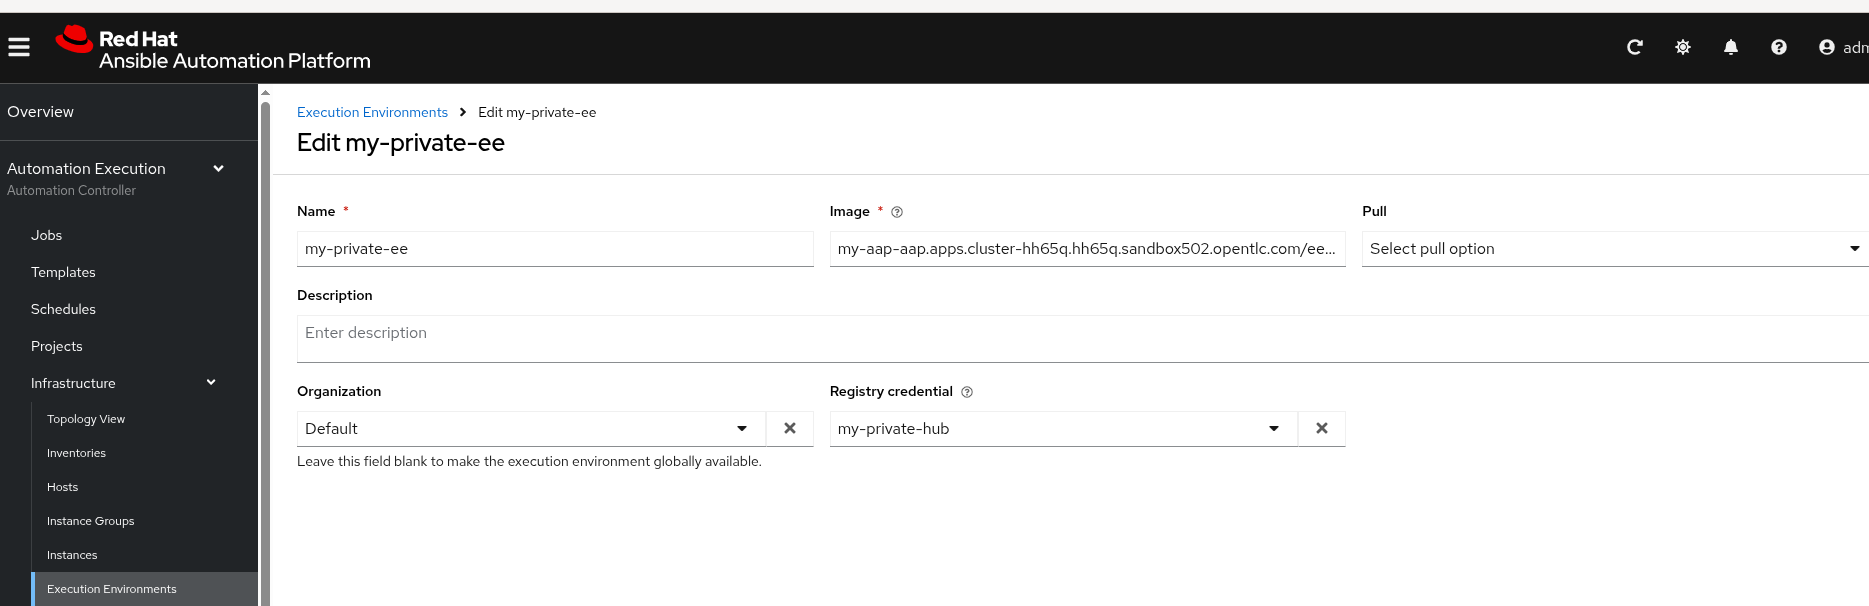
Now we'll use the image to create an execution environment (Automation Execution Section of Ansible Automation Platform).
- Create credentials for the private automation hub by navigating to Automation Execution -> Infrastructure -> Credentials.
- Create the execution environment (Figure 7).
- Finally, run a job template with the execution environment. It will take a few minutes to pull the execution environment at first.
Wrap up
In this article, we explained how you can deploy the Minio object storage system on a Red Hat OpenShift environment to enable a fully self-contained, cloud-independent Ansible Automation Platform deployment.